

A sticky door knob is a small problem that can cause daily frustration. That feeling of turning the knob and having it resist, move slowly, or fail to spring back into place is a common annoyance in many homes. This issue not only makes opening a door difficult but can also be a sign of a more serious problem with the latch mechanism that could lead to you getting stuck.
The good news is that you don’t need to call a locksmith or rush out to buy a new hardware set. In most cases, this is a simple mechanical issue that any homeowner can resolve with a few basic tools. This guide will show you exactly how to fix a sticky door knob, restoring smooth operation in just a few easy steps.
Before you begin, it’s important to gather the necessary tools and understand the basics of how a door knob mechanism works. A sticky door knob is often caused by dirt, debris, or lack of lubrication within the inner components. By addressing these common culprits, you can save time, avoid frustration, and ensure your door operates smoothly again. This simple, step-by-step process will guide you through diagnosing and fixing the issue quickly and effectively.
Why Fix a Sticky Door Knob?
A sticky door knob is more than just an inconvenience—it can impact the functionality and security of your home. Over time, a malfunctioning door knob may worsen, leading to a complete inability to open or close the door properly. This can create safety concerns, especially in emergency situations where quick access is essential. Additionally, fixing the issue promptly can prevent further wear and tear on the mechanism, saving you the cost of more extensive repairs or a full replacement later. Regular maintenance also extends the lifespan of the door knob, ensuring smooth operation and preserving the overall integrity of your doors.
Step-by-Step Guide on How to Fix a Sticky Door Knob
Step 1: Check the Mounting Screws First
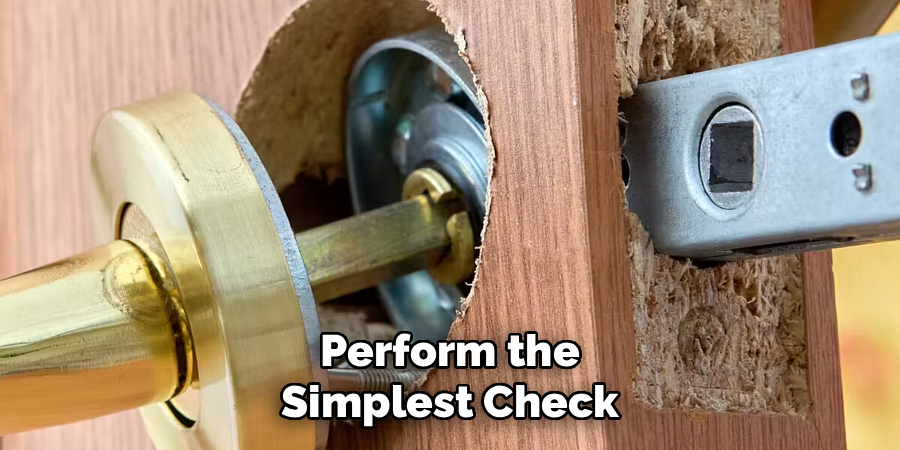
Before you take anything apart, perform the simplest check first. A common cause of a binding or sticky door knob is hardware that has come loose over time. Examine the screws on the face of the interior door knob rose (the circular plate that sits flush against the door). If they are visible, take a screwdriver and tighten them until they are snug. Be careful not to overtighten, as this can also cause the mechanism to bind. If this simple tightening solves the problem, you’ve just saved yourself a lot of time. If the knob is still sticking, you will need to proceed with a more thorough cleaning.
Step 2: Remove the Door Knobs
To properly clean the internal mechanism, you need to remove the knobs from the door. For most modern knobs with visible screws, simply unscrew them and pull the two halves of the knob apart. If there are no visible screws, you have a concealed fastener system. Look for a small spring-loaded detent or a tiny set screw on the shaft of the interior knob. Use a small flathead screwdriver or an Allen wrench to depress the pin or loosen the screw, which will allow you to pull the knob off its spindle. Then you can pry off the decorative rose to reveal the mounting screws underneath.
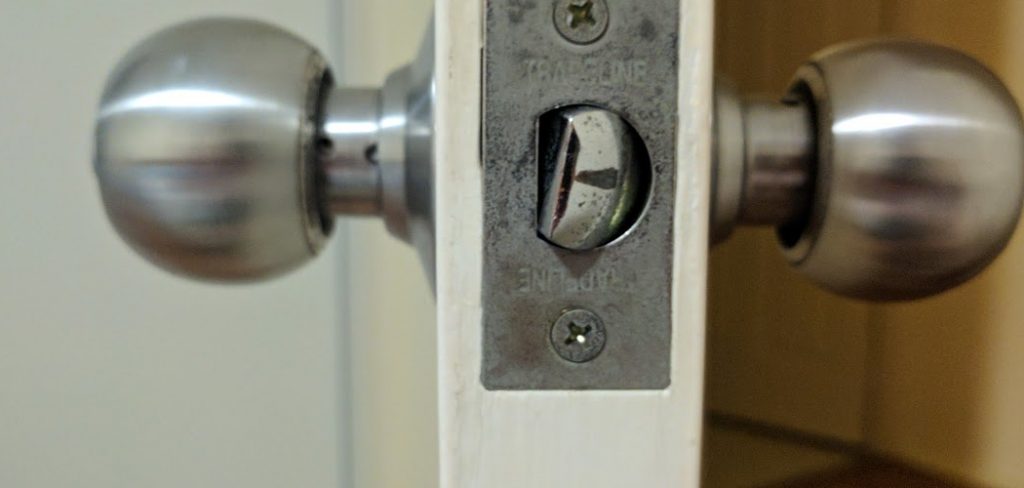
Step 3: Extract the Latch Assembly
With the knobs removed, you can now take out the latch assembly. This is the mechanism inside the door that the knob’s spindle passes through, and it includes the bolt that extends into the door frame. The latch is held in place by two screws on the edge of the door. Use your screwdriver to remove these two screws. Once they are out, you should be able to slide the entire latch assembly out of its hole in the door. This component is often the primary source of the problem, as it is where dirt, dust, and old lubricant accumulate.
Step 4: Clean All the Components Thoroughly

Now that you have all the parts disassembled, it’s time for a deep cleaning. The stickiness is usually caused by a buildup of grime and dried-out grease inside the moving parts. Use a can of compressed air to blow out any loose dust and debris from inside the latch assembly and the knobs. Then, spray a degreasing cleaner onto a clean cloth or a small brush and meticulously clean all the moving parts. Pay special attention to the latch bolt, the spindle holes, and the internal springs. A good cleaning is a critical first step.
Step 5: Apply New Lubricant
With all the components clean and dry, the next step is to apply a fresh lubricant. It is very important to use the right type. Do not use oil-based lubricants like WD-40, as they can attract dust and gum up the mechanism over time. A graphite lubricant or a silicone-based spray is the best choice for door hardware. Apply a small amount of lubricant to all the moving parts, including the latch bolt, the internal springs, and the point where the knob spindle interacts with the latch. Turn the parts with your hand to work the lubricant into the mechanism.
Step 6: Reassemble the Latch and Knobs
Now you can put everything back together. Start by sliding the freshly lubricated latch assembly back into its hole in the edge of the door, making sure the curved side of the latch bolt is facing the direction the door closes. Secure it with its two screws. Next, re-install the door knobs, passing the spindle through the latch assembly. If you have concealed screws, snap the decorative plates back on first, then slide the knobs on and secure them. For knobs with visible screws, simply screw the two halves back together.
Step 7: Test the Door Knob’s Operation

After reassembly, it is time to test your work. Turn the knob several times. It should now move smoothly and feel responsive, springing back into place without any hesitation. If it still feels a little stiff, it may just need the new lubricant to work its way into all the small crevices. Operating it a dozen times or so should distribute the lubricant and resolve any remaining stiffness. Also, test the locking mechanism, if it has one, to ensure it engages and disengages correctly. This final check confirms that your repair was successful.
Preventive Maintenance Tips
To keep your mechanism functioning smoothly, regular preventive maintenance is essential. Start by periodically cleaning the components to remove any dust or debris that could accumulate over time. Apply a small amount of lubricant every few months to ensure that all moving parts remain well-oiled and responsive. Check for signs of wear, such as rust or loose screws, and address these promptly to prevent more significant issues. Additionally, avoid applying excessive force when operating the mechanism to prolong its lifespan. Establishing a routine for these simple steps will help maintain optimal performance and prevent future problems.
Frequently Asked Questions (FAQs)
What Is the Best Lubricant to Use on a Sticky Door Knob?
The best choices are lubricants that do not attract dust and dirt.
- Graphite Lubricant: This is a dry lubricant that comes in a small puffer bottle. It’s excellent for locks and internal mechanisms because it lubricates without creating a sticky residue.
- Silicone Spray: A silicone-based spray provides long-lasting lubrication and is resistant to gumming up.
Avoid using petroleum-based oils like WD-40, as they can attract grit and make the problem worse over time.
Why Does My Door Knob Stick in Cold Weather?
Metal contracts in the cold. This slight shrinkage can cause the tolerances within the door knob’s internal mechanism to become tighter, increasing friction and making it feel stiff or sticky. Furthermore, any moisture inside the mechanism can thicken or freeze, exacerbating the problem. A proper cleaning and application of a moisture-resistant silicone lubricant can often solve this seasonal issue.
Can a Misaligned Door Latch Cause a Knob to Stick?
No, a misaligned latch typically does not cause the knob itself to stick or turn poorly. A misaligned latch means the bolt does not line up correctly with the strike plate on the door frame, making the door hard to close or open. A sticky knob, on the other hand, refers to the physical action of turning the knob, which is an issue internal to the hardware itself.
My Door Knob Is Loose and Wiggles. How Do I Fix That?
A loose and wobbly door knob is usually caused by loose mounting screws. For knobs with visible screws, simply tighten them with a screwdriver. For knobs with concealed hardware, you will need to remove the knob and the decorative rose to access the mounting screws underneath. Tightening these screws will pull the assembly together and eliminate the wobble.

When Should I Replace My Door Knob Instead of Fixing It?
You should consider replacing your door knob if:
- You have taken it apart and cleaned it, but the mechanism is still sticking badly.
- You can see that internal parts, like springs or cams, are visibly broken or severely worn.
- The finish is badly corroded, and you are looking for a cosmetic upgrade.
If the internal mechanism has failed, a repair is often not practical, and replacement is the best option.
Conclusion
A sticky door knob is a common household problem that can be easily resolved with a little time and effort. The issue almost always stems from an accumulation of dirt and old, dried-up grease within the internal latch mechanism. By carefully disassembling the hardware, giving it a thorough cleaning, and applying the correct type of new lubricant, you can restore its smooth and reliable function.
This simple repair not only eliminates a daily frustration but also extends the life of your hardware. Now that you have this clear guide on how to fix a sticky door knob, you can confidently tackle the job and enjoy the satisfaction of a perfectly working door once again.
About
Safety Fic is a distinguished figure in the world of Diy design, with a decade of expertise creating innovative and sustainable Diy solutions. His professional focus lies in merging traditional craftsmanship with modern manufacturing techniques, fostering designs that are both practical and environmentally conscious. As the author of diy, Safety Fic delves into the art and science of Safety Fic-making, inspiring artisans and industry professionals alike.
Education RMIT University
(Melbourne, Australia) Associate Degree in Design (Safety Fic) Focus on sustainable design, industry-driven projects, and practical craftsmanship. Gained hands-on experience with traditional and digital manufacturing tools, such as CAD and CNC software.
Nottingham Trent University
(United Kingdom) Bachelor’s in diyfastly.com and Product Design (Honors) Specialized in product design with a focus on blending creativity with production techniques. Participated in industry projects, working with companies like John Lewis and Vitsoe to gain real-world insights.
Publications and Impact
In diy, Safety Fic his insights on indoor design processes, materials, and strategies for efficient production. His writing bridges the gap between artisan knowledge and modern industry needs, making it a must-read for both budding designers and seasoned professionals.