When a window handle fails to close properly, it can be both frustrating and a potential security risk. Whether the issue is due to wear and tear, misalignment, or mechanical failure, knowing how to address and fix your window handle can save time and money.

This guide on how to fix a window handle that won’t close will walk you through the steps necessary to troubleshoot and repair a problematic window handle, ensuring your home remains safe and energy-efficient. With a few tools and some patience, you can restore your window to its full functionality.
Causes of Window Handle Failure
Understanding the common causes of window handle failure can help you diagnose and address the issue effectively. One of the most frequent reasons is wear and tear, especially if the window handle has been used frequently over many years. The internal components can degrade or loosen over time, leading to operational problems.
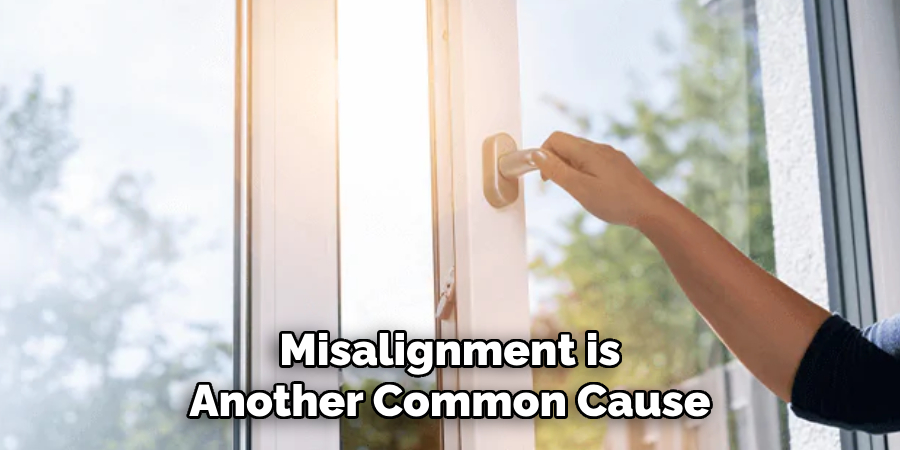
Misalignment is another common cause, which may occur if the window sashes or frames settle or shift slightly, preventing the handle from engaging properly. Additionally, dirt and debris can accumulate within the mechanism, obstructing smooth movement and operation.
Lastly, mechanical failure can occur due to broken or worn-out parts within the handle itself, which may require replacement to resolve the issue entirely. By identifying the root cause, you can take the appropriate steps to fix your window handle.
Needed Materials
- Screwdriver
- Pliers
- Lubricant (Such as Wd-40)

8 Step-by-step Guidelines on How to Fix a Window Handle That Won’t Close
Step 1: Inspect the Window Handle
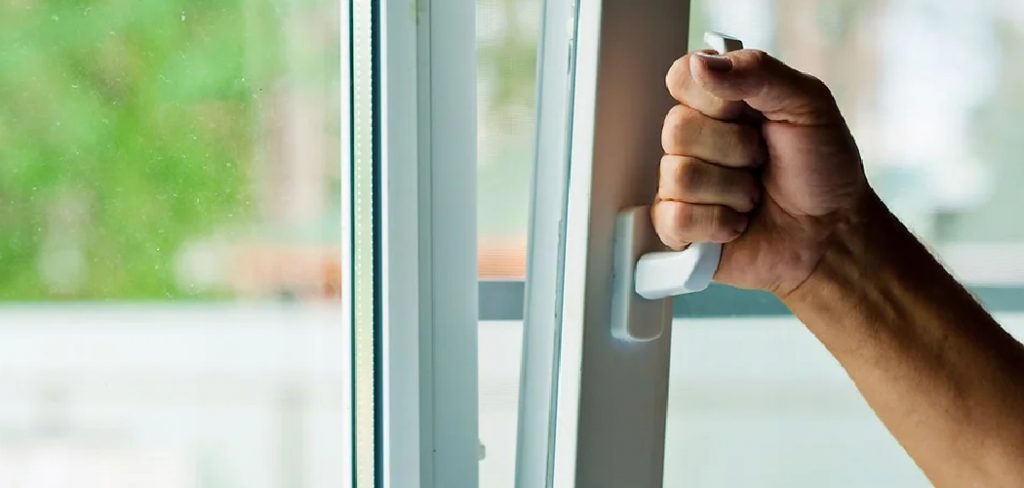
Begin by closely inspecting the window handle to identify any visible issues. Check for signs of damage such as cracks, bends, or worn-out components, which might be obvious points of failure. Gently move the handle back and forth to assess its range of motion and look for any irregularities in its operation.
Additionally, examine the surrounding area for any misalignment between the window frame and the sash that could be causing the handle to stick or fail to engage properly. Taking note of any anomalies during this inspection will guide you in determining the necessary repairs or adjustments.
Step 2: Clean the Window Handle
Once you have inspected the window handle and its surrounding area, the next step is to clean it thoroughly. Accumulated dirt, dust, and debris can often impede the handle’s movement and prevent it from closing properly. Use a soft cloth or brush to gently remove any visible grime from the surface of the handle.

For more stubborn dirt, apply a small amount of mild cleaner to the cloth and wipe the handle down carefully. Pay special attention to the joints and any crevices where dirt is likely to gather. After cleaning, allow the handle to dry completely before proceeding to the next step, as moisture can contribute to further operational issues.
Step 3: Lubricate the Window Handle
Once the handle is clean and dry, add a small amount of lubricant to the moving parts. This will help reduce friction and allow for smoother operation. Apply a few drops of your preferred lubricant to the joints and other critical areas, making sure not to over-saturate or drip any excess into the window mechanism.
If you do not have a specific lubricant on hand, you can use common household products such as WD-40 or even petroleum jelly as an alternative.
Step 4: Tighten Any Loose Screws
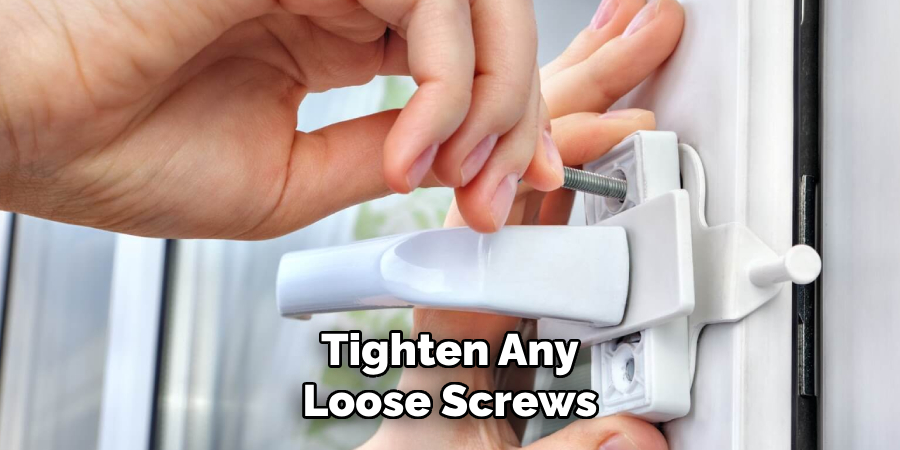
Inspect the handle and frame to identify any loose screws that may be affecting the functionality of the window handle. Use a screwdriver to tighten any screws you find, ensuring they are snug but not overly tightened to avoid stripping the threads or damaging the components. Pay special attention to screws located directly on the handle and those securing the hinges or other parts of the window mechanism.
Properly secured screws can prevent unnecessary movement and improve the handle’s overall stability and operation. Once all screws are tightened, test the handle to see if the window closes more smoothly. If not, proceed to the next step.

Step 5: Adjust the Window Alignment
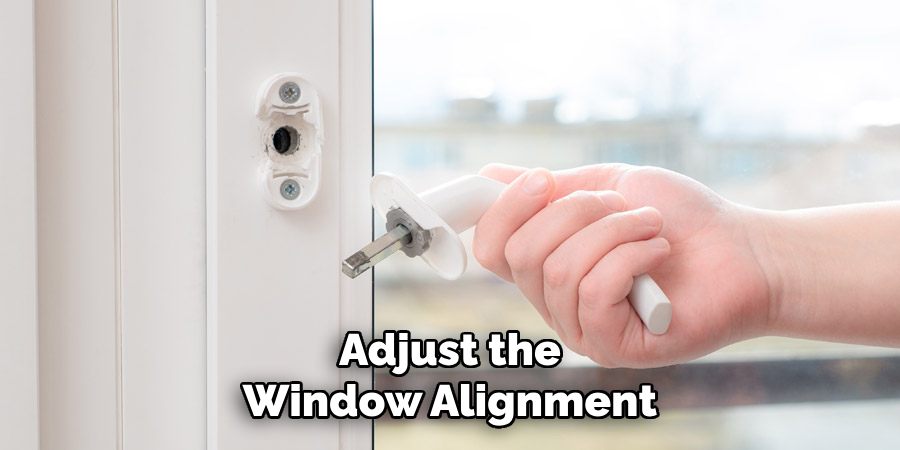
If misalignment is identified as the cause of your window handle failure, you will need to adjust the window sashes or frames to ensure proper alignment. Begin by loosening any screws securing the hinge side of the window and gently shifting it up or down until it is in its correct position.
Next, tighten all screws and retest the handle for proper operation. Repeat this process for any other sides that require adjustment until the handle can close without issue. Be sure not to over-tighten any screws as this can cause further alignment problems.
Step 6: Check for Obstructions
In some cases, the issue may not be with the handle itself but rather with an obstruction in the window mechanism. Inspect the tracks, rollers, and other moving parts for any debris or objects that may be impeding smooth operation.
Use pliers or a small brush to gently remove any obstructions you find. Once cleared, test the handle again to see if it closes properly.

Step 7: Replace Any Broken Parts
If none of the previous steps have resolved your window handle issue, it is possible that there is a broken or worn-out part within the handle itself. In this case, you will need to replace the faulty component to restore proper function.
Refer to your window’s manufacturer manual for specific instructions on how to replace the handle or seek professional help if needed.
Step 8: Regular Maintenance
To prevent future window handle failure, it is essential to perform regular maintenance. Clean and lubricate the handle and surrounding mechanism at least once a year to keep it functioning smoothly. Additionally, inspect the window for any signs of wear and tear or misalignment and address them promptly before they cause bigger problems.
By following these simple guidelines on how to fix a window handle that won’t close, you can fix a window handle that won’t close and ensure your windows remain functional, safe, and energy-efficient for years to come.
Additional Tips
Use Quality Lubricants:
Opt for high-quality lubricants specifically designed for window mechanisms, as they provide better protection against rust and corrosion compared to general-purpose products.
Avoid Harsh Cleaners:
When cleaning your window handle, avoid using harsh chemicals or abrasive cleaners that can damage the surface or cause discoloration. Stick to mild soap and water for best results.
Seek Professional Help:
If after following these guidelines, you are still unable to fix your window handle, it is best to seek professional help. A trained technician can identify and address any underlying issues with your window mechanism and provide expert advice on how to maintain it properly. So, do not hesitate to reach out for assistance if needed.
Perform Regular Inspections:
In addition to regular maintenance, it is crucial to perform visual inspections of your window handles and mechanisms at least twice a year. This will help identify any potential issues early on and prevent costly repairs or replacements in the future. So, make it a part of your household maintenance routine to ensure the longevity and proper function of your windows.
Consider Upgrading:
If your window handles are constantly malfunctioning despite regular maintenance and repairs, it may be time to consider upgrading to newer models. Modern window handles often come with improved design and functionality, providing easier operation and better security for your home. Consult with a professional or do some research to find the best options for your specific needs and budget.
By following these additional tips on how to fix a window handle that won’t close, you can keep your window handles in excellent condition and avoid any future issues that may arise. Don’t neglect this essential part of your windows and ensure they continue to provide comfort, safety, and energy-efficiency for your home.
Frequently Asked Questions
Q: Can I Use Any Type of Lubricant to Fix My Window Handle?
A: While specific lubricants designed for mechanical parts are preferred, common household products such as WD-40 or petroleum jelly can also be used in a pinch. Just make sure not to over-apply and avoid dripping any excess into the window mechanism.
Q: What Should I Do if None of These Steps Fix My Window Handle?
A: If you have followed all of these steps and your window handle still won’t close, there may be an underlying issue with the window’s structure or components. In this case, it is best to seek professional help to properly diagnose and address the problem. Regular maintenance and prompt repairs can prevent future issues from arising. So, make sure to keep up with routine care for all your windows!
Q: Is Fixing a Window Handle Something I Can Do Myself?
A: As long as you feel comfortable performing these steps and have the necessary tools, fixing a window handle is typically a straightforward task that can be done yourself. However, if at any point you are unsure or uncomfortable with the process, it is best to seek professional help to avoid causing further damage or injury. Safety should always be a top priority when working with window mechanisms.
Conclusion
By following the outlined steps on how to fix a window handle that won’t close to assess and address your window handle issues, you can ensure that your windows operate smoothly and efficiently. Regular maintenance not only resolves existing problems but also prevents future ones, safeguarding against unnecessary repairs and costs. Remember to routinely clean, lubricate, and inspect the window mechanism, keeping an eye out for any signs of wear or misalignment.
These simple practices will extend the lifespan of your windows, maintain their functionality, and contribute to the overall comfort and energy efficiency of your home. With proper care, you’ll enjoy seamless operation and a well-preserved living environment for years to come.
About
Safety Fic is a distinguished figure in the world of Diy design, with a decade of expertise creating innovative and sustainable Diy solutions. His professional focus lies in merging traditional craftsmanship with modern manufacturing techniques, fostering designs that are both practical and environmentally conscious. As the author of diy, Safety Fic delves into the art and science of Safety Fic-making, inspiring artisans and industry professionals alike.
Education RMIT University
(Melbourne, Australia) Associate Degree in Design (Safety Fic) Focus on sustainable design, industry-driven projects, and practical craftsmanship. Gained hands-on experience with traditional and digital manufacturing tools, such as CAD and CNC software.
Nottingham Trent University
(United Kingdom) Bachelor’s in diyfastly.com and Product Design (Honors) Specialized in product design with a focus on blending creativity with production techniques. Participated in industry projects, working with companies like John Lewis and Vitsoe to gain real-world insights.
Publications and Impact
In diy, Safety Fic his insights on indoor design processes, materials, and strategies for efficient production. His writing bridges the gap between artisan knowledge and modern industry needs, making it a must-read for both budding designers and seasoned professionals.
