

When your car suddenly loses power, experiences poor throttle response, or the check engine light illuminates, a faulty accelerator pedal sensor is often the culprit. This critical component, also known as the Accelerator Pedal Position (APP) sensor, translates the physical movement of your gas pedal into an electronic signal for the engine’s computer. A failure in this system can put your car into “limp mode,” drastically reducing engine performance and creating a stressful driving situation.
While this sounds like a complex issue requiring an expensive trip to the mechanic, learning how to fix accelerator pedal sensor problems is often a manageable DIY task for many vehicles. In many cases, the fix involves a simple replacement of the sensor assembly. This guide will provide a clear, step-by-step process to diagnose the issue, replace the faulty part, and get your car running smoothly again, saving you time and money.
Why Understanding This Repair Matters
Knowing how to diagnose and fix an accelerator pedal sensor empowers you to handle a common and critical vehicle repair yourself. This knowledge can save you hundreds of dollars in dealership labor costs for what is often a surprisingly straightforward job. By understanding the process, you can confidently restore your vehicle’s engine performance and safety without waiting for a service appointment. This skill not only saves you money but also deepens your understanding of modern vehicle electronics, making you a more informed and self-reliant car owner.
8 Step-by-Step Guide: How to Fix Accelerator Pedal Sensor
Step 1: Diagnose the Problem
The first step in any car repair is accurate diagnosis. Symptoms of a bad accelerator pedal sensor include a check engine light, poor acceleration, and the car entering a reduced power or “limp” mode. To confirm the issue, use an OBD-II scanner to read the diagnostic trouble codes (DTCs) from your vehicle’s computer.

Codes related to the APP sensor, typically in the P21xx range (like P2135 or P2138), strongly indicate a fault in the pedal assembly. This step is crucial because other issues, like a faulty throttle body, can present similar symptoms. Proper diagnosis ensures you are fixing the correct part.
Step 2: Gather the Necessary Tools
Before starting the repair, gather all the necessary tools and the correct replacement part. You will typically need a basic socket set, screwdrivers, and possibly pliers. The most important part is the new accelerator pedal sensor assembly. Ensure you purchase the exact part for your vehicle’s make, model, and year, as these components are not universal. You can find the part number by consulting your owner’s manual or an online auto parts database. Having everything ready beforehand will make the replacement process smooth and efficient, preventing you from having to stop mid-repair to find a tool or part.
Step 3: Disconnect the Vehicle’s Battery
For any work involving your car’s electrical system, it is a critical safety precaution to disconnect the battery. Use a wrench or socket to loosen the nut on the negative (-) battery terminal. Once loose, gently twist and pull the cable off the terminal post. Secure the cable away from the post to prevent it from accidentally making contact again. Disconnecting the battery prevents any risk of electrical shock and protects the vehicle’s sensitive electronic components from potential damage during the repair process. This simple step is a cornerstone of safe and effective DIY automotive repair.
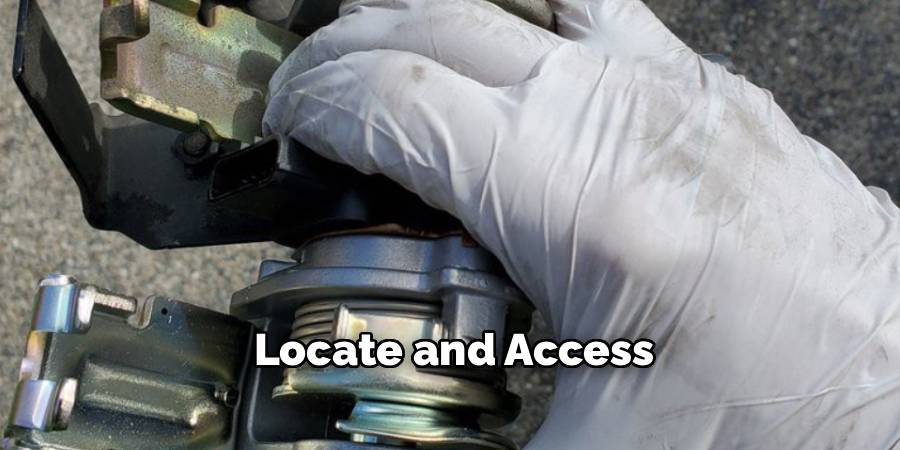
Step 4: Locate and Access
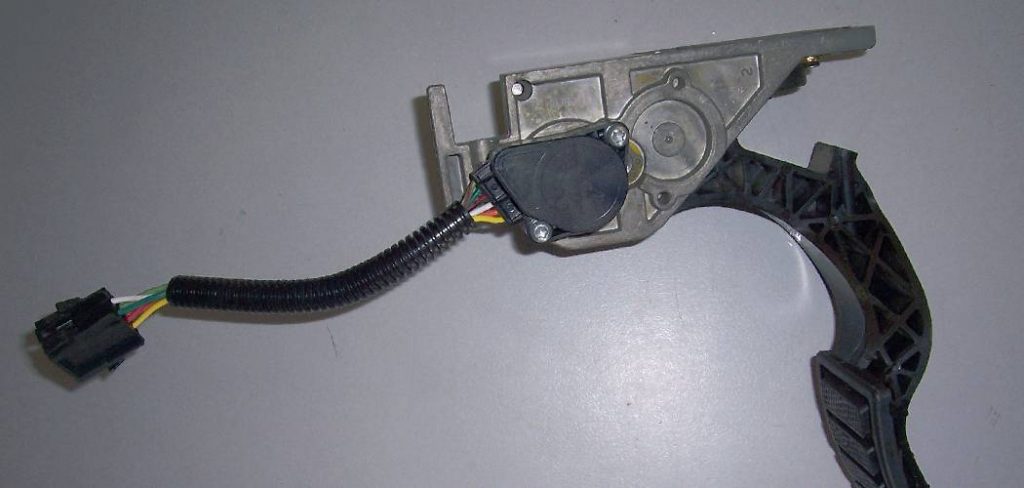
The accelerator pedal sensor is integrated directly into the gas pedal assembly in most modern vehicles. It is located in the driver’s side footwell, mounted to the firewall. You may need to remove a lower dash panel or kick panel to gain clear access to the mounting bolts and the electrical connector.
Use a flashlight to get a good look at the assembly. You will see the pedal, the mounting bracket where it attaches to the car, and a wiring harness connected to the top of the assembly. Understanding its location and mounting points is key to learning how to fix accelerator pedal sensor components efficiently.
Step 5: Remove the Old Accelerator
With clear access, you can now remove the old assembly. First, carefully disconnect the electrical connector. There is usually a small tab that you need to press to release the connector from the sensor. Be gentle to avoid breaking the plastic clip. Next, use your socket set to remove the mounting bolts or nuts that hold the pedal assembly to the firewall. There are typically two or three of them. Once the bolts are removed, the entire pedal assembly should come free. Take note of its orientation as you remove it to make installing the new one easier.
Step 6: Install the New Accelerator
Position the new accelerator pedal assembly in place, aligning the mounting holes with the studs on the firewall. Thread the mounting bolts or nuts on by hand to ensure they are not cross-threaded, then tighten them securely with your socket wrench. Do not overtighten, as this can damage the plastic housing of the assembly. Once the new pedal is securely mounted, reconnect the electrical connector. You should hear a distinct click as it locks into place. A secure installation is fundamental to ensuring proper sensor calibration and function.
Step 7: Reconnect the Battery
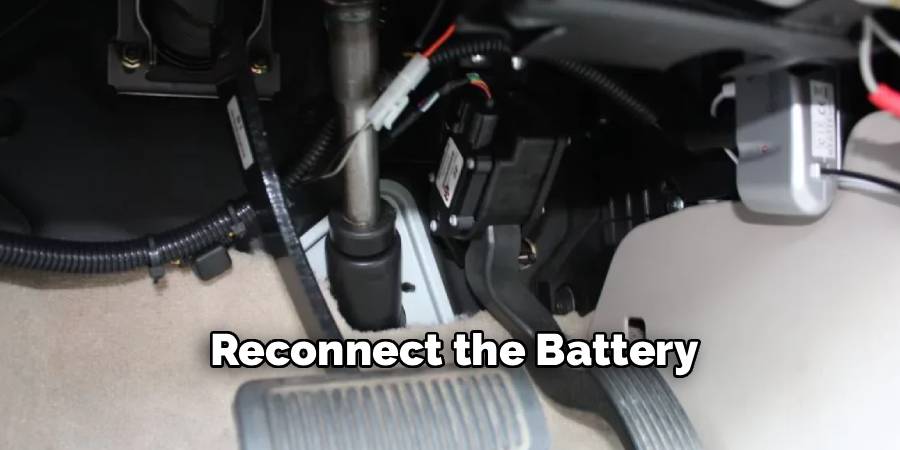
After the new sensor is installed, it’s time to reconnect the battery. Place the negative terminal cable back onto the post and tighten the nut securely. With the power restored, use your OBD-II scanner to clear the diagnostic trouble codes that you found in the initial diagnosis. This step is important because it resets the check engine light and tells the car’s computer to re-evaluate the system with the new component installed. Clearing the codes is a final part of the process of how to fix accelerator pedal sensor issues completely.
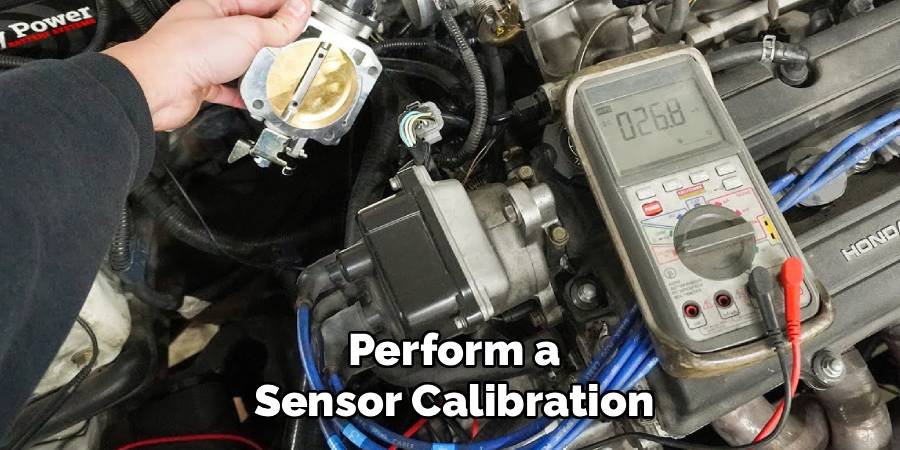
Step 8: Perform a Sensor Calibration
Many vehicles require a sensor calibration or “relearn” procedure after the APP sensor has been replaced. This allows the engine’s computer to learn the new sensor’s voltage range from idle to full throttle. The procedure varies by manufacturer but often involves a specific sequence of turning the ignition on and off and depressing the accelerator pedal slowly. Consult your vehicle’s service manual or search online for the specific relearn procedure for your make and model. This final step is crucial for restoring smooth throttle response and optimal engine performance.
Common Engine Sensor Issues
Engine sensor issues are a common cause of performance problems in vehicles. Faulty sensors can lead to incorrect readings being sent to the engine’s computer, resulting in poor fuel economy, reduced power, or even stalling. For instance, a malfunctioning oxygen sensor can disrupt the air-fuel mixture, causing inefficient combustion and higher emissions. Similarly, a failing mass air flow sensor may result in rough idling or hesitation during acceleration. Other issues, like a damaged crankshaft position sensor, can prevent the engine from starting altogether. Regular maintenance and diagnostic checks are essential to identify and address sensor problems promptly, ensuring optimal engine operation and preventing further damage.
Frequently Asked Questions (FAQs)
What Are the Common Symptoms of a Bad Accelerator Pedal Sensor?
The most common symptoms include a check engine light, sudden loss of engine power, poor or delayed acceleration, and the vehicle entering “limp mode,” where speed is severely restricted. You might also notice inconsistent throttle response or rough idling. Because these symptoms can also point to other issues, it’s important to confirm the problem by reading the diagnostic trouble codes with an OBD-II scanner before replacing any parts.
Can I Drive My Car with a Faulty Accelerator Pedal Sensor?
While you might be able to drive the car, it is not recommended and can be unsafe. A faulty sensor can cause unpredictable acceleration or a sudden loss of power, which is dangerous in traffic. If your car enters “limp mode,” your speed will be significantly limited, making it difficult to keep up with traffic. It is best to address the issue as soon as possible to ensure your safety and your vehicle’s reliability.
How Much Does It Cost to Replace an Accelerator Pedal Sensor?
If you take your car to a dealership, the cost can range from $200 to $500 or more, with the majority of that cost being labor. By doing the repair yourself, you can save significantly. The replacement part itself typically costs between $50 and $150, depending on your vehicle’s make and model. Given that the job often takes less than an hour with basic tools, the DIY approach offers substantial savings.
Is an Accelerator Pedal Sensor the Same as a Throttle Position Sensor?
No, they are two different components with related functions.
- The Accelerator Pedal Position (APP) Sensor is located on the gas pedal assembly and measures how far you are pressing the pedal.
- The Throttle Position Sensor (TPS) is located on the throttle body of the engine and measures how open the throttle plate is.
The APP sensor sends a signal to the engine computer, which then commands the throttle body to open, and the TPS confirms this action.
Do All Cars Require a Relearn Procedure After Replacement?
Not all cars require a manual relearn procedure, but many do. For some vehicles, the engine computer will automatically calibrate the new sensor over a short period of driving. However, for many others, a specific sequence of key turns and pedal depressions is necessary to ensure the new sensor is properly calibrated. It is always best to check the service manual for your specific vehicle to see if a relearn procedure is required for optimal performance.
Conclusion
Mastering how to fix accelerator pedal sensor issues is a practical and empowering skill that puts you in control of your vehicle’s maintenance. What may seem like a daunting electronic failure is often a straightforward mechanical replacement that can be completed with basic tools and a bit of patience. By following a systematic approach, you can accurately diagnose the problem, safely replace the faulty component, and restore your car’s performance without the high cost of a dealership visit.
Don’t let a check engine light and a poorly performing engine intimidate you. With the knowledge from this guide, you are well-equipped to tackle this common repair. Take on the challenge, save money, and gain the satisfaction of fixing your own car.
About
Safety Fic is a distinguished figure in the world of Diy design, with a decade of expertise creating innovative and sustainable Diy solutions. His professional focus lies in merging traditional craftsmanship with modern manufacturing techniques, fostering designs that are both practical and environmentally conscious. As the author of diy, Safety Fic delves into the art and science of Safety Fic-making, inspiring artisans and industry professionals alike.
Education RMIT University
(Melbourne, Australia) Associate Degree in Design (Safety Fic) Focus on sustainable design, industry-driven projects, and practical craftsmanship. Gained hands-on experience with traditional and digital manufacturing tools, such as CAD and CNC software.
Nottingham Trent University
(United Kingdom) Bachelor’s in diyfastly.com and Product Design (Honors) Specialized in product design with a focus on blending creativity with production techniques. Participated in industry projects, working with companies like John Lewis and Vitsoe to gain real-world insights.
Publications and Impact
In diy, Safety Fic his insights on indoor design processes, materials, and strategies for efficient production. His writing bridges the gap between artisan knowledge and modern industry needs, making it a must-read for both budding designers and seasoned professionals.