

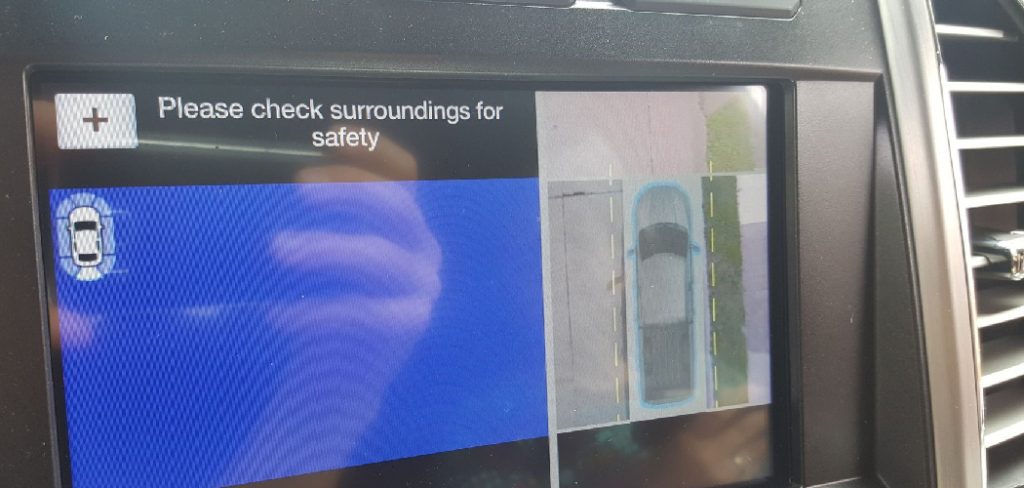
A blue screen on a backup camera can be frustrating and impede safe driving by limiting visibility while reversing. This issue is commonly caused by connectivity problems, power supply errors, or hardware malfunctions within the camera or display system. Fortunately, addressing this problem often involves straightforward troubleshooting steps that can help restore functionality without requiring professional assistance.
In this guide on how to fix blue screen on backup camera, we will explore the possible causes of a blue screen and provide practical solutions to fix the issue effectively.
Understanding the Blue Screen Issue
The blue screen on a backup camera typically indicates a disruption in the video signal between the camera and the display. This disruption can occur due to a variety of reasons, such as loose or damaged wiring, a disconnected camera, or software compatibility issues. Additionally, environmental factors like extreme temperatures or moisture can contribute to the problem, affecting the hardware’s performance.
Identifying the root cause requires a systematic approach, examining all possible points of failure, from the camera itself to the connections and display unit. By understanding the common triggers for a blue screen, you can better pinpoint and resolve the issue efficiently.
Common Causes of Blue Screen on Backup Cameras
There are several reasons why a backup camera might display a blue screen. Below are some of the most common causes:
Loose or Damaged Connections
Over time, the wiring or connectors for the camera may become loose or damaged, interrupting the signal between the camera and the display unit. This is one of the most frequent culprits behind a blue screen.
Faulty Camera Hardware
A malfunctioning camera unit can lead to display issues. Physical damage to the lens or internal components can disrupt its ability to relay a proper video feed.
Power Supply Issues
Insufficient or unstable power supply to the camera can result in an interrupted signal, causing the display to show a blue screen instead of live footage.
Software or Compatibility Problems
If the backup camera or display system is not compatible with one another or the software is outdated, it can lead to errors, including the blue screen.
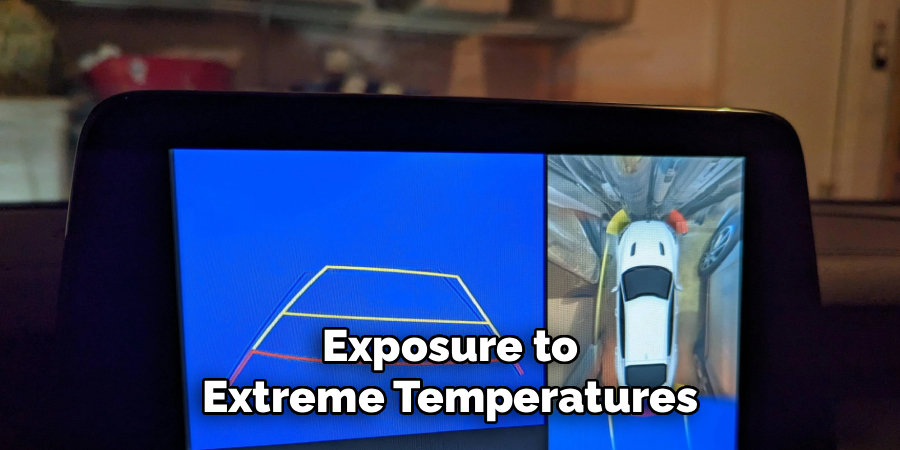
Environmental Damage
Exposure to extreme temperatures, rain, snow, or high humidity can affect the functionality of the camera. Water damage or condensation inside the lens can cause the equipment to fail.
By recognizing these common issues, you can take a step-by-step approach to troubleshoot and restore your backup camera’s functionality.
6 Simple Steps on How to Fix Blue Screen on Backup Camera
Step 1: Check for Dirt or Debris
A dirty or obstructed camera lens is one of the most common causes of a blue screen on a backup camera. Inspect the lens for dirt, mud, or debris that may be blocking the camera’s view. Use a soft microfiber cloth and, if necessary, a small amount of lens cleaner to gently clean the surface.
Ensure that no residue is left behind, as this could interfere with the camera’s ability to display a clear image. Regularly cleaning the lens can help prevent this issue in the future.
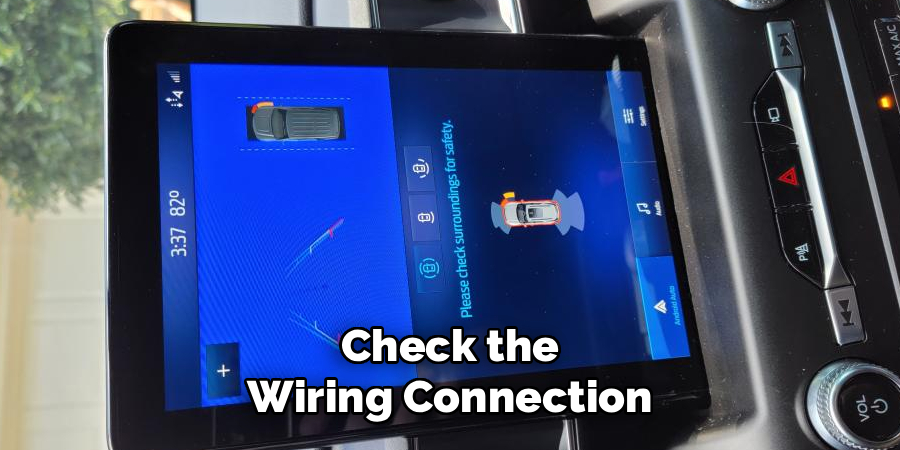
Step 2: Inspect Camera Wires
Another potential cause of a blue screen on a backup camera is damaged or disconnected wires. Check the wiring connection between the camera and the display unit. Look for any signs of fraying, cuts, or loose connections. Ensure the wires are securely plugged in and that there is no corrosion at the connection points.
If you notice any damage, consider repairing the wires or replacing them entirely. Properly secured and intact wiring is crucial for the camera to function correctly. Regularly inspecting the wiring can help maintain the system’s reliability over time.
Step 3: Restart Your Vehicle
Sometimes, simply restarting your vehicle can resolve issues with the camera system. Turn off your vehicle completely and wait for a few moments before starting it again. This can reset the camera system and clear any temporary glitches.
Once the vehicle is restarted, check if the camera functionality has been restored. If the problem persists, additional troubleshooting steps may be required.
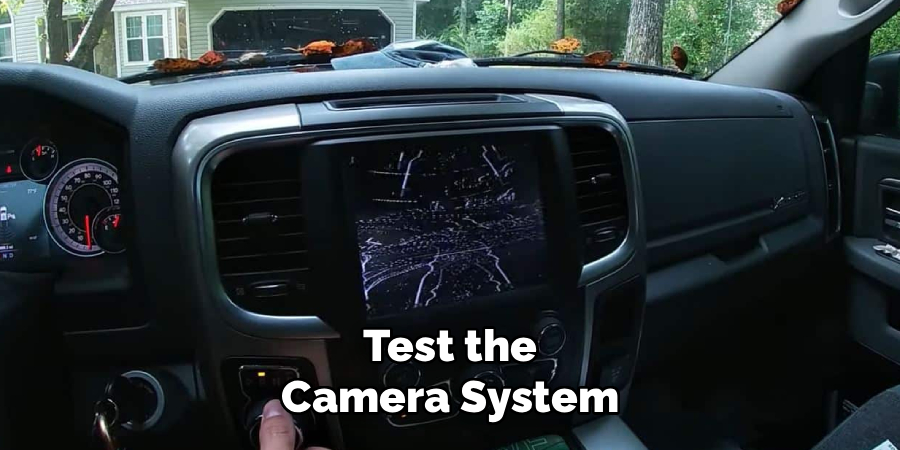
Step 4: Check the Fuse
A blown fuse can often be the cause of camera system malfunctions. Locate your vehicle’s fuse box, which is typically found under the dashboard or in the engine compartment, and refer to your owner’s manual to identify the fuse associated with the camera system.
Inspect the fuse carefully—if it appears burnt or broken, it may need to be replaced. Be sure to use a replacement fuse with the correct amperage rating to avoid further electrical issues. After replacing the fuse, test the camera system to see if functionality has been restored.
Step 5: Update Software
If replacing the fuse does not resolve the issue, the problem may lie with outdated software. Check whether there are any firmware or software updates available for your camera system. Visit the manufacturer’s website or consult the user manual for information on how to check for updates. Some systems may allow updates via a USB drive, while others might require connecting to a specific app or online portal.
Follow the provided instructions carefully to download and install the latest software. After completing the update, restart your vehicle and test the camera system to determine if the issue has been resolved.
Step 6: Contact Professional Help
If updating the software does not resolve the issue, it may be time to seek professional assistance. Contact the manufacturer’s customer support team or consult a certified technician who specializes in your camera system. Be prepared to provide details about the problem, any error messages, and the steps you’ve already taken to address the issue. Professional help can ensure a thorough diagnosis and may uncover underlying issues that require advanced tools or expertise to fix.
Following these steps on how to fix blue screen on backup camera can help you resolve the issue and get your camera system back up and running. However, it’s important to remember that prevention is always better than fixing a problem. Regularly checking and maintaining your backup camera system can prevent future issues and ensure its proper functioning.
When to Seek Professional Help
While some backup camera issues can be resolved with basic troubleshooting, there are certain situations where seeking professional help is highly recommended. If the blue screen persists despite attempting the outlined solutions, it may indicate a more complex problem, such as a wiring fault, a malfunctioning camera, or an issue with the vehicle’s infotainment system.
Additionally, if you notice signs of physical damage to the camera or its components, such as cracks, water intrusion, or loose connections, professional assessment is necessary. Professionals have the expertise and tools required to diagnose and address these advanced issues effectively, ensuring the system is repaired without causing further complications.
Preventive Maintenance Tips
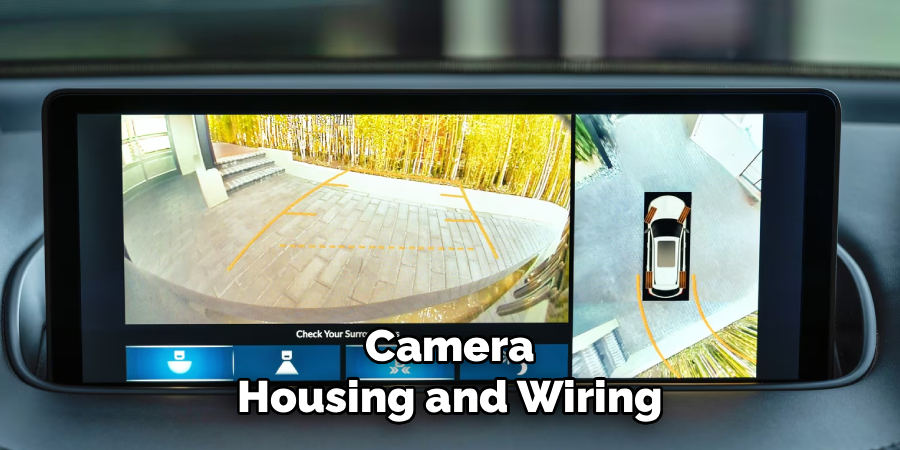
To avoid issues with your vehicle’s camera system, regular preventive maintenance is essential. Start by keeping the camera lens clean and free of debris. Use a soft microfiber cloth and a non-abrasive cleaner to wipe the lens periodically, especially after driving in adverse weather conditions. Check for any signs of dirt, ice, or condensation that may obstruct the view.
Additionally, inspect the surrounding area for damage or wear, ensuring that the camera housing and wiring are intact. If your vehicle is equipped with a washer system for the camera, ensure it is functioning properly and replenish the fluid when necessary. By staying proactive, you can maintain a clear and functional camera system that enhances safety and convenience during your drives.
Frequently Asked Questions
Q: How Often Should I Clean My Backup Camera?
A: It is recommended to clean your backup camera at least once every month to maintain its functionality and visibility. However, depending on your driving conditions, you may need to clean it more frequently.
Q: Can I Use Any Type of Cleaner for My Backup Camera Lens?
A: No, it is important to use a gentle cleaner that is specifically designed for electronic equipment or camera lenses. Avoid using harsh chemicals or abrasive materials as they can damage the lens and impair its effectiveness.
Q: What Should I Do if My Backup Camera Stops Working?
A: If your backup camera suddenly stops working, first check the wiring and connections for any loose or damaged components. It is also possible that there may be an issue with the camera itself, in which case it may need to be replaced. If you are unsure or uncomfortable with troubleshooting the issue yourself, it is recommended to take your vehicle to a professional for assistance.
Q: Can I Install a Backup Camera on My Own?
A: While some backup cameras come with DIY installation instructions, it is generally recommended to have a professional install it for you. This will ensure proper placement and wiring, as well as avoid any potential damage to your vehicle during the installation process.
Conclusion
Ensuring your vehicle is equipped with the right features and accessories can greatly enhance both safety and convenience.
Whether it’s troubleshooting common issues or upgrading your car with modern tools like backup cameras, it’s important to consider professional assistance when needed. Proper maintenance and installation not only preserve the integrity of your vehicle but also provide peace of mind while on the road. Thanks for reading this article on how to fix blue screen on backup camera.