Do you need help with your car key loop? Is it broken or damaged? Don’t worry, you’re not alone. Many car owners experience issues with their key loops, but fortunately, there are simple solutions to fix them.

A broken car key loop can be quite a hassle, especially if you’re used to keeping your keys attached to your keychain or wallet. However, it’s a problem many car owners face and can usually be resolved with a few simple tools and steps. This guide will walk you through the process of how to fix broken car key loop, allowing you to restore its functionality and maintain the convenience of having your keys secure and accessible.
Whether using a DIY approach or seeking professional assistance, understanding the basics of fixing a broken car key loop can save you time and frustration.
What Will You Need?
Before you start fixing your broken car key loop, make sure you have the following tools and materials on hand:
- Pliers
- Super glue or epoxy adhesive
- Replacement key ring or split ring
- Sandpaper or file (if needed)
Once you have all these items ready, you can start fixing your broken car key loop.
8 Easy Steps on How to Fix Broken Car Key Loop
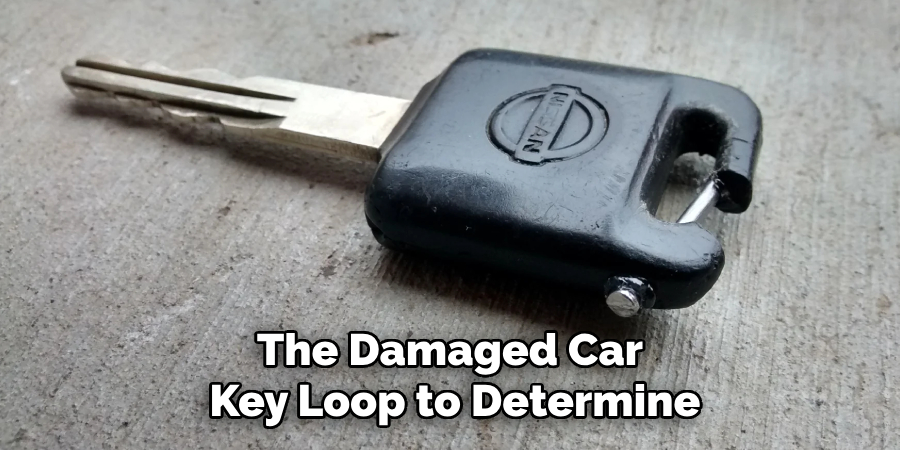
Step 1. Assess the Damage:
Before diving into the repair process, look closely at the damaged car key loop to determine the extent of the damage. Check whether the loop is completely broken off or if there is just a minor crack. Understanding the precise nature of the break will guide you in choosing the right repair method. If the loop has a small crack, a simple adhesive fix might suffice, whereas a more severely damaged

loop, possibly unable to hold the weight of your keys, might require the addition of an entirely new ring. Assessing the damage thoroughly ensures you are well-prepared and that you select the most effective approach to restoring your key loop to its former functionality.
Step 2. Clean the Broken Edges:
Before proceeding with any repair work, it is vital to ensure that the broken edges of the car key loop are clean. Dirt, dust, or any oily substance can prevent adhesives from bonding effectively, leading to a weak repair that might not hold up over time. To clean the broken edges, use a soft cloth or a brush to remove any debris present gently. If necessary, use a small amount of mild detergent with
water to wipe the area, then thoroughly dry it. Ensure no moisture remains, as this can hamper the adhesive’s effectiveness. In some cases, lightly sanding the edges with sandpaper or a file can help create a rough surface, enhancing the adhesive’s grip and ensuring a stronger bond. Cleaning the broken edges prepares the surface for adhesion and contributes significantly to the overall success and durability of the repair.
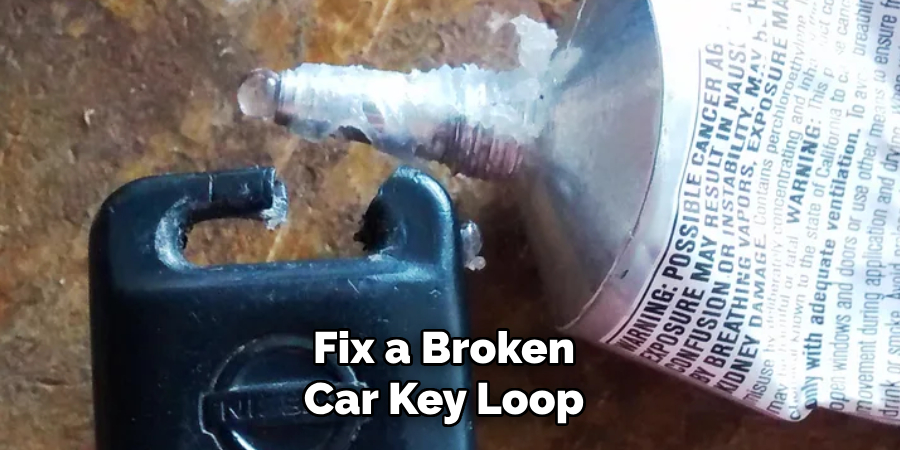
Step 3. Apply the Adhesive:
Once the broken edges are clean and dry, it’s time to apply the adhesive. Select a strong adhesive like super glue or epoxy, designed to create a durable bond between surfaces. Carefully apply a small bead of adhesive along one of the broken edges of the car key loop. Make sure to use enough adhesive to cover the surface without causing overflow, as excess adhesive can create a mess and may
not be set correctly. If using epoxy, mix the components according to the manufacturer’s instructions before application. Align the broken edges meticulously, pressing them together firmly for a few seconds. Ensure the edges are perfectly aligned to form a seamless fix. Allow the adhesive to cure completely, which might take a few minutes to a few hours, depending on the type used.
Step 4. Reinforce the Repair:
After applying the adhesive, it is beneficial to reinforce the repair to ensure the car key loop maintains its durability over time. If the break is significant, wrapping a thin wire or thread around the joint can provide additional strength. First, ensure the adhesive has dried entirely; then, gently wrap the reinforcement material tightly around the fixed area. This acts as a support, distributing any pressure

applied to the critical loop more evenly and reducing the risk of the loop breaking again. Be sure to secure the ends of the wire or thread and trim any excess material to maintain a neat appearance.
Step 5. Allow Time for the Adhesive to Cure:
Once the repair has been reinforced, giving ample time for the adhesive to cure fully is crucial. This period is essential to ensure that the bond reaches maximum strength. Depending on the type of adhesive used, curing times can vary, ranging from a few hours to an entire day. Check the manufacturer’s instructions on the adhesive packaging to determine the appropriate curing time. During this period,
try to keep the car key loop stationary and avoid applying any force or stress on it. Placing it in a dry and stable area will help achieve optimal curing conditions. Patience at this stage prevents premature breaking and contributes significantly to a lasting repair.
Step 6. Test the Repair:
After the adhesive has completely cured, it’s time to test the repair to ensure the car key loop is secure and functional. Gently tug on the vital loop to check if it holds firmly. If the loop seems stable, attach it to your keychain or use it with your car keys to verify its strength in real-world conditions. Ensure the loop can withstand the weight and regular usage of your keys without showing signs of
weakness or re-cracking. Successful testing confirms that you can resume using the repaired key loop with confidence and peace of mind. If you notice any issues, address them promptly before regular use to avoid further damage.
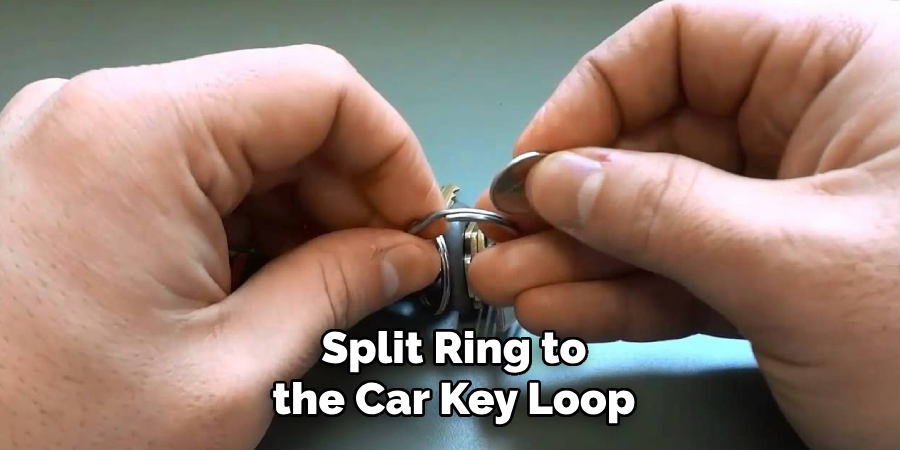
Step 7. Attach a Replacement Key Ring:
Once you have confirmed that the repair is successful, consider attaching a replacement key ring or split ring to the car key loop. This step not only completes the repair process but also enhances the functionality and usability of your car key. If necessary, open the replacement ring using pliers to attach it to the newly repaired loop. Ensure it fits securely and rotates freely without stressing the

repaired area. The new keyring provides a fresh, reliable attachment point for your keys, ensuring that your car key is easy to use and manage daily. Verify that the replacement ring is sturdy enough to handle the weight of your keys and other attachments on your keychain, preventing future damage.
Step 8. Regular Maintenance:
It is essential to engage in regular maintenance to prolong the life of your newly repaired car key loop and prevent future damage. Periodically check the loop for any signs of wear or stress, especially around the repaired area. This proactive measure can alert you to potential issues before they become significant problems. Additionally, avoid overloading the key loop with heavy attachments, as
excessive weight can strain the repair. Keep the loop clean by occasionally wiping it down with a soft cloth to remove dirt and debris that might accumulate over time. Regular maintenance ensures your car key loop remains functional and reliable, making daily use more convenient and trouble-free.
By following these steps, you can quickly repair a broken car key loop and restore its functionality and reliability.
5 Things You Should Avoid
- Using Super Glue Recklessly: Avoid using an excessive amount of super glue when attempting to fix a broken car key loop. It can seep into unwanted areas, causing the key to stick to surfaces it shouldn’t.
- Applying Excessive Force: It is crucial to avoid using too much force when trying to repair or reassemble the broken loop. Excess pressure can cause further damage or breakage.
- Neglecting to Test the Repair: After fixing the critical loop, pay attention to gently test the repair in a non-critical situation to ensure that it holds before using it regularly.
- Don’t Use Inappropriate Tools: Avoid using pliers or other inappropriate tools to try and bend the critical loop into shape. This can cause damage to the metal and make it more challenging to repair.
- Not Seeking Professional Help: In some cases, attempting to fix a broken car key loop alone may not be the best option. If you are unsure of how to fix it properly, seek professional help from a locksmith.
By avoiding these common mistakes, you can ensure a successful and long-lasting repair for your broken car key loop.

Conclusion
How to fix broken car key loop requires patience, the right materials, and a precise approach.
You ensure a firm and reliable bond by understanding the importance of selecting the correct adhesive, like a super glue designed specifically for metal. Always handle each step with care, applying minimal force, and avoid rushing through the process. Remember that careful preparation and execution will lead to a durable repair, saving you the hassle and cost of key replacement. Should you find the task daunting, don’t hesitate to consult a professional locksmith to guarantee the integrity of the repair.
Taking these thoughtful steps will restore your key’s functionality and extend its lifespan significantly.
About
Safety Fic is a distinguished figure in the world of Diy design, with a decade of expertise creating innovative and sustainable Diy solutions. His professional focus lies in merging traditional craftsmanship with modern manufacturing techniques, fostering designs that are both practical and environmentally conscious. As the author of diy, Safety Fic delves into the art and science of Safety Fic-making, inspiring artisans and industry professionals alike.
Education RMIT University
(Melbourne, Australia) Associate Degree in Design (Safety Fic) Focus on sustainable design, industry-driven projects, and practical craftsmanship. Gained hands-on experience with traditional and digital manufacturing tools, such as CAD and CNC software.
Nottingham Trent University
(United Kingdom) Bachelor’s in diyfastly.com and Product Design (Honors) Specialized in product design with a focus on blending creativity with production techniques. Participated in industry projects, working with companies like John Lewis and Vitsoe to gain real-world insights.
Publications and Impact
In diy, Safety Fic his insights on indoor design processes, materials, and strategies for efficient production. His writing bridges the gap between artisan knowledge and modern industry needs, making it a must-read for both budding designers and seasoned professionals.
