

Safety glass is designed to provide enhanced protection and durability, but even the most robust materials can suffer damage over time. Chipped edges are one of the most common issues, and while they may seem minor, they can compromise the glass’s strength and aesthetics.

Addressing this problem promptly can prevent further damage and ensure the safety and longevity of the glass. This guide on How to fix chipped edges of safety glass will walk you through the steps to effectively fix chipped edges of safety glass using simple tools and techniques.
Why is It Important to Fix Chipped Edges of Safety Glass?
Chipped edges of safety glass can compromise its structural integrity and strength, making it more prone to breakage. The chips create weak points where stress and pressure can easily cause the glass to crack or shatter, potentially putting individuals at risk of injury.
Additionally, chipped edges can also affect the visual appeal of the glass, diminishing its overall appearance. Fixing chipped edges promptly can not only prevent potential safety hazards but also help maintain the aesthetic appeal of the glass.
Materials Needed
To fix chipped edges of safety glass, you will need the following materials:
- Safety Gloves and Goggles
- Sandpaper (200-grit)
- Glass Cleaner
- Clear Nail Polish or Resin Epoxy
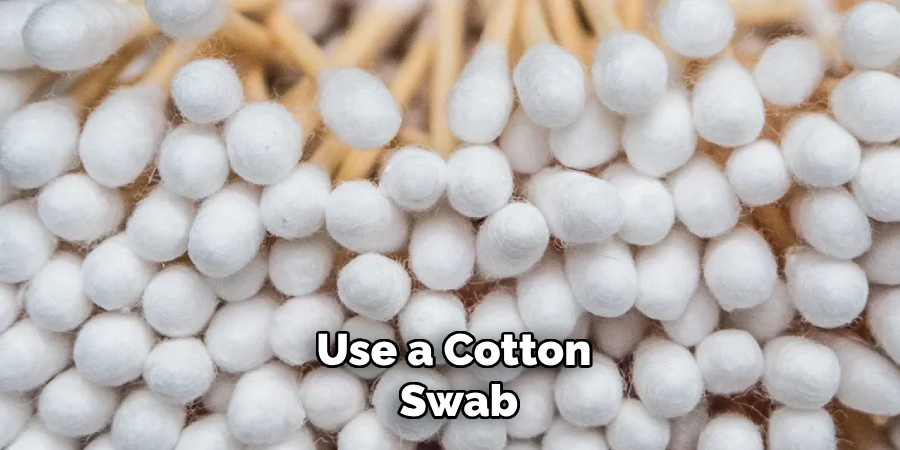
- Cotton Swab or Small Brush
- Soft Cloth
8 Step-by-step Guides on How to Fix Chipped Edges of Safety Glass
Step 1: Safety First

Before beginning the repair process, prioritize your safety. Wear protective safety gloves to prevent cuts from sharp glass edges and goggles to shield your eyes from any potential glass fragments. Ensure you are working in a well-lit and stable environment, free from distractions, to minimize the risk of accidents during the repair.
The safety precautions and techniques described in this guide are for minor chips and not extensive cracks or damages. If the damage is severe, it’s best to seek professional help.
Step 2: Clean the Glass Surface
Use a glass cleaner and a soft cloth to clean both sides of the chipped edge thoroughly. This will ensure that there is no dirt or debris that can interfere with the repair process. Dry the area using a clean cloth before moving on to the next step.
It’s essential to clean the glass surface properly to ensure a smooth and effective repair.
Step 3: Sand the Chipped Edge
Using 200-grit sandpaper, gently sand the chipped edge of the glass. This will help remove any sharp or jagged edges, making it easier to apply the clear nail polish or resin epoxy in the next step.
Be cautious not to over-sand as this can cause further damage or weaken the glass.
Step 4: Apply Clear Nail Polish
Once the chipped edge has been smoothed using sandpaper, carefully apply a small amount of clear nail polish over the chipped area. Use a cotton swab or a small brush to evenly distribute the nail polish into the chip. Make sure the nail polish fills the chipped area completely to create a smooth surface and seal the damage.
Allow the nail polish to dry thoroughly before handling the glass further. This will help strengthen the area and prevent the chip from spreading.
Step 5: Apply Resin Epoxy (Optional)
If the chipped edge is larger or more severe, you may need to use resin epoxy instead of clear nail polish. Mixing and applying resin epoxy can be a bit more complicated, so make sure to carefully follow the manufacturer’s instructions.
Apply the epoxy over the chipped area using a small brush or spatula, and gently smooth it out using a toothpick or wooden stick. Allow it to dry completely before moving on to the next step.
Step 6: Check for Any Bumps
Once the clear nail polish or resin epoxy has dried, carefully run your finger along the repaired area to check for any bumps or unevenness. If necessary, gently sand down any raised areas using 200-grit sandpaper until you achieve a smooth surface.
But be careful not to sand too much as this can cause further damage or weaken the glass.
Step 7: Clean Up
After ensuring the repaired area is smooth and even, clean the glass thoroughly one more time. Use a glass cleaner and a soft cloth to remove any dust or residue left from sanding or the application process.
This step will not only improve the appearance of the glass but also help ensure that the repaired surface blends seamlessly with the rest of the glass. Make sure the surface is completely dry before using the glass.

Step 8: Allow Time for Drying
Before handling or using the glass, allow enough time for the clear nail polish or resin epoxy to dry completely. This will ensure that the repair is strong and secure before being subjected to any pressure or stress.
Following these steps on How to fix chipped edges of safety glass can help effectively fix chipped edges of safety glass and ensure the continued protection and durability of the material. Remember to prioritize your safety when working with glass, and if the damage is severe, seek professional assistance for a more thorough repair. Regularly inspect and maintain your safety glass to prevent future chips and damages, and always address them promptly when they occur.
Do You Need to Use Professionals?
Deciding whether to repair chipped edges of safety glass yourself or seek professional assistance depends on the extent of the damage and your comfort level with the process. For minor chips and small imperfections, the step-by-step guide provided above is an effective and affordable solution that you can carry out at home using readily available materials.
However, if the damage is extensive, such as deep cracks, large chips, or structural weakening, it is strongly recommended to consult a professional. Professionals have access to specialized tools and expertise to ensure the glass’s structural integrity and safety are restored. Attempting to fix severe damage on your own could lead to ineffective repairs or further compromise the glass, creating potential safety hazards.
Alternative Repair Methods for Larger Chips
Glass Patching Compound:
This is a specialized glass repair product specifically designed to fix large chips and cracks. It usually comes in kit form, with instructions on how to mix and apply the compound to the damaged area. This method is more time-consuming and requires precise application, but it can effectively restore the structural strength of the glass.
Replacement:
In cases where the damage is too severe or extensive to repair, it’s best to opt for a complete replacement of the safety glass. While this option may be more expensive, it guarantees that your safety glass will be restored to its original state and provide optimal protection.
Prevention Tips to Avoid Future Chips and Damage
Taking proactive steps to prevent chips and damage to your safety glass can save you both time and money while ensuring maximum durability and safety. Here are some essential tips to help you protect your safety glass:
Handle with Care:
Always handle safety glass with care, especially when moving it or using it for heavy-duty tasks. Avoid placing excessive pressure on the edges, as this can cause chips or cracks.
Regular Maintenance:
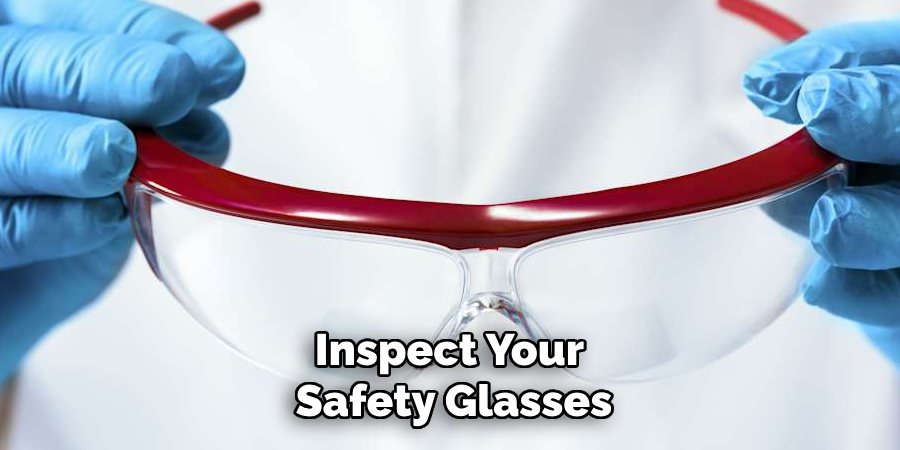
Inspect your safety glasses regularly and address any minor chips or damage promptly before they worsen. Cleaning and maintaining the glass can also prevent debris build-up that could weaken the material over time.
Avoid Extreme Temperatures:
Safety glass is sensitive to extreme temperatures, so avoid subjecting it to sudden changes in temperature. Gradual temperature changes are less likely to cause damage than rapid ones.
Use Protective Coverings:
Using protective coverings such as rubber bumpers or padding around the edges of safety glass can help prevent chips and damage from accidental impacts.
Consider Reinforcing Weak Areas:
If you know that a specific area of your safety glass is prone to chipping or damage, consider reinforcing it with an added layer of protective material such as film or tape. This extra layer can act as a barrier against potential damage.
Frequently Asked Questions
Q: How Long Does It Take for the Clear Nail Polish or Resin Epoxy to Dry?
A: This will vary depending on the brand and instructions provided by the manufacturer. Generally, it can take anywhere from 30 minutes to an hour. The key is to make sure the surface is completely dry before handling or using the glass.
Q: Can I Use Colored Nail Polish Instead of Clear?
A: We do not recommend using colored nail polish to repair chipped edges of safety glass. The color may not match the glass, making the repair more noticeable, and it may also contain chemicals that can damage the glass.
Q: Will This Repair Method Work on Tempered Glass?
A: No, this repair method is not suitable for tempered glass. Attempting to fix chips on tempered glass can cause it to shatter completely. It’s best to seek professional assistance in such cases.
Conclusion
Fixing chipped edges of safety glass may seem like a daunting task, but with the right materials and techniques, it can be done effectively at home. Promptly addressing chipped edges is crucial for maintaining the strength and safety of the glass, as well as its visual appeal.
By following these simple steps on How to fix chipped edges of safety glass, you can ensure that your safety glass remains in top condition, providing protection and adding to the aesthetic of your space. So, take care of those chipped edges and enjoy a safer and more visually appealing environment! So go ahead and fix those chipped edges! Happy repairing!
About
Safety Fic is a distinguished figure in the world of Diy design, with a decade of expertise creating innovative and sustainable Diy solutions. His professional focus lies in merging traditional craftsmanship with modern manufacturing techniques, fostering designs that are both practical and environmentally conscious. As the author of diy, Safety Fic delves into the art and science of Safety Fic-making, inspiring artisans and industry professionals alike.
Education RMIT University
(Melbourne, Australia) Associate Degree in Design (Safety Fic) Focus on sustainable design, industry-driven projects, and practical craftsmanship. Gained hands-on experience with traditional and digital manufacturing tools, such as CAD and CNC software.
Nottingham Trent University
(United Kingdom) Bachelor’s in diyfastly.com and Product Design (Honors) Specialized in product design with a focus on blending creativity with production techniques. Participated in industry projects, working with companies like John Lewis and Vitsoe to gain real-world insights.
Publications and Impact
In diy, Safety Fic his insights on indoor design processes, materials, and strategies for efficient production. His writing bridges the gap between artisan knowledge and modern industry needs, making it a must-read for both budding designers and seasoned professionals.