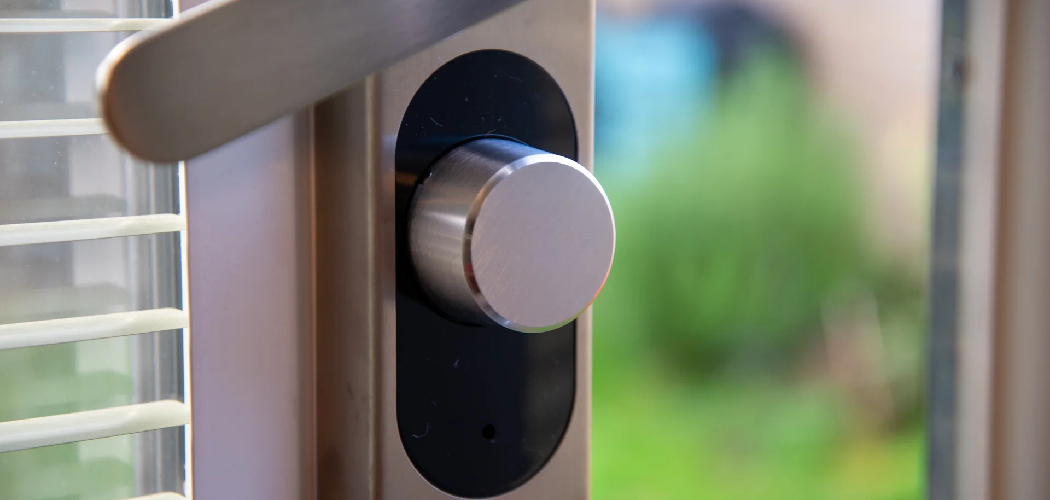
A door latch gap can cause numerous issues, from drafts to security concerns. If you notice that your door doesn’t close properly or if there’s a noticeable gap between the door and the frame, it’s essential to address the problem promptly.
This guide will provide step-by-step instructions on how to fix door latch gap to help you fix a door latch gap easily and efficiently. Whether you’re a seasoned DIY enthusiast or a beginner, these tips will ensure that your door latch functions correctly, enhancing both the security and comfort of your home.
What is a Door Latch Gap?
A door latch gap is a space between the edge of a door and the frame when the door is closed. This gap can vary in size, from a few millimeters to several inches, depending on the severity of the issue. In some cases, you may not even notice a visible gap, but you’ll still experience issues with your door’s functionality.
It’s worth noting that a small gap is quite common in older homes due to natural wear and tear. However, if the gap is significant or appears suddenly, it could indicate a problem with the door latch or frame.
Why Do Door Latch Gaps Occur?
There can be several reasons why a door latch gap occurs. Some common causes include:
- Settlement or shifting of the building’s foundation
- Warping or aging of the door or its frame
- Loose or damaged door hinges
- Incorrectly installed or aligned latch
- Changes in temperature and humidity
Needed Materials
Before you begin fixing a door latch gap, it’s essential to gather all the necessary materials. These may include:
- Screwdriver Set
- Wood Shims or Filler Material
- Sandpaper or Wood File
- Hammer
- Leveling Tool
8 Step-by-step Guides on How to Fix Door Latch Gap
Step 1: Inspect the Door and Frame
Before you can fix the door latch gap, it’s crucial to thoroughly inspect both the door and the frame. Close the door and observe where the gap is most pronounced. Check the door for any signs of warping, damage, or misalignment. Examine the door frame for any signs of wear, decay, or structural issues that might be causing the gap.
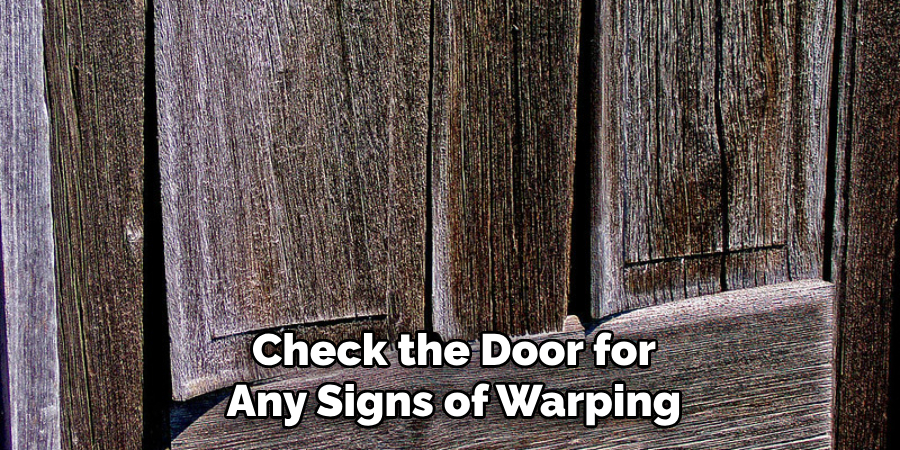
Pay close attention to the hinges to ensure they are secure and not contributing to the misalignment. If the hinges are loose, tighten them with a screwdriver. Identifying the specific area of the problem will guide you in selecting the appropriate technique and materials for the repair.
Step 2: Fix the Door Hinges
If your inspection reveals that the door hinges are the cause of the gap, the next step is to fix them. Start by determining whether the hinges are loose or improperly aligned. If the screws in the hinges are loose, use a screwdriver to tighten them. Be careful not to over-tighten, as this can strip the screws or damage the door or frame.
If tightening the screws doesn’t resolve the issue, you may need to adjust the position of the hinges. Carefully remove the screws from the hinges that are causing the problem. Once the screws are removed, adjust the hinge slightly to realign the door with the frame. Use a pencil to mark the new hinge positions on the door and the frame. Then, drill new pilot holes for the screws and reattach the hinges.
Step 3: Address Warped or Swollen Door
If your door appears warped or swollen, it could be due to changes in temperature and humidity. To address this issue, you’ll need to remove the door from its frame by unscrewing the hinges. Lay the door on a flat surface with its warped side facing down. Use weights or clamps to flatten out the door’s curves until it’s level again. Once the door is back in shape, reattach it to its frame.
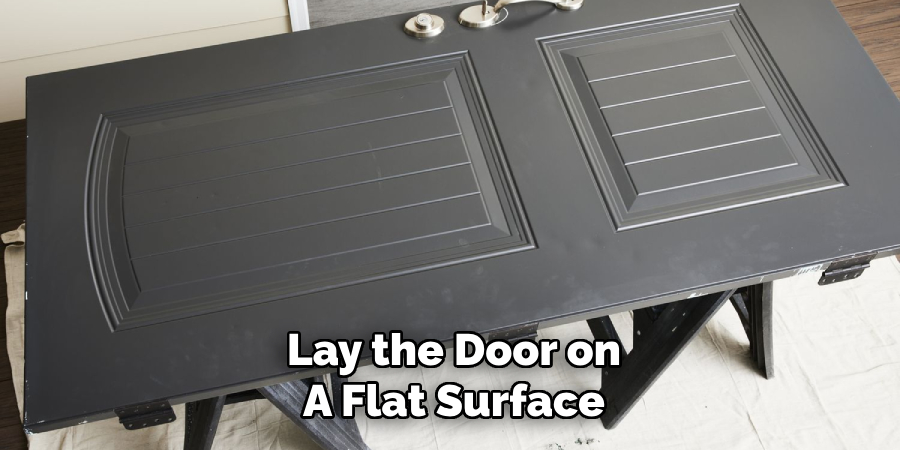
It’s worth noting that this method may not work for severely warped doors, and you may need to replace the door entirely.
Step 4: Fill Gaps with Shims or Filler Material
If the inspection and hinge adjustments didn’t fully resolve the door latch gap, the next step is to fill any remaining gaps with shims or filler material. Begin by closing the door and identifying the areas where the gaps are most noticeable.
For minor gaps, you can use wood filler to fill in the spaces. Apply the wood filler into the gap with a putty knife, smoothing it out and ensuring it fills the gap completely. Allow the filler to dry according to the manufacturer’s instructions, then sand it down so it’s flush with the door frame.
For larger gaps, you’ll need to use wood shims. Open the door and carefully insert the wood shims between the door and the frame at the points where the gaps are most pronounced. Adjust the shims until the door is properly aligned and the gap is minimized. Once you’re satisfied with the door’s alignment, mark the positions of the shims. Then, remove the shims and cut them to size with a saw. Reinsert the shims and close the door to ensure the gap is fully closed.
Step 5: Adjust Latch Plate
If the door latch itself is causing the gap, you’ll need to adjust its position on the door frame. Begin by unscrewing the latch plate from its current position. Use a chisel or file to enlarge the screw holes on the frame slightly. This will allow for more play when adjusting the position of the latch plate.
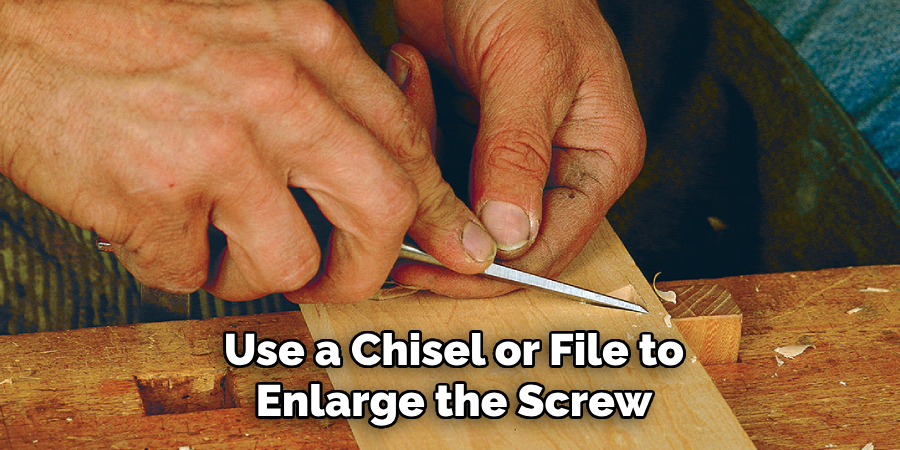
Next, reattach the latch plate to its new position and test whether it aligns properly with your door’s strike plate. If not, continue adjusting until it does. Once you’re satisfied, tighten the screws and test the door to ensure it closes and latches correctly.
Step 6: Install Weatherstripping
Weatherstripping is an excellent solution for fixing small gaps caused by changes in temperature or humidity. It creates a seal around your door, preventing drafts and keeping out moisture. You can purchase weatherstripping at any hardware store and easily install it yourself.
Start by cleaning the area where you’ll be installing the weatherstripping. Then, measure and cut the stripping to size before attaching it to the door frame with adhesive or nails.
Step 7: Use a Door Latch Gap Guard
If none of the above solutions work for you, consider using a door latch gap guard. This is a small metal plate that attaches to your door frame and covers any gap that may exist between the door and the frame. It’s an inexpensive and easy solution for minor gaps.
To install a door latch gap guard, close your door and identify where the gap is most noticeable. Then, measure and cut the guard to size before attaching it to the frame with screws or adhesive.
Step 8: Call a Professional
If none of these methods work or if you’re uncomfortable attempting to fix the problem yourself, it’s best to call a professional. They have the necessary tools and expertise to address more significant structural issues that may be causing the door latch gap.

By following these step-by-step guides on how to fix door latch gap and properly inspecting and addressing the underlying causes of your door latch gap, you can successfully fix the issue and ensure your door functions smoothly. Remember to regularly check and maintain your door to prevent future gaps from occurring. So, always be proactive when it comes to your home’s doors!
Happy fixing!
Frequently Asked Questions
Q1: What Causes a Door Latch Gap?
A1: A door latch gap can be caused by various factors such as loose hinges, warped or swollen doors, improperly installed latch plates, changes in temperature and humidity, among others. It’s essential to properly inspect and determine the cause before attempting to fix it.
Q2: Can I Fix a Door Latch Gap Myself?
A2: Yes, you can fix a door latch gap yourself by following the steps outlined above. However, if you’re uncomfortable or unsure about addressing any structural issues, it’s best to call a professional for assistance.
Q3: How Can I Prevent Door Latch Gaps from Occurring?
A3: Regular maintenance and inspection of your doors can help prevent future gaps from occurring. This includes checking for loose hinges, warping or swelling in the door, and ensuring proper installation of latch plates. Additionally, using weatherstripping or a door latch gap guard can also help prevent future gaps. It’s crucial to address any issues promptly to avoid more significant structural problems in the future.
Q4: What Should I Do If I Can’t Fix the Door Latch Gap?
A4: If you’re unable to fix the door latch gap using the methods outlined above, it’s best to call a professional for assistance. They have the necessary tools and expertise to address more significant structural issues that may be causing the problem. Don’t ignore a persistent door latch gap as it can lead to further complications if left unfixed. Always take proactive steps to maintain your home’s doors!
Conclusion
Fixing a door latch gap can be a straightforward task when you understand the underlying causes and follow the right steps on how to fix door latch gap. Whether it’s adjusting hinges, filling gaps with shims or filler material, or installing weatherstripping, addressing the issue promptly can prevent further complications. Remember, regular maintenance is key to keeping your doors in good condition and preventing gaps from developing.
If DIY methods are not effective or if you’re unsure about tackling the problem yourself, don’t hesitate to call a professional for assistance. Taking proactive steps to maintain your home’s doors ensures their functionality, security, and aesthetic appeal, contributing to a safe and comfortable living environment.
Check it out to Quiet a Garage Door

