
Hard Disk Drives (HDDs) are critical components in CCTV systems as they provide the necessary storage for recording and archiving surveillance footage. This enables users to review important events, ensure security, and maintain a reliable record of occurrences over time.

However, one common issue CCTV users face is the “No HDD” error, which indicates that the system cannot detect or access the hard drive. This problem can disrupt the recording process, putting crucial footage at risk of being lost. Understanding how to fix no HDD in CCTV is essential for maintaining the functionality and reliability of a surveillance system. This article aims to guide you through a step-by-step troubleshooting process to identify the causes of this error and provide practical solutions to restore your CCTV system’s performance.
Understanding the ‘No HDD’ Error
What Does the Error Mean?
The ‘No HDD’ error indicates that the DVR/NVR cannot detect a connected or functional hard drive. This can occur for various reasons, making it a common issue for CCTV users. When this error appears, it essentially means that the surveillance system cannot perform its primary function of recording and storing footage, leaving critical security operations at risk.
Common Causes
- Loose or Disconnected Cables – Improperly connected or loose data and power cables can prevent the HDD from being recognized.
- Faulty or Incompatible HDD – A damaged hard drive or one incompatible with the DVR/NVR may fail to function correctly.
- Corrupted System Firmware – Glitches or outdated firmware in the DVR/NVR can interfere with the system’s ability to detect the hard drive.
- Issues with Power Supply or DVR/NVR Settings – Insufficient power or incorrect system configurations could also be behind the error.
Why It’s Important to Resolve
Addressing the ‘No HDD’ error promptly is critical for ensuring the functionality of your CCTV system. The system cannot record or store footage without a properly working hard drive, rendering it ineffective for surveillance tasks. This vulnerability not only impacts security but also undermines the reliability of the entire monitoring setup.
Initial Troubleshooting Steps
Power Off and Inspect
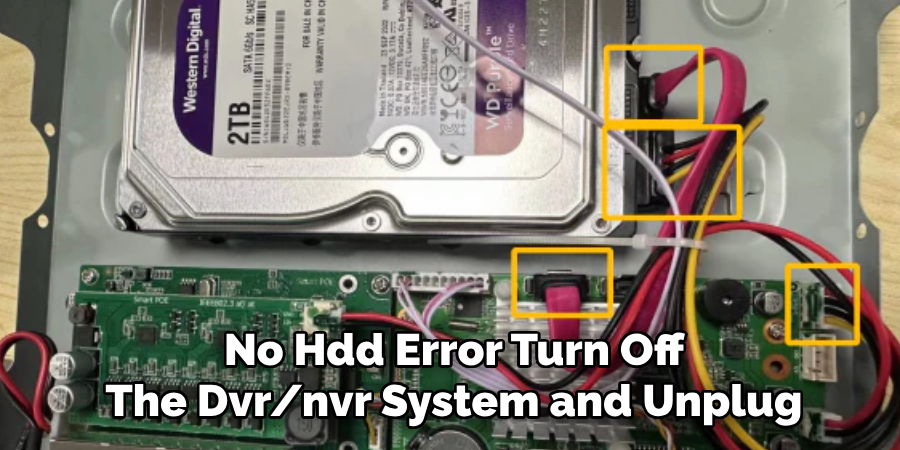
To troubleshoot the ‘No HDD’ error, turn off the DVR/NVR system and unplug it from the power source. Carefully inspect all cable connections between the hard drive and the DVR/NVR system, ensuring they are securely connected and free from damage. Loose or faulty connections are a common cause of this error and should be addressed immediately.
Restart the System
Once the connections have been inspected and tightened, restart the DVR/NVR system. This simple step often resolves temporary glitches or software-related issues that could be causing the ‘No HDD’ error. Rebooting allows the system to refresh and attempt to recognize the connected hard drive again.
Check for Compatibility
Another crucial step is to verify that the hard drive is compatible with the DVR/NVR system. Not all HDDs are suitable for surveillance systems, as they require surveillance-grade hard drives designed for continuous operation and high data workloads. Double-check the manufacturer’s specifications to ensure the installed HDD meets the recommended criteria for your system. Compatibility issues can often be resolved by replacing an incompatible HDD with one designed for DVR/NVR use.
How to Fix No HDD in CCTV: Inspecting Hardware Connections
Proper hardware connections are essential for the smooth operation of your DVR/NVR system, particularly regarding the hard drive. Conducting a thorough inspection of internal and external hardware components can help identify potential system performance issues. Follow these steps to ensure all connections are secure and operational.
Internal HDD Installation
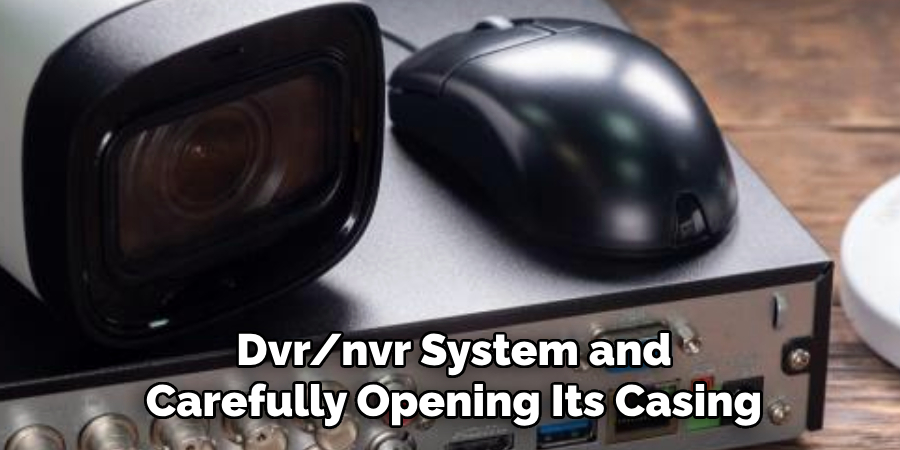
Begin by powering off your DVR/NVR system and carefully opening its casing using the appropriate tools. Locate the hard drive within the system and check that the SATA data cable and power cable are securely connected to the hard drive. Loose or improperly connected cables can result in data transfer errors or prevent the HDD from functioning. Ensure the cables are firmly attached to the hard drive and the motherboard or power supply at both ends.
Inspect the cables for any visible signs of damage, such as fraying, splits, or bent connectors, as these can interfere with the system’s ability to communicate with the drive. Damaged cables should be replaced promptly to avoid further complications. Additionally, confirm that the HDD is firmly mounted in its designated slot to prevent vibration or movement, which could lead to damage during operation.
External HDD Setup (if applicable)
If you are using an external hard drive with your DVR/NVR system, check that it is properly connected to the appropriate port type, such as USB or eSATA. Secure the connection by ensuring the cable is fully inserted into the ports on both the external hard drive and the DVR/NVR system. Loose connections can disrupt data transfer or cause the system to fail to detect the drive.
To rule out issues with the external HDD itself, disconnect it from the DVR/NVR system and connect it to another compatible device, such as a computer. Check if the drive functions properly on the alternate device. If the external HDD is not recognized or exhibits performance issues on other devices, the problem may lie with the drive, cable, or port. Replacing the cable or trying a different port may help diagnose the issue.
Testing a Different HDD
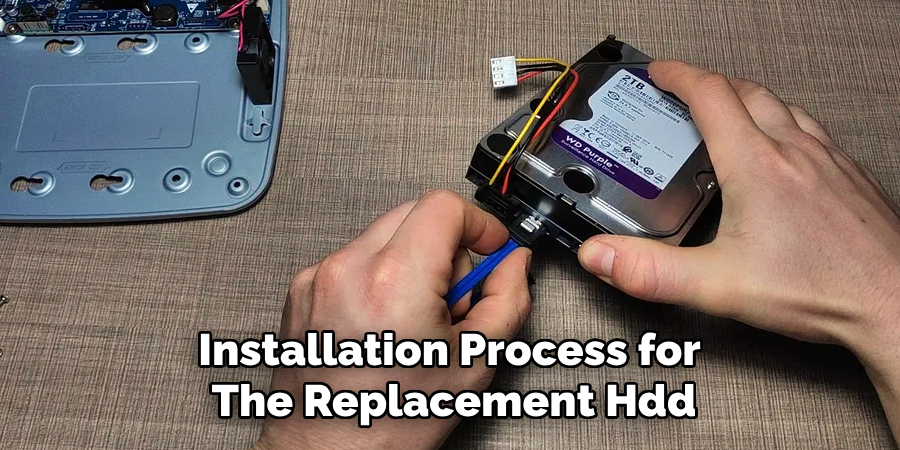
To determine if the problem is specific to the existing hard drive, replace it with a known functional HDD. This test can help confirm whether the original hard drive is faulty or if other system components are contributing to the issue. Repeat the installation process for the replacement HDD, ensuring all cables are correctly connected, and the drive is securely mounted.
If the DVR/NVR system operates normally with the replacement drive, the original HDD is likely the source of the problem and may require repair or replacement. If the issue persists with the new HDD, further investigation into the DVR/NVR system’s internal components, such as the SATA ports, may be necessary.
Checking DVR/NVR Settings
Accessing the Menu
Log into the DVR/NVR system and access the main menu. Navigate to the HDD management menu, which is typically located within the system’s storage or setting options. This menu lets you review the system’s recognition of the installed HDD and perform necessary configurations.
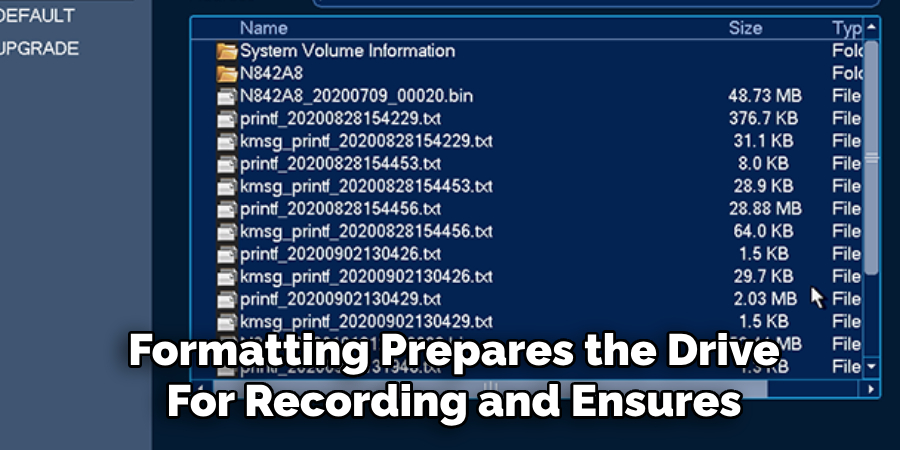
Formatting the HDD
If the system detects the HDD but is deemed unusable, you may need to format it using the system’s built-in formatting option. Formatting prepares the drive for recording and ensures compatibility with the DVR/NVR system. Be aware that formatting will erase any existing data on the drive, so this step should only be performed if data preservation is unnecessary.
Enabling HDD in Settings
Once the HDD is recognized and formatted, verify that it is enabled within the DVR/NVR system settings. Ensure the drive is allocated specifically for video recording and is not set to “inactive” or excluded from storage assignments. Misconfigured settings may prevent the recording of video footage, so careful review and adjustment are advised for proper operation.
Firmware and System Updates
Firmware and system updates are critical for maintaining the performance and security of your DVR/NVR system. These updates often include bug fixes, new features, and compatibility improvements.
Checking Firmware Version
Begin by accessing the system information area within the DVR/NVR menu to determine the current firmware version installed on the device. Compare this version with the latest firmware available on the manufacturer’s website. If an updated version exists, download the appropriate update file directly from the trusted source.
Performing the Update
To update the firmware, follow the instructions provided by the manufacturer. Depending on the system, this update can be completed via USB or through a network connection. When using a USB device, transfer the firmware file to the drive and follow the on-screen instructions from the system’s update interface. For network-based updates, ensure the DVR/NVR is connected to the internet and select the update option, which will automatically download and install the most recent firmware.
Resetting the System
If issues persist after completing the update, consider performing a factory reset. This process might resolve any lingering software conflicts. However, back up any critical settings or data beforehand, as resetting the system will restore it to its default settings.
Advanced Troubleshooting
Advanced methods can help pinpoint and address the issue when basic troubleshooting steps are insufficient.
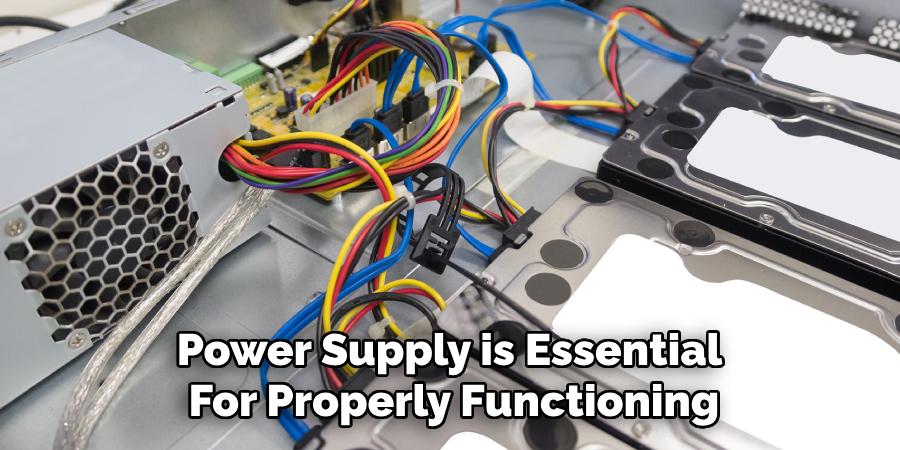
Testing Power Supply
A stable power supply is essential for properly functioning a DVR/NVR system. Voltage drops or fluctuations can cause issues such as undetected hard drive. Use a multimeter to measure the power supply voltage or ensure your device is connected to an uninterruptible power supply (UPS) to eliminate power-related problems. If you suspect power instability, consider replacing the power adapter or checking the electrical outlet.
Contacting Technical Support
If issues persist despite your efforts, contacting the manufacturer’s technical support team is a logical next step. They can provide tailored advice or recommend additional steps specific to your DVR/NVR model. Be prepared to share relevant details, including the model number, firmware version, and a description of the problem, to expedite the troubleshooting process.
Repair or Replace
If it becomes evident that the DVR/NVR or the hard drive is physically damaged, professional evaluation may be necessary. Depending on the cost and severity of the damage, you may need to decide whether to repair or replace the device. Always consult with a certified technician to explore your options and ensure the best course of action for restoring your system’s functionality.
Preventing Future Issues
Taking proactive steps to maintain your DVR/NVR system can help prevent future problems and ensure consistent performance.
Regular Maintenance
Periodically inspect and secure all cable connections to ensure they are stable and damage-free. Dust and debris can accumulate over time, impacting system efficiency. Clean your DVR/NVR unit regularly, ensuring proper ventilation to prevent overheating and extending your device’s lifespan.
Surveillance-Grade HDDs
Invest in hard drives specifically designed for continuous, high-volume operation, such as surveillance-grade HDDs. These drives are built to handle the demands of 24/7 recording and are more reliable than standard consumer-grade hard drives. Installing the recommended hard drives can significantly reduce the risk of failures or data loss.
System Backups
Always maintain backups of important recordings and system configurations. By saving these files to external storage or cloud services, you can safeguard critical data against hardware failures or accidental deletions. Regularly reviewing and updating your backup strategies will provide peace of mind and faster recovery in case of unexpected incidents.
With these preventative measures, you can improve the reliability of your surveillance system and minimize the likelihood of disruptions in its performance.
Conclusion
A functional HDD is essential for any CCTV system, ensuring continuous recording and reliable storage of critical footage. If you’re facing issues, such as “no HDD detected,” follow the outlined troubleshooting steps—inspect hardware connections, check power supplies, and update firmware. Preventive maintenance, like proper ventilation and regular backups, is key to avoiding similar problems in the future. Understanding “how to fix no hdd in CCTV” can save time and frustration, but don’t hesitate to seek professional assistance if necessary. Prioritizing these measures will enhance the reliability of your surveillance system and protect your data effectively.