
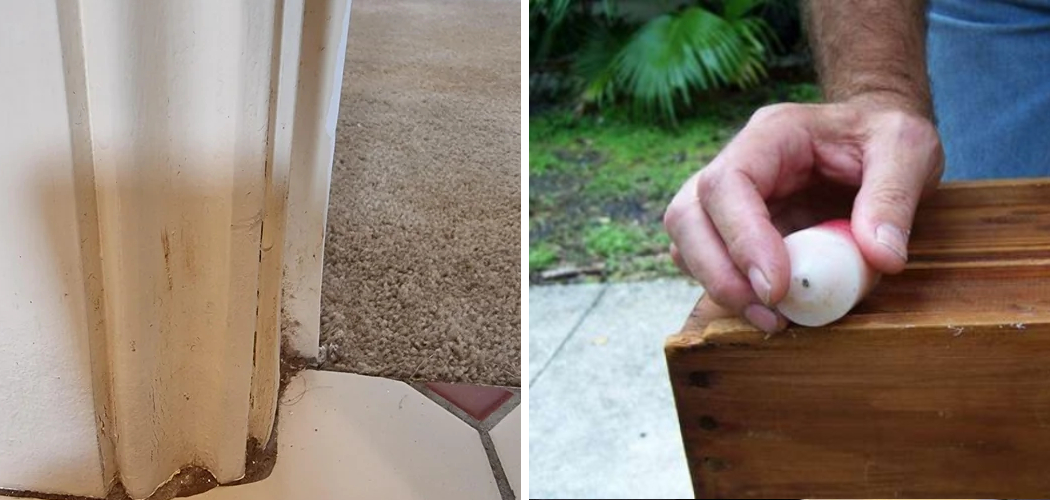
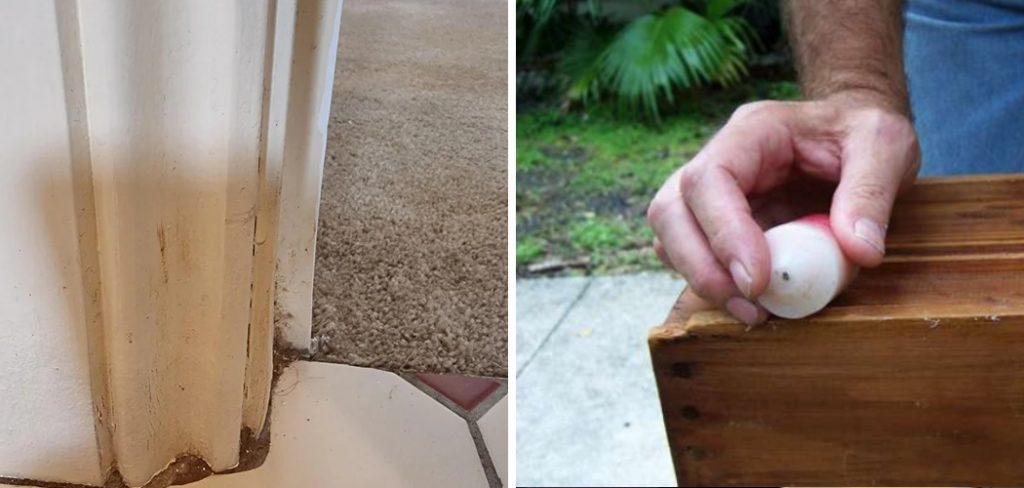
Swollen doors can be a common and frustrating problem, especially in areas with high humidity or temperature fluctuations. When wooden doors absorb moisture, they can swell, making them difficult to open or close properly. This not only affects the door’s functionality but can also lead to long-term damage if not addressed promptly.
In this guide on how to fix swollen doors, we will walk you through the steps to identify, troubleshoot, and fix swollen doors, ensuring they return to their optimal condition and function smoothly.
What is a Swollen Door?
A swollen door is when the wooden frame and door absorb moisture, causing it to expand and warp. This can happen due to various reasons such as high humidity levels, water leaks, or temperature changes. The most common type of swelling occurs at the bottom of the door, making it difficult to open or close smoothly. Other signs of a swollen door include difficulty latching or gaps between the door and frame.
It is important to address swollen doors as soon as possible because the longer they are left untreated, the more damage can occur. The door may become permanently warped or cracked, affecting its overall appearance and functionality.
Needed Materials
- Measuring Tape
- Hammer
- Screwdriver
- Sandpaper or Sanding Block
- Wood Filler
- Paint or Stain (Optional)
8 Step-by-step Guidelines on How to Fix Swollen Doors
Step 1: Identify the Source of Moisture
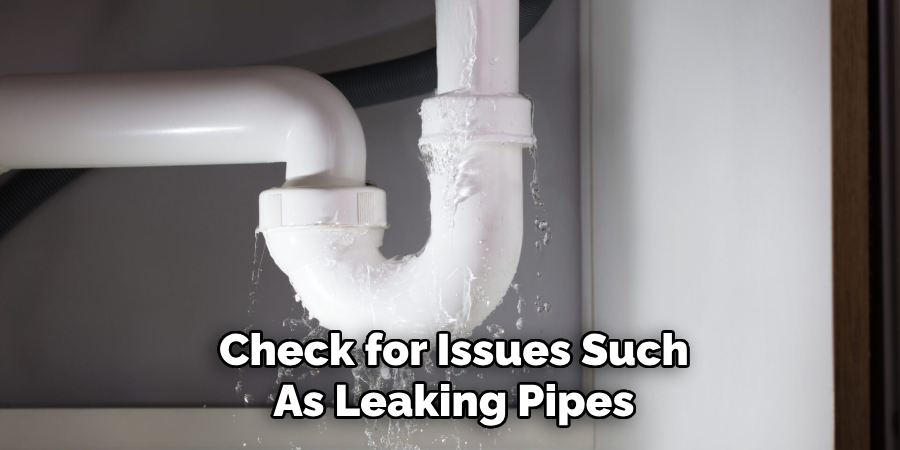
Before you can effectively fix a swollen door, it’s crucial to identify and address the source of moisture causing the problem. Begin by inspecting the area around the door for any visible signs of water damage or leaks. Check for issues such as leaking pipes, broken gutters, or improper drainage that may be causing water to accumulate near the door.
Additionally, consider the indoor environment; high humidity levels or insufficient ventilation can contribute to moisture absorption in wooden doors. Using a moisture meter can help provide a more accurate assessment of the moisture levels in the door and surrounding area. By pinpointing and mitigating the source of moisture, you can prevent future swelling and protect your door from further damage.
Step 2: Remove the Door from its Hinges
Once you have identified and addressed the source of moisture, the next step is to remove the door from its hinges. Start by opening the door slightly and placing a wedge or a sturdy object underneath to support it. Using a screwdriver, remove the screws from the hinges starting from the bottom hinge and working your way up to the top hinge. This helps in preventing the door from suddenly dropping or causing damage to the frame.
Carefully lift the door off the hinges, ensuring you have a firm grip to avoid it slipping or falling. Lay the door flat on a stable surface or prop it up securely in an area where you have enough space to work on it. Removing the door will make it easier to sand, plane, or repair any swollen areas without causing additional strain or damage.
Step 3: Measure and Mark Swollen Areas
Once the door is removed and placed on a stable work surface, the next step is to identify the specific areas that have swollen. Using a measuring tape, carefully measure the dimensions of the door and compare them to the door frame to determine how much the swollen areas need to be adjusted. Pay particular attention to the bottom and sides of the door where swelling is most common.
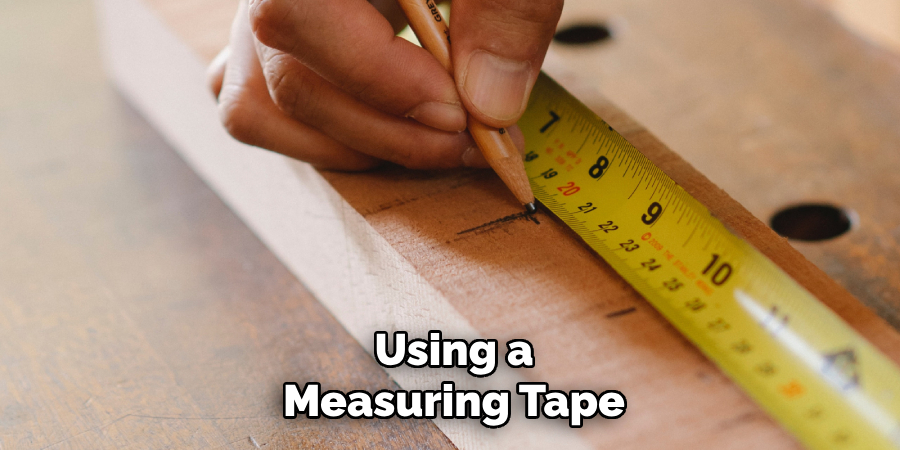
Next, take a pencil or chalk and mark the swollen areas that need to be sanded or planed down. Ensure that these markings are clear and precise, as they will guide you in the following steps when you begin removing the excess material. Accurate measurement and marking are crucial for ensuring that you only address the affected areas without compromising the overall structure and functionality of the door.
Step 4: Sand or Plane the Swollen Areas
Using a sanding block or sandpaper, start working on the areas that you marked in the previous step. Gently sand down the swollen areas until they are smooth and level with the rest of the door. For larger and more severe swelling, you may need to use a hand plane to remove excess material evenly. Take your time during this step, as it is essential not to overdo it and end up with an uneven surface or damage the door’s structure.
Once you have sanded or planed down all marked areas, wipe away any dust or debris from the surface using a damp cloth. This will help prepare the area for the next step, which involves filling in any gaps or holes caused by the swelling.

Step 5: Fill in Gaps and Holes
Using a wood filler that matches the color of your door, fill in any gaps or holes left behind after sanding or planing. Apply the filler evenly with a putty knife, making sure to smooth out any excess and create a clean surface. Allow the filler to dry completely according to the instructions on the product label before proceeding to the next step. Once dry, use fine-grit sandpaper to smooth out any rough edges and achieve a seamless finish.
If you are planning on staining or painting your door, this is an ideal time to do it. Simply follow the manufacturer’s instructions and allow the paint or stain to dry completely before moving on to the next step.
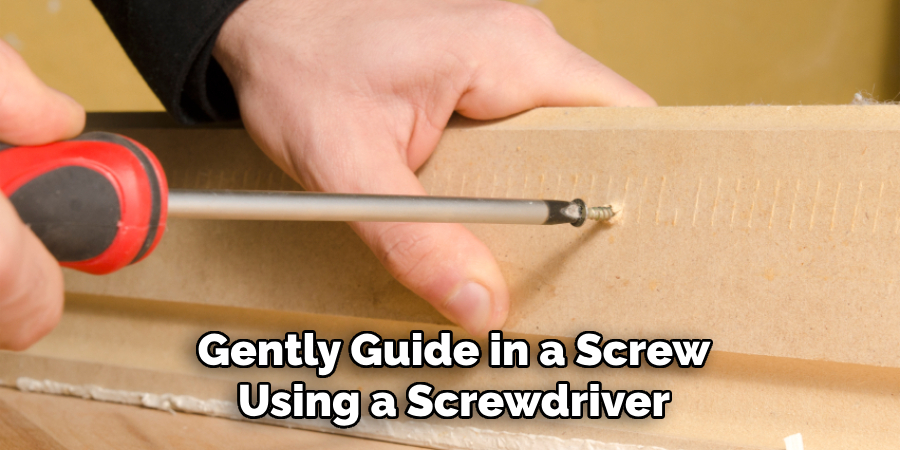
Step 6: Reattach the Door
Once you have addressed all of the swollen areas, it’s time to reattach the door back onto its hinges. Start by lining up the bottom hinge with its corresponding position on the frame and gently guide in a screw using a screwdriver. Repeat this process for each hinge, ensuring that they are securely attached and aligned correctly.
After reattaching all of the hinges, test out the door by opening and closing it multiple times to ensure that it is functioning smoothly without any resistance or gaps. If everything looks good, proceed to the final step.
Step 7: Adjust Door Hardware
In some cases, swelling in a door may cause issues with the hardware such as the doorknob or lock mechanism. If you notice any difficulty operating these components after reattaching the door, use a hammer or pliers to gently adjust and tighten them as needed.
You may also need to adjust the strike plate on the door frame to ensure that it properly aligns with the doorknob or lock. This can be done by loosening and repositioning the screws holding the strike plate in place.
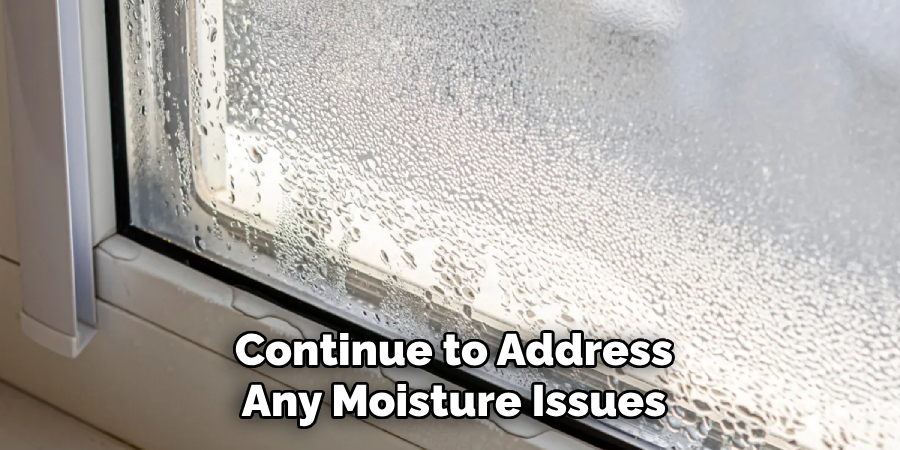
Step 8: Monitor for Future Swelling
After completing all of the above steps, it’s important to monitor your door for any signs of future swelling. Continue to address any moisture issues and maintain proper ventilation in your home to prevent further damage.
By following these simple guidelines on how to fix swollen doors, you can successfully fix a swollen door and restore its functionality and appearance. Remember to take your time, be precise with measurements and markings, and address the source of moisture to prevent future issues. With proper care and maintenance, you can prolong the lifespan of your wooden doors and keep them looking beautiful for years to come. Happy fixing!
Regular Maintenance
Regular maintenance of your wooden doors is crucial to ensuring their longevity and functionality. Here are some essential tips to help keep your doors in optimal condition:
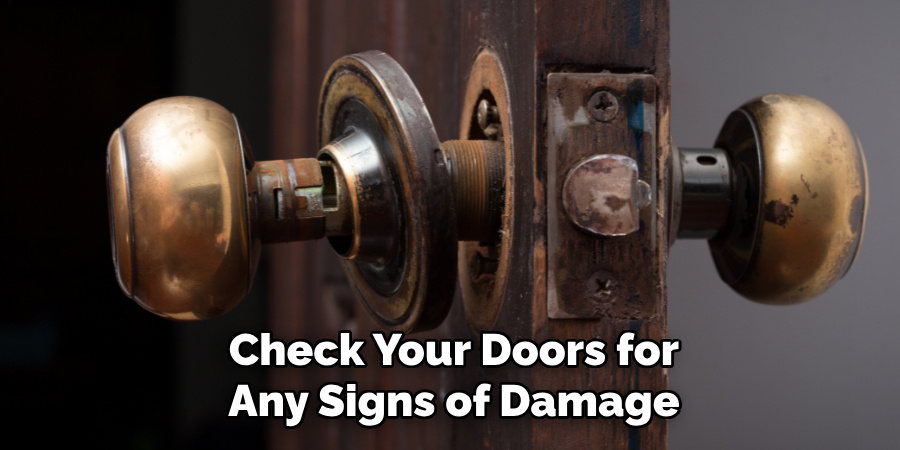
Inspect for Damage
Periodically check your doors for any signs of damage such as cracks, splits, or swelling. Early detection allows you to address issues promptly before they escalate into more significant problems.
Clean Thoroughly
Clean your doors regularly to remove dust, dirt, and grime build-up. Use a soft cloth and mild detergent to wipe down the surfaces, avoiding any harsh chemicals that could damage the wood’s finish.
Lubricate Hinges
Hinges can become squeaky or stiff over time. Apply a few drops of lubricating oil to each hinge and move the door back and forth to distribute the oil evenly. This will ensure smooth operation and reduce wear and tear on the hinges.
Seal and Protect
Exposure to moisture is the primary cause of wood swelling. Ensure that your doors are adequately sealed with a quality wood sealant or varnish to protect against humidity and water damage. Reapply the sealant as needed, especially if you notice any signs of wear or peeling.
Maintain Proper Ventilation
Proper ventilation in areas prone to humidity, such as bathrooms or kitchens, can help prevent moisture build-up. Use exhaust fans or open windows to improve airflow and reduce the risk of door swelling.

By incorporating these regular maintenance practices into your routine, you can keep your wooden doors looking and functioning at their best. Proactive care not only enhances their appearance but also extends their lifespan, providing long-term value and peace of mind.
How Much Could It Cost?
The cost of fixing a swollen door can vary significantly based on the extent of the damage and the materials needed for the repair. Here’s a breakdown of potential costs:
Basic Materials
For a straightforward repair involving sanding and wood filler, you might spend around $10 to $20 on sandpaper, a sanding block, and wood filler. If you need to use a hand plane, prices can range from $20 to $50 for a basic model.
Tools
If you need to purchase additional tools like screwdrivers, putty knives, or hammers, the total cost could increase. Basic tools can range from $5 to $15 each, while more specialized tools like a hand plane or pliers can cost between $20 and $50.
Professional Help
For those who prefer to hire a professional, repair services can cost between $50 and $150, depending on the complexity of the job and local labor rates. Professionals bring the benefit of experience and ensuring that the job is done correctly the first time.
Sealant and Paint
If you’re sealing or painting the door, add another $10 to $30 for sealant or paint, plus $5 to $10 for brushes or rollers.
Preventative Measures
To avoid future issues, you might also consider spending additional money on moisture control solutions like dehumidifiers, which can range from $50 to $200, depending on the size and capacity.
In summary, a DIY repair for a swollen door could cost as little as $20 to $50 for materials and basic tools, while hiring a professional could push the cost up to $150 or more. Incorporating preventative measures might add to the initial cost but can provide long-term savings by reducing the likelihood of future repairs.
Frequently Asked Questions
Q: Can I Fix a Swollen Door Myself, or Should I Hire a Professional?
A: The process of fixing a swollen door can be done by yourself with the right tools and techniques. However, if you are not confident in your abilities or the damage appears to be extensive, it’s best to hire a professional for the job.
Q: How Do I Know If My Door Is Swollen?
A: Signs of a swollen door include difficulty opening or closing, visible gaps between the door and frame, or rubbing or sticking against the frame. You may also notice cracks or splits in the wood.
Q: What Causes Doors to Swell?
A: Moisture is the primary cause of wood swelling. This can happen due to high humidity levels in your home, water leaks, or exposure to extreme temperature changes. It’s essential to address any sources of moisture to prevent future issues.
Q: Can Painting Help Fix a Swollen Door?
A: In some cases, painting a swollen door can help reduce the swelling. However, if the swelling is severe or caused by moisture issues, painting alone may not solve the problem. It’s important to address the underlying issue first before considering painting as a solution.
Conclusion
Maintaining and repairing swollen wooden doors is essential to preserve both their appearance and functionality. By understanding the causes and applying the right techniques, you can effectively tackle this common household issue. Regular maintenance routines, such as inspecting for damage, thorough cleaning, lubricating hinges, sealing the wood, and ensuring proper ventilation, can prevent the problem from arising in the first place.
Whether you opt for a DIY approach or seek professional assistance, addressing swollen doors promptly is important to avoid further complications and higher repair costs. By taking these proactive steps, you can ensure that your wooden doors remain in excellent condition, providing aesthetic and practical value to your home for many years to come. Thanks for reading this article on how to fix swollen doors.