

If you’ve recently purchased or are thinking of purchasing a Blink camera for your home security, then you’ll need to know how to give access to the device. No matter if it’s family members wanting to check in on the house while away, or friends stopping by and needing a key code – having the necessary information prepared can be incredibly helpful and might just save some major headaches down the road!
In this blog post, we’ll go over all of the steps required on how to give access to blink camera so that you can feel reassured knowing your Blink camera is set up with appropriate access ready for anyone who needs it. Read ahead and don’t worry – setting up access for a Blink Camera is simpler than you think!
Why Give Access to Your Blink Camera?
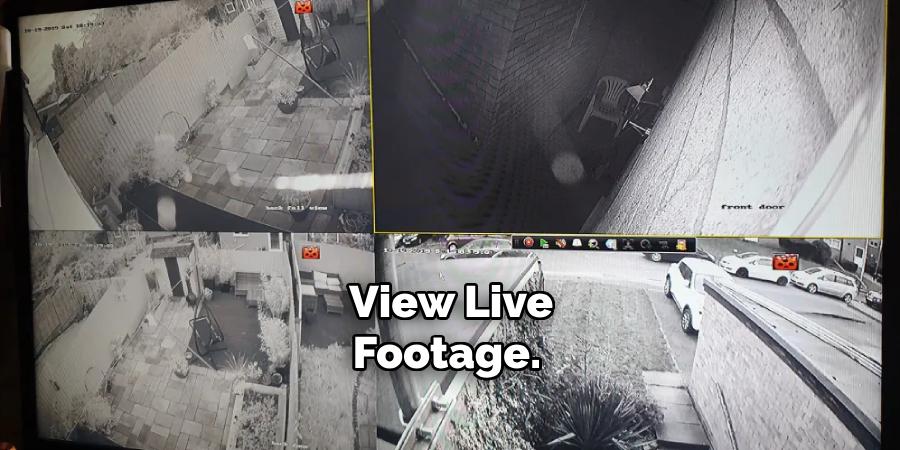
Before we get into the steps on how to give access, let’s take a quick look at why you might want to do this in the first place. Giving access to your blink camera not only allows others to view live footage and recordings but also allows them to receive alerts and notifications.
This is especially useful if you’re out of town and want someone to keep an eye on things, or if you have a pet sitter coming by and want to make sure everything is going smoothly. Additionally, giving access can also come in handy for emergency situations when someone else needs to be able to check the camera footage.
Step-by-step Guidelines on How to Give Access to Blink Camera
Step 1: Ionstall the Blink App
The first step is to install the Blink app on your smartphone or tablet. The app is available for both iOS and Android devices, and it’s completely free. You can install it from the App Store or Google Play store. So before you get started, make sure to have the app installed on your device.
Step 2: Create an Account
Once you have the app installed, open it up and click on “Create Account”. You’ll be prompted to provide your email address, create a password, and agree to the terms of service. Once you’ve completed this step, tap on “Sign Up” and your account will be created. For creating an account, you will receive a confirmation email.

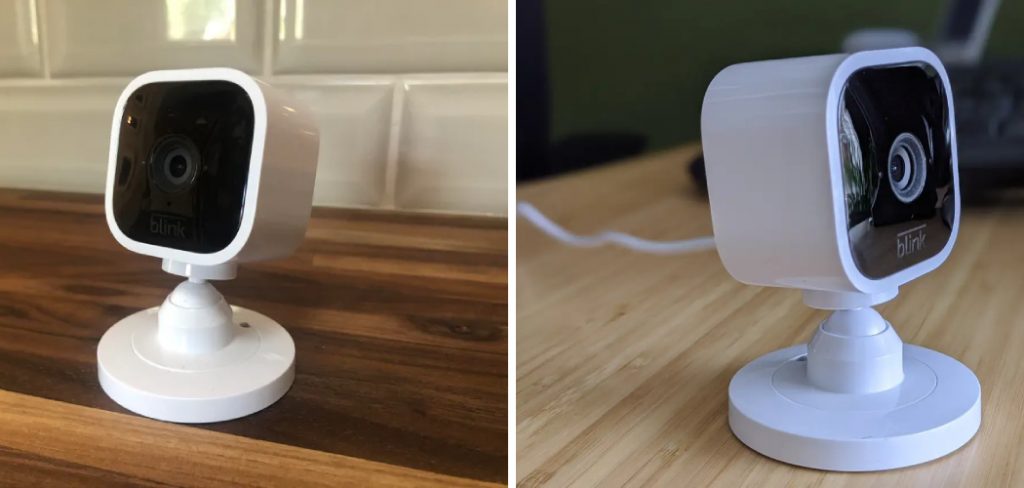
Step 3: Set Up your Blink Camera
If you haven’t already set up your Blink camera, this is the time to do it. Follow the instructions that come with the camera to get it connected and working. Once you have set up the camera, make sure to give it a name so that it’s easily identifiable on the app. This will also come in handy when you need to give access to someone else.
Step 4: Invite Users
Now that your camera is set up and ready to go, it’s time to invite users. To do this, open the Blink app and click on the “Add a friend” button located at the bottom of the screen. You will then be prompted to enter the email address of the person you want to give access to. Once you’ve entered their email, click on “Send Invite” and they will receive an email with instructions on how to set up their own account.
Step 5: Set Permissions
After your friend or family member has accepted the invitation and created their account, it’s time to set their permissions. This is where you can decide what level of access they have to the camera.
You can choose to give them full access, which allows them to view live footage, receive alerts and notifications, and make changes to settings. Or, you can choose to give them limited access, which only allows them to view live footage.
Following these five simple steps will ensure that your Blink camera is set up with the appropriate access for anyone who needs it. It’s important to note that you can give access to multiple users, so if you have more than one person who needs access, simply repeat these steps for each individual. Now, sit back and relax knowing that your home security is in good hands even when you’re not around. Happy Blinking!
Additional Tips and Tricks to Give Access to Blink Camera
1. If you have multiple Blink Cameras, you can give access to each camera separately. This is useful if you want to give different levels of access to family members or roommates. For example, one person can have full access to all cameras while another person only has access to a specific camera.
2. You can also revoke access at any time. If someone no longer needs access to your Blink Camera, you can easily remove their access. This is important for security purposes and to ensure that only trusted individuals have access to your camera.
3. If you want to give a group of people access, such as family members or housemates, you can create a “shared account” in the Blink app. This way, everyone can log in with the same credentials and have access to the Blink Camera.
4. It’s important to keep your login information secure and not share it with others. This includes your email address, password, and any other login credentials associated with your Blink account.
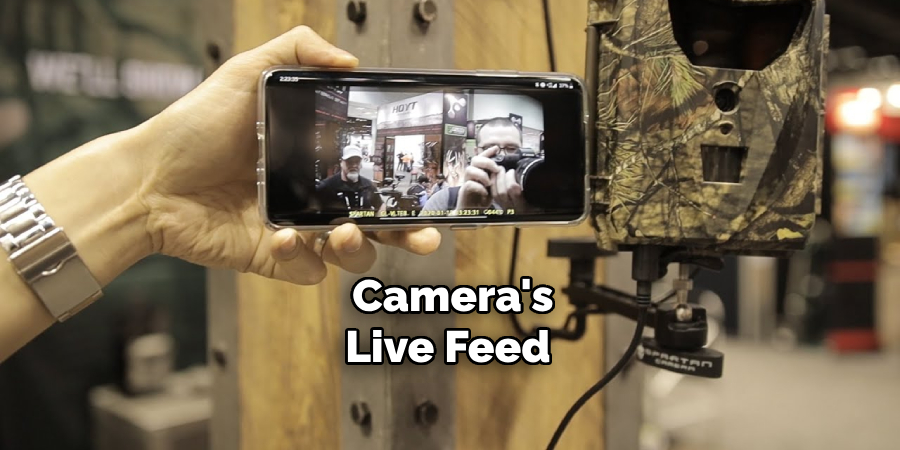
5. If you are giving access to someone who is not tech-savvy, you can also set up a guest account for them in the app. This will limit their access and only allow them to view the camera’s live feed, rather than giving them full control over the camera settings.
6. Always communicate with those you are giving access to your Blink Camera. Let them know what type of access they have and any rules or guidelines for using the camera. This will help avoid any confusion or misunderstandings in the future.
7. Remember to only give access to people you trust. While giving access to your Blink Camera can be convenient, it’s important to also consider the security implications. Make sure you are comfortable with the person having access to your camera before granting them permission.
8. If you have any concerns or issues with someone who has access to your Blink Camera, you can always revoke their access or change their permission level. It’s important to maintain control over who has access to your camera.
9. Keep in mind that giving access to someone does not mean they have complete control over your Blink Camera. As the owner, you will always have full control and can make any necessary changes or adjustments at any time.
10. You can also use the “schedule” feature in the Blink app to limit access for certain times or days. This can be useful if you only want someone to have access during specific hours or days of the week.
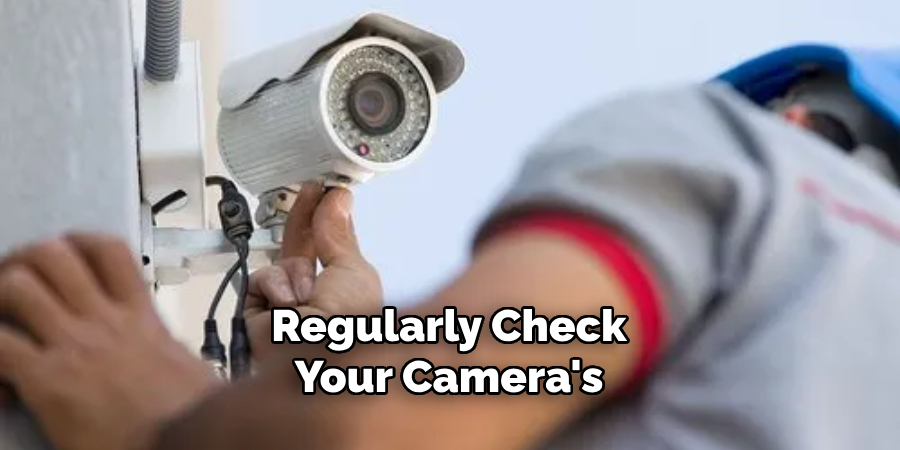
11. Make sure to regularly check your camera’s activity log to see who has accessed your camera and when. This will help you keep track of who has access and any potential security breaches.
Following these tips and tricks will help you gain access to your Blink Camera in a safe and secure manner. Always prioritize your own security and comfort when granting access to others, and utilize the different features available in the app to customize access levels for different individuals. So go ahead and give access to your loved ones or trusted housemates, but always remember to stay vigilant with your camera’s access settings. Happy Blinking!
Frequently Asked Questions
Can I Give Access to Multiple People?
Yes, you can give access to multiple people by following the same steps outlined above for each person you want to add.
Can I Choose What the Invited User Can See?
Yes, when adding a user, you can select their level of access. An admin will have full control and be able to view live footage, receive alerts, and make changes to the camera settings. A guest will only be able to view live footage and will not have any control over the camera.
What Should I Do If I Want to Give Access to a User Who Already Has a Blink Account?
If the user you want to give access to already has a Blink account, they will receive an invitation email with instructions on how to accept and access your camera. If they do not receive this email, make sure they check their spam or junk folder. They can also go directly to the “Manage Users” section in their Blink account and enter the email address used to invite them. This will prompt them to accept the invitation and access your camera.
Can I Revoke Access at Any Time?
Yes, you can revoke access to any user at any time by going to the “Manage Users” section and selecting “Revoke” next to the user’s name. This will immediately remove their access to your camera.
What Happens If I Remove a User from My Account?
If you remove a user from your account, they will no longer have access to your camera and will not receive any notifications or alerts. They will also be removed from the “Manage Users” section of your account.
Conclusion
To conclude, managing access to a Blink Camera is simple with user notifications. Granting and revoking remote access can be accomplished swiftly and effectively, allowing users to restrict and manage access as needed. Additionally, the easy-to-use app interface makes configuring your camera settings convenient and intuitive. A great way to start getting the most out of Blink is by giving a family member or friend access!
This ensures that you have an extra set of eyes discreetly watching the premises while enjoying the peace of mind that comes with having more people helping manage your security system. Plus, with our step-by-step guide on how to give access to Blink camera, you can do it right away – no need for tons of technical savvy! So take the time today and get your Blink Camera up and running so that both you and those around you can enjoy the safety it provides.
About
Safety Fic is a distinguished figure in the world of Diy design, with a decade of expertise creating innovative and sustainable Diy solutions. His professional focus lies in merging traditional craftsmanship with modern manufacturing techniques, fostering designs that are both practical and environmentally conscious. As the author of diy, Safety Fic delves into the art and science of Safety Fic-making, inspiring artisans and industry professionals alike.
Education RMIT University
(Melbourne, Australia) Associate Degree in Design (Safety Fic) Focus on sustainable design, industry-driven projects, and practical craftsmanship. Gained hands-on experience with traditional and digital manufacturing tools, such as CAD and CNC software.
Nottingham Trent University
(United Kingdom) Bachelor’s in diyfastly.com and Product Design (Honors) Specialized in product design with a focus on blending creativity with production techniques. Participated in industry projects, working with companies like John Lewis and Vitsoe to gain real-world insights.
Publications and Impact
In diy, Safety Fic his insights on indoor design processes, materials, and strategies for efficient production. His writing bridges the gap between artisan knowledge and modern industry needs, making it a must-read for both budding designers and seasoned professionals.