

Are you tired of seeing messy power cords on your desk or floor? Or do you have limited outlet space and need a way to maximize it?
How to hang power strip on wall can be a practical solution to keep your workspace organized and clutter-free. This straightforward task not only improves the appearance of your room by reducing the mess of cables but also enhances safety by keeping cords away from foot traffic areas. Whether you’re setting up a home office, a gaming station, or simply trying to keep your living space tidy, mounting a power strip on the wall is a manageable and beneficial project.
In this guide, we will walk you through the step-by-step process of securely attaching a power strip to the wall, ensuring it is both functional and aesthetically pleasing.
What Will You Need?
Before we dive into the instructions, let’s go over the tools you’ll need for this project:
- Power strip
- Command strips or screws and brackets
- Screwdriver or drill (depending on mounting method)
- Measuring tape
- Pencil or marker
Once you have gathered all the necessary materials, it’s time to get started!
10 Easy Steps on How to Hang Power Strip on Wall
Step 1: Choose a Suitable Location
The first step is to select an appropriate location for your power strip. You want to place it in an area that is easily accessible and close to your electronic devices. Consider a spot near your desk or entertainment center.
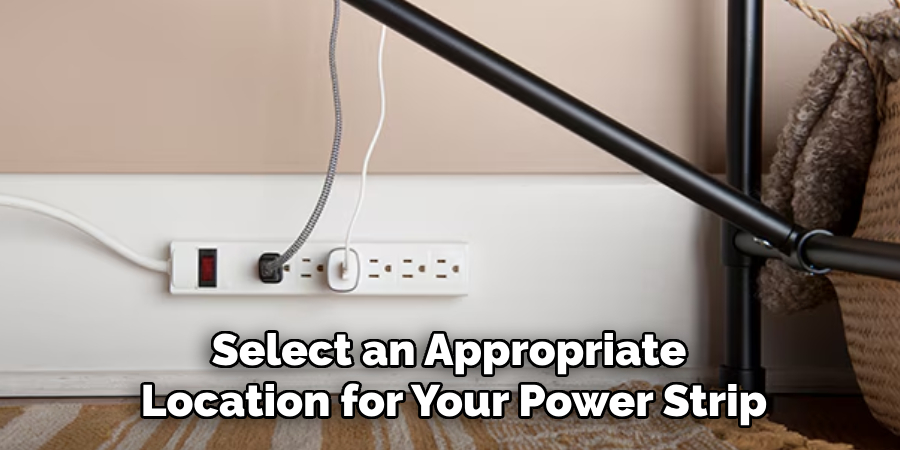
It’s also essential to ensure that the chosen location has enough outlets to accommodate the number of devices you plan on plugging in.
Step 2: Measure and Mark
Measure and mark where your power strip will be mounted on the wall. Use a measuring tape and a pencil or marker to mark the desired location. Double-check that the height suits your needs, keeping in mind any nearby furniture or potential obstructions.
Step 3: Decide on the Mounting Method
Depending on your preference and the surface of your wall, you can choose between using command strips or screws and brackets for mounting the power strip. There are two primary methods to hang a power strip on the wall:
- Using Command Strips: This method is ideal for renters or those who prefer not to drill into their walls. Make sure to use heavy-duty command strips that can hold the weight of your power strip and devices.
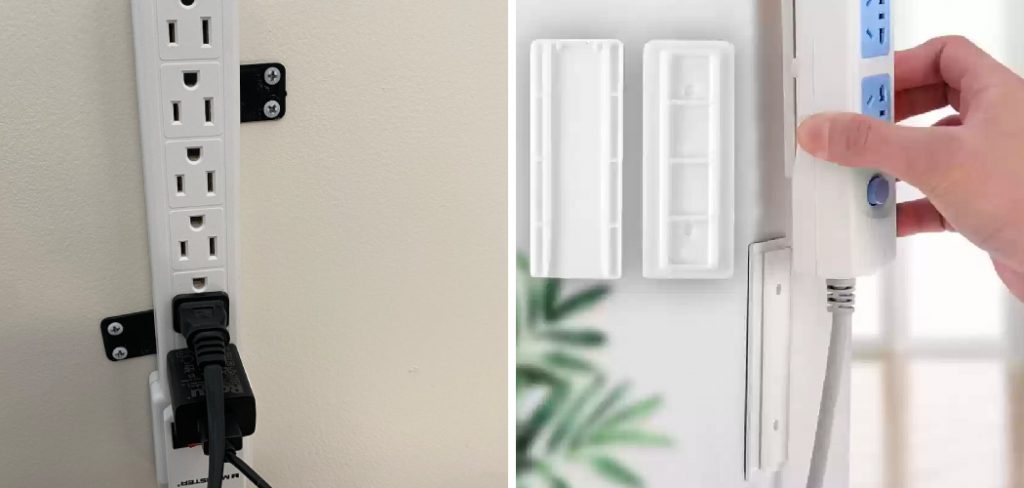
- Using Screws and Brackets: This method involves drilling screws into the wall and using brackets to secure the power strip in place. It provides a more permanent and sturdy solution, but ensure you are comfortable drilling holes in your wall before proceeding.
Step 4: Prepare the Mounting Area
Before attaching the power strip, preparing the mounting area is essential. If you’re using command strips, clean the wall surface thoroughly with isopropyl alcohol and let it dry completely. This step ensures that the adhesive will bond properly to the wall. For those using screws and brackets, locate and mark the positions for your screws. If you’re drilling into drywall, make sure to use wall anchors to provide extra support.
Step 5: Attach Command Strips or Brackets
Depending on your chosen mounting method, begin attaching either the command strips or the brackets:
- Command Strips: Follow the manufacturer’s instructions for applying the command strips to the back of the power strip or its mounting base. Press firmly for the specified amount of time to ensure a strong bond. Next, remove the protective backing from the other side of the strips and press the power strip onto the marked location on the wall.
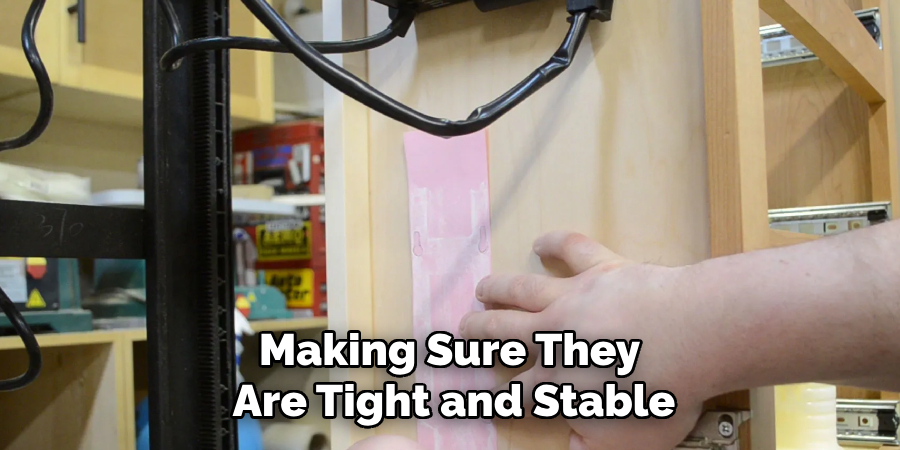
- Brackets: If you’re using brackets, first attach the brackets to the power strip according to the product instructions. Then, align the brackets with the markings on the wall and drill pilot holes if necessary. Secure the brackets to the wall with screws, making sure they are tight and stable.
Step 6: Secure the Power Strip
Ensure that the power strip is firmly attached to the wall. If using command strips, check that all strips are properly secured and that the power strip does not move. For screws and brackets, double-check that all screws are tightened and the brackets are holding the power strip securely. Give the power strip a gentle tug to confirm it is adequately mounted.
Step 7: Arrange and Plug in Your Devices
Once the power strip is securely in place, organize your cables and plug them into your devices. Use cable ties or clips to manage excess cord length and tidy everything. This step will make your workspace look more organized, prevent tripping hazards, and make it easier to identify different cords.
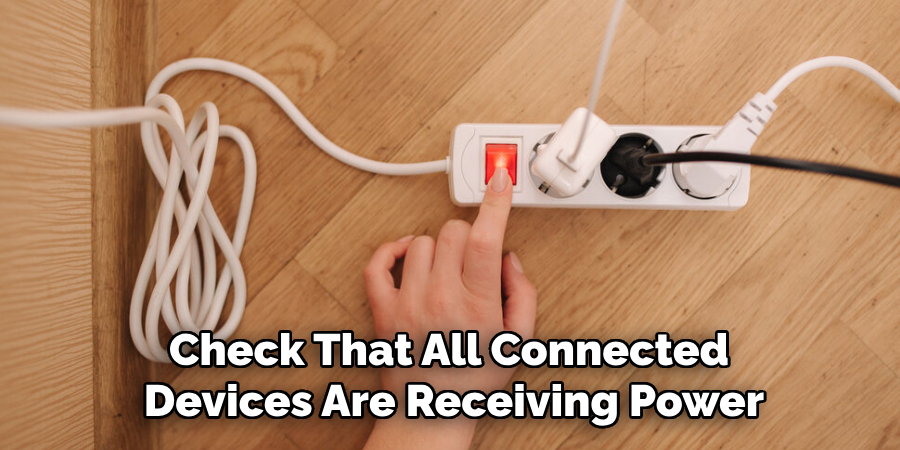
Step 8: Test the Power Strip
After plugging in your devices, turn on the power strip and make sure everything is functioning correctly. Check that all connected devices are receiving power. This step helps to ensure that the power strip is properly installed and that all outlets are working as expected.
Step 9: Final Adjustments
Once you have confirmed that the power strip is functioning correctly, take a moment to make any final adjustments to the setup. Ensure that all cables are neatly arranged and secured with cable ties or clips. If you notice any too loose or tight cords, adjust their positions to achieve a more organized look. Additionally, check for any potential obstructions or areas where the cables might be damaged. This is also a good time to label each cord, which can be particularly helpful for identifying and troubleshooting specific devices in the future. By taking a few extra moments to make these final adjustments, you can enhance your workspace’s functionality and appearance.
Step 10: Maintain Your Setup
Regular maintenance of your power strip setup is crucial to ensure its longevity and safety. Periodically check the condition of your power strip, cables, and connections. Look for signs of wear and tear, such as frayed wires or loose connections, and replace any damaged components immediately. Keep the area around your power strip free of dust and debris, as these can cause overheating and pose fire hazards. Additionally, ensure that the power strip is not overloaded with too many devices, adhering to its maximum load capacity.
By following these steps and practicing proper maintenance, you can safely and effectively mount a power strip on your wall. This declutters your workspace and provides easy access to outlets for all your electronic devices.
5 Additional Tips and Tricks
- Velcro Strips: Use strong, adhesive Velcro strips to attach the power strip to the wall. This method allows easy removal and repositioning when needed without damaging the wall.
- Cable Management Sleeves: Incorporate cable management sleeves to bundle and organize the cords connected to the power strip. This keeps the setup neat and reduces the risk of tripping over loose cables.
- Command Hooks: For a non-permanent solution, consider using heavy-duty Command hooks. These adhesive hooks are strong enough to hold a power strip and can be removed cleanly without leaving residue or damaging the wall.
- Zip Ties: Secure the power strip and its cords using zip ties. Attach the zip ties around the power strip and loop them through wall-mounted anchors or hooks. This method ensures everything stays in place firmly.
- Mounting Plates: Purchase or create custom mounting plates compatible with your power strip. Attach these plates to the wall using screws, and then snap your power strip into place. This provides a more permanent and secure installation.
5 Things You Should Avoid
- Using Low-Quality Adhesives: Avoid using cheap or low-quality adhesive tapes or strips to attach the power strip to the wall. These adhesives may not hold up over time, causing the power strip to fall and potentially causing damage or hazards.
- Overloading the Power Strip: Do not overload the power strip with too many devices, especially if it is mounted on the wall. Overloading can cause overheating and increase the risk of electrical fires.
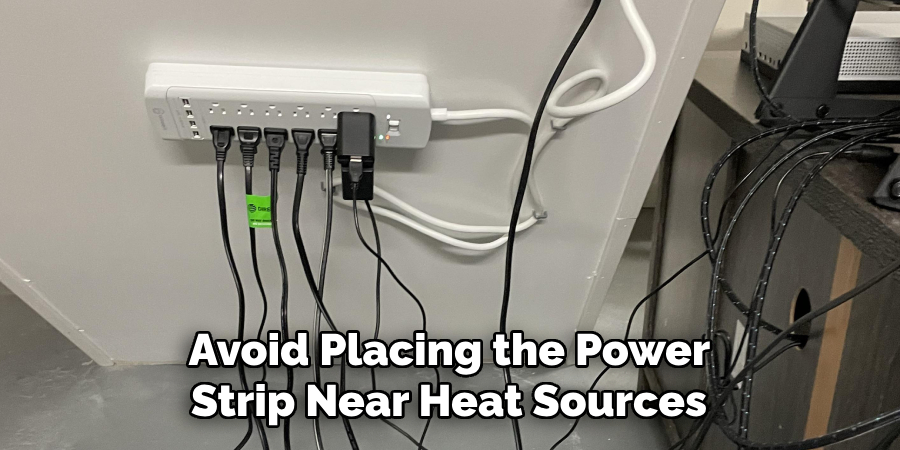
- Placing Near Heat Sources: Avoid placing the power strip near heat sources such as radiators, heaters, or direct sunlight. Excessive heat can degrade the power strip’s materials and mounting mechanism, leading to failure.
- Ignoring Indoor/Outdoor Ratings: Ensure that you use a power strip rated for indoor use only inside, and do not try to use indoor-rated power strips in outdoor settings. Weather conditions could easily damage indoor-rated power strips, creating safety hazards.
- Blocking Ventilation: Avoid placing the power strip in a location that is tightly enclosed or lacks proper ventilation. Power strips need space for heat dissipation, and blocking ventilation can cause overheating and potential failure.
Conclusion
How to hang power strip on wall can significantly enhance the organization and safety of your workspace or home setup.
By following the methodical steps outlined above, you ensure that the power strip is securely attached, providing easy access to outlets while minimizing the clutter and potential hazards associated with loose cables. The choice of mounting method—whether using screws, brackets, or adhesive strips—should align with your specific needs and the surface type of your wall.
Additionally, incorporating cable management solutions like zip ties, Velcro strips, or cable sleeves can further tidy up your setup, enhancing both functionality and aesthetics. Regular maintenance and adhering to safety guidelines, such as avoiding overloading and ensuring proper ventilation, will prolong the life of your power strip and protect your devices.
Implementing these strategies creates a more efficient, safe, and visually appealing environment.
About
Safety Fic is a distinguished figure in the world of Diy design, with a decade of expertise creating innovative and sustainable Diy solutions. His professional focus lies in merging traditional craftsmanship with modern manufacturing techniques, fostering designs that are both practical and environmentally conscious. As the author of diy, Safety Fic delves into the art and science of Safety Fic-making, inspiring artisans and industry professionals alike.
Education RMIT University
(Melbourne, Australia) Associate Degree in Design (Safety Fic) Focus on sustainable design, industry-driven projects, and practical craftsmanship. Gained hands-on experience with traditional and digital manufacturing tools, such as CAD and CNC software.
Nottingham Trent University
(United Kingdom) Bachelor’s in diyfastly.com and Product Design (Honors) Specialized in product design with a focus on blending creativity with production techniques. Participated in industry projects, working with companies like John Lewis and Vitsoe to gain real-world insights.
Publications and Impact
In diy, Safety Fic his insights on indoor design processes, materials, and strategies for efficient production. His writing bridges the gap between artisan knowledge and modern industry needs, making it a must-read for both budding designers and seasoned professionals.