

Are you worried about the safety of your home? Do you often wonder if hidden hazards are lurking in your living space?
Identifying hidden hazards in your home is essential to creating a safe and healthy living environment. Potential dangers, such as structural issues, electrical problems, or air quality concerns, may not be immediately visible but can still pose significant risks over time.
By taking a proactive approach to inspecting your home, you can uncover and address these hidden threats before they lead to accidents, health issues, or costly repairs.
This guide on how to inspect your home for hidden hazards will walk you through the key steps to effectively assess your home for unseen hazards and ensure the safety of everyone who lives there.
What Are the Causes of Hidden Hazards in Your Home?
There are numerous reasons why hidden hazards may exist in your home. Some of the most common causes include:
- Poor Maintenance: Neglected repairs and upkeep can lead to deterioration, creating safety hazards over time.
- Aging Infrastructure: As homes age, wear and tear on structural components, electrical systems, and plumbing increases, increasing the risk of hidden hazards.
- Low-quality Materials: Shoddy construction or subpar building materials can result in long-term issues that may not be initially visible.
- Environmental Factors: Natural disasters, extreme weather events, or even changes in temperature and humidity levels can cause damage that isn’t immediately apparent.
It’s essential to be aware of these potential contributors to hidden hazards so that you can take proactive measures to address them.
What Will You Need?
Before you begin inspecting your home for hidden hazards, make sure you have the following tools and supplies on hand:
- A flashlight to help illuminate dark or hard-to-reach areas
- A ladder to access high places and crawl spaces
- Protective gear such as gloves and a mask if dealing with potentially hazardous materials
- A notepad and pen to take notes during the inspection
Once you have these supplies, you can inspect your home for hidden hazards.
10 Easy Steps on How to Inspect Your Home for Hidden Hazards
Step 1. Check for Water Damage
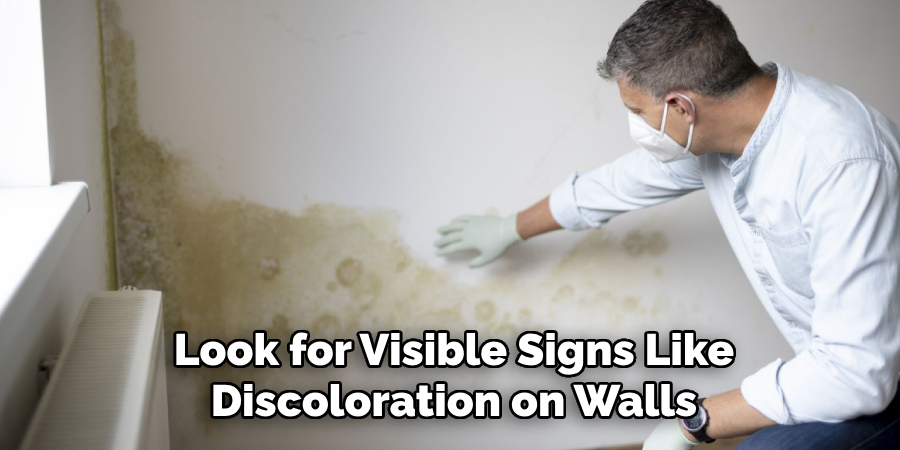
Water damage is one of the most common hidden hazards that can lead to significant issues if not addressed promptly. Begin by inspecting areas in your home prone to moisture, such as basements, attics, bathrooms, and around windows and doors. Look for visible signs like discoloration on walls, ceilings, or floors, which could indicate a water leak.
Additionally, check for bubbling or peeling paint, which might suggest moisture has seeped into the surfaces. Pay attention to any musty or damp odors in these areas, as they may point to mold growth resulting from water damage. Mold can pose significant health risks and may spread quickly if left unchecked. Inspect plumbing fixtures or pipes for visible leaks, corrosion,
or condensation if you can access them. Also, don’t forget to check under sinks and around appliances like dishwashers and washing machines, as they are familiar sources of leaks.
Step 2. Look for Electrical Issues
Electrical problems are another common hidden hazard in homes. Faulty wiring or overloaded circuits can cause fires, electrocution, or other hazardous situations. Inspect visible electrical components like light switches, outlets, and fuse boxes. Look for wear and tear, exposed wires, or frayed cords.
If you can access your home’s electrical panel, check for tripped breakers or fuses that may indicate an overload issue. Also, pay attention to flickering lights or appliances that seem to be struggling to function correctly, as these could be signs of faulty wiring.
Step 3. Inspect Structural Components
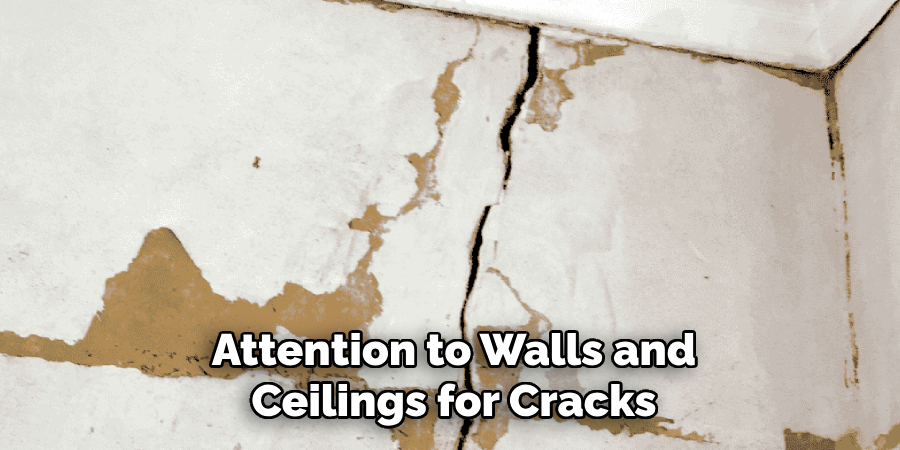
Structural issues can lead to severe safety and financial problems if left unaddressed. Begin your inspection by examining the home’s foundation for any visible cracks, uneven surfaces, or signs of shifting, which could indicate severe foundational instability. Pay close attention to walls and ceilings for cracks, bulges, or discoloration, as these can be early indicators of structural stress or water damage.
Next, inspect floors for unevenness or sagging, which may point to problems with the subfloor or supporting beams. Additionally, check the door and window frames for misalignment, as this could be a sign of settling or shifting in the structure. If you have access to an attic or crawl space, assess the condition of support beams, joists, and insulation. Look for any signs of rot, insect activity, or moisture damage that could compromise the structural integrity of your home.
Step 4: Evaluate the Roof
The roof is a critical component of any home’s structure and protection. Begin your inspection by assessing the roof’s overall condition from the outside. Look for missing, damaged, or curling shingles, as these issues can lead to water infiltration and further structural damage.
Check for any sagging areas, as these might indicate compromised support or water pooling. Inside the home, inspect ceilings for water stains or discoloration, which could signal a leaking roof. Ensure gutters and downspouts are securely attached and functioning properly to direct water away from the foundation. Addressing roof-related problems promptly can prevent costly repairs in the future.
Step 5: Inspect Windows and Doors
Windows and doors are vital in maintaining your home’s energy efficiency and protecting it from the elements. Examine the frames for any signs of rot, cracks, or gaps that could allow drafts or water to enter the home. Check the weatherstripping to ensure it is intact and functioning as intended. Test the locks and seals to confirm they are secure, providing safety and insulation.
If your windows are older or show signs of damage, consider upgrading to energy-efficient models, which can help reduce heating and cooling costs while improving overall comfort. Regular maintenance of windows and doors can significantly enhance your home’s durability and performance.

Step 6: Maintain Your HVAC System
Your home’s heating, ventilation, and air conditioning (HVAC) system is essential for maintaining a comfortable indoor environment year-round. Regularly replace or clean air filters to ensure proper airflow and improve air quality. Inspect the outdoor unit for debris, such as leaves or dirt, and clear it away to maintain optimal performance.
Schedule professional maintenance at least once a year to check for potential issues like refrigerant leaks or worn components. Ensuring your well-maintained HVAC system can extend its lifespan, enhance energy efficiency, and prevent unexpected breakdowns.
Step 7: Insulate Your Home Properly
Proper insulation is key to maintaining a consistent indoor temperature and reducing energy costs. Inspect your attic, walls, and floors to ensure they are adequately insulated. Gaps or insufficient insulation can lead to drafts and heat loss, making your home less efficient.
Consider upgrading to modern insulation materials, which offer superior thermal performance and durability. Additionally, sealing cracks and openings around your home, such as in the foundation or near plumbing, can further enhance your insulation efforts. A well-insulated home not only improves comfort but also reduces your carbon footprint.
Step 8: Upgrade to Energy-Efficient Windows
Windows plays a significant role in your home’s energy efficiency. If your windows are outdated or single-pane, consider upgrading to double- or triple-pane windows with low-emissivity (Low-E) coatings. These modern windows help reduce heat transfer, keeping your home cooler in summer and warmer in winter.
Additionally, ensure all windows are properly sealed and fitted to eliminate drafts and air leaks. Window treatments such as thermal curtains or shades can enhance energy savings. Investing in energy-efficient windows lowers utility bills and boosts your home’s overall comfort and value.
Step 9: Incorporate Smart Home Technology
Integrating smart home technology is an excellent way to optimize your home’s energy efficiency. Smart thermostats, for example, allow you to program heating and cooling schedules, learn your preferences, and adjust settings automatically to reduce energy waste. Intelligent lighting systems can be set on timers or controlled remotely,
ensuring lights are only used when needed. Additionally, smart plugs and energy monitors help track and manage the energy consumption of various devices in your home.

Step 10: Ensure Proper Drainage
Proper drainage is essential for maintaining a dry, moisture-free home. Check gutters and downspouts to ensure they direct water away from the foundation. Make adjustments or install extensions to prevent water pooling near your home’s perimeter if necessary. Inspect your yard for any low-lying areas prone to flooding and consider grading or landscaping to redirect water flow.
Regularly clear debris from outdoor drains and sewer lines to prevent clogs and backups. Keeping proper drainage can help protect your home from water damage and costly repairs.
By following these steps, you can ensure your home is well-maintained and energy-efficient.
Conclusion
How to inspect your home for hidden hazards is an essential practice for ensuring safety, energy efficiency, and long-term comfort.
By systematically examining areas such as electrical systems, plumbing, insulation, and drainage, you can identify potential issues before they escalate into costly problems. Regular home inspections help maintain your property’s structural integrity and promote a healthier living environment.
Taking proactive steps to address hidden hazards protects your investment and provides peace of mind. Remember, a well-maintained home is a safe and welcoming space for you and your family.