
Installing a neutral safety switch is crucial for both vehicle safety and functionality. This switch ensures that your vehicle can only start when the transmission is in the ‘neutral’ or ‘park’ position, preventing accidental engine starts in gear that could lead to unintended movement.

In this guide on how to install a neutral safety switch, we will walk you through the step-by-step process of installing a neutral safety switch, equipping you with the knowledge to perform this task efficiently and effectively. Whether you’re a seasoned mechanic or a DIY enthusiast, these instructions will help ensure your vehicle operates safely.
Why Install a Neutral Safety Switch?
Installing a neutral safety switch is essential for several reasons. First and foremost, it is a critical safety feature that prevents the vehicle from moving unexpectedly due to an accidental start in gear. It also helps protect the transmission from damage caused by starting the engine while in gear.
Moreover, having a functional, neutral safety switch is necessary for your vehicle’s overall functionality. If this switch malfunctions or fails, it can prevent your vehicle from starting altogether. This can be frustrating and inconvenient, especially if you rely on your car daily.
Parts Required
Before we dive into the installation process, let’s go over some essential parts you’ll need to properly install a neutral safety switch:
- Replacement Neutral Safety Switch
- Socket Set
- Screwdriver
- Electrical Cleaner
- Wire Stripping Tool
- Electrical Tape
- Zip Ties
9 Step-by-step Guides on How to Install a Neutral Safety Switch
Step 1: Locate the Neutral Safety Switch
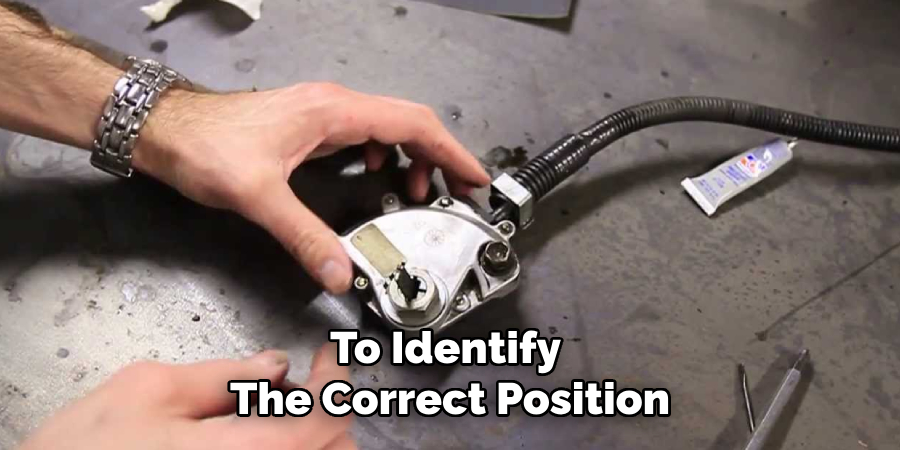
The first step in the installation process is to locate the neutral safety switch in your vehicle. This switch is typically situated on the transmission, where it directly interacts with the gear selector mechanism. However, the exact location can vary depending on the make and model of your vehicle.
To identify the correct position, refer to your vehicle’s service manual, which will provide detailed diagrams and information specific to your model. Generally, you can find the neutral safety switch mounted to the transmission housing. It is often connected to the shift lever or linkage and will have electrical wiring harnesses attached to it. Carefully inspect the area for these components to ensure you have located the correct part before proceeding to the next step.
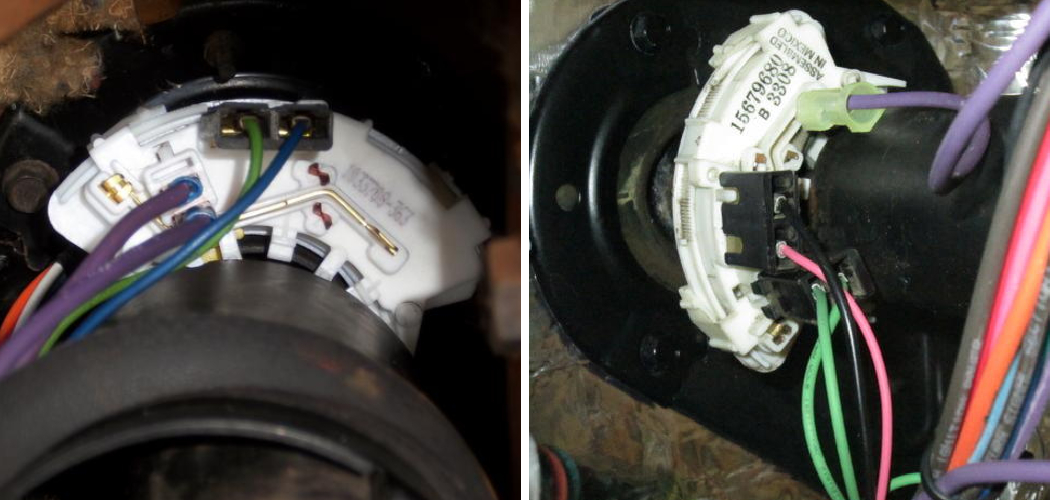
Step 2: Disconnect the Electrical Connections
Once you have located the neutral safety switch, the next step is to disconnect the electrical connections attached to it. Begin by disconnecting the battery to ensure safety while working with electrical components. It is crucial to disconnect the negative terminal of the battery to prevent any accidental short circuits.
Next, identify the electrical connectors attached to the neutral safety switch. These connectors may be secured with clips or screws, depending on the design of your vehicle. Carefully release these connectors by either unclipping or unscrewing them, taking care not to damage the wiring or connectors.
If the connectors are difficult to remove, use an electrical cleaner to remove any dust or debris that might be causing them to stick. Once you have disconnected the electrical connections, inspect the wires for any signs of wear or damage. If you notice any issues, it’s a good idea to repair or replace the affected wiring before installing the new neutral safety switch.
Step 3: Remove the Old Neutral Safety Switch
After disconnecting the electrical connections, you can now remove the old neutral safety switch. This step may require a socket set or screwdriver, depending on how the switch is mounted to your vehicle. If necessary, refer to your service manual for specific instructions on how to remove the switch.
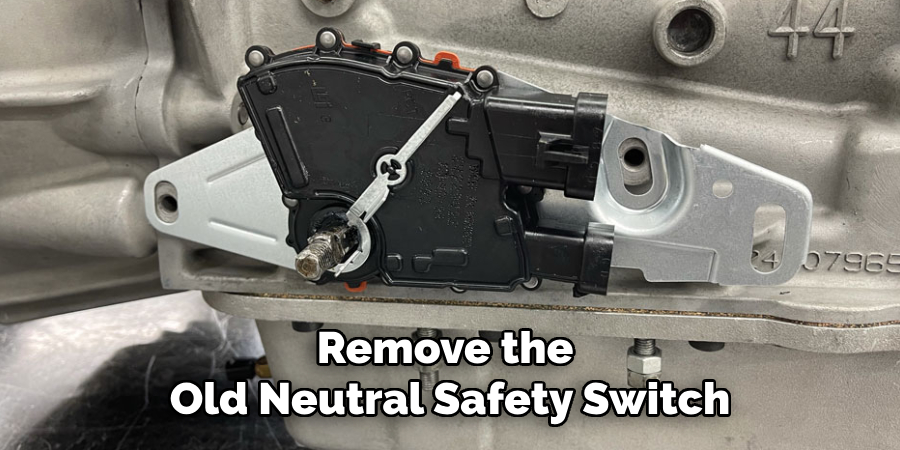
Once you have removed the old switch, inspect it for any signs of damage or wear. It’s always a good idea to check if the switch is faulty before replacing it with a new one. If you notice any issues with the old switch, make sure to address them before proceeding with the installation.
Step 4: Prepare the New Neutral Safety Switch
Before installing the new switch, you may need to make some adjustments or modifications to ensure it fits and functions correctly. Refer to your service manual for any specific instructions on preparing the new neutral safety switch.
If necessary, attach any mounting hardware or brackets that came with the switch. Additionally, you may need to adjust the switch’s position or alignment for proper function and fit. It’s essential to double-check all preparations before moving on to the next step.
Step 5: Install the New Neutral Safety Switch
With all preparations complete, you can now install the new neutral safety switch. Carefully align the switch with the mounting bracket or holes and secure it in place using a socket set or screwdriver.
Once installed, make sure to test the switch’s functionality by moving the gear selector through each position while checking for any issues or obstructions.
Step 6: Reconnect Electrical Connections
With the new neutral safety switch securely in place, you can now reconnect the electrical connections. Begin by attaching any clips or screws that hold them in place. Next, carefully insert each connector into its corresponding receptacle, taking care not to bend or damage any of the electrical pins.
After connecting all the wires, double-check that they are properly secured and in the correct positions. Any loose or incorrect connections can cause issues with your vehicle’s functionality.
Step 7: Test the New Switch
Before completing the installation process, it’s important to test the new neutral safety switch to ensure it is functioning correctly. Reconnect the battery and start your vehicle. Move through each gear position while checking for any issues or warning signs.
If everything appears to be functioning correctly, then you have successfully installed the new neutral safety switch. If not, double-check all connections and make any necessary adjustments before testing again.
Step 8: Clean and Secure Wiring
With the new switch installed and tested, take some time to clean and secure any wiring that may have come loose during the installation process. Use a wire stripping tool to remove any damaged insulation or corrosion on the wires before securing them with electrical tape or zip ties.
Keeping your vehicle’s wiring properly organized and secured can prevent future issues with your neutral safety switch or other electrical components.
Step 9: Reassemble Any Removed Components
With the new neutral safety switch installed and all electrical connections secured, the final step is to reassemble any components that were removed to access the switch. This may include underbody shields, trim pieces, or covers that were taken off during the installation process.
Start by referring to your service manual to ensure that all parts are reassembled correctly. Carefully reattach any brackets, covers, or panels that were removed. Use the appropriate tools, such as socket sets or screwdrivers, to secure these components firmly in their original positions.
Following these steps on how to install a neutral safety switch will ensure a successful installation of your new neutral safety switch. After completing the process, it’s always a good idea to test the switch one last time before taking your vehicle for a drive.
Additional Tips and Safety Precautions
- Always refer to your vehicle’s service manual for specific instructions and procedures when working on any electrical components.
- Remember to disconnect the battery before working with any electrical connections to prevent accidents or damage.
- Inspect all wiring and connectors for signs of wear or damage before installing the new neutral safety switch, as faulty wiring can cause issues with the switch’s functionality.
- Double-check all preparations and connections before installing the new switch to ensure proper fit and function.
- Test the new switch thoroughly before completing the installation process, and make any necessary adjustments if it does not function correctly.
- Be cautious when handling electrical components to avoid damage or accidents. If you are unsure about a step or procedure, seek professional assistance.
Frequently Asked Questions
Q: Can I Install a Neutral Safety Switch on My Own?
A: While it is possible to install a neutral safety switch on your own, it is recommended to seek professional assistance if you are not familiar with working on electrical components. This will ensure proper installation and prevent any potential issues or accidents.
Q: How Long Does it Take to Install a Neutral Safety Switch?
A: The installation process can vary depending on the make and model of your vehicle, as well as your experience working with electrical components. It typically takes between 1-2 hours to complete the process, but this may vary for each individual.
Q: What Happens If My Neutral Safety Switch is Not Working Correctly?
A: A faulty neutral safety switch can cause various issues with your vehicle’s functionality, such as difficulty starting the engine or problems shifting gears. It’s important to address these issues promptly and replace the switch if necessary to ensure safe driving. Overall, regularly checking and maintaining your neutral safety switch can prevent these problems from arising.
Conclusion
Replacing a faulty neutral safety switch may seem like a daunting task, but with the right tools and knowledge, it can be easily completed. Always refer to your vehicle’s service manual for specific instructions and take all necessary safety precautions while working on your vehicle.
By following these steps on how to install a neutral safety switch, you can ensure the proper function and safety of your vehicle’s gear selector mechanism. Keep in mind that if you are not comfortable performing this task yourself, it’s always best to seek professional assistance from a mechanic or auto technician. Keeping all electrical components in
You can check it out to Wire a Motion Sensor to Multiple Lights