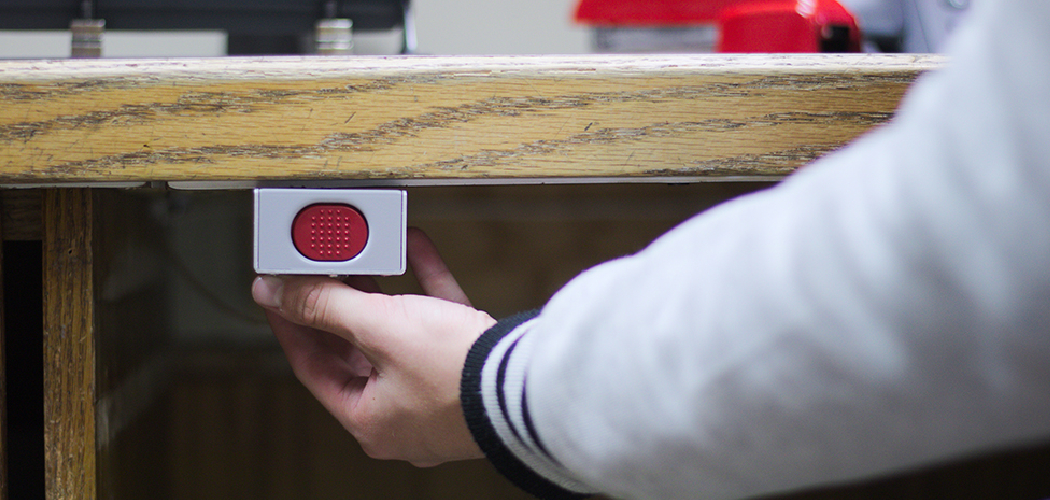
A panic button is a discreet, easily accessible device designed to trigger an alarm or notify authorities in emergencies, such as break-ins or medical emergencies. These devices are vital for ensuring safety and prompt response during critical moments. In both homes and businesses, the importance of installing a panic button cannot be overstated. It acts as a lifeline that provides peace of mind by allowing individuals to quickly summon help when it’s needed most.
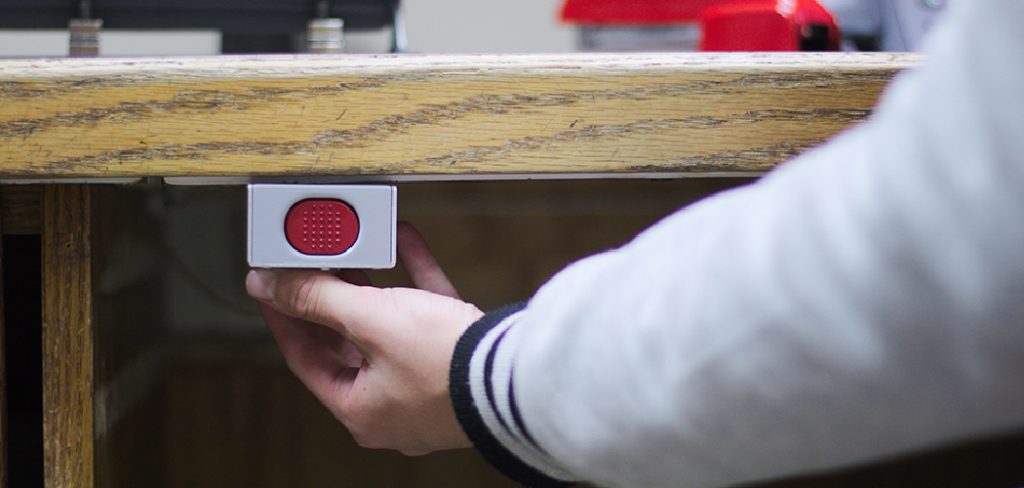
Whether it’s the threat of an intrusion or a medical emergency, having a panic button ensures that assistance is only a press away. The purpose of this article is to guide you through the step-by-step process of how to install a panic button in your home or business, ensuring that you are prepared and protected in times of need.
Choosing the Right Panic Button System
Selecting the appropriate panic button system for your needs requires careful consideration of various factors, especially when deciding between wired and wireless systems. Wired systems offer enhanced security and reliability as they are less susceptible to interference, making them an ideal choice for high-security environments. However, they demand a more complex installation process involving cables running throughout the premises.
On the other hand, wireless systems present an easier and more flexible installation option, as they can be placed in diverse locations without requiring extensive wiring. These systems often rely on batteries or Wi-Fi, which may pose limitations in terms of maintenance and network dependency.
Assess your alert requirements when determining whether to use standalone or integrated panic buttons. Standalone buttons are dedicated to specific emergencies, such as medical alerts, ensuring focused and immediate response. Conversely, integrated systems connect to broader security setups, providing comprehensive coverage and seamless integration with existing alarms and monitoring systems.
Lastly, consider key features like ease of use; a straightforward, easy-to-press button is crucial during emergencies. Assess the range, ensuring the wireless system’s reach or wired connections suffice for your space. Monitoring capabilities are also significant, as some systems connect directly to monitoring centers or authorities, while others merely sound an alarm on-site.

Preparing for Installation
Effective preparation is crucial for the successful installation of a panic button system. First, selecting optimal locations is key. Place panic buttons where they can be easily accessed during an emergency. Common locations include near beds for quick access during nighttime incidents, at entrances to respond swiftly to uninvited intrusions, and under desks in offices for discreet activation. Once identified, ensure the placement is discreet enough to prevent tampering or accidental activation while still being easily reachable in a pinch.
Before you begin the installation, gather all necessary tools. Depending on the type of panic button system you’ve chosen, you might require a drill, screwdriver, wire cutters, or double-sided adhesive for mounting purposes. Having these tools ready will streamline the installation process and prevent unnecessary delays. Moreover, ensure you check the power source for your system. If you have opted for a wired system, ensure there is access to a power source or the main control panel. Conversely, if you are installing a wireless system, ensure spare batteries are available to maintain the button’s functionality. With these preparations complete, you’re one step closer to enhancing safety and peace of mind.
How to Install a Panic Button: Step-by-Step Installation of a Wireless Panic Button
Step 1: Unpack the Equipment
Begin by carefully unboxing your wireless panic button kit. Within the package, you should find all the necessary components: the panic button itself, mounting hardware, batteries, and a user manual. It’s crucial to ensure no parts are missing to avoid installation issues later. Once you have verified the kit’s contents, thoroughly read the manufacturer’s instructions. These guidelines are tailored to your specific system and may offer insights or steps that differ slightly from general installations, ensuring a smooth and efficient setup process.
Step 2: Install the Batteries
Next, open the panic button device’s battery compartment. Insert the batteries as directed, typically AAA or a specialized lithium battery, depending on your model. Correct battery installation is critical for the button’s functionality. After inserting the batteries, test the power by pressing the button once. You should observe an indicator light flash or hear the system activate, confirming that the button is receiving sufficient power and is ready for operation.

Step 3: Mount the Button
For mounting, the panic button provides options depending on your need for ease or security. Use double-sided adhesive for a straightforward installation on a smooth surface, allowing flexibility in repositioning. For a more permanent and secure fixation, opt for screws, especially if mounting on a wall. Position the button in your pre-selected location, ensuring it is discreet enough to avoid accidental activation yet accessible in an emergency. Common placements might include a wall near beds, under desks, or beside doorways, where the button remains within easy reach and ready for immediate activation.
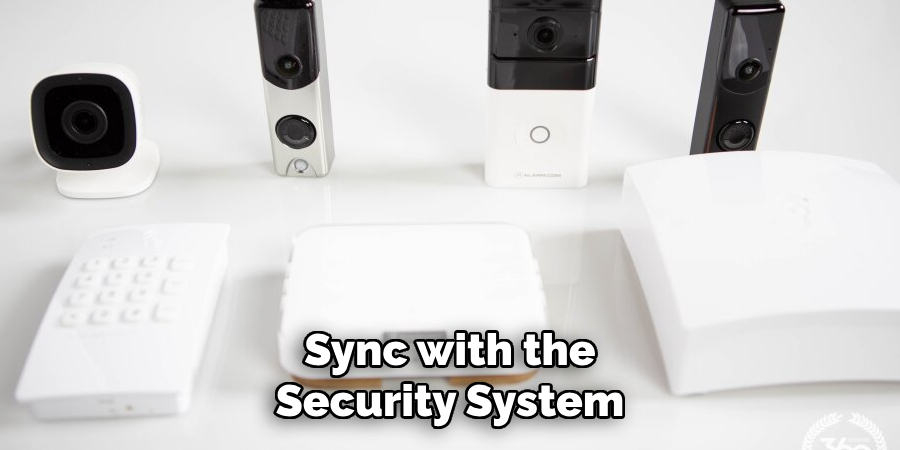
Step 4: Sync with the Security System
If your panic button is intended to work within a broader security framework, syncing it is an essential final step. Follow the specific pairing instructions detailed in your user manual. Generally, this involves entering a pairing mode either through the button or control panel and confirming the connection by pressing the button. Doing this ensures the panic button is integrated with the main security system or linked with a monitoring service. Testing is crucial: trigger the panic button to confirm that the alarm or notification functions as expected, indicating a successful connection with the system.
How to Install a Panic Button: Step-by-Step Installation Guide for Wired Panic Button
Step 1: Plan the Wiring Route
Determine the cable path for your wired panic button by planning the route from the button’s location to the control panel or alarm system. Ensure that the cables are discreetly concealed behind walls, under floors, or along baseboards to protect them from tampering or visible obstructions. This will not only maintain the aesthetic integrity of your space but also enhance security by minimizing the risk of tampering. Measure the distance between the panic button and the control panel accurately to determine the precise length of wire required for installation.
Step 2: Drill Holes for Wiring
Prepare for the routing of wires by drilling small holes in strategic locations within walls or floors to accommodate the wire path from the panic button to the control panel. It’s essential to approach this task carefully to ensure minimal disruption to your existing structure. Once the holes are drilled, utilize protective tubing or cable covers to shield the wires, thereby preventing any potential damage during installation. This precaution enhances the durability and reliability of the system by ensuring that the wires remain intact throughout their lifespan.

Step 3: Connect the Wires to the Button
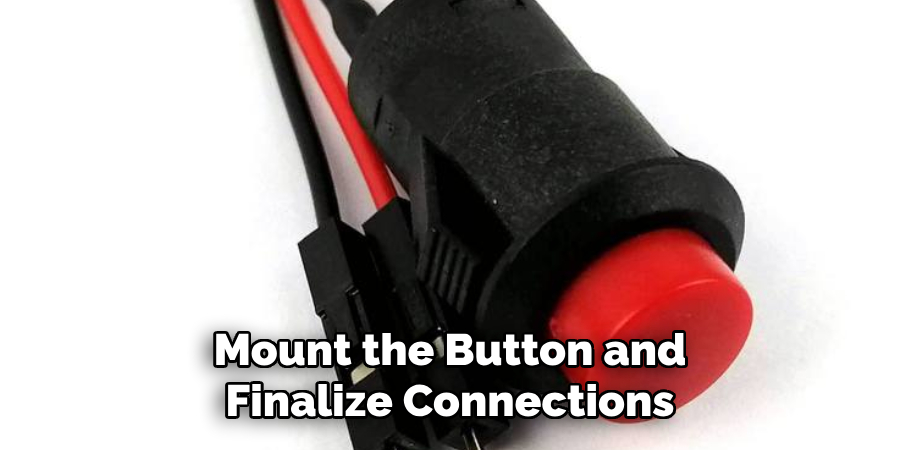
To connect the wires to the panic button, begin by using wire strippers to carefully expose the ends of the wires without damaging them. This step is critical to enabling a clean and efficient connection. Attach the wires to the designated terminals using the panic button according to the manufacturer’s instructions. Secure the connections with screws or clips, ensuring a stable and reliable electrical connection. Properly connecting the wires is crucial for the button’s functionality, ensuring that it will work seamlessly when activated.
Step 4: Mount the Button and Finalize Connections
Securely mount the panic button on the designated wall or surface using screws, making sure it is firmly attached and easily accessible during emergencies. Once mounted, run the other end of the wires to the main control panel or alarm system. Carefully connect the wires according to the detailed guidelines provided by the manufacturer, ensuring that all connections are tight and secure.
The final critical step is testing the system: activate the panic button to verify that it successfully sends the intended signal to the control panel or monitoring center. This confirmation ensures that the installation has been executed correctly and the system is fully operational, ready to provide enhanced security and peace of mind.
Testing the Panic Button
A. Ensure Functionality
After completing the installation, the first crucial step is to press the panic button to ensure it operates as intended. Confirm that it triggers the specified alert or alarm, indicating that the setup is successful.
B. Test Notifications and Alerts
Further verification is necessary if your panic button system is designed to send notifications to a monitoring service. Ensure that the service consistently receives the signal and follows the protocol to contact the appropriate authorities. This aspect of testing is vital to guarantee timely responses in actual emergencies.
C. Test Regularly
To maintain the system’s reliability, conduct regular tests, either monthly or quarterly. Regular testing is especially important for systems that rely on batteries, as it helps to ensure ongoing functionality and allows for timely maintenance or component replacement if needed. Maintaining a consistent testing schedule contributes to sustained peace of mind and system readiness.
Integrating the Panic Button with a Security System
Linking to a Home Security System
Connecting the panic button to your existing security system enhances the overall safety of your home by ensuring that immediate alerts are sent out when the button is activated. This integration means that authorities or monitoring services are promptly notified, enabling quicker emergency response times.
Pairing with Cameras
Many modern security systems allow for integration between panic buttons and surveillance cameras. When the panic button is pressed, the system can be configured to automatically start recording or to initiate real-time monitoring. This feature provides crucial visual confirmation of the emergency situation, offering an additional layer of security by documenting the incident as it unfolds.
Smart Home Integration
Incorporating the panic button within a smart home setup allows you to link it with devices such as smart locks and lights. These devices can perform preset actions like locking doors or blinking lights upon activation. This capability helps secure the premises and serves as a visual alert to others near your home that an emergency is occurring.
Conclusion
Installing a panic button requires careful planning and execution to maximize its effectiveness. The key steps include choosing the right system that fits your security needs, selecting an optimal location for the button to ensure accessibility and discreetness, and connecting it seamlessly to your security network for prompt alerts.
Understanding how to install a panic button correctly is essential to achieving these goals. Regular testing and maintenance are integral parts of the process, as they confirm the system’s operability and readiness when emergencies arise. Ensuring the system functions as intended reassures homeowners and business operators and serves as an indispensable element of an overarching security strategy. Panic buttons are invaluable for providing an additional safety layer and peace of mind, assuring swift access to emergency help when it is needed most.

