

Are you tired of opening the door to strangers or unwanted solicitors? Installing a peephole in your front door can give you peace of mind and allow you to see who is on the other side before opening the door.
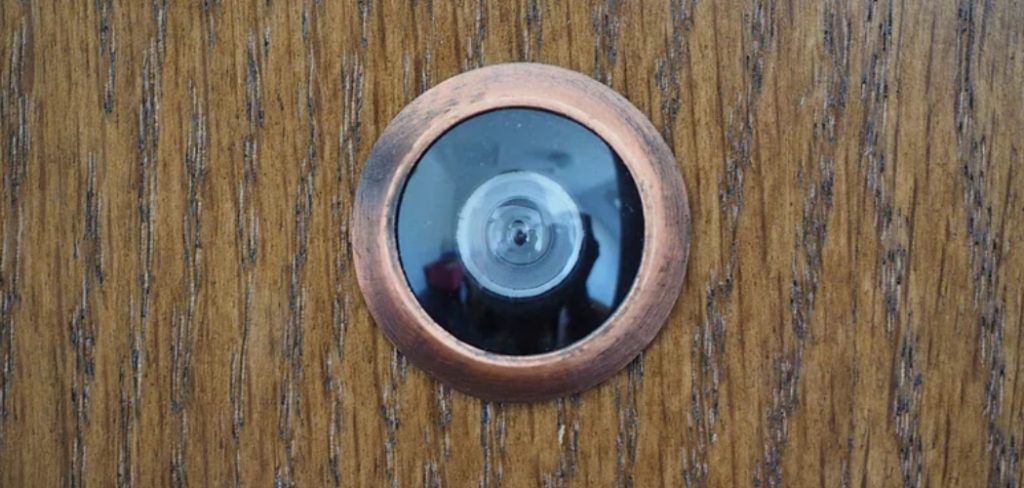
How to install a peephole in your front door is a straightforward and valuable home improvement project that enhances your household’s security. A peephole allows you to see who is at your door without opening it, providing peace of mind and an added layer of protection. Whether you are a seasoned DIY enthusiast or a beginner, this guide will walk you through the essential steps to successfully install a peephole in your front door.
By following these instructions, you can complete the project efficiently and ensure a clear line of sight for anyone approaching your home.
What Will You Need?
Before we dive into the installation process, let’s take a look at the necessary tools and materials you will need to complete this project:
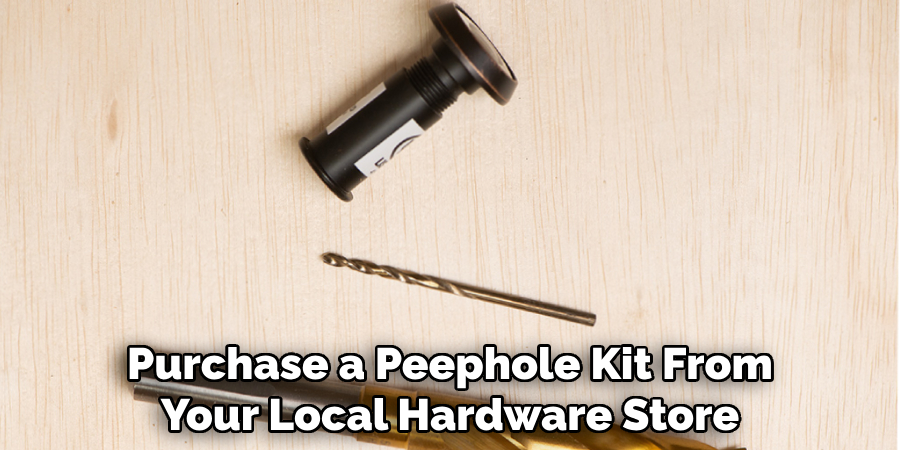
- A Peephole Kit: You can purchase a peephole kit from your local hardware store or online. These kits usually come with all the necessary components, including the lens, viewer, and screws.
- A Drill: You will need a drill to create holes in your door for the peephole installation. Make sure to have a sharp drill bit that is appropriate for your door’s thickness.
- Masking Tape: This will help prevent any damage to your door’s surface while drilling.
- Measuring Tape: Accurate measurements are crucial for proper peephole installation, so ensure a measuring tape is on hand.
- Pencil or Marker: These tools will be used to mark the spots for drilling and cutting.
- Safety Goggles: Protecting your eyes when using power tools like a drill is essential.
Now that you have gathered all the necessary materials let’s start with the installation process.
10 Easy Steps on How to Install a Peephole in Your Front Door
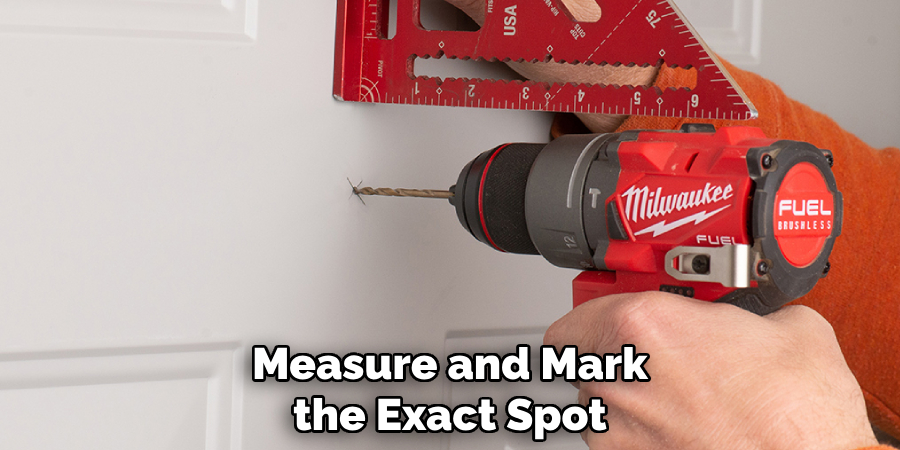
Step 1. Mark the Spot:
Start by deciding the optimal height for your peephole. Generally, the recommended height is around 5 feet from the ground, but it can be adjusted based on the average height of the household members. Use the measuring tape to measure and mark this height on your front door’s interior and exterior sides with a pencil or marker. Ensure that your markings are aligned so that the peephole will be perfectly horizontal.
Step 2. Apply Masking Tape:
Apply a piece of masking tape over the marked spots on both sides of the door. The masking tape will help prevent the wood from splintering and the paint from chipping while you drill. Ensure the tape is pressed firmly against the door surface to provide the best protection. It’s good practice to use enough tape to cover a slightly larger area around the marked spot for added precaution.
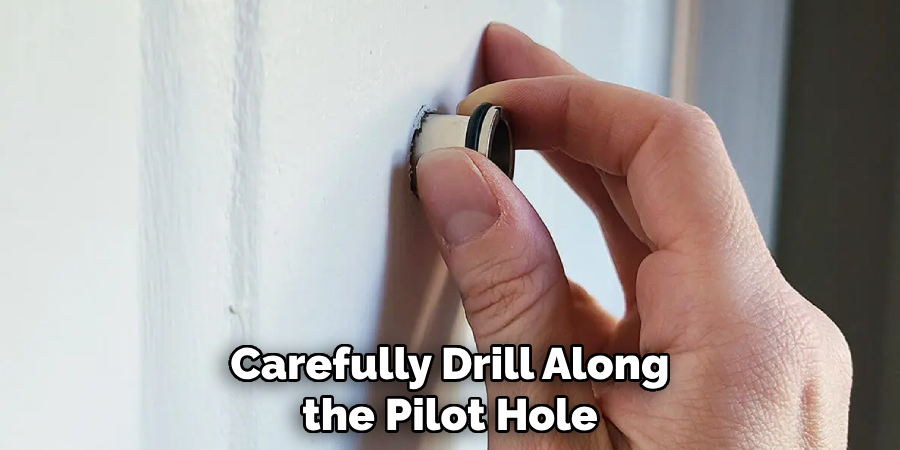
Step 3. Drill a Pilot Hole:
Before drilling the full-sized hole, it’s advisable to drill a smaller pilot hole first. Choose a small drill bit and carefully drill through the center of your marked spot from one side of the door to the other. This pilot hole will serve as a guide and make the subsequent drilling more accurate and easier.
Step 4. Drill the Peephole:
Switch to a drill bit that matches the diameter of your peephole viewer. Carefully drill along the pilot hole, holding the drill straight to avoid a misaligned peephole. Drill slowly and steadily through the door, avoiding applying too much pressure. It’s best to drill halfway through from one side and then finish the hole from the other side to minimize splintering.
Step 5. Insert the Peephole:
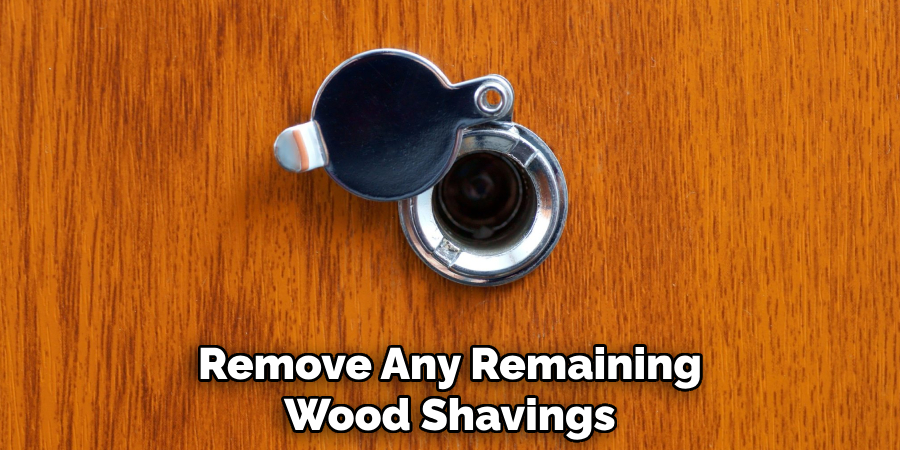
After drilling the hole, remove the masking tape and clean up any wood shavings or debris. Next, insert the lens portion of the peephole into the hole from the exterior side of the door. Ensure that the lens sits flush against the door surface.
Step 6. Secure the Peephole:
Once the lens is properly seated, take the interior part of the peephole viewer and screw it into the lens from the inside of the door. Tighten it securely by hand, ensuring that both parts of the peephole are tightly joined without gaps. You may use a tool such as a rubber strap wrench to avoid scratching the peephole while achieving a snug fit. Be cautious not to overtighten, as this could damage the door or the peephole assembly.
Step 7. Test the Peephole:
After securing the peephole, take a moment to test the view. Stand inside the door and look through the peephole to ensure you have a clear and adequate line of sight. Ensure the view is unobstructed and you can easily see the area outside your front door. If the image appears blurry or distorted, double-check the alignment and the tightness of the peephole components, adjusting as needed.
Step 8. Clean Up:
Clean up the work area once you’re satisfied with the peephole’s installation. Remove any remaining wood shavings, masking tape, and tools from around the door. Wipe down the door surface to remove any dust or debris that may have accumulated during installation. It’s also a good opportunity to clean the peephole lens according to the manufacturer’s instructions to ensure a clear view.
Step 9. Make Adjustments If Necessary:
If your initial test revealed any issues with the peephole’s placement or functionality, now is the time to make any necessary adjustments. This could involve minor realignment or further tightening of the peephole components. It’s important that the peephole is not only secure but also fully functional to serve its security purpose effectively.
Step 10. Enjoy Enhanced Security:
With the peephole successfully installed, you can now enjoy its added security and peace of mind. Going forward, you will be able to see who is at your door before deciding to open it, adding an extra layer of protection for you and your household. For optimal use, periodically clean the peephole lens to maintain a clear view and ensure it remains in good working condition.
By following these steps, you’ve increased your home security and accomplished a valuable DIY project.
5 Additional Tips and Tricks
- Choose the Right Height: Install the peephole at an appropriate height, typically at eye level for the average person in your household. Consider installing two peepholes at different levels for doors used by people of various heights.
- Use a Drill Guide: When drilling into the door, use a drill guide or a piece of scrap wood as a guide to ensure a straight and accurate hole. This can help prevent the drill from slipping and ensure a professional-looking result.
- Check for Obstructions: Before drilling, check both sides of the door for obstructions, such as molding or decorative elements, that might impede the peephole installation.
- Seal the Edges: After installing the peephole, apply a small amount of silicone sealant around the edges of the exterior lens to prevent moisture from getting inside and to protect the door’s finish.
- Test the View: Once installed, test the view through the peephole from various angles and lighting conditions to ensure it provides a clear and wide view of the area outside your door. This might help you adjust or reinsert the peephole if needed.
With these additional tips and tricks, you can ensure that your peephole is functional and installed correctly and carefully.
5 Things You Should Avoid
- Using the Wrong Tools: Avoid using improper or dull tools for drilling the hole, as this can result in a messy or inaccurate installation. Always ensure you have the appropriate drill bit and other necessary tools.
- Neglecting Safety Measures: Don’t skip safety precautions such as wearing safety glasses and gloves while drilling. Protect yourself from potential hazards during the installation process.
- Skipping Measurements: Avoiding precise measurements can lead to an incorrect placement of the peephole. Always measure and mark the exact spot before drilling to ensure the peephole is at the correct height and location.
- Forgetting to Clean Up: After drilling, make sure to clean up any wood shavings or debris both inside and outside, as they can interfere with the installation and operation of the peephole.
- Overlooking Door Thickness: When purchasing a peephole, don’t overlook the thickness of your door. Peepholes are designed to fit specific door thickness ranges, so ensure that you buy one that matches your door to avoid installation issues.
By avoiding these common mistakes, you can ensure a smooth and successful peephole installation.
Conclusion
How to install a peephole in your front door is a straightforward project that can enhance the security and convenience of your home.
You can achieve a professional installation by carefully selecting the right height, using proper tools, taking accurate measurements, and following safety precautions. Remember to seal the edges to protect against moisture and test the view to ensure clarity. You’ll ensure a successful and durable installation by avoiding common mistakes such as using the wrong tools or neglecting door thickness.
With these guidelines, your peephole installation will be both functional and aesthetically pleasing, providing peace of mind and a clear view of visitors to your home.
You Can Check It Out to Install Ring Peephole Camera.
About
Safety Fic is a distinguished figure in the world of Diy design, with a decade of expertise creating innovative and sustainable Diy solutions. His professional focus lies in merging traditional craftsmanship with modern manufacturing techniques, fostering designs that are both practical and environmentally conscious. As the author of diy, Safety Fic delves into the art and science of Safety Fic-making, inspiring artisans and industry professionals alike.
Education RMIT University
(Melbourne, Australia) Associate Degree in Design (Safety Fic) Focus on sustainable design, industry-driven projects, and practical craftsmanship. Gained hands-on experience with traditional and digital manufacturing tools, such as CAD and CNC software.
Nottingham Trent University
(United Kingdom) Bachelor’s in diyfastly.com and Product Design (Honors) Specialized in product design with a focus on blending creativity with production techniques. Participated in industry projects, working with companies like John Lewis and Vitsoe to gain real-world insights.
Publications and Impact
In diy, Safety Fic his insights on indoor design processes, materials, and strategies for efficient production. His writing bridges the gap between artisan knowledge and modern industry needs, making it a must-read for both budding designers and seasoned professionals.