
Installing a safe in your home is a vital step in safeguarding your valuables and sensitive documents.

The significance of having a secure place for your prized possessions cannot be overstated, as it helps protect against theft, fire damage, and unauthorized access.
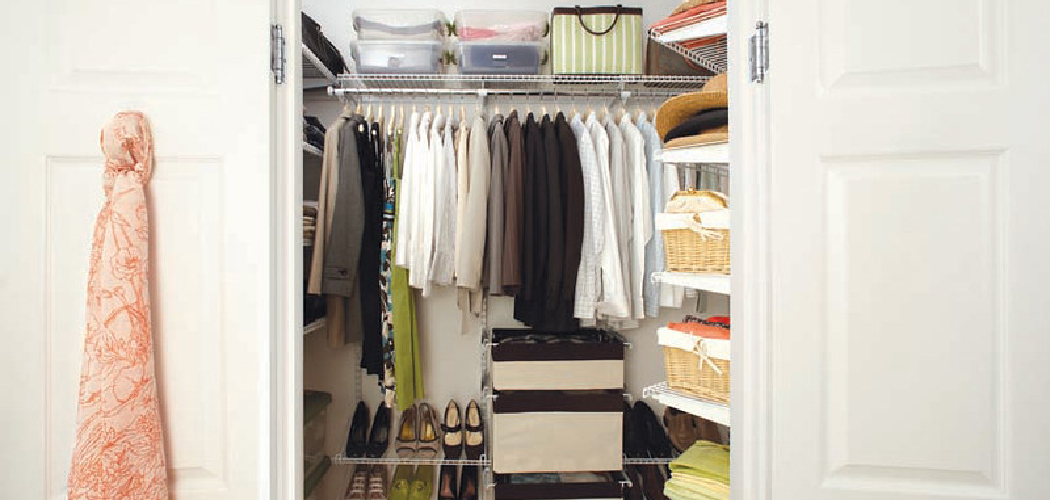
Placing a safe in a closet offers numerous benefits, including easy concealment, accessibility, and utilizing an existing, often underused space.
The installation process for a safe in a closet involves several key steps: selecting the appropriate safe and location, preparing the area with the necessary tools and materials, and securely mounting the safe.
By following a structured approach, you will understand how to install a safe in a closet effectively, ensuring both security and peace of mind.
Choosing the Right Safe and Location
Selecting the Appropriate Safe
When choosing a safe for your closet, it’s essential to consider the different types available to suit your specific needs. Wall safes can be installed into the wall for a concealed and space-saving solution.
On the other hand, floor safes offer a robust option that can be anchored to the floor for added security. Portable safes provide the convenience of moving them as needed but should still be secured with mounting features or cables.
The safe’s size, weight, and fireproof and waterproof capabilities are key features to consider. Additionally, assess the security level, such as the type of lock and resistance to tampering, ensuring it meets your protection requirements.
Optimal Placement in the Closet
Selecting the ideal location within your closet involves several considerations. Accessibility is crucial; you want to ensure you can easily reach the safe while maintaining a level of concealment that deters potential thieves.
The chosen spot should also provide sufficient structural support to securely bear the safe’s weight, whether on the wall or floor. Begin by measuring the intended space to guarantee the safe fits properly.
To do this, use a measuring tape to get accurate dimensions, taking note of any obstacles, such as shelving or hanging clothes, that might interfere with the installation.
Preparing for Installation
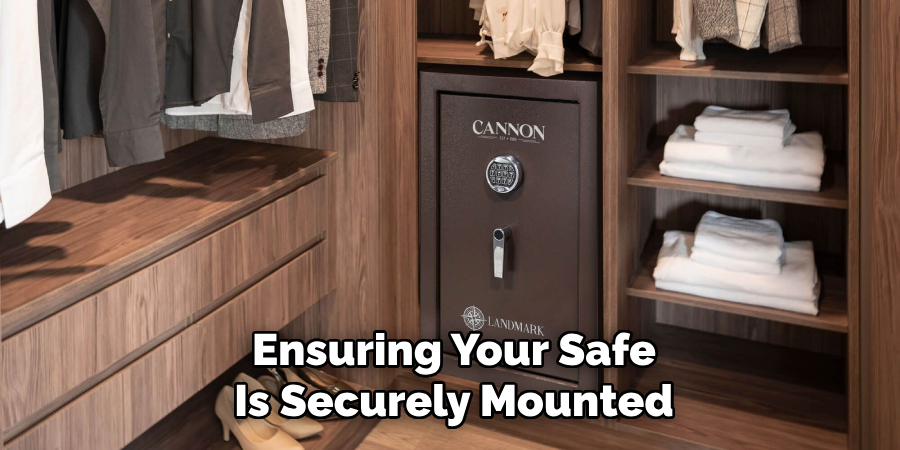
Proper preparation is vital for a smooth installation, ensuring your safe is securely and correctly mounted. Before you start, gather all necessary tools and materials to avoid interruptions and ensure safety during the installation.
This preparation phase involves collecting the right tools and checking the structural integrity of your chosen location.
Gathering Necessary Tools and Materials
Start by assembling the essential tools you will need: a drill for making holes, a level to ensure everything is aligned correctly, and a measuring tape to confirm dimensions. Also, gather anchors and screws to secure the safe in place.
Additionally, you will need materials such as a mounting kit, which often comes with the safe, and protective gear like gloves and safety glasses to safeguard yourself during the installation.
Having these items ready and within reach can significantly streamline the process, allowing you to focus on precisely executing each step.
Ensuring Structural Integrity
Next, inspect the closet walls and floor for studs and general stability to ensure they can support the safe’s weight. Use a stud finder to locate the studs in the walls, as these will provide the necessary structural support.
If you encounter any weak areas or discover that parts of the wall or floor are unstable, reinforce them accordingly.
This might involve adding extra studs or using stronger anchors. Reinforcing weak spots ensures that the safe will remain securely in place and perform its function effectively over time.
How to Install a Safe in A Closet: Installing a Wall Safe
Marking the Installation Area
Begin the installation of your wall safe by identifying the location on the wall where the safe will be mounted. Use a measuring tape to measure the dimensions of the safe and mark the outline on the wall with a pencil.
This ensures that you have an accurate guide for the upcoming cutting process. Ensuring that the placement aligns with the wall studs is crucial, as these provide the structural support necessary to hold the safe securely.
A stud finder is an essential tool for locating the studs behind the wall. Once identified, mark their positions to ensure your safe will be anchored properly.
To achieve accurate alignment, use a level to ensure that your markings are straight and even, which will help you avoid potential misalignment issues later on. This meticulous marking process sets the foundation for a successful and stable installation.
Cutting the Wall Opening
With the installation area accurately marked, the next step involves cutting the wall opening to fit the safe. Double-check the marked area with a stud finder and level to confirm the exact dimensions and alignment.
Ensure all electrical wires or plumbing lines are clear from the cutting path to avoid damage or hazards. Using a sharp utility knife or a drywall saw, carefully cut along the penciled lines, taking particular care at the corners.
Maintain a steady hand to create a clean, precise opening that matches the dimensions of your safe. Removing the cut section of drywall or paneling should reveal the wall studs and create an appropriate cavity for the safe.
Be prepared to adjust the opening slightly if necessary to fit the safe snugly, ensuring maximum security and stability once the safe is installed.
Securing the Safe in Place
Once the opening has been prepared, it’s time to insert the safe into the wall cavity. Carefully position the safe within the cut-out area, ensuring that it fits flush against the wall surface.
Use your level to verify that the safe sits evenly within the opening. With the safe in place, begin securing it to the wall studs using screws and anchors, as recommended by the manufacturer.
It is essential to use strong, high-quality anchors and screws to maintain the secure positioning of the safe. Start by attaching the top and bottom corners to provide initial stability, then proceed to secure the remaining sides.
After all screws and anchors are in place, double-check that the safe is level and does not move or wobble. This step ensures that the safe is firmly installed, providing reliable security for your valuables.
How to Install a Safe in A Closet: Installing a Portable Safe
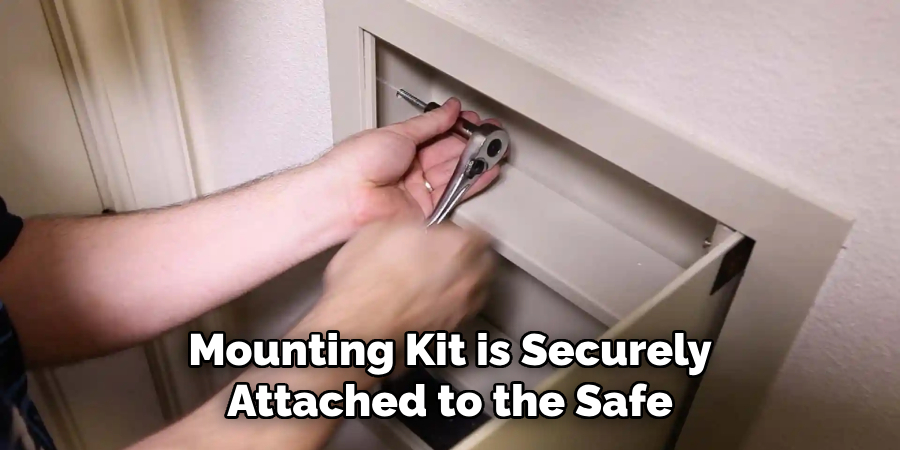
Using a Mounting Kit
When installing a portable safe, attach the mounting kit that typically accompanies the safe. Follow the manufacturer’s instructions carefully to ensure proper installation.
This usually involves aligning the mounting brackets with the designated holes on the safe, then securing them using screws or bolts provided in the kit. Ensure the brackets are firmly attached and do not wobble or shift, as this will affect the security of the safe.
Securing the Mounting Kit to the Closet Wall or Floor
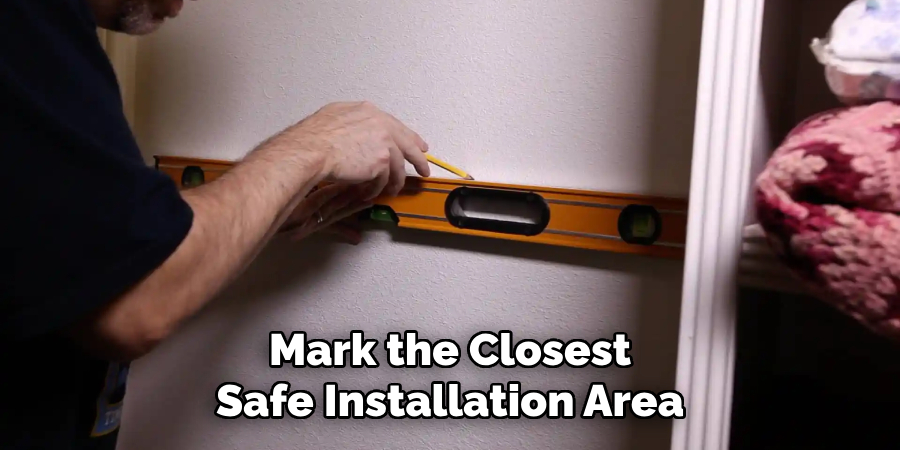
Once the mounting kit is securely attached to the safe, position the safe in the desired location within your closet.
Mark the spots where the screws will be inserted on the wall or floor, ensuring they align with the closet studs or floor joists for maximum support. Use a drill to create pilot holes at these marks, then attach the mounting kit to the wall or floor using the provided anchors and screws.
Double-check to ensure the safe is level and firmly secured. This step is crucial for preventing unauthorized removal or tampering with the safe.
Additional Security Measures
Consider using additional locks or cables to secure your portable safe for enhanced security. Steel cables can be looped through the safe’s handle and anchored to a fixed point, adding an extra layer of protection against theft.
Additionally, concealing the safe with clothing or other items can deter potential thieves. By placing the safe behind or beneath layers of shoes, folded clothes, or other personal items, you make it less noticeable and harder to find.
These extra precautions greatly enhance the safety and security of your valuables stored within the portable safe.
Final Checks and Safety Measures
Once the safe installation is complete, conduct a thorough inspection to ensure it is securely installed and stable. Verify that all screws, bolts, and anchors are tightly fastened, and give the safe a firm shake to confirm it does not wobble or move.
Check the alignment once with a level to ensure the installation is precise. Next, test the safe’s locking mechanism multiple times to ensure it operates smoothly and locks correctly.
Both the lock and any digital or combination systems should function without any hitches. Finally, keep the safe keys or combination in a secure location. This might include a different locked container, a bank safety deposit box, or another location known only to you and trusted individuals.
Ensuring these final checks and safety measures are meticulously followed will guarantee the long-term security and functionality of your safe.
Conclusion
In summary, knowing how to install a safe in a closet involves several crucial steps, including selecting the right location and ensuring proper alignment with wall studs.
This is followed by carefully cutting the wall opening to fit the safe and securely fastening it into place using screws and anchors. For a portable safe installation, using a mounting kit and ensuring it is firmly attached to the closet wall or floor are key steps.
It is vital to adhere to safety and security guidelines throughout the installation process to ensure the safety installation’s longevity and reliability. Regularly checking the condition and security of the safe is highly recommended to maintain its effectiveness in protecting your valuables.
By following these measures, you can be confident in the secure installation and ongoing security of your safe, safeguarding your possessions for years to come.