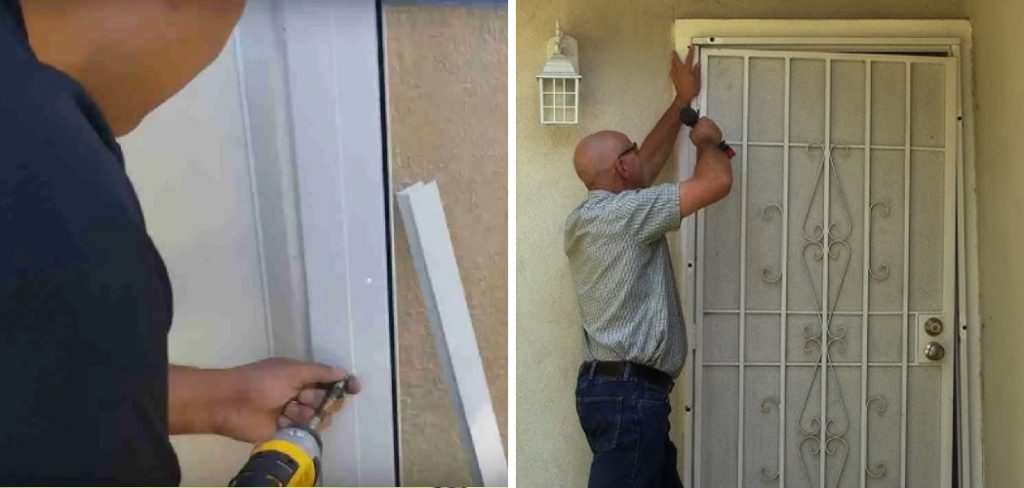
Installing a security door frame is an effective way to enhance the safety and security of your home. A sturdy frame acts as a strong barrier against forced entry, providing peace of mind that your property and loved ones are well-protected. This guide will walk you through the process of how to install a security door frame, ensuring that it is both efficient and securely fitted. Whether you’re embarking on a DIY project or simply want to understand the steps involved, this guide will provide you with the necessary knowledge to proceed confidently.

The Importance of a Security Door Frame for Enhancing Home Security
A security door frame plays a pivotal role in fortifying the entrance to your home. Unlike standard door frames, security frames are designed to withstand significant force, making them an essential component of any home security strategy. A strong frame can deter potential intruders by providing a robust first line of defense, thereby reducing the risk of break-ins.
Additionally, installing a security door frame can enhance the structural integrity of your entryway, ensuring that doors remain properly aligned and secure over time. In scenarios where quick access is key, such as emergency exits or entry points, a well-installed security frame offers reliability and protection, allowing homeowners to feel safe and secure in their living environment. In essence, a security door frame not only acts as a physical barrier but also contributes to a sense of safety and peace for homeowners.
Benefits of Installing a Security Door Frame
Installing a security door frame offers multiple advantages that extend beyond basic protection. Firstly, it significantly enhances home security, providing resistance against forced entry attempts. This added layer of security minimizes the chances of burglary and damage to property.

Secondly, security door frames are often crafted from durable materials such as steel or reinforced wood, ensuring longevity and reducing the need for frequent repairs or replacements. Moreover, a security frame can improve energy efficiency by securing the door tightly, thereby reducing drafts and maintaining the indoor temperature more effectively. This can lead to lower energy costs and a more comfortable living environment.
Additionally, security door frames often feature enhanced design options that can complement the aesthetic appeal of your home, blending safety with style. Overall, investing in a security door frame provides peace of mind, knowing that your home has a fortified entryway designed to safeguard your family and possessions.
10 Methods How to Install a Security Door Frame
1. Choose the Right Security Door Frame
The first step in installing a security door frame is selecting the correct frame that meets your needs. Security door frames come in different materials, with steel and reinforced wood being the most common. Consider factors like the level of protection you want, the size of the frame, and whether it fits your existing door. If you already have a security door, make sure the frame is compatible. Some security door frames also come with pre-drilled holes for easy installation, while others require you to customize them on-site. Make sure you choose a frame that suits your home’s aesthetics and security requirements.

2. Gather the Necessary Tools and Materials
To ensure a smooth installation, gather all the tools and materials you will need before starting the project. This includes a power drill, screwdriver, tape measure, level, pencil, hammer, screws, anchors, a saw (if adjustments are necessary), and shims. If you’re installing a steel security door frame, you may need specialized tools, such as a metal-cutting saw or drill bits. Having everything ready at hand prevents unnecessary interruptions during the installation process and ensures that you can follow each step without delay.
3. Remove the Existing Door Frame
Before you can install your new security door frame, you’ll need to remove the old one. Start by taking off the door itself by unscrewing the hinges and carefully lifting the door from the frame. Next, remove the trim around the existing door frame using a pry bar or hammer. Be careful to avoid damaging the surrounding wall. Once the trim is off, you can begin removing the frame itself. Depending on how the original frame was installed, you may need to saw through nails or screws securing it in place. Take your time with this step, as removing the old frame completely is essential for fitting the new security frame.
4. Measure the Door Opening Accurately
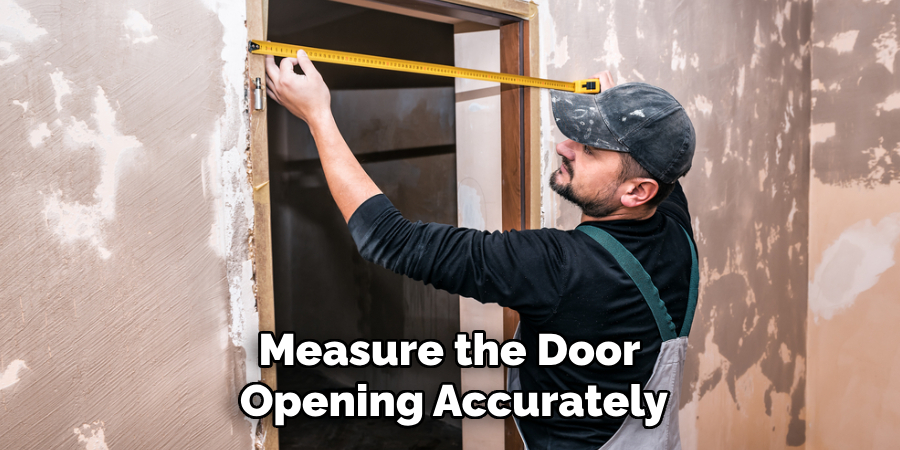
One of the most crucial steps in installing a security door frame is ensuring that the new frame fits perfectly within the door opening. Measure the width and height of the door opening carefully, taking multiple measurements at different points to ensure consistency. If the new security door frame is pre-sized, check that these measurements match the frame’s dimensions. If adjustments are needed, you may have to trim the frame or adjust the door opening to fit. Precision in measurement is key to avoiding gaps that could compromise the security of your door.

5. Position and Align the Security Door Frame
Once the door opening is prepped and your measurements are accurate, position the new security door frame in the opening. Use a level to ensure the frame is straight and correctly aligned. Proper alignment is crucial to the door’s function, as a misaligned frame can cause issues with the door opening and closing smoothly. If the frame is slightly off, use shims to adjust its position. Insert the shims at the top and sides of the frame, making sure the frame remains level throughout the process. This step ensures that the frame will be secure and properly aligned when fastened.
6. Secure the Frame with Screws and Anchors
Once the frame is properly positioned, it’s time to secure it in place. Start by drilling pilot holes through the frame into the wall studs or surrounding structure. This is especially important if you’re working with a steel frame, as the material can be tough to penetrate without pilot holes. For added security, use heavy-duty screws or bolts, particularly at the top and bottom of the frame, where most force is typically applied during a break-in attempt. If the wall structure is weak or hollow, consider using wall anchors for additional support. Drive the screws or bolts tightly into place, ensuring the frame is immovable and sturdy.
7. Reinforce with Additional Brackets or Bars
For enhanced security, consider reinforcing the door frame with additional brackets or security bars. These can be installed across the frame or at key points where force is likely to be applied, such as near the lock and hinges. Some security door frames come with pre-installed reinforcement, but if yours does not, adding this extra layer of protection can make a significant difference. Heavy-duty steel bars or reinforcement plates can be bolted directly into the frame or the surrounding structure, making the door more resistant to forced entry attempts.
8. Install the Door and Check for Fit
Once the frame is securely in place, it’s time to reinstall the door or hang the new security door. Reattach the door hinges, making sure they are aligned with the frame. Use sturdy hinge screws that can support the weight of the door, particularly if you’re installing a heavy steel security door. After attaching the door, test it by opening and closing it several times to check for proper fit and function. The door should move smoothly without sticking or scraping against the frame. If there are any issues, adjust the hinges or the frame alignment to resolve the problem.
9. Seal Gaps and Apply Finishing Touches
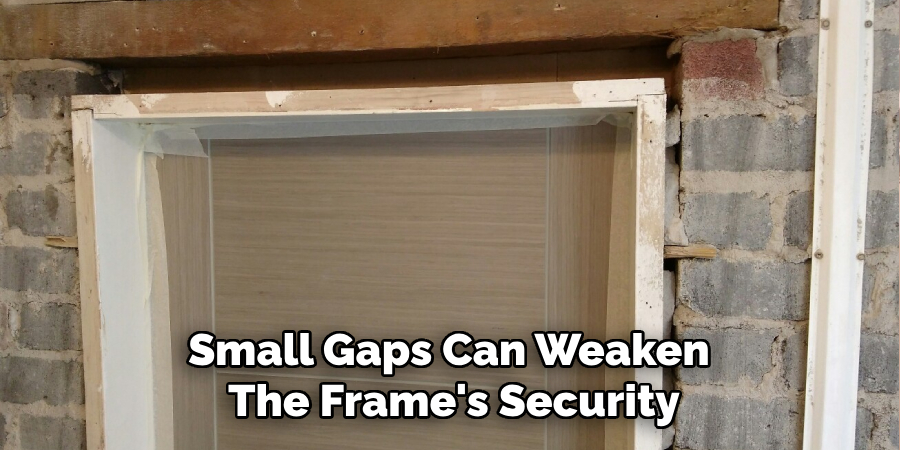
Once the door is properly installed, inspect the frame for any gaps between it and the wall. Even small gaps can weaken the frame’s security and allow air drafts or moisture to enter. Use weatherproof caulk to seal these gaps, which not only enhances the frame’s strength but also improves insulation. If you want a cleaner finish, you can add decorative trim around the frame after sealing. This not only improves the appearance of the installation but also helps protect the frame from wear and tear.

10. Install Security Features (Locks, Deadbolts, Peepholes)
The final step in installing a security door frame is outfitting it with security features, such as locks, deadbolts, and peepholes. A reinforced door frame can only be as secure as the locking mechanism it supports, so choose high-quality locks and deadbolts. Ensure the lock is correctly aligned with the strike plate in the frame, which should also be reinforced to prevent kick-ins. For additional security, consider adding a peephole or video doorbell system to monitor visitors without having to open the door.
Conclusion
Installing a security door frame is a multi-step process that requires careful planning, precise measurements, and proper tools. From selecting the right frame to securing it in place and outfitting it with additional security features, each step plays a critical role in ensuring your home is well protected against potential break-ins. By following these ten methods, you can confidently install a security door frame that enhances both your home’s security and appearance. Thanks for reading our blog post on how to install a security door frame! We hope you found it helpful and informative.
About
Safety Fic is a distinguished figure in the world of Diy design, with a decade of expertise creating innovative and sustainable Diy solutions. His professional focus lies in merging traditional craftsmanship with modern manufacturing techniques, fostering designs that are both practical and environmentally conscious. As the author of diy, Safety Fic delves into the art and science of Safety Fic-making, inspiring artisans and industry professionals alike.
Education RMIT University
(Melbourne, Australia) Associate Degree in Design (Safety Fic) Focus on sustainable design, industry-driven projects, and practical craftsmanship. Gained hands-on experience with traditional and digital manufacturing tools, such as CAD and CNC software.
Nottingham Trent University
(United Kingdom) Bachelor’s in diyfastly.com and Product Design (Honors) Specialized in product design with a focus on blending creativity with production techniques. Participated in industry projects, working with companies like John Lewis and Vitsoe to gain real-world insights.
Publications and Impact
In diy, Safety Fic his insights on indoor design processes, materials, and strategies for efficient production. His writing bridges the gap between artisan knowledge and modern industry needs, making it a must-read for both budding designers and seasoned professionals.
