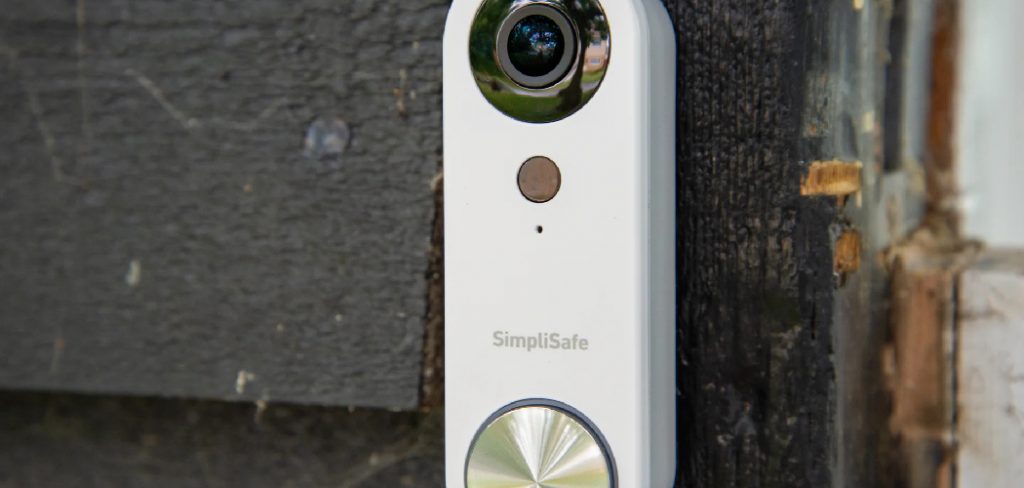
Are you looking to install a SimpliSafe doorbell for your home’s security system? Look no further! In this guide, we will walk you through the step-by-step process of how to install a simplisafe doorbell.

Installing a Simplisafe doorbell is straightforward and enhances the security of your home by providing real-time video surveillance and accessible communication with visitors at your doorstep. This guide will walk you through each step of the installation process, from preparing your existing doorbell setup to configuring the device with your Wi-Fi network. With a few tools and some basic instructions, your Simplisafe doorbell will be up and running quickly, ensuring that your home’s entrances are secure and closely monitored.
Whether you’re upgrading your smart home ecosystem or adding another layer of security, following these steps will help you install your Simplisafe doorbell efficiently and effectively.
What Will You Need?
Before you begin the installation process, ensure you have all the necessary tools and items. Here are a few things you’ll need to install your Simplisafe doorbell:
- A Simplisafe doorbell
- Phillips-head screwdriver
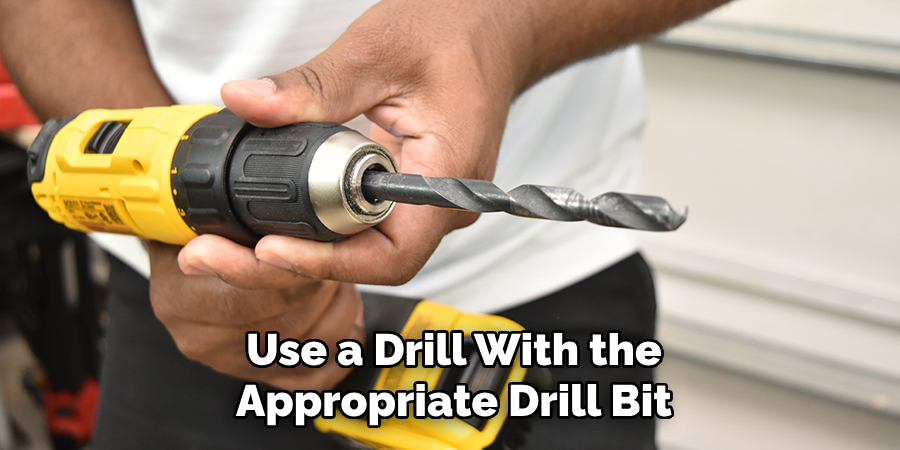
- Drill with appropriate drill bits (if needed)
- Mounting bracket and screws (included in the package)
- Wi-Fi network and password
Once you have gathered all of these items, you’re ready to start installing your Simplisafe doorbell.
10 Easy Steps on How to Install a Simplisafe Doorbell
Step 1. Turn Off Power
To ensure safety while working with electrical components, locate your home’s circuit breaker box and turn off the power to your current doorbell. This precaution prevents any electrical hazards and protects both you and the device during installation. It’s wise to double-check that the power is completely off by testing the existing doorbell—press the button to confirm it does not chime.

Turning off the power is a critical initial step in the installation process as it minimizes the risk of electric shock and helps you to work more confidently on the wiring of your new SimpliSafe doorbell. Once you have ensured the power is off, you’re ready to proceed with installing the doorbell.
Step 2. Remove Existing Doorbell
Carefully unscrew and remove your existing doorbell from the wall. If it is wired, gently disconnect the wires from the back of the doorbell. Be sure to note where the wires were connected, as this will help guide you when attaching the new SimpliSafe doorbell. Keep the screws handy, as they may be needed later in the installation process.
Once the old doorbell is removed, inspect the area for any dirt or residue and clean it up to ensure a smooth installation surface for the new device. With a clear and prepared area, you can confidently install the mounting bracket for your SimpliSafe doorbell.
Step 3. Install Mounting Bracket
Position the mounting bracket on the cleaned surface where you plan to install your SimpliSafe doorbell. Ensure that it is aligned correctly and at the right height for optimal camera coverage and accessibility. Use a pencil to mark the screw holes on the wall. If you are installing on brick or stucco, you may need to use a drill with the appropriate drill bit to make pilot holes for the screws. Once the holes are ready, use the screws included in the package to attach the mounting bracket to the wall firmly.

Tighten the screws securely to ensure the bracket will hold the doorbell in place without any wobble or movement. This step prepares the foundation for securely attaching your SimpliSafe doorbell.
Step 4. Connect the Wires
With the mounting bracket securely, it’s time to connect the wires to your SimpliSafe doorbell. Take the doorbell unit and locate the terminals at the back. Connect the wires from your existing doorbell setup to the proper terminals on the new unit; typically, the wires are labeled as “front” and “trans” or something similar, but follow the specific instructions provided by SimpliSafe.
Ensure the wire connections are snug and secure to prevent any connectivity issues. This step is critical for powering the doorbell and enabling its function, so double-check the connections before proceeding.
Step 5. Attach the Doorbell Unit
Once the wires are connected securely, you can attach the SimpliSafe doorbell unit to the mounting bracket. Align the doorbell with the bracket, ensuring that all screw holes are correctly aligned for a seamless fit. Slide the doorbell unit onto the bracket until it clicks into place, or use the included screws to secure it based on the model’s installation requirements. Ensure the doorbell unit is flush against the wall and does not move. Securing the doorbell solidly will guarantee it stays in place, even when the button is pressed multiple times.
Step 6. Restore Power
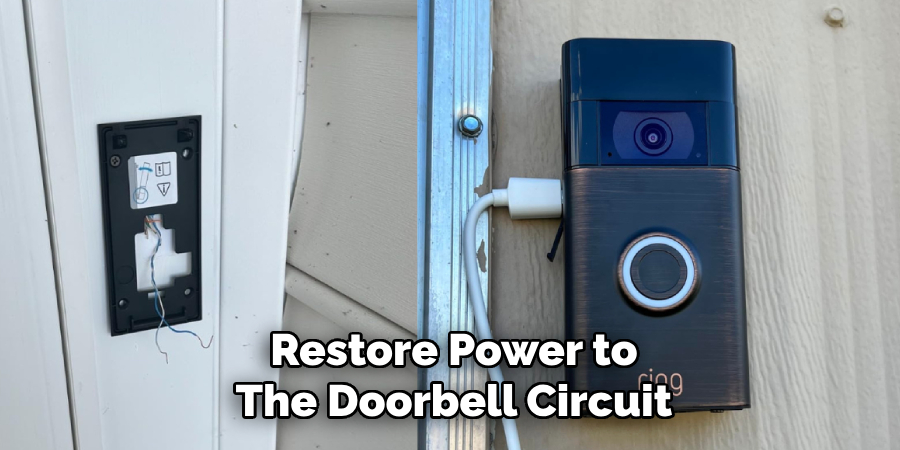
After securing the doorbell unit onto the mounting bracket, it is time to restore power to the doorbell circuit. Go to your circuit breaker box and switch the power back on for the doorbell. Once the power is restored, test the doorbell to ensure it receives power correctly. You should see that the doorbell’s indicator lights are on, confirming power flows through the system.

Verifying that the device is powered is essential before proceeding to the next step, which involves connecting the doorbell to your home Wi-Fi network for complete setup and functionality. With the power restored and your doorbell indicating readiness, you can proceed to the final steps of the installation process.
Step 7. Connect to Wi-Fi
To complete the installation and utilize all features of your SimpliSafe doorbell, you need to connect it to your home Wi-Fi network. Begin by downloading the SimpliSafe app on your smartphone or device and creating an account if you don’t already have one. Once logged in, navigate to the doorbell setup section and follow the prompts to add a new device.
The app will guide you through connecting the doorbell to your Wi-Fi network. Make sure you have your Wi-Fi name and password ready. When the doorbell is successfully connected, the app will notify you, and you can proceed to customize settings such as motion detection and notification preferences. Confirm the connection by testing the doorbell’s live video feed and ensuring it’s functioning as expected.
Step 8. Customize Settings
With your SimpliSafe doorbell connected to your Wi-Fi network, you can customize its settings to tailor its functionality to your needs. Open the SimpliSafe app and navigate to the settings section for your doorbell. You can adjust settings such as motion sensitivity, alert preferences, and camera resolution here. Customize the notifications to ensure you are promptly alerted when someone is at your door or other activities occur.
Additionally, you might want to set up privacy zones within the app to omit certain areas from video recording, providing an added layer of control over what your doorbell captures. By setting up these preferences, you enhance the overall experience and usability of your SimpliSafe doorbell, ensuring it operates precisely how you want it to.
Step 9. Test and Finalize the Installation
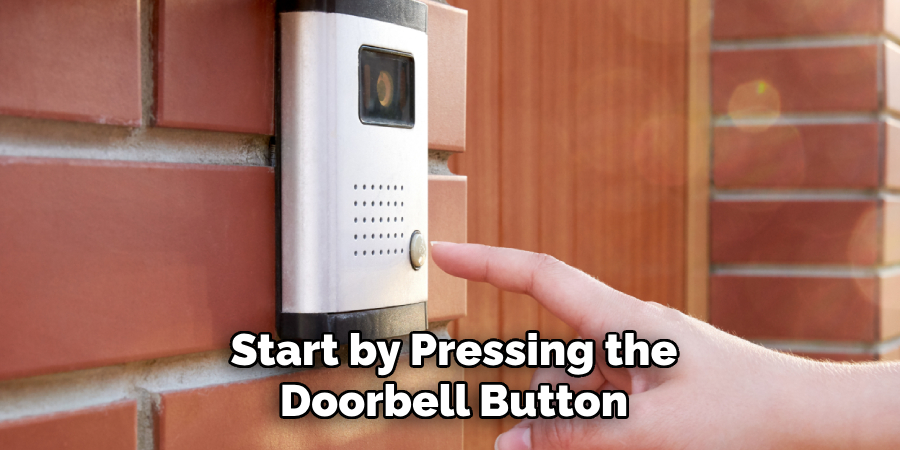
Once all settings have been customized to your liking, it’s essential to thoroughly test your SimpliSafe doorbell to ensure everything is functioning correctly. Start by pressing the doorbell button and checking whether you receive a notification on your smartphone through the SimpliSafe app. Verify that you can access the live video feed and that the audio functionality is clear. Test the motion detection feature by walking before the doorbell to see if it triggers the appropriate alerts.

Address any issues immediately through the app settings or refer to the troubleshooting guide provided by SimpliSafe. Once satisfied that all features are operational and configured to your preferences, you can consider the installation process complete. Enjoy the enhanced security and convenience that your new SimpliSafe doorbell provides.
Step 10. Maintenance and Troubleshooting
To ensure your SimpliSafe doorbell functions optimally over time, periodic maintenance and occasional troubleshooting may be necessary. Regularly check for software updates through the SimpliSafe app to keep your device updated with the latest features and security improvements.
Inspect the doorbell’s exterior for dust, dirt, or any debris that might obstruct the camera or sensors, cleaning it gently with a soft, damp cloth as needed. If you encounter any technical issues, consult the app’s troubleshooting guide or contact SimpliSafe customer support for assistance. Maintaining your doorbell will enhance its longevity, ensuring it continues to offer reliable security and convenience for your home.
By following these ten steps, you can successfully install and set up your SimpliSafe doorbell, providing added security and convenience for your home.
Conclusion
How to install a simplisafe doorbell is a straightforward process that combines both hardware setup and digital configuration, ensuring that your home is equipped with a reliable security device.
You ensure that each component functions seamlessly by following the outlined steps, from preparing your setup area to customizing and testing your device settings. The initial hardware installation lays the groundwork while connecting to Wi-Fi and configuring through the SimpliSafe app to tailor the doorbell to your specific security preferences. Regular maintenance and updates further contribute to the effectiveness and longevity of your system.
With careful attention to each step, your SimpliSafe doorbell will provide enhanced security, giving you peace of mind and convenience in monitoring your home’s entryway.
About
Safety Fic is a distinguished figure in the world of Diy design, with a decade of expertise creating innovative and sustainable Diy solutions. His professional focus lies in merging traditional craftsmanship with modern manufacturing techniques, fostering designs that are both practical and environmentally conscious. As the author of diy, Safety Fic delves into the art and science of Safety Fic-making, inspiring artisans and industry professionals alike.
Education RMIT University
(Melbourne, Australia) Associate Degree in Design (Safety Fic) Focus on sustainable design, industry-driven projects, and practical craftsmanship. Gained hands-on experience with traditional and digital manufacturing tools, such as CAD and CNC software.
Nottingham Trent University
(United Kingdom) Bachelor’s in diyfastly.com and Product Design (Honors) Specialized in product design with a focus on blending creativity with production techniques. Participated in industry projects, working with companies like John Lewis and Vitsoe to gain real-world insights.
Publications and Impact
In diy, Safety Fic his insights on indoor design processes, materials, and strategies for efficient production. His writing bridges the gap between artisan knowledge and modern industry needs, making it a must-read for both budding designers and seasoned professionals.
