

Are you tired of your storm door slamming shut whenever there’s a gust of wind? A simple solution to this problem is installing a storm door chain.
Not only will it prevent the door from slamming, but it can also add an extra level of security to your home. How to install a storm door chain can provide additional security and protection for your home by preventing your storm door from swinging open too widely during strong winds.
This simple yet effective device can be installed with basic tools and minimal effort, making it an accessible project for most homeowners.
In this guide, we will walk you through the process step-by-step, ensuring that you have all the information needed to complete the installation successfully.
Whether you are a seasoned DIY enthusiast or a novice, our instructions will help you easily secure your storm door.
What Will You Need?
Before you begin the installation process, gathering all the necessary tools and materials is essential. Here’s a list of items that you will need:
- Storm door chain kit (typically includes screws, chain, and brackets)
- Drill
- Screwdriver
- Pencil
- Measuring tape
- Level
Once you have all the supplies ready, it’s time to install your storm door chain!
9 Easy Steps on How to Install a Storm Door Chain
Step 1: Measure and Mark Placement
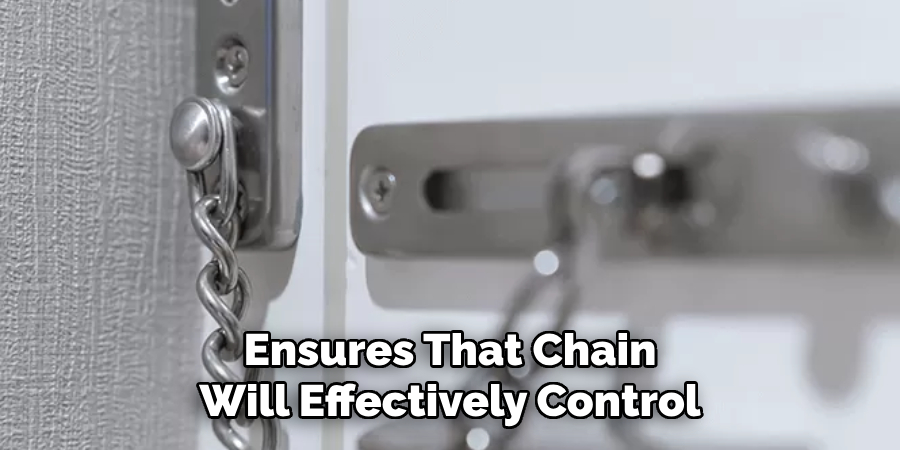
Begin by determining the ideal placement for the storm door chain. Typically, the chain should be installed about one-third of the way down from the top of the door.
This positioning ensures that the chain will effectively control the door’s movement without interfering with its operation.
- Measure the Distance: Use a measuring tape to measure the distance from the top of the door down to the desired placement spot for the chain bracket. Mark this spot lightly with a pencil.
- Find the Matching Spot on the Frame: Next, measure the same distance from the top of the door frame where the chain will attach. Mark this spot as well.
Take your time with this step to ensure accuracy, as proper placement is crucial for the chain to function correctly. Using a level can help verify that the markings are even on both the door and the frame, preventing any alignment issues during installation.
Step 2: Attach the Door Bracket
Now that you have accurately marked the placement for the chain bracket, it’s time to attach the door bracket.
- Align the Bracket: Position the door bracket on the mark you made on the door. Ensure that it is straight and aligned with your mark.
- Pre-drill Holes: Using a drill with a bit that matches the screws provided in your kit, pre-drill holes where the screws will go. This step helps prevent the wood from splitting.
- Screw the Bracket: Screw the bracket into place using a screwdriver. Make sure the bracket is securely attached and doesn’t wobble.
Step 3: Attach the Frame Bracket
With the door bracket in place, your next step is to attach the frame bracket.
- Align the Bracket: Position the frame bracket over the mark you made on the door frame. Ensure it is straight and lines up with the door bracket.
- Pre-drill Holes: Using the drill, pre-drill holes for the screws to prevent the frame from splitting.
- Screw the Bracket: Secure the frame bracket in place with the screws provided in the kit, ensuring it’s firm and aligned with the door bracket.
Step 4: Attach the Chain
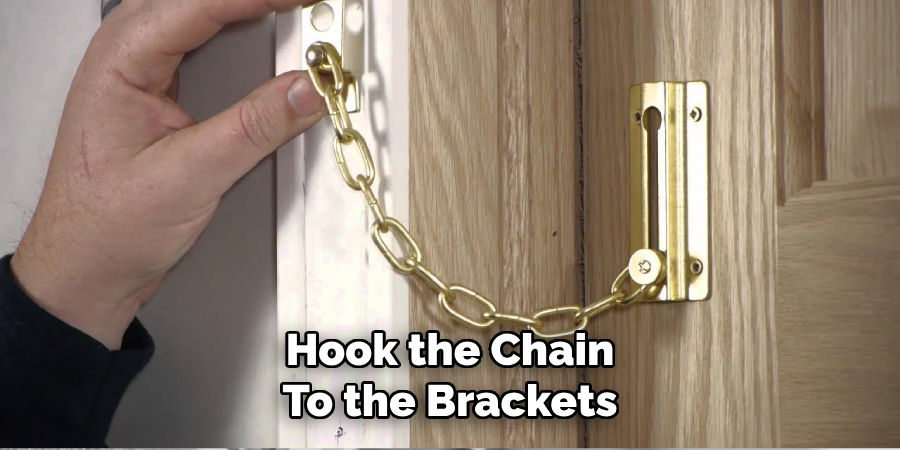
Once both brackets are attached, you can hook the chain to the brackets.
- Hook the Chain: Attach one end of the chain to the door bracket and the other end to the frame bracket. Ensure that the chain is neither too tight nor too loose.
- Adjust if Necessary: Check the chain length to ensure it allows the door to open and close without restriction while still providing the necessary resistance against strong winds. Adjust the chain length if needed.
Step 5: Test the Installation
Your storm door chain should now be securely installed.
- Open and Close the Door: Test the door by opening and closing it several times to ensure the chain is functioning correctly. If the door does not operate smoothly, make any final adjustments to the chain length.
- Check Security: Ensure both brackets are firmly secured to the door and the frame and that the chain limits the door’s movement as intended.
Step 6: Final Inspection and Maintenance
Now that your storm door chain is installed and tested, it’s important to conduct a final inspection to ensure long-term functionality.
- Inspect All Components: Check all components, including the brackets and chain, for any signs of wear or instability. Ensure that all screws are tightly secured and that the chain links are intact.
- Routine Maintenance: Periodically check the door chain to ensure it remains effective. Tighten any loose screws and clean any debris from the chains and brackets to prevent rust or wear.
- Lubricate Moving Parts: Consider applying a light lubricant to any moving parts, such as the chain links or bracket joints, to ensure smooth operation and to prevent rust or corrosion.
By conducting regular inspections and maintenance, you can extend the life of your storm door chain and maintain its effectiveness in protecting your door during strong winds.
Step 7: Document Your Work
After successfully installing your storm door chain, it’s a good idea to document the work for future reference or any potential troubleshooting.
- Take Photos: Take clear photos of the installed chain, including the attachment points on both the door and the frame. These images can be helpful if you need to refer back to the installation later.
- Write Notes: Jot down any observations or particular steps that were unique to your setup. This can include adjustments made, tools used, or any difficulties encountered during the installation.
- Save Instructions: Keep the installation instructions and any warranty information in a safe place. This ensures you have all the necessary information at hand should you need to replace or repair any part of the storm door chain in the future.

Documenting your work not only helps you maintain your current setup but also provides valuable guidance for any similar projects or repairs down the road.
Step 8: Clean Up Work Area
After completing your storm door chain installation and documentation, take some time to clean up your work area.
- Gather Tools: Collect all tools and materials used in the installation process, such as drills, screwdrivers, measuring tapes, and any leftover screws or brackets.
- Dispose of Waste: Properly dispose of any packaging, old parts, or debris that may have accumulated during the project. Ensure that sharp objects, such as used screws or nails, are safely discarded.
- Store Tools Safely: Return tools to their designated storage places to prevent any accidents or loss of equipment.
- Sweep or Vacuum: Clean the work area by sweeping or vacuuming any dust, wood shavings, or other small particles generated during the installation.
A tidy workspace helps prevent accidents and ensures a quick start for your next project.
Step 9: Enjoy Your New Installation
With your storm door chain successfully installed and your workspace cleaned up, it’s time to enjoy the benefits of your new installation.
- Peace of Mind: Take a moment to appreciate the added security and resilience your storm door chain provides against strong winds. Knowing that your door is protected can give you peace of mind, especially during severe weather conditions.
- Functional Enhancement: Notice how the chain helps control the door’s movement. It should now open and close smoothly without the risk of slamming shut, reducing the chances of damage to the door and frame.
- Potential Upgrades: Consider additional improvements you might make to your door or entryway. A well-maintained and secure storm door can facilitate other enhancements, such as weather stripping or a new door handle, further increasing the functionality and aesthetic appeal of your entrance.
Acknowledging the completed project and its benefits allows you to fully appreciate the effort you’ve put into ensuring your home’s safety and efficiency.

5 Additional Tips and Tricks
- Measure Twice, Drill Once: Before drilling any holes, make sure to measure the placement twice. Accurate measurements ensure that the chain aligns correctly with the door and its frame, preventing potential damage or misalignment.
- Use a Level: Ensuring that the chain is level is crucial for proper function. Use a bubble level to check both the mounting bracket on the door and the corresponding piece on the door frame before securing them with screws.
- Pre-Drill Holes: Pre-drilling holes for the screws can prevent the wood from splitting and make it easier to insert the screws. Choose a drill bit that is slightly smaller than the screws you plan to use.
- Lubricate Moving Parts: Apply a light lubricant to the moving parts of the storm door chain. This will help reduce friction, ensuring smooth operation and extending the lifespan of the chain mechanism.
- Test the Chain Tension: After installation, test the chain tension by opening and closing the door several times. Adjust the chain if necessary to ensure it provides adequate resistance without being too tight or too loose.
Conclusion
How to install a storm door chain can significantly enhance the security and functionality of your storm door. You can ensure a smooth and efficient installation by following the steps and incorporating these additional tips and tricks.
Remember to take your time with measurements, use appropriate tools, and make necessary adjustments to achieve the desired tension and alignment.
With proper installation, your storm door chain will provide added security and help manage the door’s movement, giving you peace of mind and convenience in your daily use.
Hopefully, this guide has given you a clear understanding of the installation process and the necessary precautions. Now, go ahead and install your storm door chain with confidence!
About
Safety Fic is a distinguished figure in the world of Diy design, with a decade of expertise creating innovative and sustainable Diy solutions. His professional focus lies in merging traditional craftsmanship with modern manufacturing techniques, fostering designs that are both practical and environmentally conscious. As the author of diy, Safety Fic delves into the art and science of Safety Fic-making, inspiring artisans and industry professionals alike.
Education RMIT University
(Melbourne, Australia) Associate Degree in Design (Safety Fic) Focus on sustainable design, industry-driven projects, and practical craftsmanship. Gained hands-on experience with traditional and digital manufacturing tools, such as CAD and CNC software.
Nottingham Trent University
(United Kingdom) Bachelor’s in diyfastly.com and Product Design (Honors) Specialized in product design with a focus on blending creativity with production techniques. Participated in industry projects, working with companies like John Lewis and Vitsoe to gain real-world insights.
Publications and Impact
In diy, Safety Fic his insights on indoor design processes, materials, and strategies for efficient production. His writing bridges the gap between artisan knowledge and modern industry needs, making it a must-read for both budding designers and seasoned professionals.