

Installing a backup camera in your vehicle can significantly enhance your driving experience by improving visibility and ensuring safety while reversing. Whether you’re a seasoned driver or a beginner, a backup camera provides additional confidence and helps prevent accidents by offering a clear view of what’s behind your car.
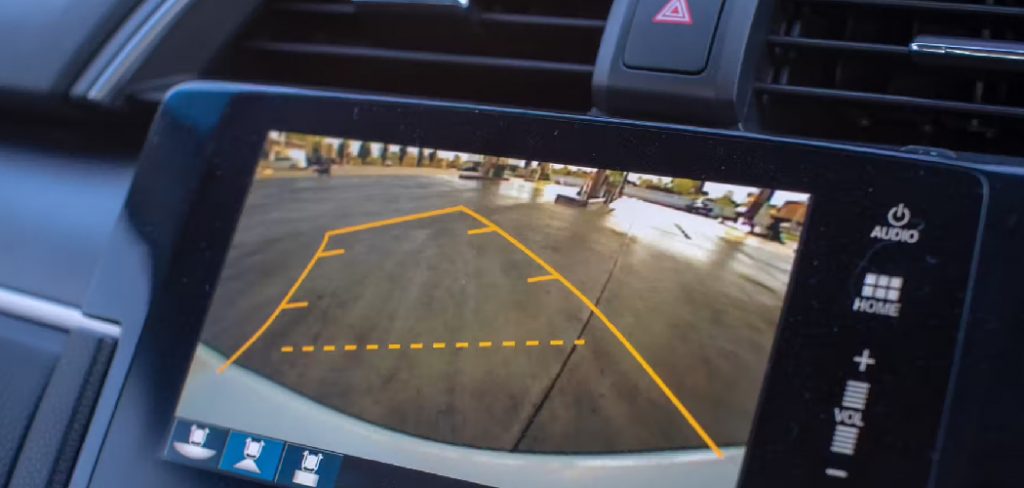
This guide on how to install backup camera will walk you through the process of installing a backup camera step-by-step, making it simple and straightforward, even for those with minimal technical expertise.
Choosing the Right Backup Camera
Selecting the right backup camera for your vehicle is an important first step to ensure optimal functionality and compatibility. Start by considering the type of camera that best suits your needs. There are surface-mounted cameras, which can be installed on the exterior of your vehicle, and license plate-mounted cameras, which fit seamlessly onto your license plate bracket. Next, assess the camera’s resolution and field of view. Higher resolution cameras provide clearer images, while a wide field of view enhances visibility by covering more area behind your vehicle.
Additionally, check for features such as night vision or low-light performance, which are essential for safe driving in nighttime conditions. Compatibility with your vehicle and existing display system, as well as weatherproofing for durability, should also factor into your decision. Taking the time to select the right backup camera ensures a safer and more effective driving experience.
Tools and Materials Needed
- Backup Camera Kit (Camera, Power Cables, Video Cable or Transmitter)
- Power Drill and Bits
- Screwdrivers (Phillips and Flathead)
- Wire Stripper/crimper
- Electrical Tape or Connectors
- Zip Ties
- Multimeter (Optional for Testing)
- Vehicle User Manual (for Wiring Reference)
8 Step-by-step Guidelines on How to Install Backup Camera
Step 1: Choose a Suitable Location
The first step in installing a backup camera is selecting an appropriate location for the camera. Typically, the best spot is near the center of the rear of your vehicle, such as just above the rear license plate or integrated into the rear bumper.
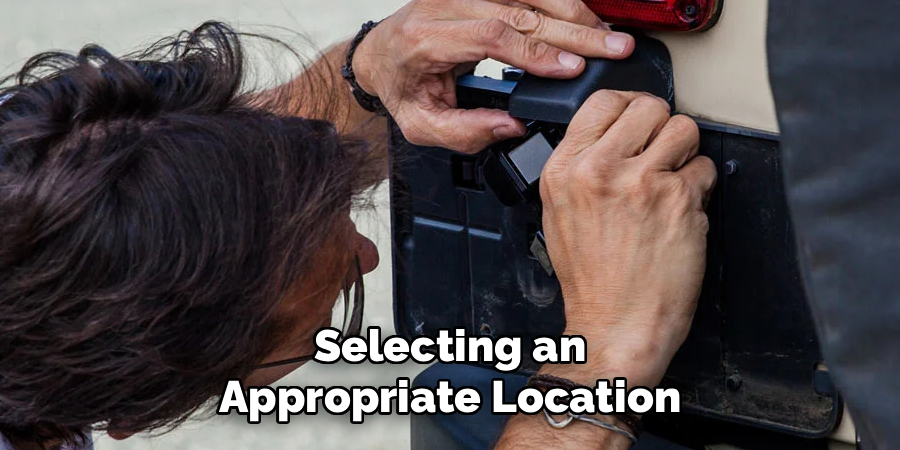
This placement provides a balanced and unobstructed view of the area behind your vehicle. Ensure the location you choose is accessible for mounting and wiring while staying clear of any moving parts, such as the trunk or tailgate. Take into account the camera’s field of view and ensure it won’t be obstructed by dirt, debris, or vehicle components. Use your vehicle’s user manual or backup camera kit instructions for additional guidance on identifying the ideal mounting point.
Step 2: Disconnect the Negative Terminal of the Battery
Before beginning any electrical work, it is crucial to disconnect the negative terminal of your vehicle’s battery. This ensures safety by preventing electrical shorts or accidental shocks while working with the backup camera wiring. Locate the battery, typically found under the hood or in the trunk, and use a wrench to carefully loosen the nut securing the negative (black) cable.
Once loosened, remove the cable entirely and ensure it is tucked away so it does not make contact with the terminal during installation. This step is essential to protect both you and your vehicle’s electrical system.
Step 3: Mount the Camera
Begin by selecting an appropriate location to mount the backup camera, typically above the license plate or on the rear bumper, ensuring it provides a clear and unobstructed view of the area behind the vehicle. Many cameras come with a mounting bracket, so use it to position the camera securely.
Use a drill to create pilot holes if necessary, but take care to avoid damaging any underlying components or wiring. Once the bracket is in place, attach the camera to the bracket using the provided screws or adhesive, depending on the model. Adjust the angle of the camera to ensure optimal visibility, and double-check that it is firmly secured to prevent it from shifting during use.
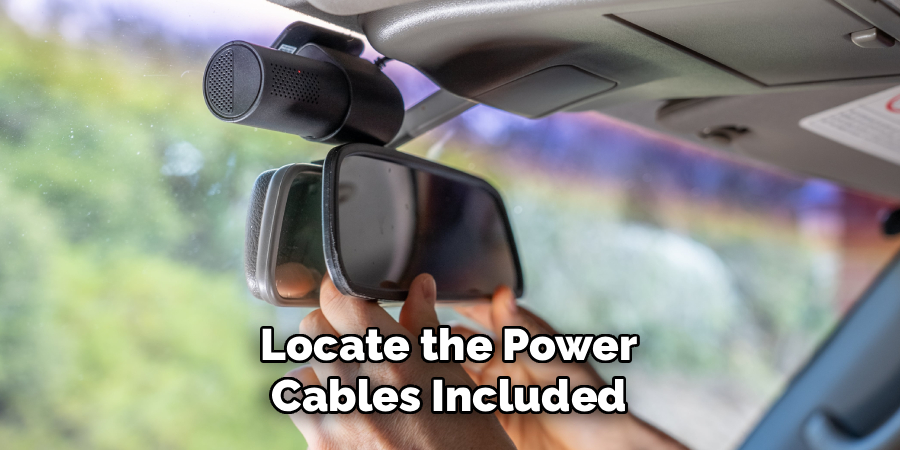
Step 4: Connect Power Cables
Locate the power cables included with the backup camera kit. Identify a suitable power source, typically the reverse light wiring, which allows the camera to activate automatically when the vehicle is put in reverse. Using a wiring diagram for your vehicle, connect the positive cable from the camera to the reverse light’s positive wire and the negative cable to its ground wire.
Secure the connections with wire taps or connectors to ensure a firm and stable connection. Finally, carefully route the wires, keeping them away from moving parts or sharp edges, and secure them with zip ties or clips to prevent damage.
Step 5: Connect Video Cable
Once the wiring to the reverse light is complete, the next step is to connect the video cable. Locate the video output cable from the rear camera and route it toward the front of the vehicle, where your display monitor or head unit is located. Use the provided video extension cable if needed, ensuring it is long enough to reach the display.
Carefully run the cable along the vehicle’s interior panels, under the carpet, or through pre-existing cable conduits to keep it secure and hidden. Plug the video cable into the designated video input on your monitor or head unit. Be sure to avoid pinching or bending the cable excessively to prevent signal interference or damage.
Step 6: Adjust Camera Angle
Once the camera is securely mounted and all cables are connected, adjust the camera angle to achieve the desired view. Use the video feed on your monitor or head unit as a guide to ensure the camera is positioned correctly. The optimal angle should provide a clear view of the area behind your vehicle, with minimal obstruction.
Make sure the horizon line is level and the camera is not tilted to the side. This step is crucial for accurate and safe visibility, especially when reversing or parking. Tighten any adjustable components on the camera mount to lock the angle in place once you’re satisfied with the positioning.
Step 7: Secure Loose Cables
After positioning the camera, it is important to secure any loose cables to prevent them from interfering with your vehicle’s operation or causing potential damage. Use zip ties or adhesive cable clips to neatly fasten the cables along the body of your vehicle, keeping them out of sight and away from moving parts.
Ensure that the cables are not pinched or stretched, as this could lead to wear over time. Properly secured cables will not only enhance the durability of the installation but also maintain a clean and professional appearance.
Step 8: Test and Adjust Settings
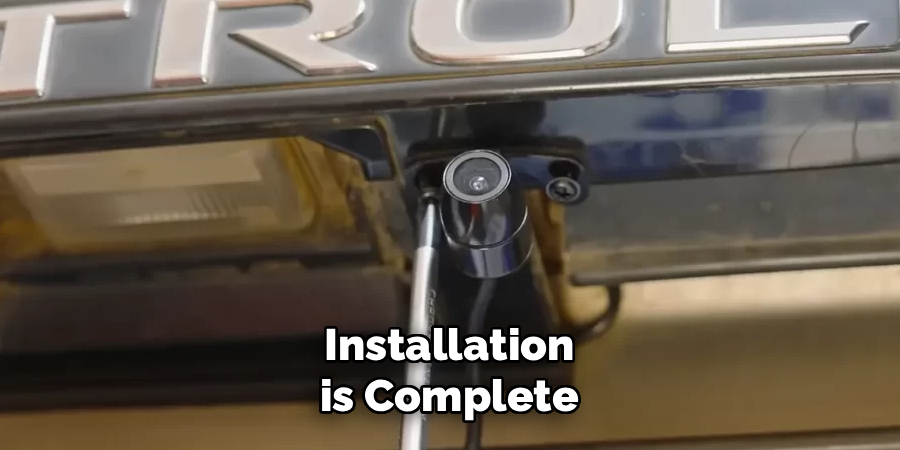
Once the installation is complete and all cables are securely fastened, it’s time to test the system to ensure everything functions as expected. Start by powering on the device and verifying that all components are operating correctly. Check for any error messages, unusual noises, or irregular behavior.
If your system includes software or configurable settings, take a moment to adjust these according to your preferences or usage requirements. Test all features thoroughly, including any controls, sensors, or connectivity options, to confirm proper operation. Make adjustments as needed to optimize performance. A detailed test at this stage can prevent potential issues later and ensure a smooth, hassle-free experience.
Following these steps on how to install backup camera will help you have a safer and more convenient driving experience. Remember to regularly check and maintain your backup camera to ensure it is functioning properly. Now, let’s dive into some additional information about backup cameras.
Tips
- Regularly check your dash cam or rearview mirror display to ensure that it is functioning properly.
- Keep the camera lens clean to prevent obstruction of vision.
- Consider purchasing a high-quality memory card with enough storage space for longer recordings.
- Familiarize yourself with any additional features on your camera such as GPS tracking or parking mode.
Frequently Asked Questions
Q1: Will a Backup Camera Improve My Driving Skills?
A: While a backup camera can certainly aid in navigating tight parking spaces and avoiding obstacles, it is ultimately up to the driver to practice safe driving habits and be aware of their surroundings. A backup camera should not be relied upon as the sole method of safe driving.
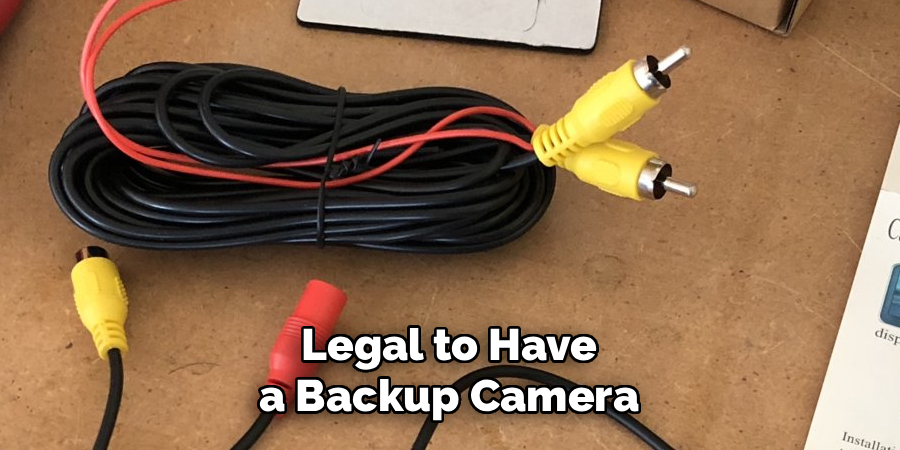
Q2: Is it Legal to Have a Backup Camera in My Car?
A: Yes, it is legal to have a backup camera installed in your car. In fact, as of May 2018, all new passenger vehicles weighing less than 10,000 pounds are required to have a backup camera installed by law in the United States. However, laws may vary by state or country, so it is best to check with your local regulations before installing a backup camera.
Q3: Can I Install a Backup Camera on My Older Car?
A: Yes, you can install a backup camera on most older cars. There are aftermarket backup camera kits available that can be installed on older vehicles. However, depending on the make and model of your car, the installation process may vary. It is recommended to consult with a professional or research thoroughly before attempting to install a backup camera on an older car.
Q4: What Are the Benefits of Having a Backup Camera?
A: Having a backup camera in your car can provide numerous benefits, such as increased safety and convenience. With a backup camera, you have a clear view of what is behind your vehicle when backing up, which can help prevent accidents and collisions with objects or people. It also reduces blind spots and makes parallel parking easier.
Conclusion
Installing a backup camera in your vehicle is a practical and valuable upgrade that enhances both safety and convenience. Whether your vehicle is new or older, having a clear view of your surroundings when reversing can significantly reduce the risk of accidents, protect pedestrians, and make everyday maneuvers like parking much simpler.
By understanding the benefits and installation process, you can make an informed decision to improve your driving experience. Thanks for reading this article on how to install backup camera.