

Are you looking to beef up your home security but feeling overwhelmed by where to start? Look no further! Installing Blink cameras can be a great and cost-effective way to protect your home. With a simple setup, clear video monitoring, and helpful features such as instant email alerts if suspicious activity is detected, Blink Cameras are an ideal solution for those who want top-of-the-line home surveillance without the hefty price tag.
In this blog post, we’ll discuss how to install Blink Cameras in four easy steps. So read on if you’re ready to add powerful security that won’t break the bank!
What is a Blink Camera?
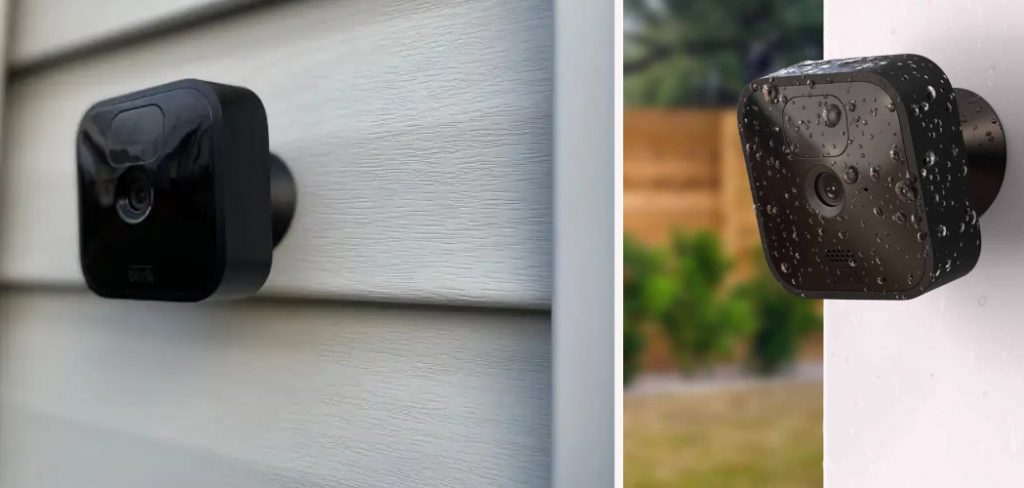
A Blink camera is a wireless, battery-powered security camera with motion detection capabilities. It can be used indoors or outdoors and requires a WiFi connection to operate. The camera captures video in 720p HD quality and has a built-in speaker and microphone for two-way audio communication. You can also control the camera through the Blink app, available for both iOS and Android devices.
11 Step-by-Step Guidelines on How to Install Blink Cameras
Step 1: Gather Your Equipment
Before you begin, make sure you have all the necessary equipment. This includes:
- Blink Camera(S)
- Mounting Hardware (if Needed)
- Batteries (Included With Camera)
- Wi-Fi connection and Password
- Smartphone or Tablet With the Blink App Installed (Ios or Android)
Step 2: Install the Blink App
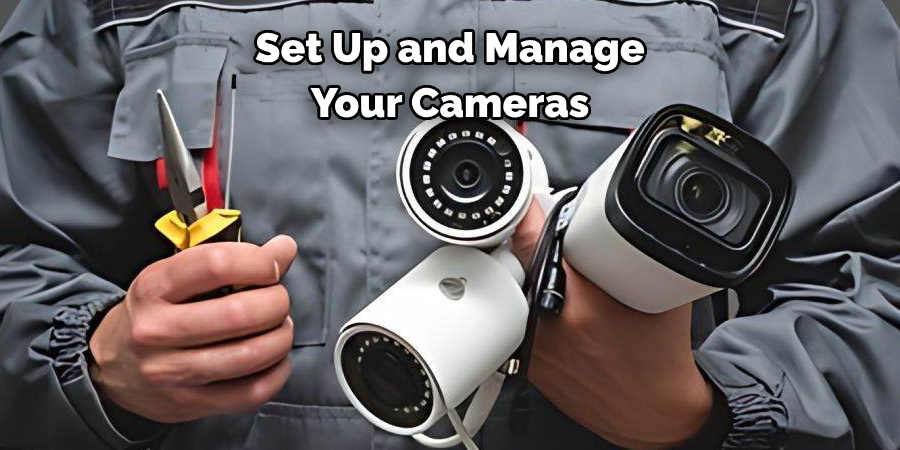
Install the Blink app from the App Store or Google Play Store. This app will allow you to set up and manage your cameras, view live footage, and adjust settings. You will need to create an account or log in if you already have one. It’s free and straightforward to do! But make sure you have a stable Wifi connection.
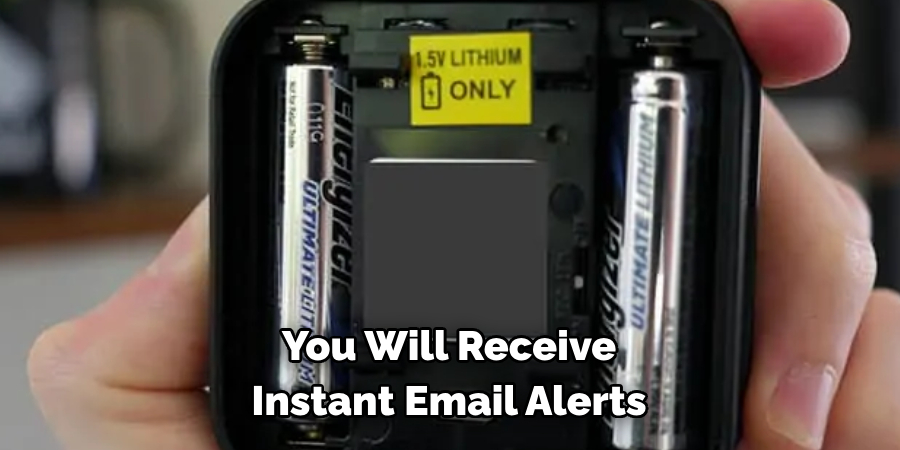
Step 3: Install Batteries and Sync You Camera(S)
Once you have everything ready, it’s time to install the batteries. Each camera requires two AA lithium batteries, which are included in the package. Make sure to power off your cameras before inserting the batteries. Next, follow the instructions on the app to sync your camera(s) with the Blink hub. Once synced, you can name each camera for easy identification.
Step 4: Choose a Location
Decide where you want to place your camera(s) and make sure it’s within range of your Wifi connection, with no obstructions. Keep in mind that Blink cameras are weather-resistant but not waterproof, so choose a location accordingly. You can use the mounting hardware included in the package or find your own creative way to secure the camera. Just make sure it’s stable and provides a clear view of the area you want to monitor.
Step 5: Connect Your Blink Hub
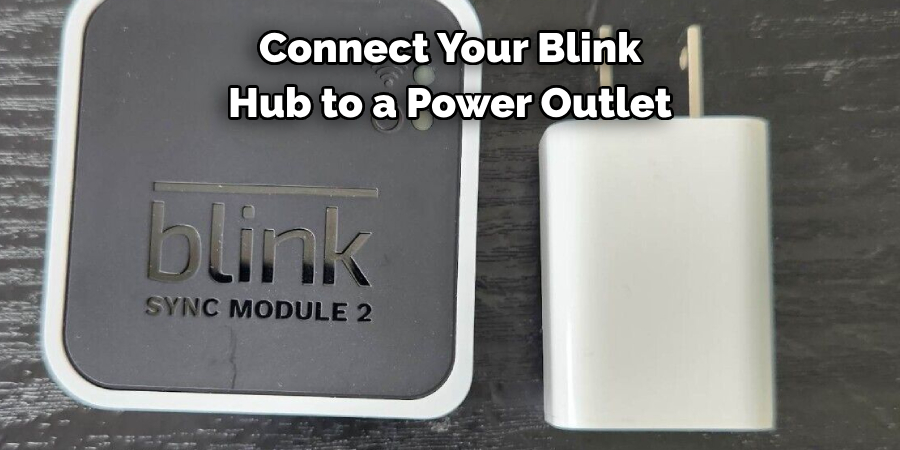
Connect your Blink hub to a power outlet using the USB cable provided, and wait for it to turn on. Make sure it’s close to your router for a stable connection. The hub will automatically connect to your Wifi network, and you can check the status through the Blink app. It may take a few minutes to connect, so be patient.
Step 6: Create Your System
After your hub is connected, you can create your system. This includes setting up a schedule for when the cameras should record and how long clips should be saved. You can also adjust other settings such as sensitivity levels and motion zones. You can also add multiple cameras to your system and customize settings for each one.
Step 7: Test Your Cameras
Before mounting your camera(s) permanently, it’s crucial to test them first. Place the camera in its desired location and use the live view feature on the Blink app to make sure you have a clear view of the area you want to monitor. You can also trigger motion detection to see if the camera responds correctly. Make any necessary adjustments before moving on.
Step 8: Mount Your Camera(S)
Once you’re satisfied with the placement and settings, it’s time to mount your camera(s). Use the included mounting hardware or find a secure way to attach them to your desired location. Keep in mind that the ideal height for a Blink camera is between 6-8 feet, with an angle of 45 degrees for optimal coverage.
Step 9: Connect to Other Smart Home Devices (Optional)
If you have other smart home devices, such as Amazon Echo or Google Home, you can connect them to your Blink cameras for added convenience. This will allow you to control your cameras through voice commands and integrate them into your smart home system. You can do this through the Blink app. But keep in mind, that not all smart home devices are compatible with Blink cameras.
Step 10: Adjust Settings and Monitor Activity
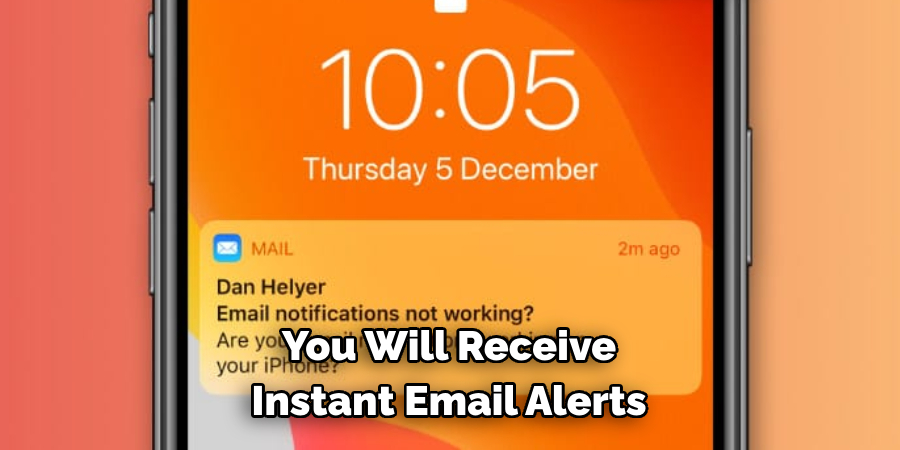
Once your cameras are mounted, you can make any final adjustments to settings and start monitoring activity. You will receive instant email alerts if motion is detected, and you can view live footage or recorded clips through the Blink app. You can also adjust sensitivity levels and motion zones as needed. If you have multiple cameras, you can switch between them through the app.
Step 11: Enjoy Your Enhanced Home Security!
Congratulations! You’ve successfully installed your Blink cameras and can now enjoy enhanced home security. With the ability to monitor your home from anywhere, receive instant alerts, and adjust settings as needed, you can have peace of mind knowing your home is protected.
Following these simple steps on how to install blink cameras, you can install your Blink cameras in no time. Enjoy top-of-the-line home surveillance without the hefty price tag and have peace of mind knowing your home is protected 24/7. Thank you for reading, and happy monitoring!
How Much Will It Cost?
One of the biggest advantages of Blink cameras is that they offer high-quality security at an affordable price. The cost of a Blink camera starts at $99.99, which includes a one-time purchase for the camera and its accompanying hub. There are no monthly fees or subscriptions required, making it a budget-friendly option for home surveillance.
However, if you want additional features such as cloud storage for your recorded clips, you can opt for the Blink Subscription Plan. This starts at $3.00 per month for one camera and goes up to $10.00 per month for unlimited cameras. The plan also includes an extended warranty and added features such as custom activity zones and sharing options.
Additional Tips for Maximizing Your Home Security
- Consider Placing Cameras in Areas With High Foot Traffic or Where Valuable Items Are Stored, Such as Entryways, Living Rooms, or Garages.
- Regularly Check and Replace Batteries to Ensure Your Cameras Are Always Functioning Properly.
- Use the “Clip Length” Option in the Blink App to Adjust How Long Footage is Recorded When Motion is Detected. This Can Help Conserve Storage Space.
- Set Up a Schedule for When Your Cameras Should Be Armed and Disarmed, Such as When You’re Home or Away for Extended Periods.
- Use the “Motion Sensitivity” Option to Adjust How Easily Your Camera Will Be Triggered by Motion. This Can Help Reduce False Alarms.
- Keep an Eye Out for Firmware Updates Through the Blink App, as These Can Improve Performance and Add New Features.
- Consider Adding Additional Cameras to Cover Blind Spots or Areas of High Importance.
- Test Your Cameras Periodically to Ensure They Are Still Functioning Correctly and Make Any Necessary Adjustments to Settings or Placement.
- Use the “Live View” Feature in the Blink App to Check on Your Home at Any Time, Even if No Motion is Detected.
- Have a Backup Plan in Case of Power Outages or Internet Connection Issues, Such as Using a Portable Power Bank for Your Hub or Having a Neighbor Check on Your Home.
Frequently Asked Questions
Q1. How Many Cameras Can I Add to My Blink System?
A: You can add up to 10 cameras on each Blink hub. But keep in mind, that the more cameras you add, the shorter the battery life may be.
Q2. Is It Possible to View Multiple Cameras at Once?
A: Yes, you can view up to 4 cameras at once on your Blink app. Simply swipe left or right to switch between camera feeds. You can also use the “live view” feature to check on any camera at any time.
Q3. How Long Do Batteries Typically Last?
A: Battery life can vary depending on usage and settings, but on average, batteries last approximately 2 years with normal use.
Q4. Can I Use Blink Cameras Outdoors?
A: Yes, Blink cameras are weatherproof and can be used outdoors. However, extreme weather conditions may affect camera performance. But keep in mind, that Blink cameras are not designed for use as a security camera or to be exposed to direct sunlight.
Conclusion
Taking the time to install Blink Cameras in your home or business is an investment in security that you and your family will appreciate for years to come. Not only does it keep you, your people, and your property safe, but it helps provide peace of mind knowing that any activity can be monitored from anywhere.
To get started on installation, just remember the three key points I’ve shared with you: choosing the right type of camera for each space, properly mounting the camera in order for it to receive power and connection to WiFi, and lastly connecting it to the app.
With these steps on how to install blink cameras in mind, you’ll have a complete surveillance system up and running quickly. Now is the perfect time to get started on protecting what matters most – take advantage of this easy installation guide, and set yourself up with Blink Cameras today!
About
Safety Fic is a distinguished figure in the world of Diy design, with a decade of expertise creating innovative and sustainable Diy solutions. His professional focus lies in merging traditional craftsmanship with modern manufacturing techniques, fostering designs that are both practical and environmentally conscious. As the author of diy, Safety Fic delves into the art and science of Safety Fic-making, inspiring artisans and industry professionals alike.
Education RMIT University
(Melbourne, Australia) Associate Degree in Design (Safety Fic) Focus on sustainable design, industry-driven projects, and practical craftsmanship. Gained hands-on experience with traditional and digital manufacturing tools, such as CAD and CNC software.
Nottingham Trent University
(United Kingdom) Bachelor’s in diyfastly.com and Product Design (Honors) Specialized in product design with a focus on blending creativity with production techniques. Participated in industry projects, working with companies like John Lewis and Vitsoe to gain real-world insights.
Publications and Impact
In diy, Safety Fic his insights on indoor design processes, materials, and strategies for efficient production. His writing bridges the gap between artisan knowledge and modern industry needs, making it a must-read for both budding designers and seasoned professionals.