

Cam lock fittings are indispensable components in a wide array of industries, from manufacturing and agriculture to plumbing and firefighting. Their ease of use, reliability, and versatility make them a preferred choice for connecting hoses, pipes, and other fluid transfer systems. If you’re embarking on a project that requires these fittings, it’s essential to know how to install them correctly to ensure leak-free connections and optimal performance.
In this comprehensive guide, we’ll walk you through the step-by-step process of how to install cam lock fittings. Whether you’re a seasoned professional or a DIY enthusiast looking to expand your skillset, this article will provide you with the knowledge and insights needed to tackle this task confidently.
We’ll cover the essential tools and materials required, the different types of cam lock fittings available, and the proper installation techniques to ensure a secure and efficient connection. By the end of this guide, you’ll be well-equipped to handle cam lock fitting installations with precision and ease.
Importance of Proper Installation of Cam Lock Fittings
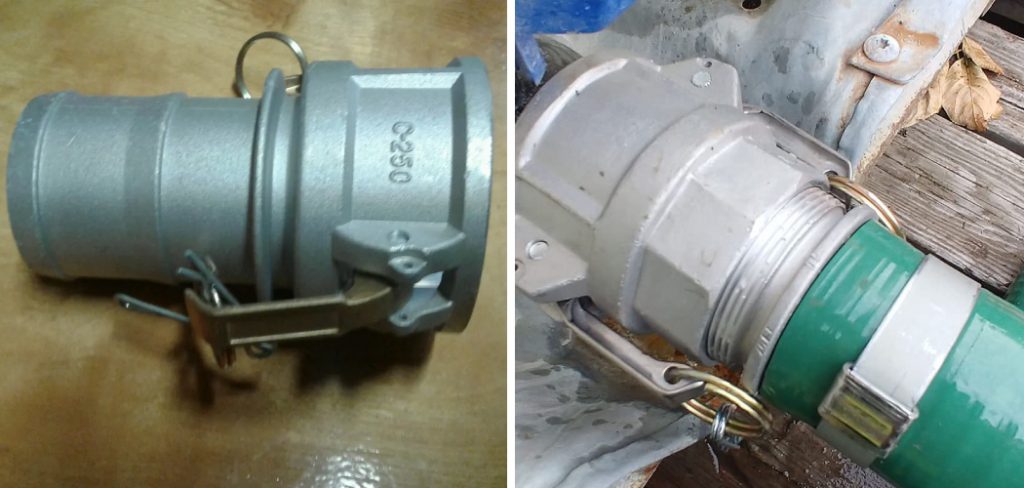
Cam lock fittings, also known as cam and groove couplings, are a simple yet reliable way to connect hoses and pipes. They provide quick connections for liquid transfers in various industrial applications such as fuel dispensing systems or many other fluid transfer operations. While these couplings are relatively easy to install, there are certain tips and tricks to ensure a secure connection and a successful installation.
To start, make sure that the cam lock fittings are the correct size to accommodate the application they’re being used for. If too small, it could cause leaks in the system; if too large, it could prevent a proper seal. Properly sizing your cam locks is an important part of ensuring their proper operation.
Once the correct size is determined, it’s important to make sure that all parts of the cam lock fitting are properly engaged before tightening them down. Make sure the cam arms and grooves are secure and aligned properly to ensure a tight seal between them. This ensures that liquid or gas won’t be able to escape through any gaps created by an improper fit.
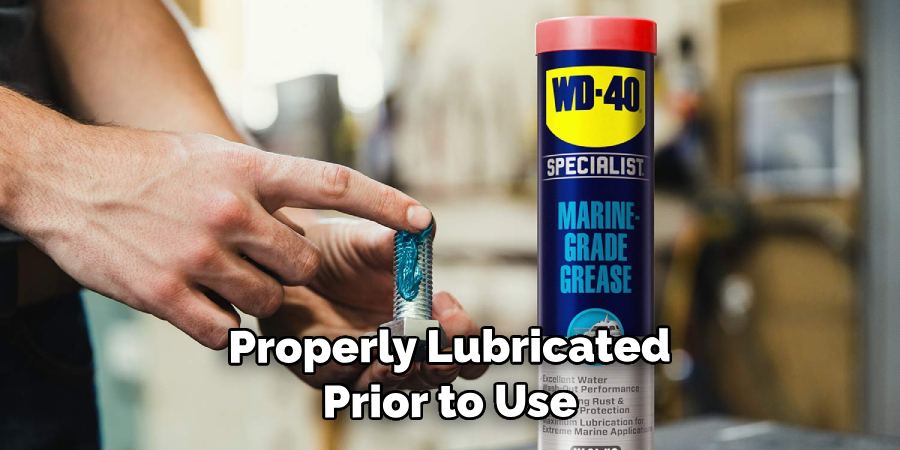
When installing the cam lock fittings, it’s also important to make sure that they are properly lubricated prior to use. This helps reduce friction between parts of the coupling and can help extend its life expectancy. It’s also a good practice to inspect all O-rings for any signs of cracking or wear before installation, as this can cause leaks when in use.
10 Steps How to Install Cam Lock Fittings
Step 1: Gather Your Tools and Materials
Before embarking on the installation process, it’s essential to have all the necessary tools and materials at your disposal. These typically include cam lock fittings, hoses or pipes, gaskets, and wrenches or spanners for tightening the fittings. Ensure that your workspace is clean and organized to prevent any contamination or misplaced items.
Step 2: Check Compatibility
One of the critical aspects of a successful cam lock fitting installation is ensuring compatibility. Cam lock fittings come in various sizes and types, denoted by letters such as Type A, B, C, D, etc., and it’s imperative to use fittings that match your hoses or pipes. Carefully check the specifications of both the fittings and your system to ensure a proper fit. Mismatched fittings can lead to leaks and inefficient fluid transfer.
Step 3: Inspect Fittings and Gaskets
Examine the cam lock fittings closely for any signs of damage, wear, or defects. Pay particular attention to the locking handles or arms, ensuring they are in good working condition. Damaged fittings can compromise the integrity of the connection, potentially leading to leaks. Additionally, inspect the gaskets that create a seal between the fitting and the hose or pipe. Replace any worn or damaged gaskets to ensure a reliable seal.
Step 4: Prepare the Hoses or Pipes
To prepare the hoses or pipes for installation, clean the ends thoroughly. Remove any dirt, debris, or remnants of old gaskets that could hinder a proper seal. It’s crucial to have clean and smooth hose or pipe ends to achieve a secure connection. Additionally, ensure that the ends are cut squarely to promote a snug fit inside the cam lock fittings.
Step 5: Insert Gaskets
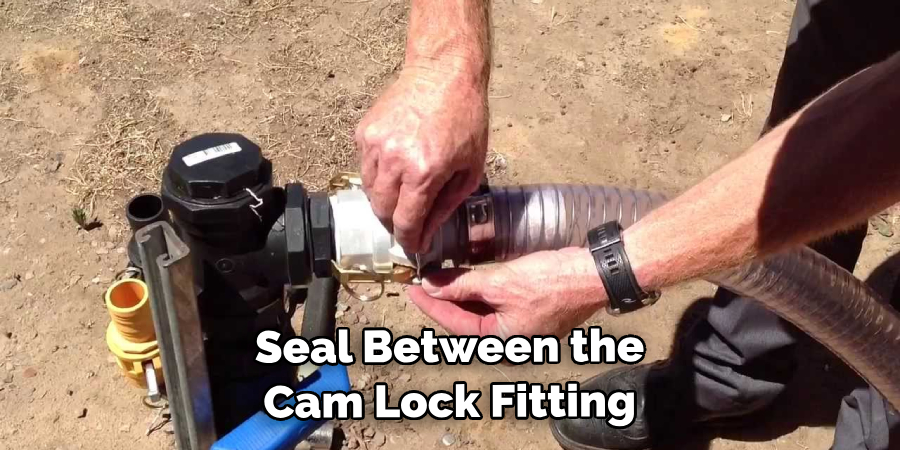
Gaskets play a pivotal role in establishing a watertight seal between the cam lock fitting and the hose or pipe. Place the gaskets inside the fitting, ensuring they are positioned correctly. The gasket should be placed in such a way that it will make direct contact with the hose or pipe when inserted. Proper gasket placement is essential for preventing leaks.
Step 6: Open the Handles
Cam lock fittings are equipped with locking handles or arms that control the fitting’s locking mechanism. Prior to inserting the hose or pipe, open these handles to the fully extended position. This facilitates the easy and unobstructed insertion of the hose or pipe into the fitting.
Step 7: Insert the Hose or Pipe
With the handles in the open position, carefully insert the prepared end of the hose or pipe into the open end of the cam lock fitting. Push the hose or pipe in as far as it will go, ensuring a snug and secure fit. As you do this, the gasket inside the fitting should make contact with the hose or pipe, creating the initial seal.
Step 8: Close the Handles
Once the hose or pipe is fully inserted into the cam lock fitting, it’s time to close the locking handles. These handles are designed to compress the gasket tightly against the hose or pipe, forming a secure and leak-free connection. Ensure that you fully engage and lock the handles in place, as an improperly closed handle can result in a compromised seal.
Step 9: Perform a Leak Test
After the cam lock fitting is securely in place, it’s advisable to perform a leak test to verify the integrity of the installation. Apply pressure to the fluid transfer system, either through the use of a pump or by allowing the system to operate as intended. While doing so, closely inspect the cam lock connection for any signs of leakage. If you detect even a minor leak, immediately address it by rechecking the fitting, gasket, and hose or pipe for potential issues such as misalignment, damage, or debris.
Step 10: Securely Anchor the Fittings
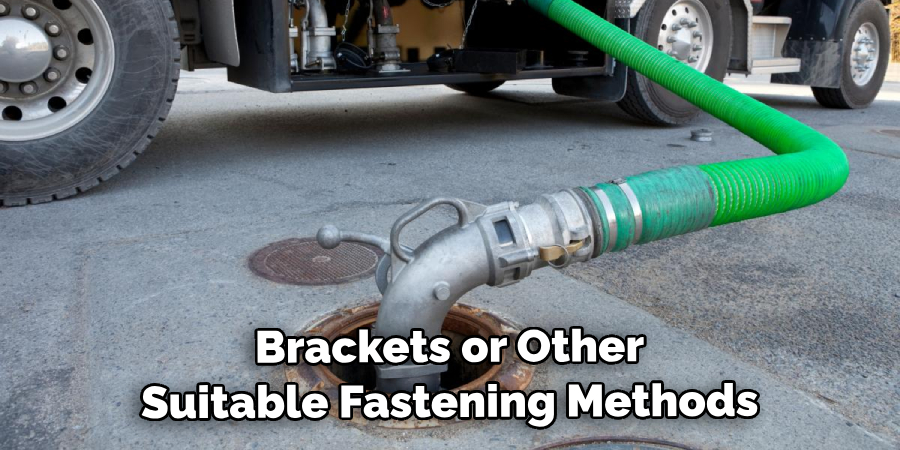
In applications where cam lock fittings are subjected to dynamic forces, high pressures, or frequent movement, it’s essential to securely anchor and support the fittings. Proper anchoring prevents stress on the connection points, which can lead to premature wear or failure. Utilize clamps, brackets, or other suitable fastening methods to secure the fittings in place, ensuring they remain stable and free from excessive strain.
Things to Consider When Installing Cam Lock Fittings
When installing cam lock fittings, there are a few things to keep in mind for a successful installation. Make sure that the type of fitting you need matches the application you have and it is important to check the manufacturer’s specifications before making any purchase decisions. It is also essential that you use appropriate tools when working with cam locks to ensure that the connection is secure and that nothing is damaged during installation.
Before you start work, make sure that the fitting is clean and free of any debris. A good way to do this is to brush the fitting with a bristle brush and then wipe it down using a soft cloth or rag. Additionally, it’s important to check for any dents in the fitting itself and any other signs of damage.
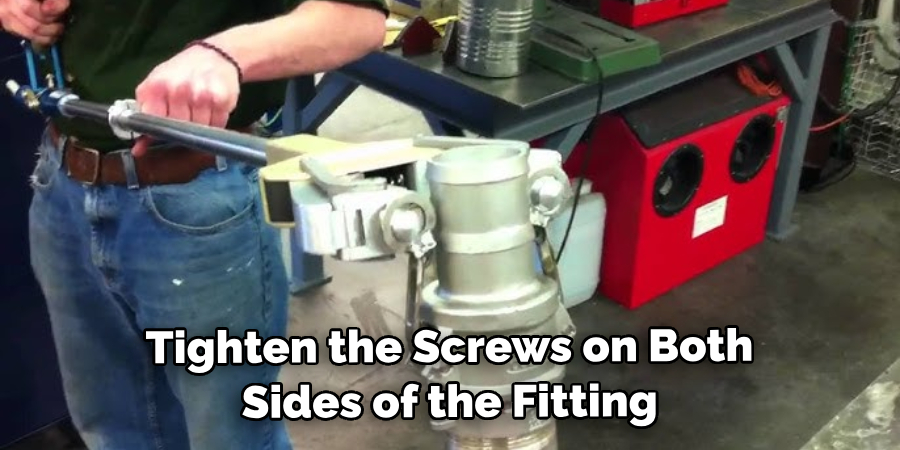
Once you have the fitting ready, it’s time to install it. To do this, start by aligning the parts of the cam lock so that they fit snugly together. Then, tighten the screws on both sides of the fitting in a criss-cross pattern until they are secure. Be sure to check that the screws are fully tightened and not loosened.
Once you’ve installed the cam lock fitting, it’s important to check all connections for security before continuing with any work. If you notice any leaks or weak spots, make sure that these are addressed quickly so that there is no potential for damage.
Conclusion
Overall, installing cam lock fittings can be a bit tricky—but with the right care and proper instructions, it’s manageable. From gathering the proper materials to understanding the technique of installation, cam lock fittings can be made to fit any need. It’s an easy way to make sure your plumbing projects are strong and secure for many years to come.
With DIY resources available online, there’s no limit as to what you can create with cam lock fittings. Make sure that you do your research before getting started; doing so will save you time and money throughout your whole project. Be sure to follow all instructions on how to install cam lock fittings carefully, and always consult an expert when in doubt. Happy installing!
About
Safety Fic is a distinguished figure in the world of Diy design, with a decade of expertise creating innovative and sustainable Diy solutions. His professional focus lies in merging traditional craftsmanship with modern manufacturing techniques, fostering designs that are both practical and environmentally conscious. As the author of diy, Safety Fic delves into the art and science of Safety Fic-making, inspiring artisans and industry professionals alike.
Education RMIT University
(Melbourne, Australia) Associate Degree in Design (Safety Fic) Focus on sustainable design, industry-driven projects, and practical craftsmanship. Gained hands-on experience with traditional and digital manufacturing tools, such as CAD and CNC software.
Nottingham Trent University
(United Kingdom) Bachelor’s in diyfastly.com and Product Design (Honors) Specialized in product design with a focus on blending creativity with production techniques. Participated in industry projects, working with companies like John Lewis and Vitsoe to gain real-world insights.
Publications and Impact
In diy, Safety Fic his insights on indoor design processes, materials, and strategies for efficient production. His writing bridges the gap between artisan knowledge and modern industry needs, making it a must-read for both budding designers and seasoned professionals.