

Installing a CCTV camera with audio capabilities can greatly enhance the security and monitoring of your home or business premises. These systems not only provide visual surveillance but also allow you to capture and record audio, offering a more comprehensive understanding of events as they unfold.
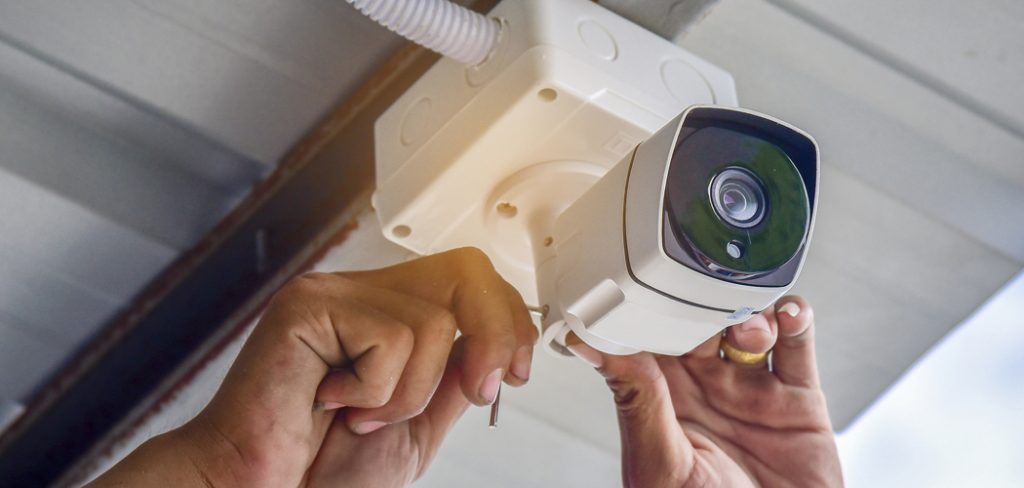
This guide on how to install cctv camera with audio will walk you through the essential steps and considerations for setting up a CCTV camera with audio, ensuring a successful and efficient installation process. By following these instructions, you’ll be able to maximize the functionality of your security system while ensuring adherence to local laws and regulations regarding audio recording.
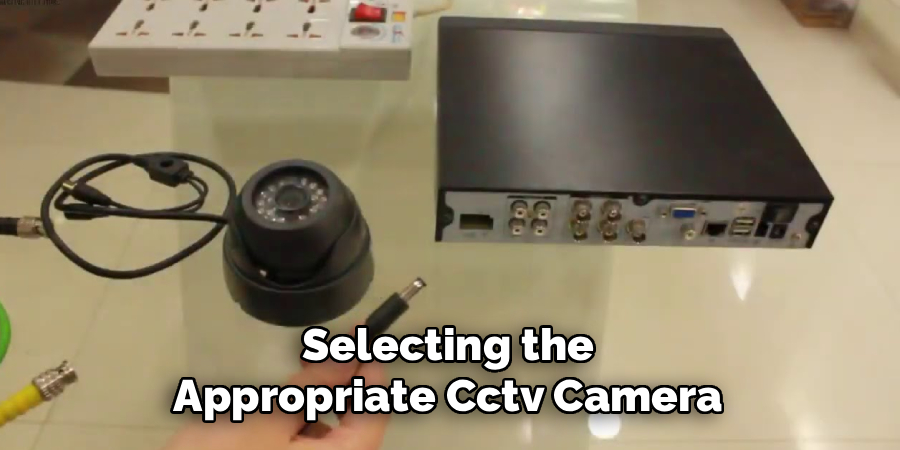
Choosing the Right CCTV Camera with Audio
Selecting the appropriate CCTV camera with audio capabilities is a critical step in building an effective security system. Start by identifying your specific needs, such as the area you want to monitor and the level of audio clarity required. Look for cameras with built-in microphones that capture clear sound without significant distortion. Consider the camera’s resolution, as pairing high-quality video with clear audio enhances overall surveillance effectiveness.
Additionally, assess whether you need wired or wireless options based on your installation site. Wired cameras often offer consistent performance, while wireless models provide flexibility in placement. Pay attention to other features, such as night vision, weatherproof designs for outdoor use, and compatibility with existing systems or mobile apps.
Always ensure the chosen camera complies with local laws governing audio recording to avoid potential legal issues. By thoroughly evaluating your options, you can confidently choose a camera that meets your security needs while providing reliable audio functionality.
Tools and Materials Needed
- CCTV Camera With Audio (Wired or Wireless)
- Dvr/nvr With Audio Input (if Applicable)
- Power Supply or Poe Injector/switch
- Coaxial Cable With BNC Connectors or Ethernet Cable (Cat5e/6)
- Audio Cable (Rca or 3.5mm Mic Jack if an External Mic is Used)
- Drill, Screws, Mounting Bracket, and Network Tools
Pre-Installation Planning
Before installing your CCTV system with audio, proper planning is essential to ensure a smooth setup and optimal performance. Start by identifying the areas you want to monitor and consider the camera placements to cover these zones effectively. Ensure that the chosen locations have adequate lighting and provide a clear line-of-sight for both video and audio capture.
Check for available power sources or network connection points near the installation sites, and determine whether a wired or wireless setup is more suitable for your environment. Additionally, review local laws and regulations concerning audio recording to ensure compliance. Thorough planning at this stage will save time and minimize potential challenges during installation.
6 Simple Step-by-step Guidelines on How to Install Cctv Camera With Audio
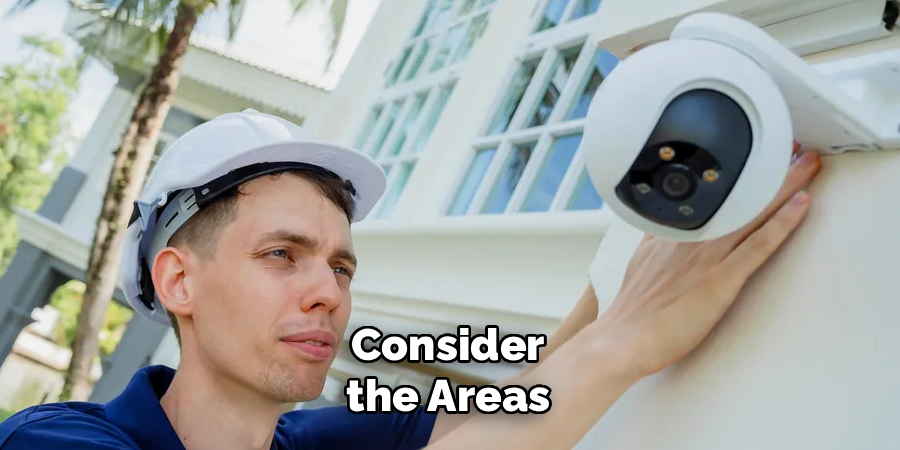
Step 1: Determine Camera Placement
The first step in installing a CCTV camera with audio is to carefully decide where the cameras will be placed. Consider the areas that need to be monitored and the specific purposes of your surveillance—whether it’s to cover entry points, hallways, or large open spaces. Ensure the camera has a clear line of sight and minimal obstructions for both video recording and capturing audio.
Pay attention to lighting conditions during different times of the day to avoid glare or shadows that could interfere with the footage quality. Proper camera placement can greatly impact the effectiveness of your security system. Mark the installation points once you’ve finalized the locations.
Step 2: Mount the Cameras
Once you’ve identified the ideal locations for your cameras, it’s time to mount them securely. Begin by using the marked installation points as a guide to drill holes for the mounting brackets. Ensure the brackets are level and tightly fastened to provide a stable base for the cameras. Attach the cameras to the brackets, adjusting their angles to cover the desired areas effectively.
If the cameras require power cables or network connections, route and secure the wires neatly to prevent tripping hazards or tampering. For outdoor cameras, ensure they are weatherproofed and positioned to withstand environmental elements like rain, wind, or extreme temperatures. Double-check the alignment and stability of each camera before moving on to the next step.
Step 3: Connect Audio Cables
If your security cameras have audio capabilities, connect the audio cables to the corresponding ports on the cameras and recording device. Ensure the cables are securely attached to prevent any disconnects during operation.
For longer cable runs, use cable extenders or adapters as needed, while maintaining proper shielding to avoid interference. Route the audio cables along with the power or network cables, securing them neatly with clips or ties to keep the installation organized and safe. Once connected, test the audio input to verify clear and consistent sound transmission.
Step 4: Adjust Audio Settings
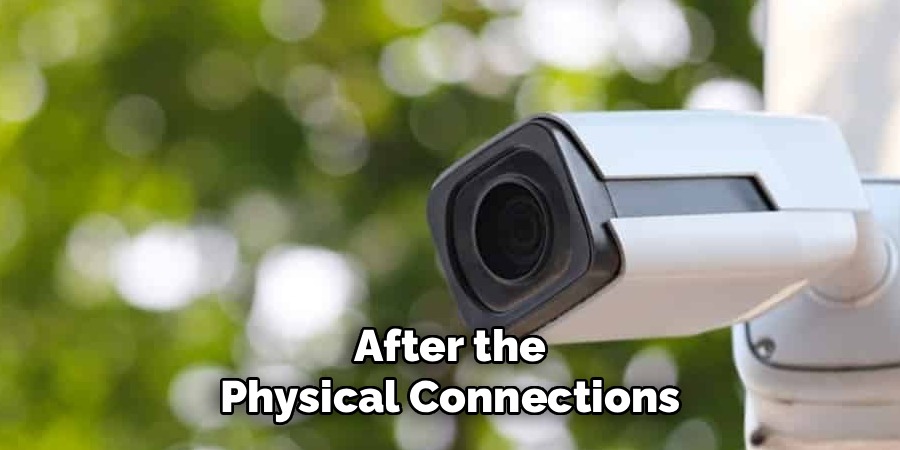
After the physical connections are complete, proceed to adjust the audio settings on your recording device or software. Access the audio configuration menu and ensure each input channel is properly selected and recognized. Set the appropriate audio levels to avoid distortion—aim for a balanced level where the sound is neither too faint nor excessively loud. If your system includes features like noise reduction or equalization, enable and fine-tune these options to optimize audio clarity.
Additionally, test any advanced functions, such as audio syncing with video, to confirm synchronization. Save your settings and conduct a final test recording to ensure all adjustments are functioning as intended.
Step 5: Monitor Audio During Playback
Once your recording is complete, it is essential to monitor the audio during playback to ensure everything is captured as intended. Listen carefully for inconsistencies, such as unexpected background noise, audio dropouts, or distortion. Use quality headphones or speakers for the best accuracy during this review process.
Take note of any discrepancies and identify whether they stem from the recording environment, equipment settings, or another source. If issues are detected, make the necessary adjustments and consider re-recording sections if needed. Proper monitoring ensures the final result meets the desired quality standards.
Step 6: Regular Maintenance
Just like with any other electronic device, regular maintenance is important for the proper functioning of your security camera system. Make sure to clean cameras and lenses regularly to maintain image quality. Also, check all connections periodically to ensure they are secure and in good condition.
Following these steps on how to install cctv camera with audio can help ensure that your system is properly set up and functioning at its best. With the right equipment, installation process and regular maintenance, you can feel confident in the security of your home or business.
Additional Tips for Optimal Audio Recording
- Place microphones in areas with minimal background noise.
- Adjust microphone sensitivity settings if available on your DVR.
- Consider using external microphones for better audio quality.
- Test equipment before installation to identify any potential audio recording issues.
- Consult a professional installer for complex audio setups.
- Regularly clean and dust microphones to prevent buildup and interference with audio quality.
- Consider using a pop filter to reduce popping noises from vocal recordings.
- Experiment with microphone placement for optimal sound capture.
- Avoid covering microphones or obstructing them with objects.
- Use windscreens or dead cats when recording outdoors to minimize wind interference.
- Check and replace faulty cables or connectors that may affect audio quality.
- Record room tone before and after each take to have consistent background noise levels for editing purposes.
- Perform a sound check before recording to ensure all equipment is functioning properly.
- Monitor audio levels throughout the recording process to avoid clipping or distortion.
- Use headphones while recording to quickly identify any audio issues.
Legal and Privacy Considerations
When recording audio, it is essential to be mindful of legal and privacy regulations. Ensure that you have obtained consent from all individuals being recorded, whether through written permission or a verbal agreement, depending on local laws. Be aware of any restrictions related to recording in public or private spaces, as some areas may require explicit authorization.
Additionally, take care not to capture sensitive or confidential information unintentionally. Always research and comply with copyright laws if using background music, sound effects, or other media to avoid potential legal issues. Respecting privacy and adhering to legal requirements will not only protect you legally but also foster trust with collaborators and subjects.
Frequently Asked Questions
Q1: When and Where Can I Use a Camera or Recording Device?
A: The laws and regulations surrounding photography and recording vary by country, state/province, and even city. In general, it is legal to take photos or record videos in public spaces such as streets, parks, and other open areas. However, there may be restrictions on using cameras or recording devices in certain locations such as government buildings, military installations, and private properties.
Q2: Do I Need Permission to Take Photos or Record Videos of People?
A: It depends on the context and purpose of your photography or recording. In public places where there is no expectation of privacy, you do not need explicit consent from individuals to capture their image or voice.
Conclusion
In conclusion, high-quality audio recording is an essential aspect of any comprehensive security system. With proper equipment, installation, and maintenance, you can ensure optimal audio recording for your home or business.
Be sure to follow the tips mentioned above for the best results, and don’t hesitate to consult a professional for assistance if needed. Keep your property safe and secure with reliable audio recording capabilities. Remember that a well-rounded security system includes both visual and auditory surveillance, so be sure to invest in both aspects for complete protection. Thanks for reading this article on how to install cctv camera with audio.