
Setting up surveillance systems at home or in businesses has become increasingly important for peace of mind and security. Dahua cameras are among the most popular CCTV camera systems globally, known for their high-quality builds and user-friendly designs. Installing a Dahua camera may seem daunting at first, especially for beginners, but the process is easier than you might think.
Before starting the installation process, ensure you have all the necessary tools and materials ready. This includes the Dahua camera, power supply, network cables, a compatible DVR or NVR, and a drill for mounting. Carefully choose an optimal location for the camera, ensuring it provides a clear view of the desired area without any obstructions. It’s also important to consider weather conditions and lighting if the camera is being installed outdoors. Once the location is decided, mount the camera securely using the provided brackets and screws. Then, proceed to connect the camera to the power supply and link it to the DVR or NVR using the network cables.
This guide will walk you through how to install Dahua camera step-by-step, with clear, simple instructions to ensure you have everything you need, even if you’re new to surveillance systems. By the end of this article, you’ll understand the entire installation process, from preparing tools to configuring the software for optimal performance.
Why Install Dahua Cameras?
Surveillance cameras are a key component of modern security, ensuring the safety of our homes, offices, and other important spaces. But why choose Dahua?
One of the biggest reasons is the company’s reputation for producing reliable, high-quality security systems. Dahua cameras offer advanced features like HD video resolution, night vision, motion detection, and remote viewing capabilities, making them a versatile choice for all types of users.
Additionally, installing a surveillance system is no longer just for businesses. Homeowners now value the extra layer of protection that a CCTV system provides, whether for monitoring packages left at the door, keeping an eye on outdoor spaces, or simply enhancing the safety of family members. Dahua cameras provide a perfect intersection of affordability, quality, and ease of use for anyone looking to bolster their security setup.
By learning how to install a Dahua camera yourself, you not only save on professional installation fees but also gain a deeper understanding of how the system works, enabling efficient troubleshooting and adjustments in the future.
Step-by-Step Guide on How to Install Dahua Camera
Step 1: Gather the Necessary Equipment
Before beginning the installation, ensure you have everything you need. This includes the Dahua camera, mounting brackets, screws, power supply or POE (Power over Ethernet) cable, a drill, and ethernet cables if it’s a wired setup.

If you’re using Wi-Fi-enabled Dahua models, you’ll need your home’s Wi-Fi router and login credentials ready. Having everything prepared in advance will streamline the process and avoid unnecessary interruptions.
Step 2: Choose the Right Location
Carefully assess the area you want to monitor and determine the optimal placement for the camera. Ideal mounting points for outdoor cameras are above doorways, along rooflines, or other high positions where they provide a wide view while remaining out of reach of potential tampering.
For indoor spaces, corners near the ceiling often offer maximum coverage. Keep in mind that visible wiring can detract from aesthetics, so plan the camera placement with cable management in mind. This step ensures you get the best performance from the Dahua camera.
Step 3: Mount the Camera
Once you’ve chosen the position, mark the mounting points using the bracket as a guide. Drill holes into the wall where indicated and secure the bracket firmly using screws. Attach the Dahua camera to the bracket, verifying that the screws are tight enough to keep the camera stable but loose enough for you to adjust its angle as needed.
Angle adjustments are important because they allow you to cover the desired area effectively. Most Dahua cameras offer adjustable brackets, making alignment straightforward.
Step 4: Connect the Camera to the Power Source
If you’re using a wired Dahua camera with a separate power supply, connect the adapter to the camera and plug it into a power outlet. For Power over Ethernet (POE) cameras, connect the Ethernet cable from the camera to a powered Ethernet switch or POE injector.
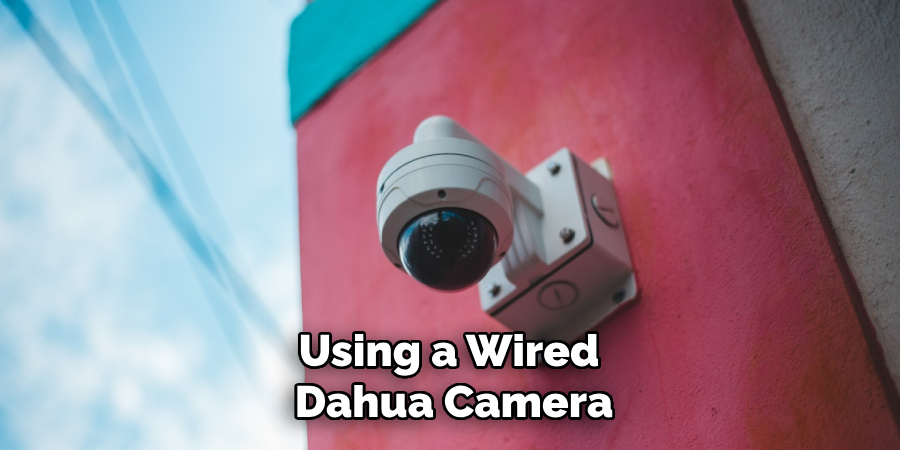
Wi-Fi-enabled cameras do not require Ethernet connectivity unless specified for setup; instead, they use the power adapter to operate. Ensuring a stable power connection is a crucial step for maintaining uninterrupted operation.
Step 5: Connect to a Recording Device or Storage
Most Dahua cameras are designed to integrate with recording devices like Network Video Recorders (NVRs). To set this up, connect the camera to the NVR or any local storage device via Ethernet cables or wireless connection, depending on your model.
For cameras with built-in SD card slots, insert a formatted SD card to store video footage directly on the camera without needing additional recording devices.
Step 6: Download Dahua’s Configuration Software
Next, download and install Dahua’s official software or mobile application, such as the DMSS (Dahua Mobile Surveillance System) app or SmartPSS for desktop users. These programs allow you to manage and monitor your camera system remotely.
Log into the application and follow its instructions to add your newly installed Dahua camera to your system. You’ll need login credentials and occasionally a QR code from the camera itself to complete the pairing process.
Step 7: Configure Video and Network Settings
Access the software to fine-tune your camera’s settings. Basic adjustments can include setting the desired resolution, adjusting the focus, and ensuring motion detection or night vision features are activated.
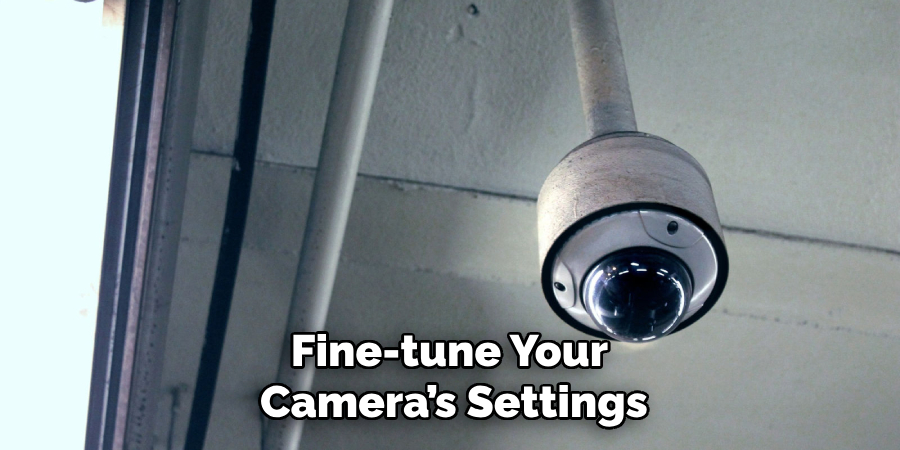
Configure your network settings as well. If the Dahua camera connects via Wi-Fi, log into the software and access the wireless configuration tab to connect it securely to your network. Wired cameras will automatically connect once plugged into the network. Properly configuring settings ensures seamless monitoring and playback of surveillance footage.
Step 8: Test the Camera Setup
Before finalizing the installation, test the functionality of your Dahua camera. Check whether it’s capturing the desired area, monitoring in real-time, and recording footage properly. If you notice blind spots or issues in visibility, adjust the camera angle or resolution settings accordingly.
Look for any connectivity issues while testing the footage playback on your mobile or desktop device. It’s better to troubleshoot problems at this stage than to discover them after leaving the camera unattended.
Step 9: Secure the Setup
Once you’re satisfied with the performance, secure all aspects of the setup, including cables and brackets. Use cable clips or concealers to manage wires along walls and maintain a clean appearance. For outdoor installations, weatherproof the connecting cables and ensure the camera casing is fitted tightly.
Additionally, secure your camera software by changing default passwords and regularly updating the firmware. This step guards against potential security breaches.
Step 10: Establish a Monitoring Routine
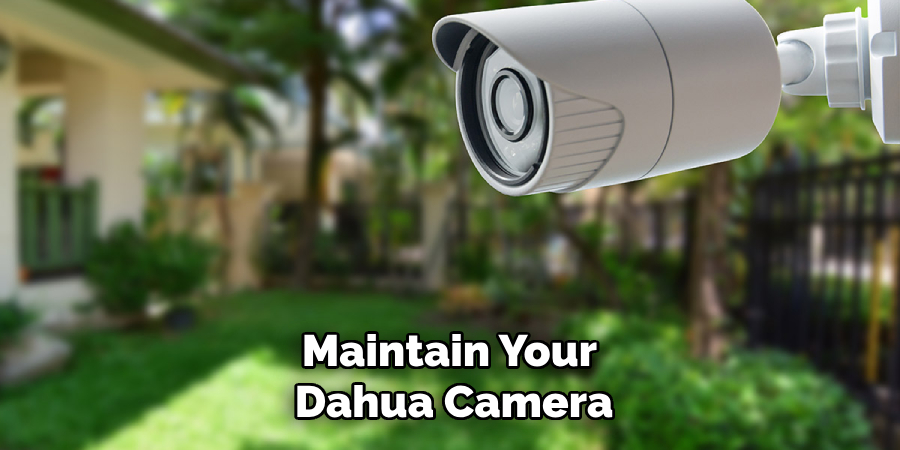
To ensure continuous performance, establish a routine to monitor and maintain your Dahua camera. Periodically clean the lens, check for software updates, and assess any changes in Wi-Fi or network performance. Doing so helps prolong the camera’s life and ensures it functions optimally over time.
Troubleshooting Common Issues
Even with proper setup and maintenance, you may encounter occasional issues with your Dahua camera. Here are some common problems and their potential solutions:
Camera Not Connecting to the Network
Ensure that the camera is within range of the Wi-Fi router and that the network credentials are entered correctly. Restart the router and the camera to refresh the connection. If the issue persists, try resetting the camera to its factory settings and reconfiguring it.
Poor Video Quality
Poor video quality can result from insufficient bandwidth or low resolution settings. Check your internet connection speed and ensure nothing is disrupting the signal. Verify that the camera is set to the desired resolution in the software or app settings.
Night Vision Not Working
If the night vision feature is not functioning, clean the camera lens to remove any dirt or smudges that might interfere with the infrared sensors. Additionally, ensure night vision mode is enabled in the settings.
Camera Offline or Not Responding
If your camera frequently goes offline, check for possible power interruptions or unstable Wi-Fi conditions. Make sure the firmware is up to date, as some issues may be fixed in recent updates. Restarting the camera and the app may also help resolve this issue.
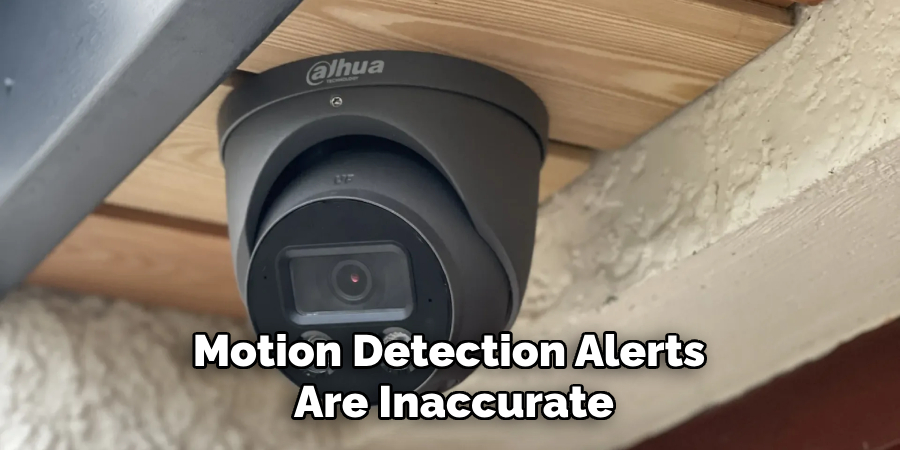
Motion Detection Alerts Not Triggering Properly
If motion detection alerts are inaccurate or not triggering as expected, adjust the sensitivity settings within the app. Ensure the camera is positioned correctly to cover the desired area and that there are no obstructions blocking its field of view.
By addressing these common issues proactively, you can quickly restore functionality and make the most of your Dahua camera system.
Frequently Asked Questions
How long does it take to install a Dahua camera?
For most users, it takes around one to two hours to install a Dahua camera. This includes time for deciding the placement, drilling, mounting, connecting power or Ethernet cables, and configuring the software. It may take slightly longer for those new to setting up surveillance systems.
Are Dahua cameras compatible with third-party NVRs?
Yes, most Dahua cameras are compatible with third-party NVRs, especially if the equipment supports the ONVIF protocol. However, for optimal performance and to utilize advanced features, pairing your Dahua camera with a Dahua NVR is recommended.
Do I need internet access to use Dahua cameras?
Internet access is required if you plan to use cloud storage or monitor your Dahua camera remotely through the app. However, the camera and an NVR can work without an internet connection for local video recording and playback.
Can I install Dahua cameras outdoors?
Absolutely. Dahua offers a range of cameras designed for outdoor use, complete with weatherproof casings and advanced features like infrared night vision. Ensure proper cable management and weatherproofing while installing the camera outdoors.
Can anyone install a Dahua camera, or do I need a professional?
Anyone with basic DIY skills can install a Dahua camera by following this step-by-step guide. Professionals may be necessary for complex setups involving multiple cameras, advanced configurations, or large properties requiring sophisticated surveillance systems.
Conclusion
Learning how to install Dahua camera is a straightforward process when approached with the right tools and guidance. By following the steps outlined in this guide, you can confidently set up a robust surveillance system to secure your property.
Proper maintenance is also essential to ensure your Dahua camera system performs optimally over time. Regularly clean the lenses to maintain clear image quality and check all connections for any signs of wear or damage. Additionally, updating the camera’s firmware as recommended by the manufacturer will help keep your system secure and functioning with the latest features and improvements.
Owning a Dahua camera offers not only top-notch security but also peace of mind. Take advantage of this beginner-friendly guide and enjoy the satisfaction of installing your own surveillance system. Whether for your home or business, Dahua provides the performance and reliability you need for lasting protection.