

A door lock actuator is an essential component in modern vehicles, responsible for locking and unlocking the doors electronically. If your car doors are not functioning properly when using the remote or the door lock switch, it could be a sign that the actuator needs replacement.
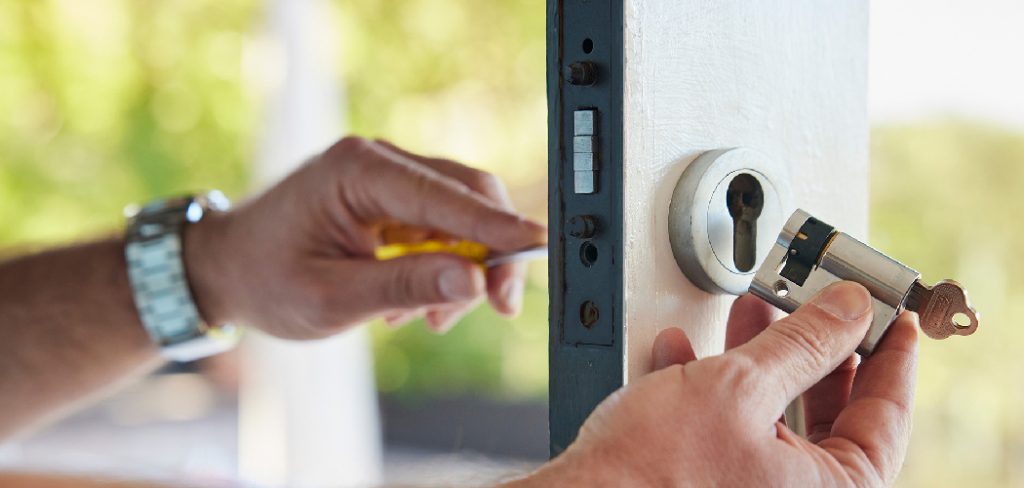
Installing a new door lock actuator might seem like a daunting task, but with the right tools and a step-by-step guide, it can be a straightforward process. This guide on how to install door lock actuator will walk you through everything you need to know to successfully replace a door lock actuator.
Why Do You Need To Replace A Door Lock Actuator?
Door lock actuators are small electric motors that control the locking mechanism of your car doors. Over time, they can wear out or get damaged due to constant use and exposure to weather elements. When this happens, your car door may not lock or unlock properly, leaving your vehicle vulnerable to theft or break-ins.
Replacing a faulty door lock actuator is crucial for the security and functionality of your car. It ensures that you can easily access and secure your vehicle without any issues. In addition, a malfunctioning door lock actuator can also affect other electronic components in your car, such as the power locks and alarm system.
Tools Needed
Flathead Screwdriver:
A flathead screwdriver is essential for removing the door panel and accessing the door lock actuator. Make sure to use a proper sized screwdriver to avoid damaging the screws or panel.
Socket Set:
You may need a socket set to remove any bolts or nuts that are securing the actuator in place. Again, make sure to use the correct size socket for each bolt or nut.
Replacement Door Lock Actuator:
This is the most important tool needed to replace a faulty door lock actuator. Ensure that you purchase the correct type and model for your specific vehicle.
8 Steps on How to Install Door Lock Actuator
Step 1: Prepare the Vehicle
Begin by ensuring the vehicle is parked on a flat surface and the parking brake is engaged to prevent any movement during the process.
Disconnect the negative terminal of the car battery to avoid any electrical issues or accidental short circuits while working on the door lock actuator. Additionally, gather all necessary tools and the replacement actuator, keeping them within easy reach before starting the repair.
Step 2: Remove the Inner Door Panel
Carefully locate and remove any screws securing the door panel—these are often found near the door handle, armrest, or along the bottom edge of the panel. Once the screws are removed, use a trim removal tool or a flathead screwdriver to gently pry the panel away from the door frame, releasing the clips holding it in place.
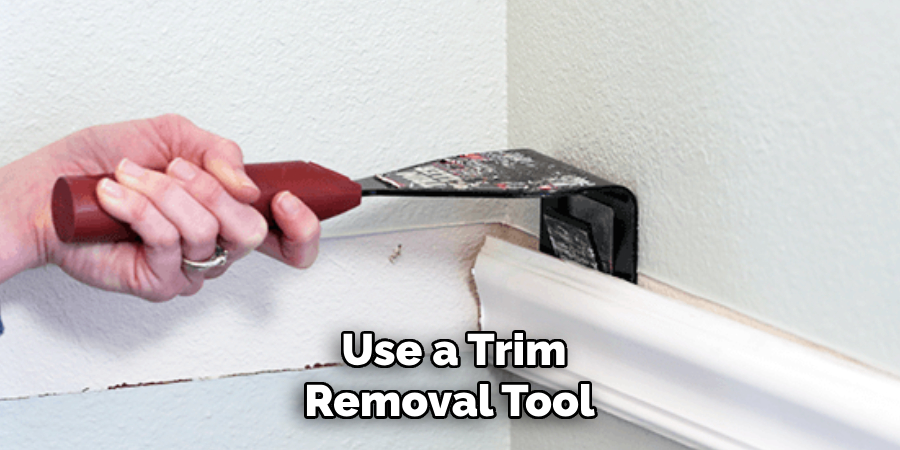
Be cautious to avoid damaging the panel or breaking the clips. After loosening the panel, disconnect any electrical connectors attached to switches or lights on the door panel, and set it aside in a safe place for reinstallation later.
Step 3: Locate and Remove the Old Actuator
With the door panel removed, you should have clear access to the internal components of the door. Locate the door lock actuator, which is typically attached to the door’s locking mechanism and connected to a series of rods or cables. Carefully disconnect these rods or cables, noting their positions for reassembly.
Then, unplug any electrical connectors attached to the actuator. Use the appropriate tools, such as a socket wrench or screwdriver, to remove the mounting bolts or screws securing the old actuator in place. Once detached, carefully remove the actuator from the door, ensuring no surrounding components are damaged in the process.
Step 4: Install New Actuator
Position the new actuator in the same location as the old one, aligning it with the mounting holes. Secure the actuator in place using the mounting bolts or screws, ensuring they are tightened firmly but not excessively to avoid damage. Reconnect any electrical connectors to the new actuator, making sure they are properly seated.
Next, attach the rods or cables to the corresponding points on the actuator, referring to their previously noted positions for accuracy. Once everything is connected, test the actuator’s function before reassembling the door panel to confirm it operates correctly.
Step 5: Test Functionality
Before reassembling the door panel, thoroughly test the actuator to ensure it operates as expected. Use the vehicle’s controls to lock and unlock the mechanism, verifying smooth and consistent movement. Listen for any unusual noises, such as grinding or clicking, that could indicate improper installation or a defective component.
Additionally, check that all connected rods or cables move without obstruction and that there is no excessive resistance. If any issues are detected, recheck the installation steps and fix any misalignments or loose connections. Once satisfied with the actuator’s performance, proceed with reassembling the door panel.
Step 6: Reassemble Door Panel
Begin by carefully aligning the door panel with the mounting points on the door frame. Make sure all clips, screws, and fasteners are in their correct positions before securing the panel. Reattach any wiring harnesses or connectors that were removed during disassembly, ensuring they are properly seated to avoid electrical issues.
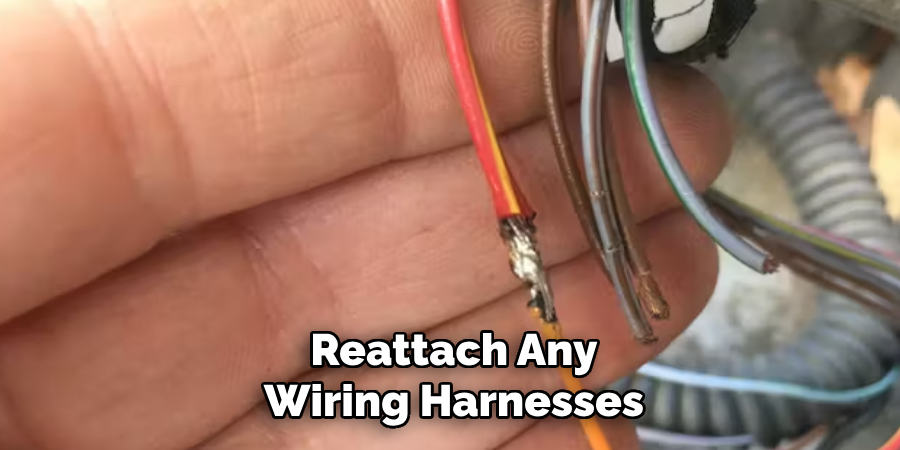
Gently press the panel into place until all clips snap securely. Finally, use the screws or bolts removed earlier to firmly secure the panel, tightening them evenly to prevent misalignment. Test any switches or controls on the panel to confirm proper functionality before finishing.
Step 7: Test Again
Once the panel is securely reattached, perform a comprehensive test to ensure everything is functioning correctly. Check all related switches, controls, and electrical components to verify they are operating as expected.
Pay attention to any unusual sounds, resistance, or malfunctioning features. If issues are detected, revisit the assembly steps to identify and resolve the problem. A thorough test helps guarantee that the repair or installation has been completed successfully.
Step 8: Repeat for the Remaining Doors
If there are additional doors requiring the same repair or installation process, repeat the above steps for each one. Ensure you follow the same careful and methodical approach to guarantee consistent results. Take note of any variations between doors, such as unique fittings or adjustments, and handle these with the appropriate tools and techniques. Thoroughly test every door after completing the steps to confirm proper functionality and alignment.
Following these steps on how to install door lock actuator will help you achieve a successful and professional installation. Remember to always prioritize safety and take necessary precautions when working with tools and equipment.
Troubleshooting Common Issues
Even with careful preparation and following all the steps, there can be some common issues that arise during or after installing a door lock actuator. Here are some troubleshooting tips to help you resolve them:
Door Lock Actuator Not Working
If the door lock actuator is not functioning properly after installation, it could be due to several reasons. First, check if all connections are secure and correctly installed. If there are no visible issues, try replacing the fuse for the actuator. You can also use a multimeter to test the power supply to the actuator. If there is no power, it could indicate a problem with the wiring or the switch.
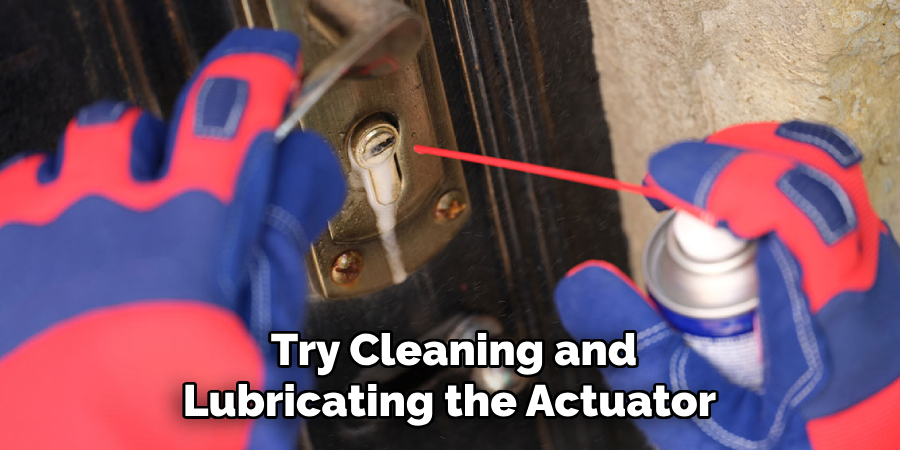
Actuator Making Strange Noises
If you hear unusual noises coming from the door lock actuator, it could be due to debris or dirt getting trapped in the mechanism. In this case, try cleaning and lubricating the actuator to see if that resolves the issue.
Door Lock Actuator Not Aligning Properly
Sometimes, after installation, you may notice that the door lock is not aligning correctly and does not fully engage with the strike plate. This could be due to incorrect alignment of the actuator during installation. To fix this issue, adjust the position of the actuator and make sure it is properly aligned with the lock mechanism before securing it in place.
Weak or Slow Locking/Unlocking
If you find that your door lock is weak or slow when locking and unlocking, it could be a sign of a worn-out actuator. Over time, the internal components of the actuator can wear out, causing it to lose power and become less effective. In this case, replacing the actuator is necessary to ensure proper functioning of your door lock.
Frequently Asked Questions:
Q1: How Do I Know if My Door Lock Actuator is Faulty?
A: If you notice any of the signs mentioned above, such as unusual noises or weak/slow locking and unlocking, it is likely that your door lock actuator is faulty.
Q2: Can I Replace the Actuator Myself?
A: It is possible to replace the actuator yourself, but it is recommended to seek professional assistance. Removing and installing an actuator can be tricky and may require specialized tools.
Q3: What Should I Do if My Door Lock Still Doesn’t Work After Replacing the Actuator?
A: If your door lock still doesn’t work after replacing the actuator, there may be other underlying issues with your door lock system. It is best to consult a professional for further diagnosis and repair. Some possible causes could include faulty wiring, damaged sensors, or malfunctioning control modules.
Q4: How Can I Prevent Future Issues with My Door Lock Actuator?
A: Regular maintenance of your vehicle’s door lock system can help prevent future issues with the actuator. This includes lubricating the moving parts and checking for any loose connections or damaged components. Additionally, avoiding slamming your doors shut can also help prolong the life of your actuator.
Conclusion
In conclusion, understanding how your door lock actuator works and being aware of signs of potential issues can save you time and money in the long run. Regular maintenance and gentle handling can help keep your door lock actuator functioning properly, ensuring the safety and security of your vehicle.
If you do encounter problems with your actuator, it’s important to address them promptly to avoid further damage or potential breakdowns. With proper care and attention, your door lock actuator can last for many years to come. Thanks for reading this article on how to install door lock actuator.