

Are you having issues with your engine overheating or not displaying the correct temperature on the dashboard?
Installing an engine coolant temperature sensor is an essential maintenance task that ensures your vehicle’s engine operates efficiently and prevents potential overheating issues. This sensor plays a crucial role in monitoring the engine’s temperature and sending accurate data to the vehicle’s computer system, which helps regulate fuel injection, ignition timing, and cooling system performance. Proper installation is essential to maintain the functionality of your engine and avoid potential damages caused by inaccurate temperature readings.
This guide on how to install engine coolant temperature sensor will provide step-by-step instructions to help you carry out the installation safely and effectively, even if you’re a beginner.
What Are the Benefits of Installing an Engine Coolant Temperature Sensor?
Installing an engine coolant temperature sensor offers a range of benefits for your vehicle’s overall performance and longevity. Here are some key advantages:
- Accurate Temperature Readings: The primary benefit of installing an engine coolant temperature sensor is that it provides accurate temperature readings to the vehicle’s computer system. This allows for precise regulation of fuel injection, ignition timing, and cooling system performance, resulting in better engine efficiency.
- Optimal Engine Performance: When the engine operates at the correct temperature, it can run more efficiently and burn fuel more effectively. This results in improved overall performance and reduced emissions.
- Prevents Potential Damages: If your engine runs too hot or too cold, it can cause damage to various components, such as the pistons, bearings, and valves. The engine coolant system helps maintain a consistent temperature to prevent these damages.
- Extends Engine Life: A well-maintained engine with proper cooling can last longer than an engine that constantly runs too hot or too cold. This is because extreme temperatures can wear down internal components over time.
- Improved Passenger Comfort: With a functioning engine cooling system, passengers in the vehicle can enjoy more comfortable rides during extreme weather conditions. The AC system also relies on the engine coolant system to function correctly, so it’s essential for overall passenger comfort.
What Will You Need?
In order to maintain and repair your engine’s cooling system, you will need a few tools and materials. These may include:
- Engine coolant
- Antifreeze
- Water (for mixing with antifreeze)
- Funnel
- A pressure tester or gauge
- Hose clamp pliers
- Wrenches or sockets of different sizes
- Replacement of hoses, belts, and clamps as needed
It’s important to have the correct type of engine coolant for your specific vehicle. Consult your owner’s manual or ask a professional mechanic for recommendations.
8 Easy Steps on How to Install Engine Coolant Temperature Sensor
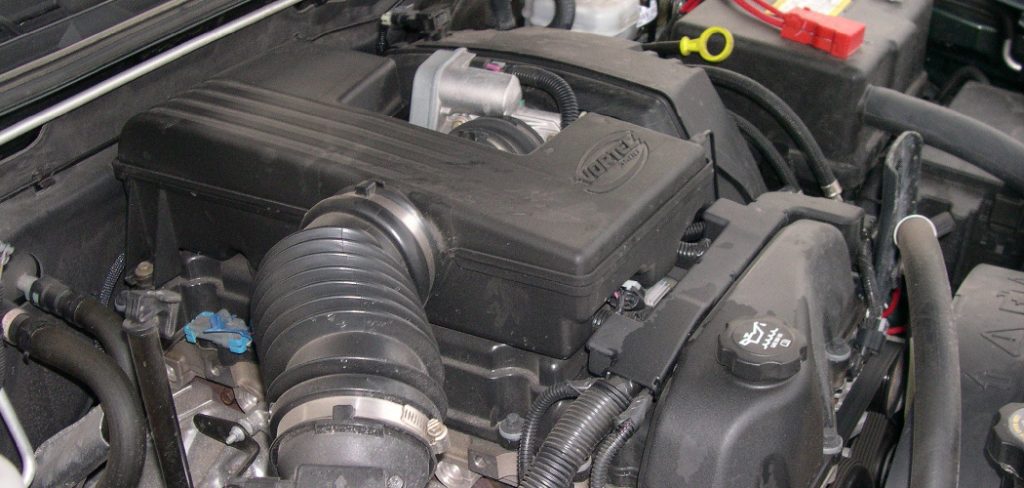
Step 1: Locate the Sensor
The engine coolant temperature sensor is typically located near the thermostat housing, either on the engine block or cylinder head. To find it, open your vehicle’s hood and identify the thermostat housing, usually where the upper radiator hose connects to the engine.

Depending on your vehicle’s make and model, the sensor may be threaded directly into the housing or positioned nearby. Take note of the sensor’s connector, which will have wiring leading to it. Ensure your engine is turned off and cooled before proceeding to avoid potential burns or injuries. If you’re unsure of the exact location, refer to your vehicle’s service manual for guidance specific to your car.
Step 2: Disconnect the Sensor
Locate the wiring harness connected to the coolant temperature sensor. Carefully disconnect the connector by pressing the release tab and pulling it away from the sensor. Avoid pulling on the wires directly, as this could cause damage to the harness. If the connector is stuck, pry it loose with a small flathead screwdriver. Ensure the area around the sensor is clean to prevent debris from entering the system when the sensor is removed.
Step 3: Remove the Coolant Temperature Sensor
Carelessly unscrew the coolant temperature sensor from its housing using a wrench or socket. Turn the sensor counterclockwise to loosen it, and be prepared for a small amount of coolant to leak out when the sensor is removed. Have a drain pan or rag ready to catch any spilled coolant. Once the sensor is fully unscrewed, remove it from the housing and set it aside. Inspect the area for any signs of damage or buildup that may need to be cleaned before installing the new sensor.

Step 4: Install the New Coolant Temperature Sensor
Before installing the new coolant temperature sensor, ensure the threads and the area around the housing are clean and debris-free. If there is any residue or buildup, use a clean rag or a mild cleaning solution to remove it, ensuring a proper seal. Next, take the new sensor and apply a small amount of thread sealant or Teflon tape to the threads if recommended by the manufacturer. This helps prevent leaks and ensures a secure fit.
Carefully thread the new sensor into the housing by hand, turning it clockwise. Be cautious not to cross-thread, as this can damage the sensor or the housing. Once the sensor is hand-tight, use an appropriate wrench to securely tighten it, but avoid overtightening to prevent stripping the threads or causing damage. Check that the sensor is seated evenly and firmly in place. Once installed, clean up any spilled coolant and proceed to the following steps to reconnect the wiring and refill the coolant system as needed.
Step 5: Reconnect the Wiring
Carefully reconnect the wiring harness to the new sensor, ensuring a secure and proper fit. Align the connector with the sensor before firmly pressing it into place until you feel or hear a click. Double-check that the connection is snug and that there are no loose or exposed wires. This ensures accurate sensor readings and prevents electrical malfunctions.
Step 6: Refill the Coolant System
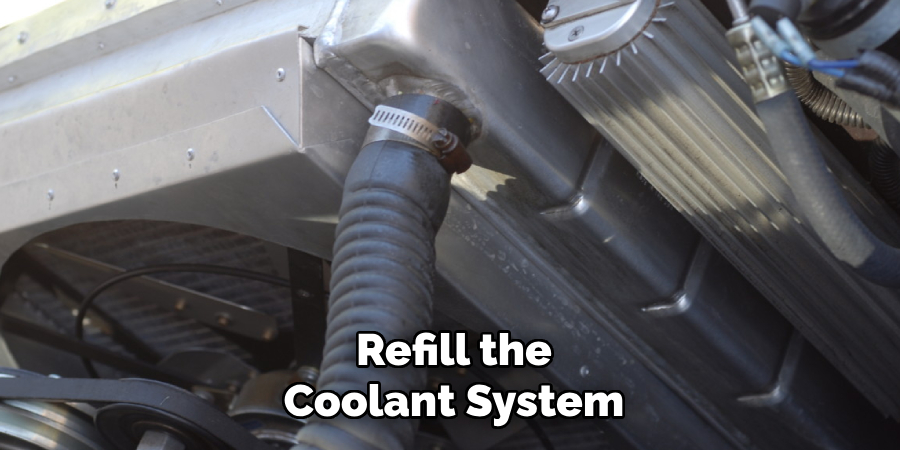
Refill the coolant system with the appropriate type and amount recommended for your vehicle. Use a funnel to avoid spills and ensure the coolant flows smoothly into the reservoir. Once filled, check the coolant level and adjust it to meet the manufacturer’s specifications. After filling, close the reservoir cap securely. Finally, start the engine and allow it to run for a few minutes to circulate the coolant and check for leaks or abnormalities.
Step 7: Bleed the Cooling System
You must bleed to ensure that no air is trapped in the cooling system. Locate the bleed valve, if your vehicle is equipped with one, or follow the manufacturer’s procedure for removing air. Slowly open the valve while the engine runs and allow the air to escape until a steady coolant stream flows out. Be cautious of hot coolant, and wear protective gloves if necessary. Once the air has been purged, close the valve securely and recheck the coolant level, topping off if required.
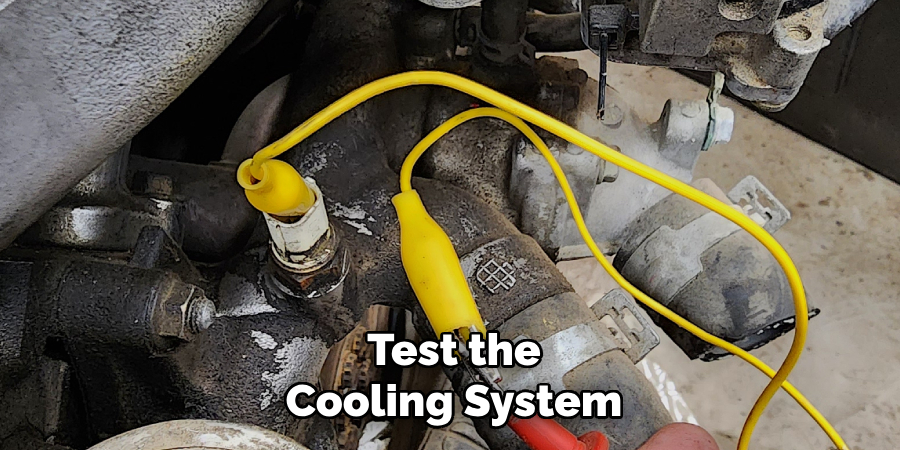
Step 8: Test the Cooling System
After bleeding the cooling system and ensuring the coolant level is correct, start the engine and allow it to reach its normal operating temperature. Monitor the temperature gauge to ensure it does not overheat. Inspect for any leaks around hoses, the radiator, and connections. Additionally, check for proper heater function, as this can indicate that the coolant is flowing correctly. Once you’re confident the cooling system is operating as it should, turn off the engine and allow it to cool before performing a final check of the coolant level, topping off if needed.
By following these simple steps, you can keep your engine’s cooling system in top shape and avoid any potential issues that could lead to costly repairs.
5 Things You Should Avoid
- Skipping the Engine Cool-Down Period: Never attempt to replace the temperature sensor while the engine is still hot. Hot coolant can cause severe burns, so ensure the engine has cooled down completely before installing.
- Failing to Disconnect the Battery: Forgetting to disconnect the battery can result in electrical shorts or damage to the vehicle’s electronic components. Always disconnect the negative battery terminal to ensure safety during the installation.
- Using the Wrong Tools: Avoid using tools that do not fit properly, as this can damage the sensor or surrounding components. Always use the correct-sized wrench or socket to securely remove and install the sensor.
- Over-Tightening the Sensor: Over-tightening the sensor can strip threads or damage the housing, leading to leaks or malfunction. Ensure the sensor is tightened to the manufacturer’s specified torque for proper installation.
- Ignoring Cleaning and Inspections: Do not neglect to clean the mounting area and inspect it for any signs of damage or corrosion before installing the new sensor. Failing to do this may prevent a proper seal or lead to premature failure of the new sensor.
Conclusion
How to install engine coolant temperature sensor requires careful attention to detail and adherence to proper procedures to ensure optimal performance and longevity.
You can effectively complete the task by following the steps outlined above—disconnecting the battery, safely draining the coolant, removing the faulty sensor, and correctly installing the new one. Before starting the engine, check connections, torque specifications, and coolant levels.
Taking these precautions prevents potential issues and ensures a reliable and efficient engine cooling system.
About
Safety Fic is a distinguished figure in the world of Diy design, with a decade of expertise creating innovative and sustainable Diy solutions. His professional focus lies in merging traditional craftsmanship with modern manufacturing techniques, fostering designs that are both practical and environmentally conscious. As the author of diy, Safety Fic delves into the art and science of Safety Fic-making, inspiring artisans and industry professionals alike.
Education RMIT University
(Melbourne, Australia) Associate Degree in Design (Safety Fic) Focus on sustainable design, industry-driven projects, and practical craftsmanship. Gained hands-on experience with traditional and digital manufacturing tools, such as CAD and CNC software.
Nottingham Trent University
(United Kingdom) Bachelor’s in diyfastly.com and Product Design (Honors) Specialized in product design with a focus on blending creativity with production techniques. Participated in industry projects, working with companies like John Lewis and Vitsoe to gain real-world insights.
Publications and Impact
In diy, Safety Fic his insights on indoor design processes, materials, and strategies for efficient production. His writing bridges the gap between artisan knowledge and modern industry needs, making it a must-read for both budding designers and seasoned professionals.