

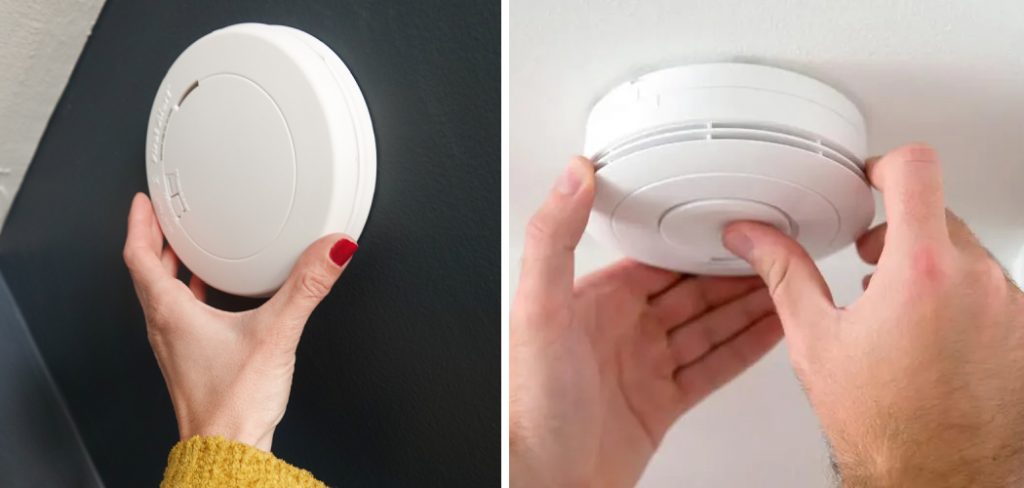
Are you worried about what would happen if a fire in your home? Taking the proper precautions can help keep you and your family safe. One of the most important steps to ensure safety is installing a first alert smoke alarm. This device lets you monitor smoke levels indoors and know when to evacuate. While the concept seems simple, the installation process can initially seem intimidating.
If you’re new to smoke alarm installation, here are some tips to help guide you through the process.
Thankfully, we’ve put together an easy-to-follow guide that will make sure your first alert smoke alarm is installed correctly in no time! Keep reading—we’ll tell you how to install first alert smoke alarm step by step!
What Are the Benefits of Installing a Smoke Alarm?
The main benefit of installing a smoke alarm is that it can provide life-saving protection from potential fires. A working smoke detector will alert residents to danger before conditions become too hazardous, giving them time to evacuate safely if necessary.
Another advantage of having a smoke alarm is that it can help reduce insurance costs. If your home has working and properly installed alarms, you may be eligible for discounts from your homeowners’ insurance provider.
Investing in a smoke alarm is a great way to keep your family and home safe.
What Will You Need?
Before you begin, make sure you have the following items on hand:
- First Alert Smoke Alarm
- Batteries (9V or AA)
- Drill and bits
- Mounting screws
Once you have all of the necessary items, you can start the installation process.
10 Easy Steps on How to Install First Alert Smoke Alarm
Step 1: Prepare the Area
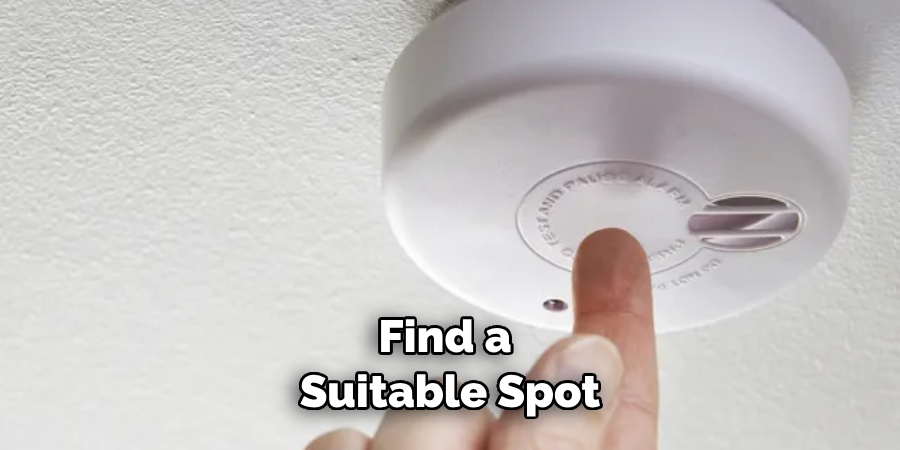
First, find a suitable spot for your first alert smoke alarm. As per safety regulations, it should be mounted on the ceiling at least 4-6 inches away from any walls and not be located close to windows or vents. Try to mount it in the center of your room or hallway.
Step 2: Mark the Drill Points
Once you’ve chosen the ideal location, hold the base of the smoke alarm against the ceiling and mark the points where the mounting screws will go. It’s best to use a pencil for marking as it can be easily erased later. Ensure the points are aligned properly, making the mounting process much smoother.
Step 3: Drill the Holes
Now that you have the points marked, it’s time to drill the holes. Ensure that your drill bit is the right size for your mounting screws. Drill the holes at the points you marked earlier, holding the drill perpendicular to the ceiling for a straight drill. After drilling, you should clean up the dust from the drilling process to keep your workspace clean.
Step 4: Install the Mounting Bracket
Take your mounting bracket and align the holes in the bracket with the drilled holes on your ceiling. Once aligned, insert the screws provided with your First Alert Smoke Alarm through the holes in the bracket and into the ceiling. Use a screwdriver to tighten the screws until the bracket is secure. Be careful not to over-tighten, as this could damage the bracket or the ceiling.
Step 5: Connect the Batteries
With the mounting bracket securely, it’s time to connect the batteries to your First Alert Smoke Alarm. Open the battery compartment of the smoke alarm and insert the batteries as indicated by the polarity symbols (+/-) inside the compartment. Once inserted, ensure the battery compartment door is securely closed.
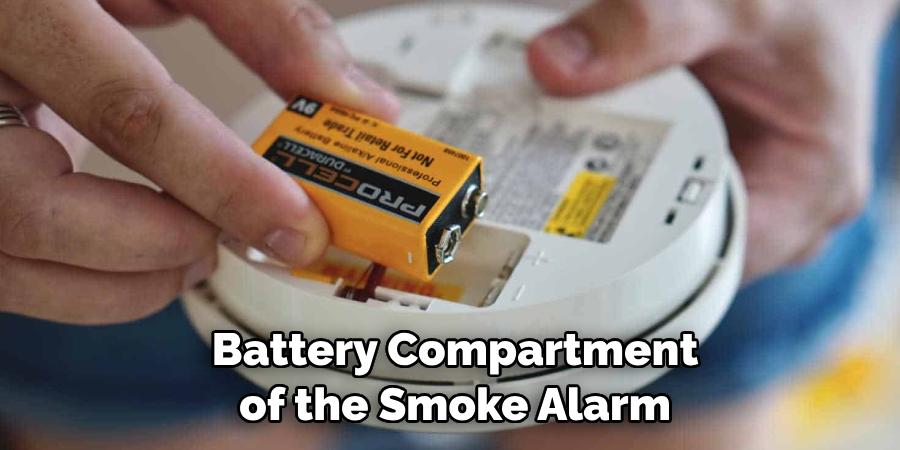
Remember to check the smoke alarm by pressing the test button. If the alarm sounds, your batteries have been installed successfully.
Step 6: Attach the Smoke Alarm
After successfully installing the batteries and testing the smoke alarm, it’s time to attach it to the mounting bracket. Align the smoke alarm with the bracket on the ceiling and rotate it clockwise until it locks into place. It should fit securely and not move around once attached.
Step 7: Test the Smoke Alarm
Once you’ve attached the smoke alarm, you must test it to ensure it works correctly. Press the test button on the smoke alarm. The alarm should blare. If it doesn’t, check the batteries and ensure the alarm is securely attached to the bracket.
Step 8: Regular Maintenance
After the installation, remember to regularly test the smoke alarm to ensure it’s functioning correctly. Replace the batteries as recommended by the manufacturer or once a year. Regular maintenance will ensure your First Alert Smoke Alarm is ready to alert you in case of a fire.
Remember, installing a smoke alarm is a crucial step toward ensuring the safety and security of your home. Take this process seriously, and make sure to follow the steps carefully.
Step 9: Keep a Fire Safety Plan

It’s important to have a plan in place for emergencies. Keeping a fire safety plan will help your family know what to do and where to go when the smoke alarm goes off. Make sure everyone in the house is aware of the plan so that they can react quickly if there is an emergency.
Step 10: Stay Safe
Once you have installed your first smoke alarm, always take the necessary precautions to help keep your home safe. Regularly check and test your smoke alarm; remember to replace the batteries yearly. Make sure everyone in the house knows what to do if the smoke alarm goes off.
Taking these small steps ensures that you and your family stay safe in a fire.
You can install your home’s first smoke alarm with these ten easy steps. Follow the guide carefully and always take safety precautions—your family’s lives may depend on it!
5 Additional Tips and Tricks
- Make sure you read the instructions before beginning installation. The manufacturer’s directions are always the best source of information for a safe and successful installation.
- Use a ladder or adjustable step stool to reach high-up mounting points safely and securely if needed. Additionally, ensure your ladder is on sturdy footing if you have to move it during the installation process.
- For the best performance, make sure that the smoke alarm is at least 10 feet away from the kitchen and bathroom doors, as well as any other potential sources of heat or steam.
- After installation, test your First Alert Smoke Alarm by pressing and holding the test button for a few seconds until you hear a loud chirp or beep. This will verify that the unit is functioning properly.
- Replace batteries in your First Alert Smoke Alarm every six months or per the manufacturer’s instructions. This will ensure that the alarm is always ready to work in an emergency.
By following these steps, you can easily install a First Alert Smoke Alarm and ensure that your home is safe from fire hazards. With a properly installed smoke alarm, you can rest easy knowing that your family will be alerted to any potential danger.
5 Things You Should Avoid
- Do not install a smoke alarm in direct contact with steam, as this could cause the unit to malfunction.
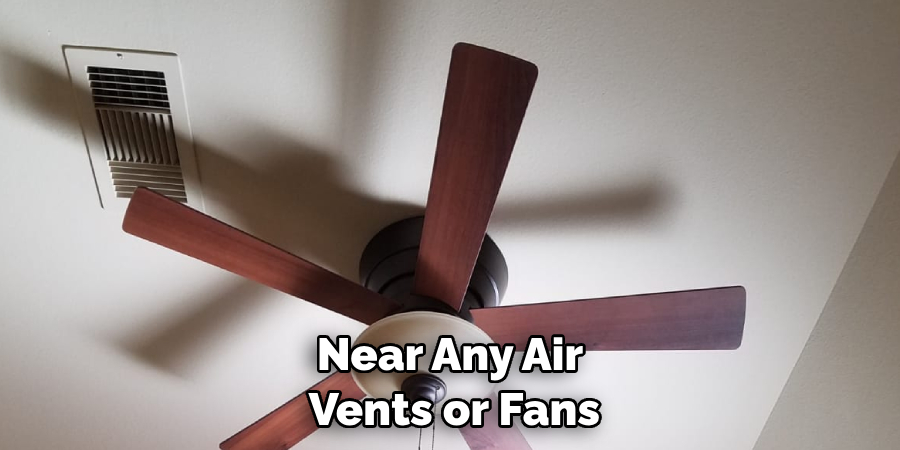
- Avoid installing your smoke alarm near any air vents or fans, as they can disrupt the flow of air and weaken the unit’s effectiveness.
- Never paint your First Alert Smoke Alarm; doing so will damage it and reduce its ability to detect smoke.
- Do not attempt to install the alarm yourself, as this could lead to potential safety hazards. Hire a professional if you need help installing it correctly.
- Never disable or remove your First Alert Smoke Alarm; doing so can leave your home vulnerable and unprotected from fires.
Avoiding these common mistakes will help you ensure that your First Alert Smoke Alarm is functioning correctly and keeping your home safe from fire hazards. With the right precautions, you can rest assured that your family is being protected from danger.
Why Do Smoke Detectors Need Batteries?
Smoke detectors rely on batteries to power the unit and keep it running properly. The battery provides the necessary energy to detect smoke and sound the alarm when an emergency is detected. Additionally, replacing the batteries regularly ensures that your detector can always respond in an emergency.
For best results, replace the batteries in your First Alert Smoke Alarm every six months or as the manufacturer directs. This will prevent any battery-related issues from compromising the safety of your home.
These simple steps ensure that your First Alert Smoke Alarm is always in working condition and ready to alert you to potential fire hazards.
What Type of Smoke Alarm is Best?
The type of smoke alarm that is best for your home depends on various factors. Generally speaking, the two main types are ionization and photoelectric detectors.
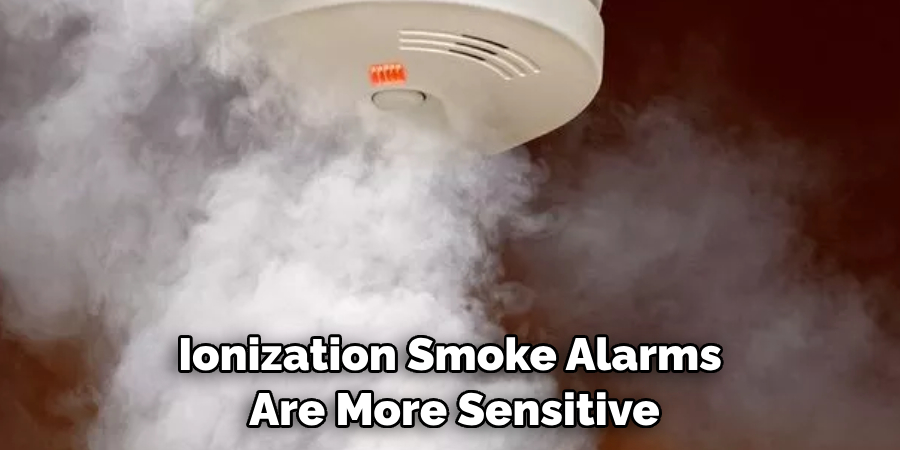
Ionization smoke alarms are more sensitive to fast-burning fires, while photoelectric models provide better detection of smoldering fires. Additionally, consider investing in dual sensor smoke alarms, which incorporate ionization and photoelectric technology for maximum fire protection.
No matter which type of smoke detector you choose, install it under the manufacturer’s instructions for optimal performance and safety.
By taking these steps, you can ensure that your home is always protected from fires and other emergencies. Investing in a quality smoke alarm can help you keep your family safe and secure.
Can You Install a Smoke Detector Without Wiring?
Yes, you can install a smoke detector without wiring it into your home’s electrical system. Several wireless models on the market use replaceable batteries for power.
Wireless smoke detectors offer an easy installation and typically require no additional wiring or tools. Simply mount the unit on your ceiling or wall and turn it on to get started.
However, remember that wireless models can be more expensive than hardwired units. Additionally, you may need to replace the batteries every six months or so, depending on usage and environmental conditions.
By choosing a wireless model of smoke alarm, you can easily install it without wiring and ensure that your home is protected from fire hazards. Just remember to read and follow the manufacturer’s instructions for best results.
Conclusion
In conclusion, how to install first alert smoke alarm can be completed with a few simple steps. By following these easy-to-understand instructions, you can ensure proper operation and safety for your home. Don’t put off this important task any longer; order or purchase your first alarm today and take that step towards greater peace of mind.
And don’t forget to conduct monthly checks and routine maintenance every six months – it will go a long way in helping to ensure your home is kept safe from fire! If you have any other questions anytime, feel free to contact your local fire department or contractor specializing in home safety needs.
Now get started and save yourself some time by properly installing your First Alert Smoke Alarm!
About
Safety Fic is a distinguished figure in the world of Diy design, with a decade of expertise creating innovative and sustainable Diy solutions. His professional focus lies in merging traditional craftsmanship with modern manufacturing techniques, fostering designs that are both practical and environmentally conscious. As the author of diy, Safety Fic delves into the art and science of Safety Fic-making, inspiring artisans and industry professionals alike.
Education RMIT University
(Melbourne, Australia) Associate Degree in Design (Safety Fic) Focus on sustainable design, industry-driven projects, and practical craftsmanship. Gained hands-on experience with traditional and digital manufacturing tools, such as CAD and CNC software.
Nottingham Trent University
(United Kingdom) Bachelor’s in diyfastly.com and Product Design (Honors) Specialized in product design with a focus on blending creativity with production techniques. Participated in industry projects, working with companies like John Lewis and Vitsoe to gain real-world insights.
Publications and Impact
In diy, Safety Fic his insights on indoor design processes, materials, and strategies for efficient production. His writing bridges the gap between artisan knowledge and modern industry needs, making it a must-read for both budding designers and seasoned professionals.