

Are you considering installing a generator interlock in your home? This safety device allows you to use a portable generator to power certain appliances during a power outage, while also preventing backfeeding and protecting your home from potential electrical hazards.
How to install generator interlock is an essential step to ensure a safe and efficient connection between your generator and your home’s electrical panel. A generator interlock prevents backfeeding of electricity, which can cause dangerous situations for utility workers, damage to your appliances, and potential fire hazards. By properly installing an interlock, you can safely switch between your generator and the main utility power, ensuring the continuous operation of essential appliances during power outages.
This guide will walk you through the necessary tools, safety precautions, and step-by-step instructions to install a generator interlock successfully.
What Are the Benefits of Installing a Generator Interlock?
Installing an interlock for your generator has numerous benefits, including:
- Ensuring the Safety of Utility Workers: Backfeeding electricity can be hazardous for utility workers trying to restore power. Installing an interlock can prevent this hazard and help protect those working on power lines.
- Protecting Your Appliances: Backfeeding can damage your appliances by sending too much voltage. An interlock ensures only electricity is provided to your home during a power outage.
- Minimizing Fire Hazards: Minimizing Fire Hazards: In addition to damaging appliances, backfeeding can also create potential fire hazards due to overloaded circuits or improper wiring. Installing an interlock and following proper safety measures can minimize the risk of electrical fires in your home.
- Avoiding Legal Consequences: In some areas, backfeeding is illegal and can result in hefty fines or even jail time if someone is injured. By using an interlock, you are protecting yourself and your family and ensuring that you comply with local laws and regulations.
What Will You Need?
To install an interlock, you will need the following tools and materials:
- Interlock kit
- Electrical panel cover tool
- Screwdriver
- Drill and drill bits
- Wire strippers
- Electrical tape
- Pliers
It is important to note that interlocks come in different sizes and configurations, so purchase one specifically designed for your electrical panel.
10 Easy Steps on How to Install Generator Interlock
Step 1: Turn Off the Main Power
Before beginning the installation process, ensure that the main power supply to your electrical panel is completely turned off. This step is critical for your safety as it prevents electrical shocks or accidents during the installation. Locate your main breaker and switch it to the “Off” position.
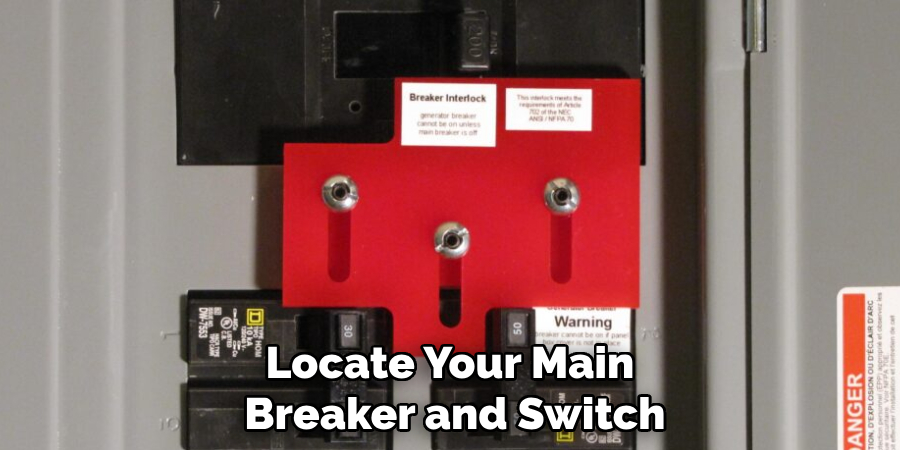
After doing so, verify that power is no longer running through the circuit by testing outlets within your home or using a multimeter. Double-checking is always a good practice to ensure there is no risk of live electricity while working on the panel. Once you are confident the panel is safe to handle, proceed with the following steps.
Step 2: Remove the Panel Cover
Using a screwdriver, carefully unscrew all the screws securing the panel cover in place. It is essential to keep track of these screws, as you will need them later to reattach the cover. Once all screws are removed, gently lift the panel cover away from the breaker box. The cover may be slightly heavy or awkward to handle, so use both hands and ensure a secure grip. If the cover is stuck, avoid using excessive force; instead, check to ensure all screws have been fully loosened. Place the removed panel cover in a safe, flat area to prevent damage or accidental displacement.
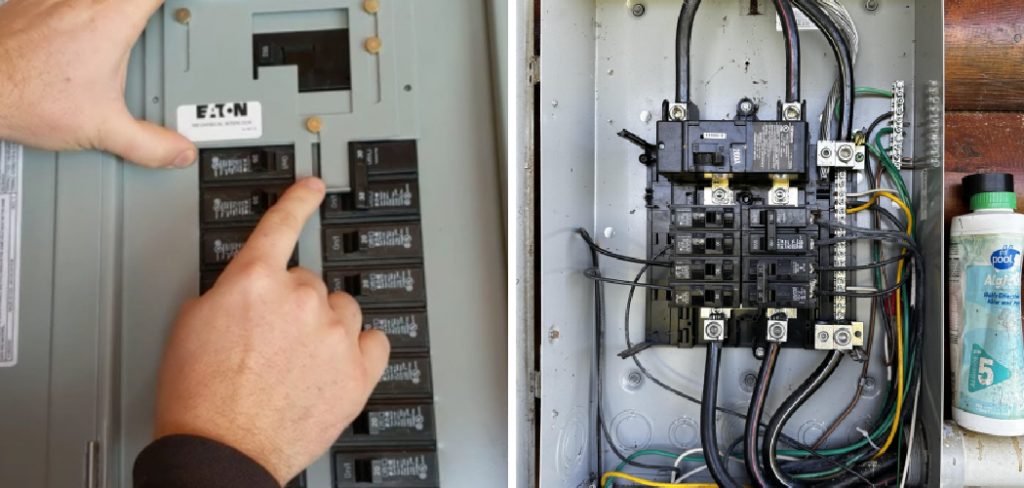
Step 3: Identify Breakers for Generator and Main Power
Locate the breaker designated for your generator and the main power breaker. The main power breaker is typically a large, double-pole breaker positioned at the top or in a marked section of the breaker box. This breaker controls the electricity supply to the entire home. On the other hand, the generator breaker will be explicitly installed to connect your generator to the home’s electrical system. It may be labeled accordingly or found in a designated section for additional breakers. Carefully identify these breakers to ensure you work with the correct components.
Step 4: Place the Interlock Bracket
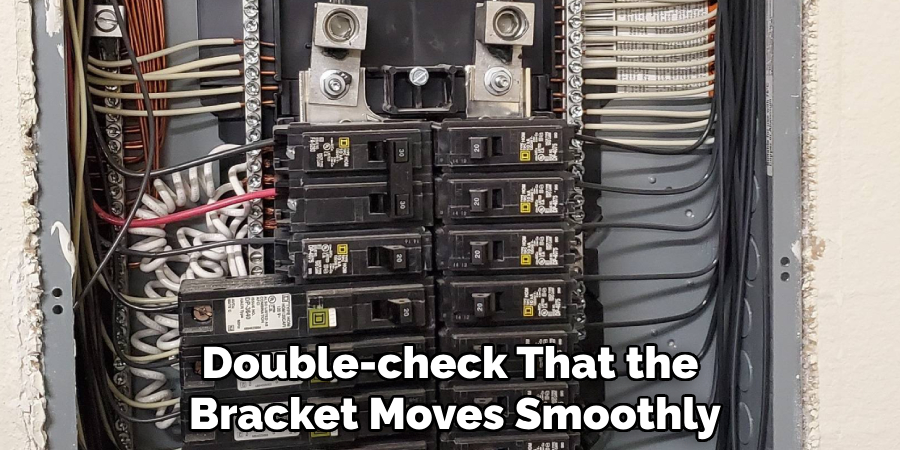
Begin by positioning the interlock bracket according to the manufacturer’s instructions. The bracket should align precisely with the main and generator breaker to ensure proper functionality. Secure the bracket using the provided screws or fasteners, tightening them firmly but without over-torquing. This mechanism is designed to prevent the generator breaker and the main breaker from being turned on simultaneously, ensuring a safe connection.
Double-check that the bracket moves smoothly and locks properly in place as intended. Proper installation of the interlock bracket is vital to maintaining the safety of your electrical system.
Step 5: Mark the Screw Holes
Use a pencil or marker to carefully mark the positions of the screw holes on the panel. Ensure that the bracket is aligned correctly and that the marks are precise, as proper placement is crucial for secure installation. Double-check that the marked locations will not interfere with existing components or wiring inside the panel. Taking the time to mark the holes accurately will make the following steps smoother and more efficient.
Step 6: Drill the Holes
Carefully create holes at the marked positions using a drill and an appropriately sized drill bit. Ensure that the drill bit matches the size of the screws or bolts you plan to use, to guarantee a secure fit. Hold the drill steady to avoid any unnecessary widening or misalignment of the holes. If the material is tough, consider drilling a small pilot hole first to guide the larger drill bit more effectively. Once all the holes are drilled, clear away debris or dust to ensure a clean working area for the next steps.
Step 7: Secure the Interlock
Position the interlock pieces in alignment with the pre-drilled holes. Carefully insert screws or bolts through the holes in the interlock and tighten them using a screwdriver or wrench, depending on the type of fastener used. Ensure that each fastener is securely tightened to prevent any movement or wobbling. Check for proper alignment as you work, adjusting if necessary to maintain a precise fit. A properly secured interlock will create a stable and durable connection, critical to the overall functionality of your assembly.
Step 8: Test the Interlock Mechanism
Once the interlock is securely assembled, proceed to test its functionality. Apply pressure to ensure the connection is stable and does not shift under typical use conditions. If the interlock mechanism involves moving parts, operate it several times to verify smooth motion and proper engagement.
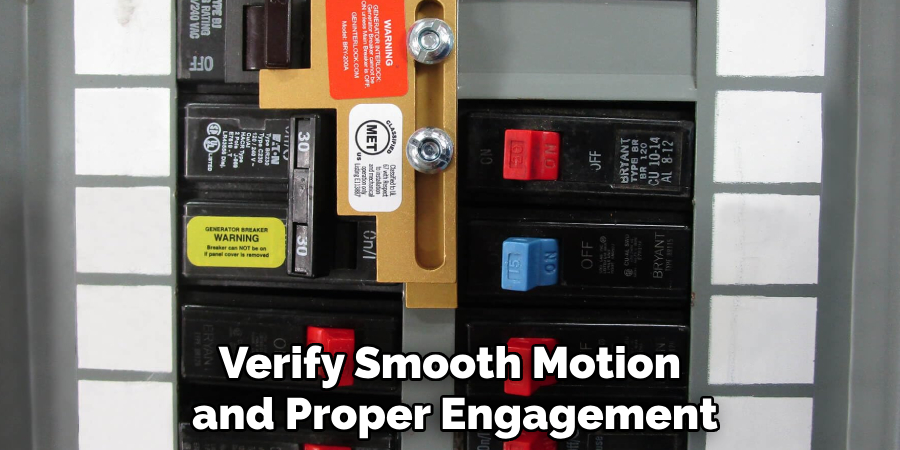
Pay close attention to any signs of misalignment, undue friction, or looseness, which may indicate areas requiring adjustment. If adjustments are needed, carefully loosen the fasteners, realign the components, and retighten securely. A thorough test ensures the interlock mechanism is reliable and ready for its intended purpose.
Step 9: Replace the Panel Cover
After verifying that the interlock mechanism is functioning correctly, carefully reposition the panel cover onto the unit. Align the cover properly with the mounting points to ensure a secure fit. Once aligned, fasten all the screws or clips tightly, ensuring there are no loose edges or gaps. Take care not to overtighten, as this may damage the cover or its fasteners. Finally, inspect the panel to confirm that it is securely in place and provides the necessary protection for the internal components.
Step 10: Restore Power and Test the System
Once the panel cover is securely in place, restore power to the system. Turn the main power switch or breaker back to the “on” position, allowing the system to receive electricity. After restoring power, carefully observe the system to ensure it starts functioning correctly. Check for any unusual noises, lights, or indicators that may suggest a problem. If your system has a display or interface, verify that it is operational and does not show any error messages.
By following these steps, you can safely and efficiently install a generator interlock for your electrical panel, ensuring a more secure and reliable backup power setup.
5 Things You Should Avoid
- Ignoring Local Electrical Codes
Always ensure compliance with local electrical codes and regulations when installing a generator interlock. Failing to do so can lead to unsafe conditions and legal issues.
- Skipping the Power Shut-Off
Never install a generator interlock without first shutting off the main power. Working on a live electrical panel can result in severe injury or even death.
- Using Incorrect Components
Avoid substituting parts or using incomplete kits that are incompatible with your panel. Always use a generator interlock kit designed specifically for your electrical panel model.
- Neglecting Proper Tools
Using improper tools or attempting installation without the required equipment can damage your electrical panel or result in an unsafe installation.
- Avoiding Professional Help When Needed
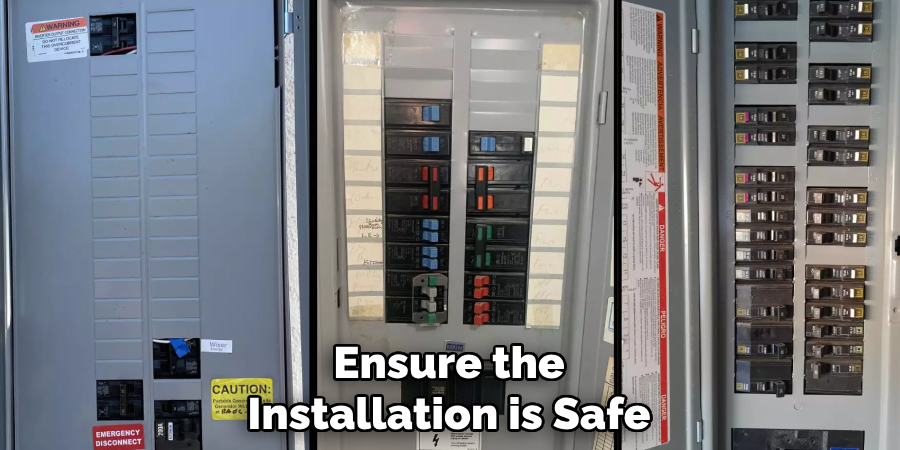
If you’re unsure about any step in the process, do not attempt to proceed alone. It’s better to consult a licensed electrician to ensure the installation is safe and compliant.
Conclusion
How to install generator interlock is a practical way to maintain power during outages, but it requires careful planning and adherence to safety regulations.
Ensure you have the correct interlock kit for your specific electrical panel model, and always follow the manufacturer’s instructions precisely. Use appropriate tools, take time, and double-check each step to avoid mistakes. Most importantly, don’t hesitate to seek professional help if you’re uncertain about any part of the installation process.
Proper installation ensures safe operation and peace of mind during power disruptions.
About
Safety Fic is a distinguished figure in the world of Diy design, with a decade of expertise creating innovative and sustainable Diy solutions. His professional focus lies in merging traditional craftsmanship with modern manufacturing techniques, fostering designs that are both practical and environmentally conscious. As the author of diy, Safety Fic delves into the art and science of Safety Fic-making, inspiring artisans and industry professionals alike.
Education RMIT University
(Melbourne, Australia) Associate Degree in Design (Safety Fic) Focus on sustainable design, industry-driven projects, and practical craftsmanship. Gained hands-on experience with traditional and digital manufacturing tools, such as CAD and CNC software.
Nottingham Trent University
(United Kingdom) Bachelor’s in diyfastly.com and Product Design (Honors) Specialized in product design with a focus on blending creativity with production techniques. Participated in industry projects, working with companies like John Lewis and Vitsoe to gain real-world insights.
Publications and Impact
In diy, Safety Fic his insights on indoor design processes, materials, and strategies for efficient production. His writing bridges the gap between artisan knowledge and modern industry needs, making it a must-read for both budding designers and seasoned professionals.