

Are you considering adding an extra layer of security to your home with a Google Nest Cam Outdoor? If so, you’re in luck! Installing this smart security camera is easy and fast. This article outlines the steps necessary to install your new system and provides tips on finding the perfect location for optimal coverage.
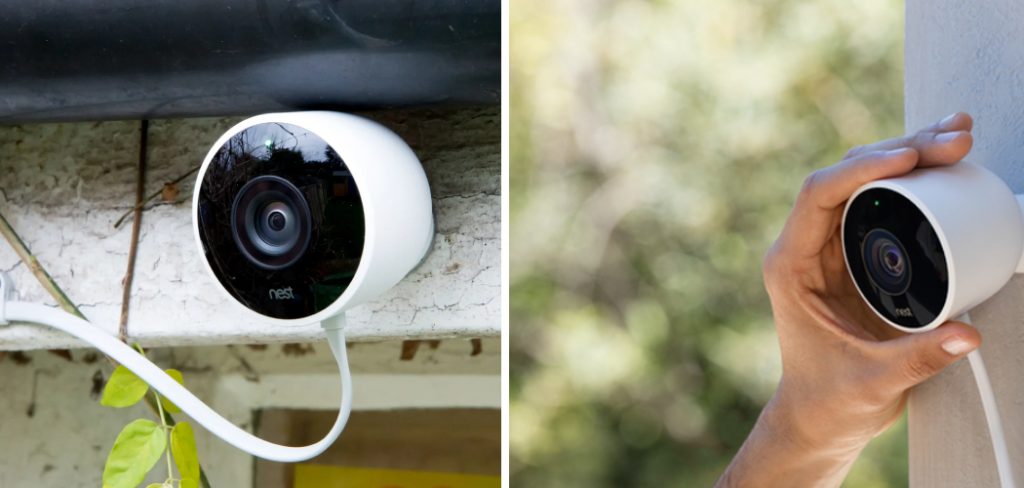
Google Nest Cam Outdoor can be an excellent addition to your home security system. It provides 24/7 live creeking two-way audio communication and even works with voice assistants like Google Assistant and Alexa.
With our guide on how to install Google Nest Cam outdoor, even if you need to be more technically savvy, you’ll be able to get your Google Nest Cam up and running quickly and safely. So let’s dive in – it won’t take long before you add another protection layer around your property.
What Will You Need?
Before beginning the installation process, here are some essential items you’ll need to have ready:
- A Google Nest Cam Outdoor
- A compatible smartphone or tablet with the Google Home app installed
- A WiFi network and password (the camera will connect wirelessly to your network)
- An outdoor power outlet within reach of the Nest Cam’s cable (or an extension cord)
- A drill, screws, and a screwdriver (only if you need to mount the camera on an exterior wall or siding)
You’re ready to begin once you have gathered all the necessary tools and items.
10 Easy Steps on How to Install Google Nest Cam Outdoor
Step 1: Install the Google Home App
Before you start setting up your new Nest Cam, make sure to install the Google Home app on your smartphone or tablet. You can find it in the App Store for iOS devices or Google Play for Android devices.
Once installed, open the app, log in (or create a new account), and tap the “+” button to add your Nest Cam.
Step 2: Scan the QR Code on Your Nest Cam
You will find a QR code on the bottom of your Nest Cam Outdoor. Use your phone’s camera to scan it, which will automatically be added to your Google Home app.
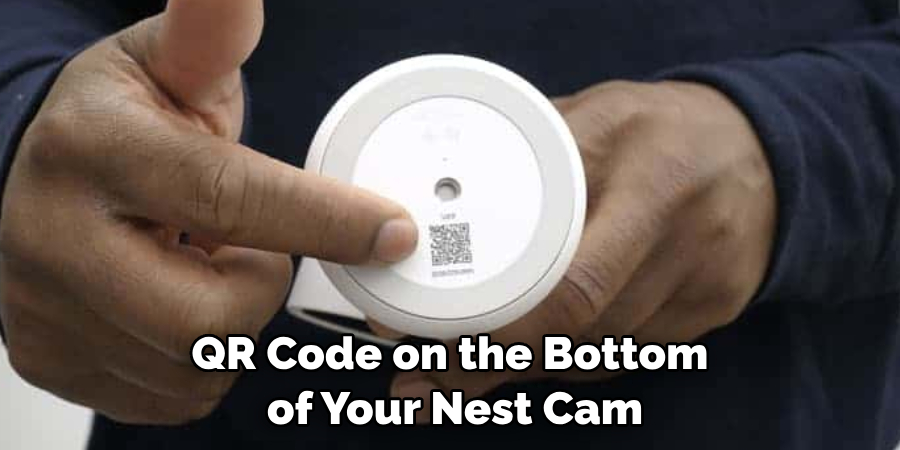
If your camera doesn’t have a QR code, tap “I don’t see a code,” and the app will guide you through other ways of adding your camera.
Step 3: Connect the Nest Cam to Your Wi-Fi Network
Once your camera is added to the Google Home app, the next step is to connect it to your Wi-Fi network. Select your new Nest Cam in the app and tap “Settings.” From there, select “Wi-Fi,” then “Change Network.” Select your home Wi-Fi network from the list and enter your Wi-Fi password.
The app will then connect your Nest Cam to your Wi-Fi network. Ensure your phone is connected to the same Wi-Fi network you want your camera to connect to during this process.
Step 4: Choose the Location for Your Nest Cam
Deciding where to place your Nest Cam Outdoor is crucial for maximizing its effectiveness. Consider areas that are high and unobstructed for the best field of view. You should also ensure it’s within reach of an outdoor power outlet. If you want to monitor the front door, placing the camera above it or at an angle that captures the entry area would be ideal.

Consider a higher vantage point for wide areas like the backyard that can cover the entire area. Remember that the Nest Cam Outdoor is weatherproof, but installing it under an eave or other sheltered area is best if possible. Once you’ve chosen the optimal location, move on to the next step.
Step 5: Mount the Nest Cam
Once you have decided on the location, it’s time to mount your Nest Cam. Use the included wall plate as a guide and mark the spots where you’ll need to drill. If you’re mounting on wood, screw the wall plate directly into the surface.
You’ll need to use the included wall anchors for harder materials like brick or stucco. After the wall plate is secured, attach the Nest Cam to the wall plate. Ensure the camera is secure and adjusts to your desired field of view.
Step 6: Connect the Nest Cam to the Power
With your Nest Cam securely mounted and properly positioned, the next step is to provide power to the unit. Connect the power adapter to the Nest Cam and plug it into your outdoor power outlet.
If your power outlet is farther away, use an outdoor-rated extension cord. When power is successfully connected, a solid blue light will appear on the camera, indicating that it is ready for setup and use. If you see a blinking blue light, it means the camera is still booting up, so give it a few more moments.
Step 7: Finalize the Setup in the Google Home App
Go back to the Google Home app on your smartphone or tablet. If the Nest Cam is successfully added and powered on, you should see it listed among your devices. Click on the camera’s name to take you to a live view.

Here, you can adjust the settings according to your preference. You can receive notifications for sound or motion detection, set up activity zones, and adjust video quality. Take a few minutes to explore the various settings to ensure you’re getting the most out of your Nest Cam.
Once you are satisfied with the setup, your Google Nest Cam Outdoor installation is complete. The camera will now monitor the assigned area and send alerts to your device when it detects unusual activity.
Step 8: Test the Nest Cam
After successfully installing and setting up your Nest Cam Outdoor, testing it to ensure it’s functioning properly is important. In the Google Home app, view the live creek from your camera and verify that the view covers the area you want to monitor. Try the two-way audio by speaking into the app and listening for your voice on the camera.
Walk before the camera to test the motion detection and check if you receive a notification on your device. If everything works as expected, congratulations on your successful installation! If you encounter any issues, go back to the relevant setup step or check out the troubleshooting section in the Google Home app.
Step 9: Maintenance of Your Nest Cam
Maintaining your Google Nest Cam Outdoor is important to ensure its longevity and optimal operation. Clean the lens periodically with a microfiber cloth to remove dust or dirt. This will help maintain clear video quality. Also, check for any software updates in the Google Home app to keep your camera’s features current.
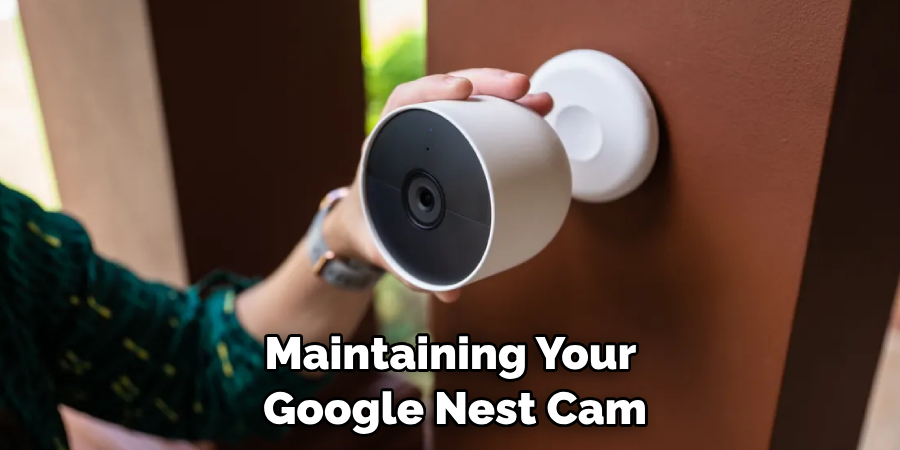
If your camera is exposed to extreme weather conditions, consider using a protective cover for added durability. Remember, even though the Nest Cam Outdoor is weatherproof, it’s still susceptible to extreme conditions. Regular maintenance will ensure your camera is always ready to monitor and protect your home.
Step 10: Troubleshoot Common Issues
Even with the most meticulously executed installation, you may encounter issues with your Google Nest Cam Outdoor. If your camera isn’t connecting to your Wi-Fi, check that other devices can connect to ensure the issue isn’t with the network itself. If the network is fine, try resetting your camera and rereading the connection steps.
If you’re not receiving notifications as expected, ensure that your settings in the Google Home app are configured to send them and that your phone’s settings allow notifications from the app. If your video creek isn’t clear, it may be an issue with your internet speed, or the camera lens might need cleaning. Refer to the troubleshooting section in the Google Home app or contact Google Support for further assistance.
Following these steps, you can easily install and set up your Google Nest Cam Outdoor to monitor and protect your home. With its advanced features, such as live creeking, two-way audio, motion detection, and weatherproof design, you can know that your home is always being watched over.
5 Additional Tips and Tricks
- Choose the Right Spot: Aim for an elevated and unobstructed location when installing your Google Nest Cam Outdoor. This will give your camera a wider field of view, allowing it to capture more activity.
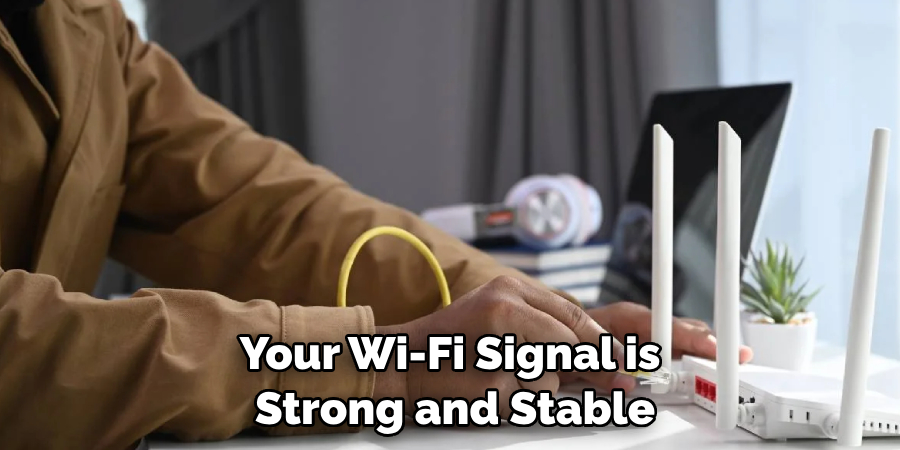
- Secure Your Wi-Fi Connection: Your Google Nest Cam Outdoor relies on Wi-Fi to transmit video. Ensure your Wi-Fi signal is strong and stable in the area you choose to install your camera.
- Protect Your Cables: Properly secure and protect your cables from weather conditions and potential damage.
- Adjust Your Camera Properly: After installation, take the time to properly adjust the angle and direction of your camera for optimal coverage.
- Regularly Check for Updates: Google frequently releases software updates for its Nest Cameras. Regularly check and install these updates to keep your camera performing at its peak.
With these additional tips and tricks, you can ensure that your Google Nest Cam Outdoor is installed correctly and can provide the best coverage for your home.
5 Things You Should Avoid
- Avoid Low Mounting: Avoid installing your Google Nest Cam Outdoor too low as it can be easily tampered with or damaged. Higher installation points provide better coverage and deter potential vandals.
- Steer Clear of Obstructions: Do not place your camera where trees, signs, or decorations could block its view. Unobstructed views ensure the highest quality video footage.
- Don’t Neglect Privacy: Avoid pointing your Nest Cam towards areas where privacy can be a concern, such as your neighbor’s property or public streets. Respect others’ privacy while ensuring your security.
- Avoid Weak Wi-Fi Spots: Do not install your Google Nest Cam Outdoor in areas with weak Wi-Fi signals. Your camera’s feed could be patchy or unavailable without a strong connection.
- Don’t Ignore Weather Conditions: Avoid installing your camera in areas exposed to harsh weather conditions, which could damage your device. Choose a location that is sheltered, if possible.
By avoiding these common mistakes, you can ensure a more effective and durable installation of your Google Nest Cam Outdoor.
Can You Put the Nest Camera Outside?
Yes, you can absolutely install your Google Nest Cam Outdoor outside. In fact, it is specifically designed for outdoor use and can withstand a wide range of temperatures and weather conditions. Just make sure to follow the tips mentioned above for a successful installation.
Additionally, you can also purchase weatherproof housing for your camera for added protection and longevity. This will protect it from rain, snow, and extreme temperatures.
So go ahead and secure your outdoor spaces with the help of your Google Nest Cam Outdoor. With the right installation and precautions, you can have peace of mind knowing that your home is always under surveillance.
Is Google Nest Cam Outdoor Waterproof?
Yes, the Google Nest Cam Outdoor is waterproof and has an IP65 rating. This means it can withstand low-pressure water jets from any direction, making it suitable for outdoor use.
However, it is important to note that while the camera is waterproof, the power cord and adapter are not. Ensure to properly secure and protect them from any potential damage caused by water exposure.
So don’t worry about installing your Google Nest Cam Outdoor in areas exposed to rain or snow, it is built to withstand these conditions. Just make sure to follow proper installation guidelines and precautions for optimal performance. So install your Google Nest Cam Outdoor with confidence, knowing that it can handle the elements while keeping your home safe and secure.
Conclusion
By installing your nest cam outdoors, you can rest assured that your home will be protected and have eyes on the outside of the premises. With a simple setup process and a clever design, the Nest Cam Outdoor is a great way to ensure your safety and peace of mind.
So take the opportunity today to set everything up for yourself; you won’t regret it! Furthermore, make sure to surprise any unexpected visitors with the camera’s astounding capabilities, such as night vision and motion detection. This remarkable technology is just one more step in keeping your home safe and secure- so install it now!
Hopefully, the article on how to install Google Nest Cam Outdoor has helped you understand the process and given you some additional tips and tricks for optimal setup. With this knowledge, you can confidently install your Google Nest Cam Outdoor and enjoy its benefits. Stay safe and secure with your Google Nest Cam Outdoor!
About
Safety Fic is a distinguished figure in the world of Diy design, with a decade of expertise creating innovative and sustainable Diy solutions. His professional focus lies in merging traditional craftsmanship with modern manufacturing techniques, fostering designs that are both practical and environmentally conscious. As the author of diy, Safety Fic delves into the art and science of Safety Fic-making, inspiring artisans and industry professionals alike.
Education RMIT University
(Melbourne, Australia) Associate Degree in Design (Safety Fic) Focus on sustainable design, industry-driven projects, and practical craftsmanship. Gained hands-on experience with traditional and digital manufacturing tools, such as CAD and CNC software.
Nottingham Trent University
(United Kingdom) Bachelor’s in diyfastly.com and Product Design (Honors) Specialized in product design with a focus on blending creativity with production techniques. Participated in industry projects, working with companies like John Lewis and Vitsoe to gain real-world insights.
Publications and Impact
In diy, Safety Fic his insights on indoor design processes, materials, and strategies for efficient production. His writing bridges the gap between artisan knowledge and modern industry needs, making it a must-read for both budding designers and seasoned professionals.