

Hornbill smart locks are an innovative solution for modern home security, combining advanced features with user-friendly functionality. Designed to provide convenience and peace of mind, these locks offer keyless entry, remote access via a smartphone app, and customizable settings to suit individual needs.
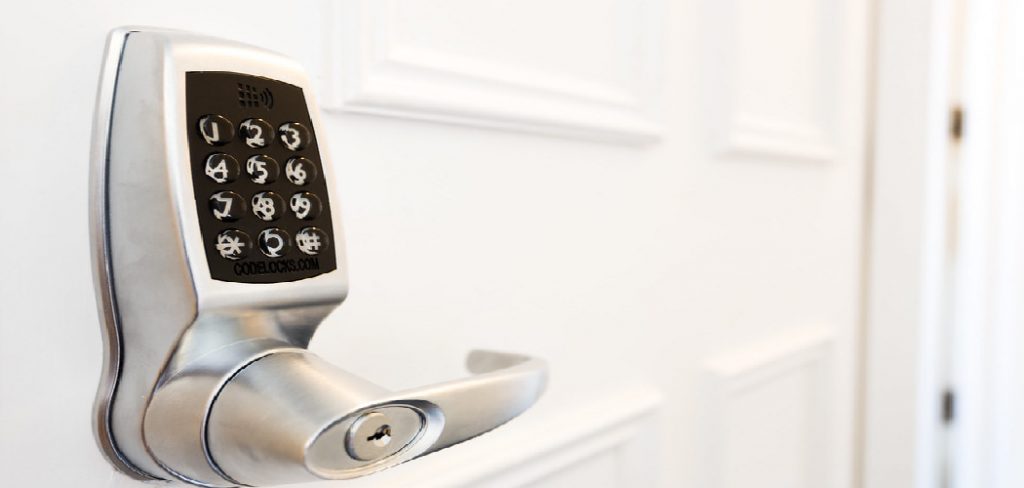
With sleek designs and reliable performance, Hornbill smart locks are a valuable addition to any home.
Proper installation ensures the lock operates as intended and maximizes security and usability. A correctly installed smart lock helps safeguard your property while offering seamless integration with daily routines.
The purpose of this article is to provide a comprehensive, step-by-step guide on how to install Hornbill smart lock. By following these detailed instructions, you can ensure a smooth installation process and unlock the full potential of your new smart lock.
Pre-Installation Preparation
Before beginning the installation of your Hornbill smart lock, it’s important to gather all the necessary tools and materials, confirm door compatibility, and take essential safety precautions. Proper preparation ensures an efficient installation process and reduces potential errors.
Tools and Materials Needed
To install the smart lock, you will need the following:
- Screwdriver
- Drill
- Measuring tape
- Level
- Pencil
Additionally, ensure you have all the included components from the packaging:
- Lock body
- Mounting plate
- Strike plate
- Screws
- Batteries
Checking Door Compatibility
To confirm that your door is compatible with the Hornbill smart lock:
- Measure the door thickness, which should typically range between 1-3/8 inches to 2 inches.
- Verify the backset measurement, which should be either 2-3/8 inches or 2-3/4 inches. Adjust accordingly if your door falls outside these specifications.
Safety Precautions
For a safe installation experience:
- Always disconnect power tools when they are not in use to prevent accidental activation.
- Wear safety glasses to protect your eyes from debris and gloves to ensure a firm grip on tools while minimizing potential injuries.
By completing these preparation steps, you’ll be ready to successfully proceed with installing your smart lock.
How to Install Hornbill Smart Lock: Installing the Deadbolt
Removing Existing Hardware
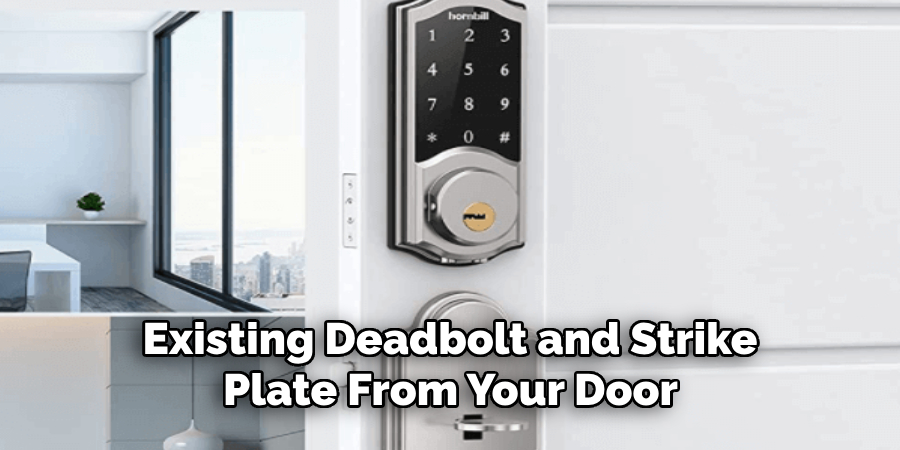
To begin, carefully unscrew and remove the existing deadbolt and strike plate from your door. Use a screwdriver or drill to loosen the screws, and gently pull the hardware away from the door and frame. Set the old hardware aside, ensuring the area is clean and free of debris to prepare for the new installation.
Preparing the Door
Next, measure and mark the center of the bore hole on the door to ensure the new deadbolt is aligned correctly. If your door does not have pre-drilled pilot holes, use a drill and the appropriate bit size to create them. Double-check the measurements to confirm proper placement before proceeding to the next step.
Installing the New Deadbolt
Insert the new deadbolt into the edge of the door, ensuring it slides in smoothly. Position the deadbolt so that the word “UP,” typically stamped on the hardware, is facing upward. Secure the deadbolt into place by tightening the screws provided with your lock. Test the deadbolt in the extended and retracted positions to ensure it operates smoothly.
Attaching the Strike Plate
Finally, align the new strike plate with the hole in the door frame where the deadbolt will engage. Use the screws included to secure the strike plate firmly in place, ensuring it is flush against the frame. Check the deadbolts and strike plates’ alignment by locking and unlocking the door. Proper alignment will ensure smooth and secure operation of your smart lock.
Installing the Exterior Lock
Aligning the Exterior Panel
Position the exterior lock panel over the installed deadbolt outside the door. Carefully align the holes on the panel with the pre-drilled holes in the door to ensure a proper fit. This alignment is crucial for both the mechanical and electronic components to function correctly. Ensure the gasket, if included, is placed between the door and the exterior panel for weatherproofing.
Connecting the Wiring
Once the exterior panel is correctly aligned, thread the wiring from the exterior panel through the door and out to the interior side. This wiring will connect the lock’s electronic components, enabling seamless communication between the interior and exterior panels.
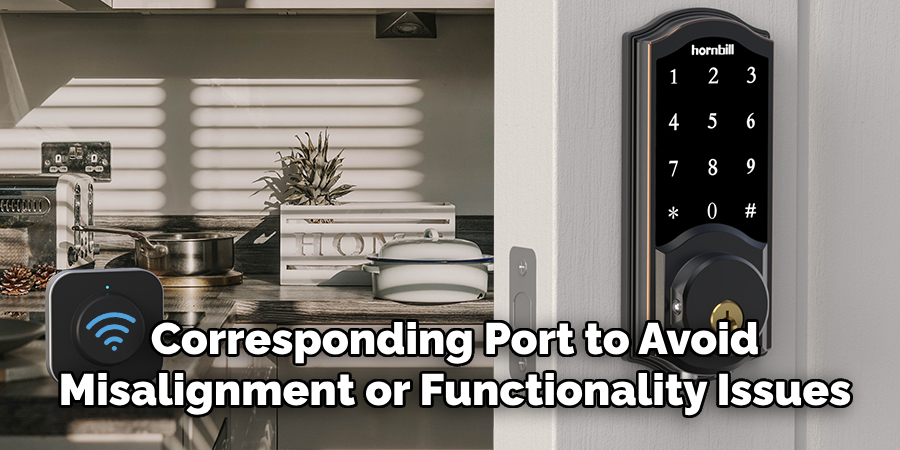
Follow the manufacturer’s instructions to attach the wiring connectors securely. Match each wire to its corresponding port to avoid misalignment or functionality issues. Double-check the connections to confirm they are firm and properly seated to prevent disconnections during use.
Securing the Exterior Panel
With the wiring in place, secure the exterior panel by fastening it to the door using the provided screws. Insert the screws through the aligned holes and tighten them, ensuring the panel is snug against the door’s surface.
Use a level to confirm the panel is aligned correctly for aesthetic and functional purposes. A level alignment enhances the lock’s appearance and ensures that the locking mechanism operates smoothly.
Installing the Interior Panel
Positioning the Interior Panel
To begin installing the interior panel, carefully align it with the exterior panel already secured on the other side of the door. Ensure that both panels are properly aligned so the connecting components fit easily.
Pay close attention to the latch mechanism, confirming that it engages properly with the interior panel. This step is crucial in ensuring the lock functions seamlessly and the door can be locked and unlocked without issue.
Securing the Interior Panel
Once the interior panel is positioned, use the provided screws to secure it to the door. Insert the screws through the designated holes and tighten them carefully. Be sure to check for tightness and alignment during this step, as an uneven or loose panel could affect the lock’s operation.
Confirm that the panel sits flush against the door surface, avoiding any gaps that could compromise the lock’s functionality or aesthetic appeal.
Attaching the Mounting Plate
The next step is to attach the mounting plate to the interior side of the door. Align the mounting plate with the designated holes on the interior panel and secure it in place using the provided screws. Ensure that the mounting plate is flush with the door surface to create a stable base for the lock’s interior components.
Double-check for proper alignment and tightness to prevent issues during operation. Once completed, the door lock will have a sturdy foundation for reliable use.
Installing the Batteries
Accessing the Battery Compartment
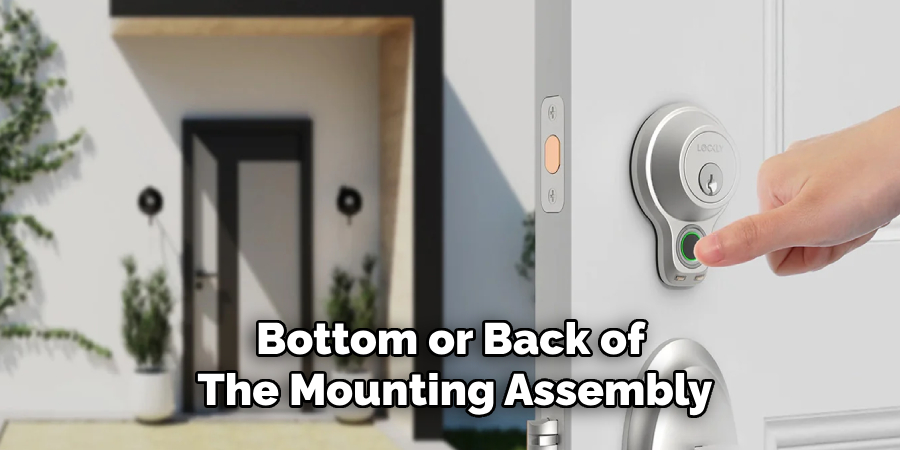
Begin by locating the battery compartment on the interior panel of the door lock. This is usually positioned near the bottom or back of the mounting assembly. Use your fingers or a small tool if necessary to carefully open the compartment cover, ensuring not to force or damage the mechanism.
Inserting Batteries
Insert the required number of AA batteries (typically 4) into the compartment. Pay close attention to the polarity indicators inside the compartment, aligning the positive (+) and negative (-) ends of the batteries correctly. Proper alignment is critical to ensure seamless operation.
Testing the Lock
Once the batteries are installed, close the battery compartment securely. Activate the lock by pressing a button or turning it on, as per the manufacturer’s instructions. Look for confirmation through indicator lights or sounds that signal the lock is functioning correctly. If no response is observed, double-check the battery installation before proceeding.
Configuring the Smart Lock
Downloading the App
Download the Hornbill Smart Lock app from the App Store or Google Play. The app is essential for managing and configuring your smart lock’s features and ensuring seamless integration with your mobile device.
Pairing the Lock with the App
Once the app is installed, please open it and follow the in-app instructions to pair the smart lock with your device. Depending on the model, this process may involve connecting via Bluetooth or Wi-Fi. Ensure your mobile device is close to the lock and that Bluetooth or Wi-Fi is enabled. Successful pairing will typically be indicated by a confirmation message in the app.
Setting Up User Codes and Access
After pairing, you can set up admin and user codes through the app. Admin codes grant full control over the lock’s settings, while user codes are for individuals who need temporary or limited access. The app allows you to customize access permissions and even schedule specific times when the codes are active, enhancing flexibility and security.
Testing Remote Access
With everything set up, test the smart lock’s remote access capabilities. Use the app to lock and unlock the door remotely, ensuring it responds as expected. Additionally, verify that notifications and access logs function correctly, allowing you to monitor when and who accesses your lock.
Troubleshooting and Maintenance
Common Issues and Solutions
- Lock not responding: Ensure the batteries are not depleted, and all connections are secure. Replace the batteries if needed and verify proper installation.
- App not pairing: Check that Bluetooth or Wi-Fi is enabled on your device and that you are within the recommended range of the lock. Restart the app and reattempt pairing if the issue persists.
Regular Maintenance Tips
- Cleaning the lock: Use a dry, soft cloth to clean the exterior of the lock regularly to prevent dust and debris buildup.
- Lubricating the keyway: Apply a non-corrosive lubricant to the keyway periodically to ensure smooth operation and prevent jamming.
When to Contact Support
If troubleshooting steps do not resolve persistent issues or if you notice unusual behavior, such as error messages or system malfunctions, contact the manufacturer’s support team.
Conclusion
Proper installation of your smart lock is crucial for both security and functionality. The process includes securing the deadbolt, attaching the exterior and interior panels, inserting the batteries, and completing the app configuration. Following these steps ensures a seamless setup and optimal performance.
Explore the app’s additional features and settings to enhance usability and customize your experience. Remember to register your product for warranty coverage and support. For a detailed guide on how to install hornbill smart lock, refer to the manufacturer’s resources to ensure a comprehensive and successful installation.