

At this point, you might be wondering why it is important to know to install Myq cameras. Well, for starters, Myq cameras are a great addition to your home security system. These cameras allow you to monitor your home remotely and keep an eye on things while you’re away.
Not only that, but installing Myq cameras is also a relatively simple process that can easily be done by anyone, even if you’re not tech-savvy.
The main advantage of installing a myq camera is that it allows you to monitor your home or office remotely. This means that you can keep an eye on your property and loved ones even when you are not physically present. In this blog post, You will learn in detail how to install myq camera.
Step-by-step Instructions for How to Install Myq Camera
Step 1: Inspect the Package
Before beginning the installation process, make sure you have all the necessary components. This includes the Myq camera, mounting bracket, screws, and power cord. Inspect each item to ensure they are in good condition.
Step 2: Check Your Wi-Fi Connection
The Myq camera requires a stable internet connection to function properly. Make sure your Wi-Fi is working and that your router is not too far away from the camera’s intended location. This will prevent any interference or connectivity issues.
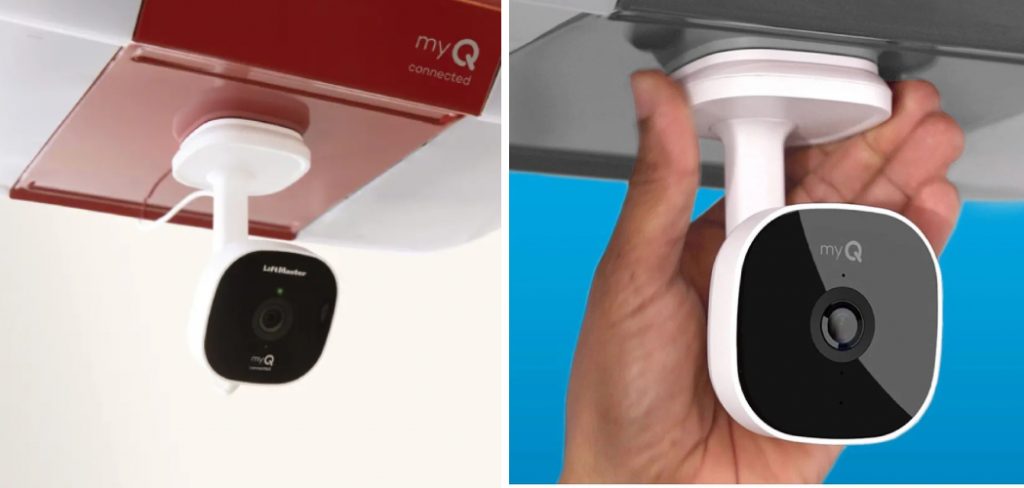
Step 3: Choose the Location for Your Camera
Decide where you want to install your Myq camera. It should be placed near an electrical outlet and have a clear view of the area you want to monitor. Make sure it is also within range of your Wi-Fi signal. Using the screws provided, attach the mounting bracket to the desired location. Make sure it is secure and in a stable position.
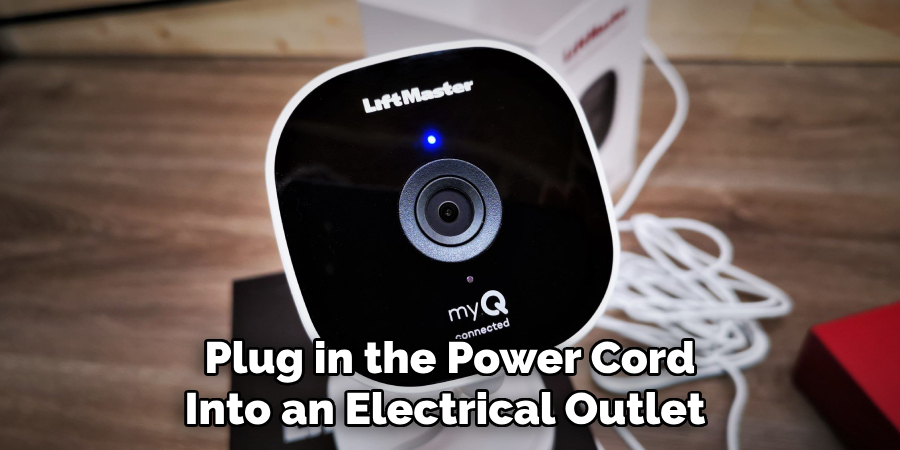
Step 4: Connect the Power Cord
Plug in the power cord into an electrical outlet near the camera. Make sure to leave some slack for any adjustments needed during installation. The Myq camera requires the use of the Myq app to function. Install it from the App Store or Google Play Store and create an account if you do not have one already.
Step 5: Follow the In-App Instructions
Open the Myq app and follow the instructions provided for setting up your camera. This will include connecting the camera to your Wi-Fi network and creating a Myq account. Once set up is complete, position the camera in the desired angle for monitoring. Use the app to adjust any settings such as motion detection or recording options.
Step 6: Test Your Camera
Before finalizing installation, make sure to test your camera to ensure it is working properly. You can do this by accessing the live view on the Myq app. Once you are satisfied with the installation and functionality of your Myq camera, make sure to secure any loose wires or brackets. This will prevent any accidents or damage in the future.
By following these simple steps, you can easily install your Myq camera and start monitoring your home or business with ease. Remember to always refer to the user manual for any additional information or troubleshooting tips.
Safety Tips for How to Install Myq Camera
- Always turn off power before installation
- Use caution when working with electrical components
- Make sure all wires are properly connected and secure
- Do not install in extreme weather conditions (i.e. heavy rain or snow)
- Keep camera out of reach of children and pets
- Regularly check for any updates or maintenance needed for optimal performance
- Consult a professional if you are unsure or uncomfortable with the installation process.
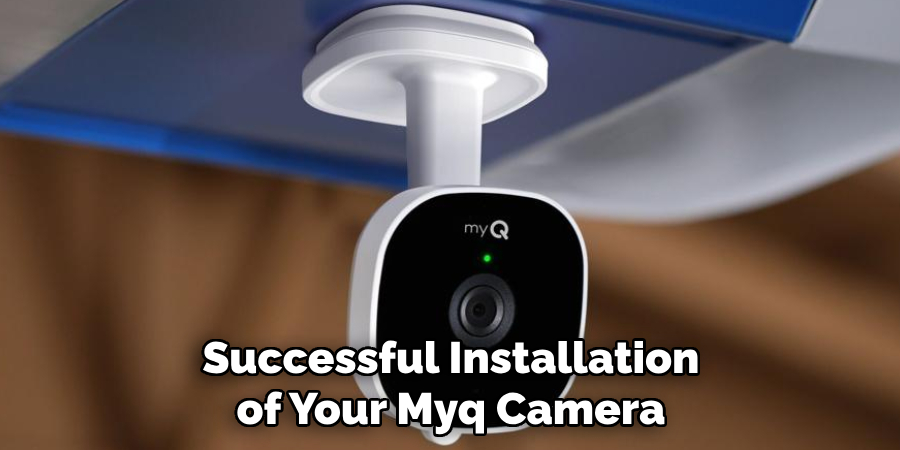
By following these safety tips and precautions, you can ensure a safe and successful installation of your Myq camera. Enjoy peace of mind knowing your home or business is being monitored by a reliable and efficient device.
How Do You Connect the Myq Camera to Your Home Network?
- First, connect the power cable for your myq camera to an available electrical socket.
- Connect the other end of the power cable to the back of your camera, making sure it is securely attached.
- Next, plug in an Ethernet cable from your router or modem to the LAN port on the back of your camera.
- Once connected, wait for the camera to power on and connect to your network. This may take a few minutes.
- If you wish to set up wireless connectivity, navigate to the camera’s settings menu and select “Wi-Fi Setup”. Follow the instructions provided by the app to connect your myq camera to your home Wi-Fi network.
- Once connected, you can now place your myq camera in your desired location. Make sure it is within range of your Wi-Fi network for optimal performance.
By following these steps, you should now have your myq camera successfully connected to your home network.
Do You Need Any Additional Devices or Software to Set Up and Use Myq Camera?
If you’re thinking about installing Myq camera, you may be wondering if you need any additional devices or software to get it up and running. The good news is that once you have purchased a Myq camera, there’s not much else you need in order to start using it.
Myq cameras are compatible with most modern smartphones and tablets, so as long as you have one of these devices, you should be all set. If you want to use the Myq app to control your camera remotely, then you will need an internet connection and either a Wi-Fi or cellular data plan on your mobile device.
Some users may want to have a more permanent display for their Myq camera footage, in which case you can also connect it to a computer or TV monitor. However, this is completely optional and not necessary for the basic functionality of the camera.
In terms of software, you will need to install the Myq app in order to set up and control your camera. The app is available for free on both Apple and Android devices, making it easily accessible for most users.
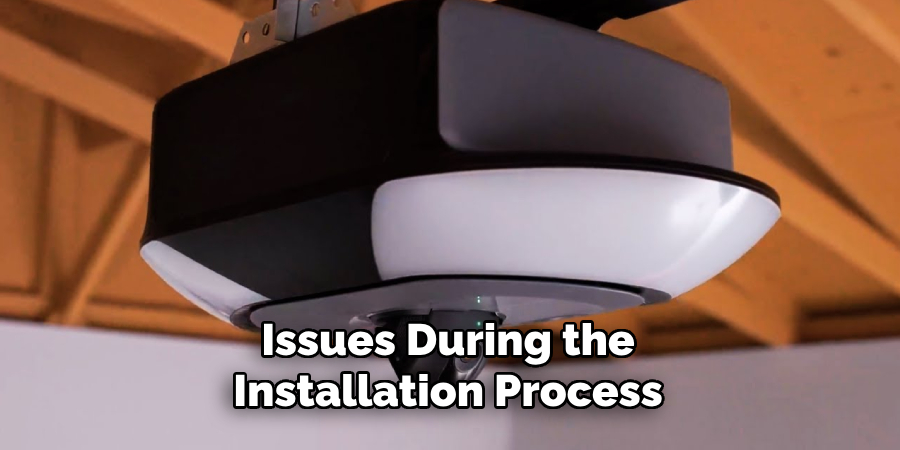
Are There Any Troubleshooting Steps if You Encounter Issues During the Installation Process?
If you encounter any issues during the installation process of your myq camera, don’t worry. There are a few troubleshooting steps that you can try to resolve the problem.
- Check the Compatibility: The first thing you should do is check if your myq camera is compatible with your router and home internet connection. Make sure that all devices meet the minimum system requirements for the myq camera to function properly.
- Restart Devices: Sometimes, a simple restart can fix connection issues between devices. Try restarting both your router and myq camera to see if it solves the problem.
- Check Signal Strength: If your myq camera is not connecting to your Wi-Fi network, check the signal strength of your router in the location where you are trying to install the camera. If the signal is weak, try relocating the router or using a Wi-Fi extender.
- Confirm Correct Installation Steps: Make sure that you followed all the correct installation steps for your myq camera as outlined in the user manual. If you skipped any steps, go back and complete them before trying to connect again.
- Reset Camera: If the above steps do not work, try resetting your myq camera. There should be a reset button on the device that you can press and hold for a few seconds to reset it.
- Contact Customer Support: If none of the troubleshooting steps work, it may be an issue with your myq camera itself. In this case, contact customer support for further assistance.
Remember, it’s always a good idea to have someone else help you during the installation process. A second set of eyes and hands can make things easier and ensure that everything is set up correctly.
Can You Schedule Recordings or Motion Detection Alerts With Myq Camera?
Yes, you can schedule recordings and motion detection alerts with your myq camera. This feature allows you to customize when your camera will record or send notifications based on your preferences.
You can set specific days and times for recording or motion detection, as well as adjust the sensitivity level for the motion detection feature. This is a convenient way to ensure that your myq camera is not constantly recording or sending notifications, but rather only when needed.
For example, you may want to schedule recordings and alerts for when you are away from home or during specific hours of the day. This can also help conserve storage space on your myq camera or prevent too many notifications from being sent to your phone.
To access these scheduling features, refer to the user manual or the myq app for step-by-step instructions. Keep in mind that you may need to have a subscription plan in order to use this feature. Check with customer support or the product website for more information on available plans and pricing.
Overall, scheduling recordings and motion detection alerts can enhance the functionality of your myq camera and provide added convenience and control over your home surveillance.
Conclusion
In conclusion, installing a myq camera involves following some simple steps. Firstly, you need to have a stable internet connection and ensure that your router has a WPS button. Then, locate the add device option on the myQ app and select “camera” as the type of device you want to add.
Next, press and hold the Wi-Fi setup button on your camera until it flashes blue and green. Use your phone’s camera to scan the QR code on your camera, or enter the serial number manually. I hope this article has been beneficial for learning how to install myq camera. Make Sure the precautionary measures are followed chronologically.
You Can Check It Out to Turn Off Clicking Noise on Blink Mini Camera
About
Safety Fic is a distinguished figure in the world of Diy design, with a decade of expertise creating innovative and sustainable Diy solutions. His professional focus lies in merging traditional craftsmanship with modern manufacturing techniques, fostering designs that are both practical and environmentally conscious. As the author of diy, Safety Fic delves into the art and science of Safety Fic-making, inspiring artisans and industry professionals alike.
Education RMIT University
(Melbourne, Australia) Associate Degree in Design (Safety Fic) Focus on sustainable design, industry-driven projects, and practical craftsmanship. Gained hands-on experience with traditional and digital manufacturing tools, such as CAD and CNC software.
Nottingham Trent University
(United Kingdom) Bachelor’s in diyfastly.com and Product Design (Honors) Specialized in product design with a focus on blending creativity with production techniques. Participated in industry projects, working with companies like John Lewis and Vitsoe to gain real-world insights.
Publications and Impact
In diy, Safety Fic his insights on indoor design processes, materials, and strategies for efficient production. His writing bridges the gap between artisan knowledge and modern industry needs, making it a must-read for both budding designers and seasoned professionals.