

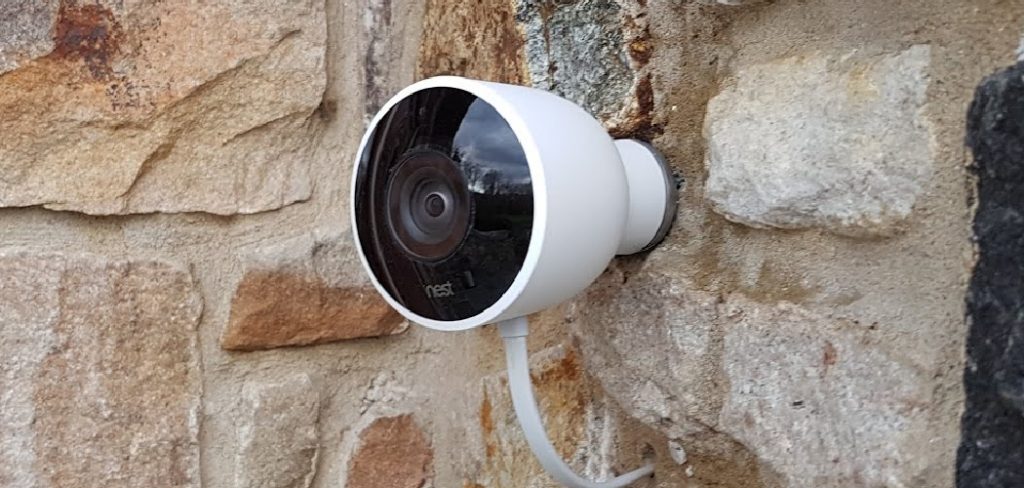
Adding a security camera is one of the most effective ways to gain peace of mind and protect your home. The Nest Cam Outdoor is a popular choice, known for its high-quality video, smart features, and user-friendly interface. While the thought of installing any home hardware might seem intimidating, Google has designed this camera for a straightforward DIY setup. You don’t need to be a professional electrician or tech expert to get it up and running. This guide will provide clear, simple instructions on how to install nest cam outdoor security camera, walking you through every step from unboxing to live streaming.
Installing the Nest Cam Outdoor Security Camera doesn’t have to feel overwhelming. With the right preparation and guidance, you can have your camera set up and operational in no time. By following a few straightforward steps, you’ll be able to secure your outdoor space and monitor it with ease from wherever you are. This guide is designed to help you through the process, ensuring a smooth and hassle-free installation experience.
Tools and Materials
Before getting started with the installation of your Nest Cam Outdoor Security Camera, gather the following tools and materials to make the process easier:
- Drill with appropriate bits for mounting
- Phillips-head screwdriver
- Measuring tape for precise placement
- Pencil for marking drill points
- Ladder to safely reach high areas
- Cable clips to manage wiring
- Power outlet near the installation site
- Nest Cam mounting hardware (included with the camera)
- Wi-Fi network credentials for setup
- Smartphone or tablet with the Nest app installed
Having everything ready beforehand will save time and ensure a smooth installation experience.
Step-by-Step Guide on How to Install Nest Cam Outdoor Security Camera
Step 1: Unbox and Set Up the Camera in the App
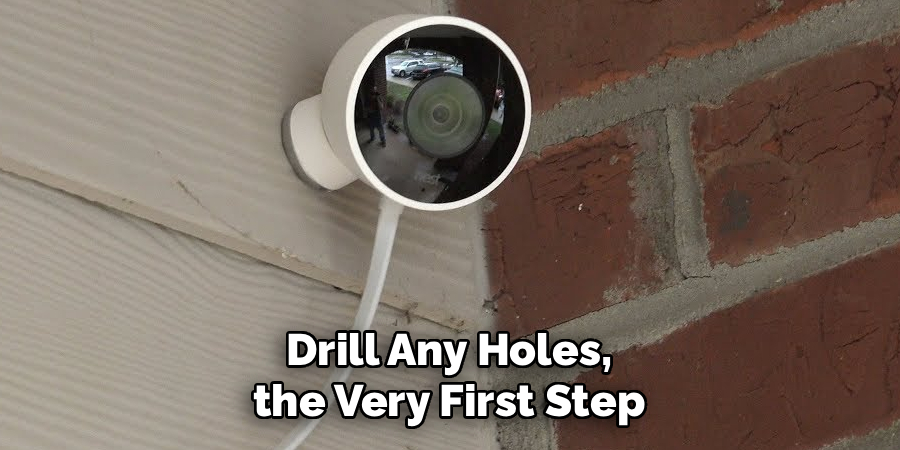
Before you drill any holes, the very first step is to set up your camera indoors. Unpack the Nest Cam and plug it into a nearby power outlet in your home. While it powers on, download the Google Home app to your smartphone and sign in with your Google account. In the app, tap the “+” icon to add a new device and follow the on-screen prompts to scan the QR code on your camera. The app will guide you through connecting the camera to your home’s Wi-Fi network. This crucial indoor setup ensures the camera works perfectly before you mount it outside.
Step 2: Choose the Best Location and Test Wi-Fi
The camera’s placement is critical for effective surveillance. Walk around your property and identify the best vantage point. You’ll want to mount it high enough to get a wide view and keep it out of easy reach, typically 7 to 10 feet off the ground. Consider high-traffic areas like your front door, driveway, or back patio. Most importantly, you must check the Wi-Fi signal in your chosen spot. Bring your camera (while it’s still plugged into an extension cord) to the desired location and check the live video feed in the app. A strong, stable signal is essential for reliable performance.
Step 3: Plan Your Cable Route
The Nest Cam Outdoor is a wired camera, meaning it needs to be plugged into an electrical outlet. You need a clear plan for running the power cable from your chosen camera location to the nearest power source, which will likely be an outdoor-rated outlet. The included cable is generous in length, but you need to think about how you will route it neatly and safely. Plan to run it along siding, under eaves, or along fence lines. Using the included cable clips will be essential for securing the wire and creating a clean, professional-looking installation that is not a tripping hazard.
Step 4: Mount the Magnetic Plate
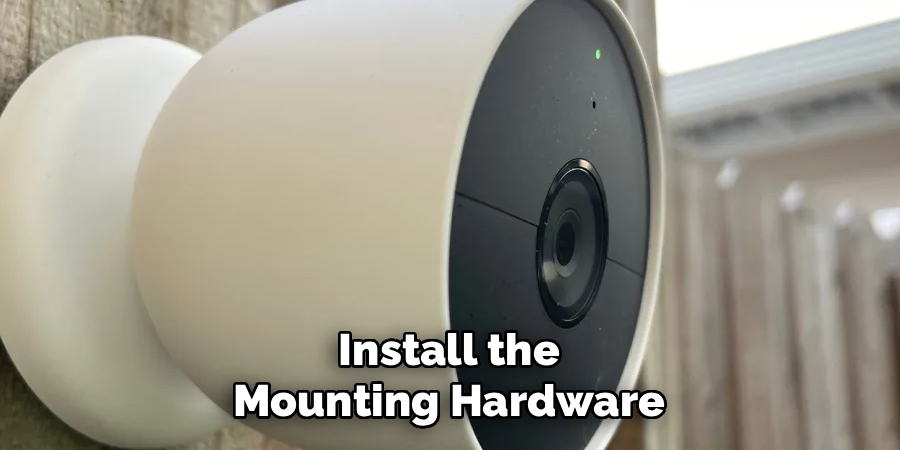
With your location finalized, it’s time to install the mounting hardware. The Nest Cam uses a powerful two-part magnetic mount. First, you will attach the metal mounting plate to the wall. Hold the plate against the wall where you want the camera and use a pencil to mark the screw holes. If you are drilling into wood, siding, or stucco, you can drill pilot holes and use the included screws to secure the plate. If you are mounting to brick or masonry, you will need to use the included wall anchors for a secure fit. Ensure the plate is fastened tightly to the surface.
Step 5: Attach the Camera
This is the easiest and most satisfying part of the physical installation. The Nest Cam itself has a powerful magnet built into its base. Simply attach the camera to the circular magnetic dome that came in the box. Then, take this entire assembly and place it onto the metal plate you just screwed to the wall. The powerful magnet will snap it securely into place. This magnetic design is brilliant because it allows you to easily adjust the camera’s angle to get the perfect view of your property.
Step 6: Adjust the Camera Angle
Now that the camera is mounted, it’s time to fine-tune its position. Open the Google Home app on your phone and view the camera’s live stream. Physically move and rotate the camera on its magnetic mount until you have the ideal viewing angle. Check for any blind spots and ensure the camera is capturing all the important areas you want to monitor. You can also rotate the image within the app’s settings if needed. Make sure the view is level and captures both the ground area and a wider perspective for better context.
Step 7: Secure the Power Cable
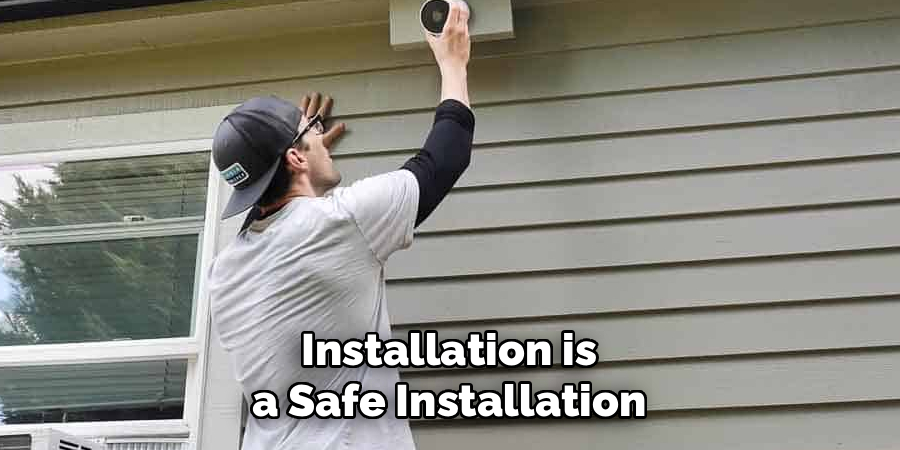
A tidy installation is a safe installation. Starting from the camera, begin routing the power cable along the path you planned earlier. Use the cable clips that came with your Nest Cam to secure the wire neatly against the wall, siding, or eave. Place a clip every few feet to keep the cable taut and prevent it from dangling or becoming a hazard. This not only looks much better but also protects the cable from being snagged or damaged. Continue securing the cable all the way to the outdoor power outlet.
Step 8: Plug In and Finalize
The final step is to connect everything. Plug the weatherproof adapter into your outdoor electrical outlet. The adapter and the connections are designed to be weather-resistant, but you should still ensure the outlet has a proper weatherproof cover for maximum protection against rain and snow. Once plugged in, the camera will power on, and you should see a solid green light indicating it’s connected and streaming. Go back to your app one last time to confirm everything is working as expected. You have now successfully completed the installation.
Exploring Additional Security Features
To enhance the effectiveness of your security system, take advantage of the additional features available. Many outdoor cameras come equipped with motion detection capabilities that allow you to receive instant alerts when movement is detected within the camera’s field of view. You can customize sensitivity settings and define activity zones to reduce false alerts caused by animals or passing vehicles. Some models also feature two-way audio, enabling you to communicate with visitors or deter intruders directly through the app.
For added peace of mind, consider enabling cloud storage or local storage options to securely save video recordings for future reference. Advanced cameras may also offer night vision, enabling clear footage even in low-light conditions, and integration with smart home systems for seamless control. By exploring and utilizing these features, you can ensure your security setup is well-rounded and fully optimized to protect your home.
Frequently Asked Questions (FAQs)
Does the Nest Cam Outdoor Have to Be Plugged In?
Yes, the standard Google Nest Cam (outdoor or indoor, wired) requires a constant power source and must be plugged into an electrical outlet. It is not a battery-powered device. The included power cable and weatherproof adapter are designed specifically for outdoor use, ensuring a reliable and continuous video feed without the need to worry about recharging batteries.
How High Should I Mount My Outdoor Security Camera?
The ideal mounting height for an outdoor security camera is between 7 and 10 feet off the ground. This height offers several advantages:
- It provides a wide, clear vantage point over your property.
- It keeps the camera out of easy reach of potential intruders.
- It is low enough to capture clear details like faces and license plates.
Can the Nest Cam Outdoor Be Stolen Easily?
The Nest Cam uses a very strong magnet, but a determined thief could potentially pull it off the mount. To address this, Google offers an anti-theft mount (sold separately) that secures the camera more permanently. Additionally, if your camera is stolen, Google has a replacement policy where they may replace it for free if you can provide a copy of the police report.
Do I Need a Subscription for My Nest Cam?
Without a subscription, the Nest Cam provides live viewing, mobile alerts, and a three-hour event video history. To unlock more advanced features, you need a Nest Aware subscription. This service offers longer video history (30 or 60 days of event history), intelligent alerts that can differentiate between people, packages, and vehicles, and the ability to create activity zones.
Can Nest Cam See in Total Darkness?
Yes, the Nest Cam Outdoor is equipped with high-power infrared (IR) LEDs for night vision. When the ambient light gets low, the camera automatically switches to night vision mode, allowing it to see and record clear black-and-white video even in complete darkness. This ensures your property is monitored 24/7, day or night.
Conclusion
Installing a home security camera is a project that provides immediate and lasting value. By following these steps, you can see that the process is well within the reach of any homeowner. The key to a successful setup is careful planning, from choosing the right location and testing your Wi-Fi signal to neatly routing the power cable. Once installed, your Nest Cam will serve as a powerful deterrent and a watchful eye over your property. Now that you have a comprehensive guide on how to install nest cam outdoor security camera, you can confidently tackle this DIY project and enjoy enhanced security and peace of mind.
About
Safety Fic is a distinguished figure in the world of Diy design, with a decade of expertise creating innovative and sustainable Diy solutions. His professional focus lies in merging traditional craftsmanship with modern manufacturing techniques, fostering designs that are both practical and environmentally conscious. As the author of diy, Safety Fic delves into the art and science of Safety Fic-making, inspiring artisans and industry professionals alike.
Education RMIT University
(Melbourne, Australia) Associate Degree in Design (Safety Fic) Focus on sustainable design, industry-driven projects, and practical craftsmanship. Gained hands-on experience with traditional and digital manufacturing tools, such as CAD and CNC software.
Nottingham Trent University
(United Kingdom) Bachelor’s in diyfastly.com and Product Design (Honors) Specialized in product design with a focus on blending creativity with production techniques. Participated in industry projects, working with companies like John Lewis and Vitsoe to gain real-world insights.
Publications and Impact
In diy, Safety Fic his insights on indoor design processes, materials, and strategies for efficient production. His writing bridges the gap between artisan knowledge and modern industry needs, making it a must-read for both budding designers and seasoned professionals.