

Installing a Nest floodlight is a straightforward process that enhances both security and convenience around your home.
This guide explores the key aspects of how to install nest floodlight. These smart devices offer advanced features like motion detection, high-definition video recording, and integration with smart home systems.
Installing a Nest floodlight involves basic electrical wiring and setup, ensuring proper placement to maximize coverage and effectiveness. Whether replacing an existing fixture or installing new wiring, understanding the installation steps and safety precautions is crucial.
With clear instructions and tools provided in the Nest package, homeowners can confidently enhance their outdoor lighting and security. This guide outlines the essential steps for installing a Nest floodlight, ensuring a seamless integration into your smart home ecosystem while bolstering security measures effectively.
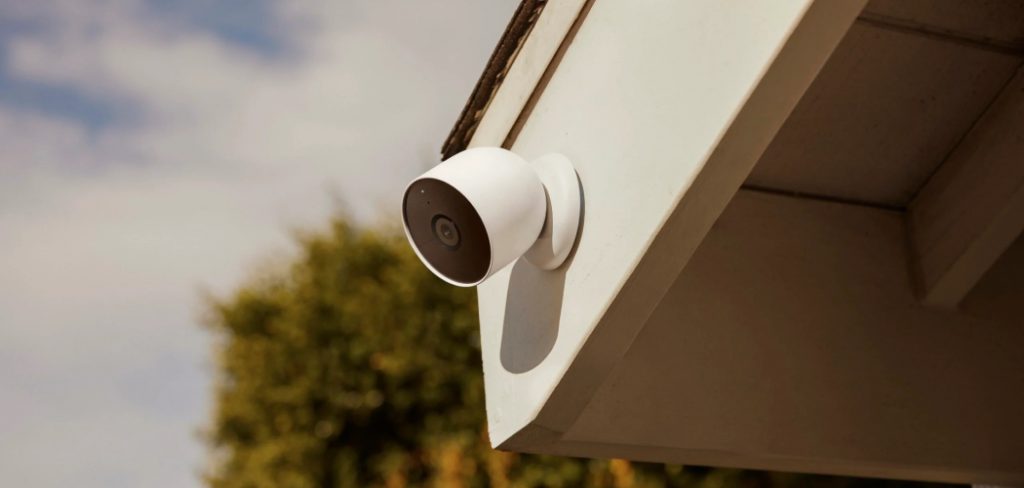
Outdoor Lighting for Home Security and Safety
Outdoor lighting plays a critical role in home security and safety, deterring potential intruders and providing visibility in dark areas. Well-placed lighting around the perimeter of your home can create an effective security barrier, making it difficult for anyone to approach unnoticed.
Motion-sensor lights, such as the Nest floodlight, can automatically illuminate when movement is detected, alerting homeowners to any unexpected activity.
In addition to enhancing security, outdoor lighting improves safety for residents and visitors. Pathway lights ensure clear visibility of walkways, preventing trips and falls in poorly lit areas.
Driveway and porch lights offer better visibility during the evening hours, making it easier for guests to navigate and find your home. By integrating smart lighting solutions, homeowners can control and monitor their lighting systems remotely, adding a layer of convenience and control to their security measures.
Planning Your Installation
Before beginning the installation of your Nest floodlight, careful planning is essential to ensure optimal placement and functionality. Start by evaluating the areas around your home where additional lighting is required for both security and convenience.
deal locations typically include entrances, driveways, walkways, and any dark or secluded spots that could benefit from enhanced illumination.
Next, consider the available power sources and existing wiring in these areas. If you are replacing an existing light fixture, the process may be simpler, since the necessary wiring is already in place.
However, installing a new fixture where wiring does not currently exist will require additional steps, including potentially hiring a licensed electrician to ensure compliance with electrical codes and safety standards.
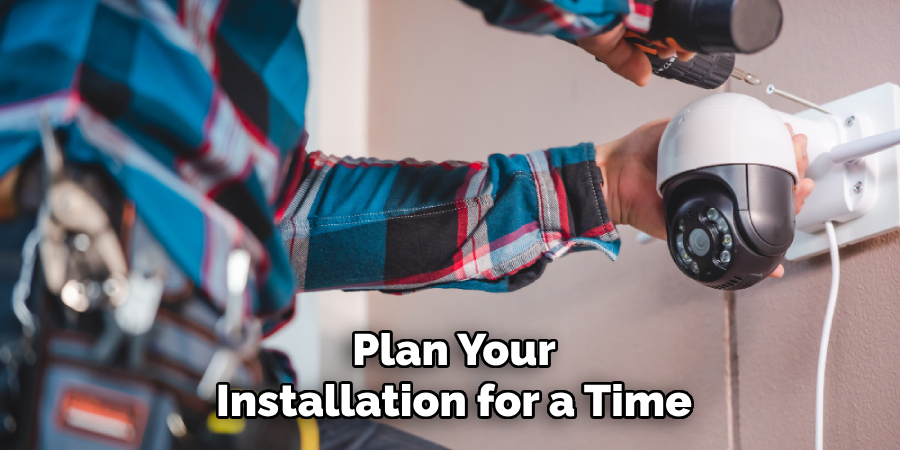
Plan your installation for a time when you can work in good daylight and fair weather, as most installations will require working outdoors and potentially on a ladder.
Be sure to gather all necessary tools and materials ahead of time, which typically include a screwdriver, drill, wire strippers, electrical tape, and a voltage tester.
Taking these preparatory steps into account will help make the installation process smoother and more efficient, leading to a successful setup of your Nest floodlight and a safer, well-lit home environment.
10 Methods How to Install Nest Floodlight
1. Gather Necessary Tools and Equipment
Before starting the installation process, gather all the necessary tools and equipment. You will need a ladder, screwdriver, drill, wire stripper, voltage tester, electrical tape, and a weatherproof junction box if your existing setup lacks one.
Ensure you have your Nest Floodlight kit, which includes the floodlight itself, mounting hardware, and the necessary cables. Having all these items ready will streamline the installation process and prevent interruptions.
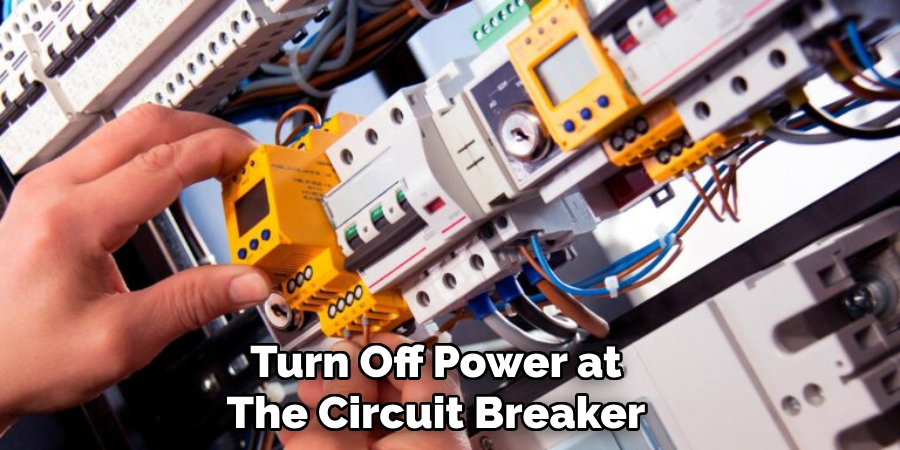
2. Turn Off Power at the Circuit Breaker
Safety is paramount when working with electrical installations. Begin by turning off the power to the existing light fixture at the circuit breaker. Use a voltage tester to confirm that the power is off by testing the wires at the fixture.
This step is crucial to prevent electrical shock and ensure a safe working environment. Clearly label the circuit breaker to avoid accidental activation during the installation process.
3. Remove the Existing Light Fixture
Carefully remove the existing light fixture from its mounting bracket. If the fixture is old or stuck, use a screwdriver to loosen the screws holding it in place. Once removed, disconnect the wires by unscrewing the wire nuts or unfastening any connections.
Take note of how the wires are connected, as this will help when wiring the Nest Floodlight. Dispose of the old fixture according to local regulations or store it for future use.
4. Install a Weatherproof Junction Box (If Necessary)
If your current setup does not include a weatherproof junction box, now is the time to install one. A junction box protects electrical connections from the elements, ensuring a long-lasting and safe installation.
Choose a box compatible with outdoor use and follow the manufacturer’s instructions for installation. Typically, you will need to drill mounting holes, secure the box to the wall, and ensure it is level.
Feed the existing electrical wires through the box’s gasket to maintain a weatherproof seal.
5. Mount the Nest Floodlight Bracket
With the junction box in place, mount the bracket that comes with your Nest Floodlight. Align the bracket with the junction box and use the provided screws to secure it firmly.
Ensure the bracket is level and oriented correctly, as this will affect the alignment of the floodlight. Tighten the screws securely but avoid over-tightening, which could damage the bracket or the junction box.
6. Connect the Wiring
Carefully connect the wiring for the Nest Floodlight. Match the wires from the floodlight to the corresponding wires in the junction box: typically, black to black (hot), white to white (neutral), and green or bare copper to green or bare copper (ground).
Use wire nuts to secure the connections and wrap them with electrical tape for added safety. Ensure there are no exposed wires and that the connections are tight to prevent short circuits or loose connections.
Double-check your connections before proceeding.
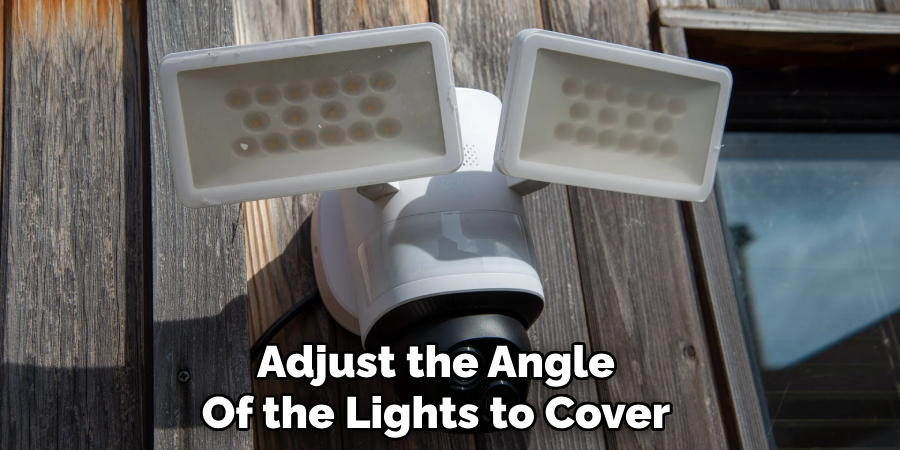
7. Attach the Nest Floodlight to the Bracket
Once the wiring is connected, attach the Nest Floodlight to the mounting bracket. Align the floodlight with the bracket and secure it using the provided screws. Ensure the floodlight is firmly attached and positioned correctly.
Adjust the angle of the lights to cover the desired area. Some Nest Floodlight models allow for easy adjustment and pivoting of the lights to achieve optimal coverage. Verify that all parts are securely fastened to withstand outdoor conditions.
8. Restore Power and Test the Floodlight
With the Nest Floodlight securely in place, restore power at the circuit breaker. Test the floodlight to ensure it turns on and functions correctly. The Nest Floodlight should illuminate when it detects motion or when manually activated through the app.
If the light does not turn on, double-check the wiring connections and ensure the circuit breaker is properly engaged. This initial test confirms that the installation was successful and that the floodlight is receiving power.
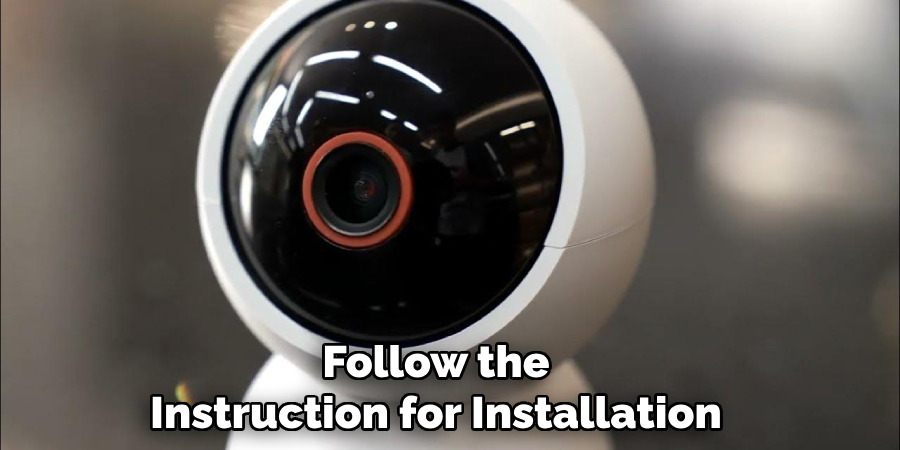
9. Set Up the Nest Floodlight in the App
To take full advantage of the smart features of your Nest Floodlight, set it up in the Nest app. Download the app from the App Store or Google Play Store if you haven’t already.
Follow the in-app instructions to add a new device. You will need to scan the QR code on the floodlight or manually enter the setup code.
Once the floodlight is added, customize the settings according to your preferences, such as motion detection sensitivity, lighting schedules, and integration with other smart home devices.
10. Perform Routine Maintenance and Updates
Regular maintenance ensures your Nest Floodlight continues to operate efficiently. Periodically clean the lenses and the fixture to remove dirt, debris, and cobwebs.
Check the wiring and mounting bracket for any signs of wear or damage. Ensure the firmware is up-to-date by enabling automatic updates in the Nest app.
Routine maintenance helps extend the life of your floodlight and ensures it provides optimal performance and security.
Common Mistakes to Avoid
When installing your Nest Floodlight, there are several common mistakes that can hinder your progress or compromise safety. One frequent error is neglecting to turn off power at the circuit breaker before beginning the installation.
This can result in electrical shock, so always use a voltage tester to ensure the power is completely off. Another mistake is improper wiring connections, which can lead to short circuits or faulty operation.
Take your time to match the wires correctly and secure them properly with wire nuts and electrical tape. Additionally, failing to install a weatherproof junction box can expose your electrical connections to the elements, causing potential water damage and corrosion. Ensure that any box you use is rated for outdoor use.
Conclusion
In conclusion, installing a Nest Floodlight involves a series of detailed steps to ensure a safe and effective installation. Start by gathering the necessary tools and turning off the power at the circuit breaker.
Remove the existing light fixture and install a weatherproof junction box if needed. Mount the Nest Floodlight bracket and connect the wiring carefully, ensuring all connections are secure. Attach the floodlight to the bracket, restore power, and test the unit.
About
Safety Fic is a distinguished figure in the world of Diy design, with a decade of expertise creating innovative and sustainable Diy solutions. His professional focus lies in merging traditional craftsmanship with modern manufacturing techniques, fostering designs that are both practical and environmentally conscious. As the author of diy, Safety Fic delves into the art and science of Safety Fic-making, inspiring artisans and industry professionals alike.
Education RMIT University
(Melbourne, Australia) Associate Degree in Design (Safety Fic) Focus on sustainable design, industry-driven projects, and practical craftsmanship. Gained hands-on experience with traditional and digital manufacturing tools, such as CAD and CNC software.
Nottingham Trent University
(United Kingdom) Bachelor’s in diyfastly.com and Product Design (Honors) Specialized in product design with a focus on blending creativity with production techniques. Participated in industry projects, working with companies like John Lewis and Vitsoe to gain real-world insights.
Publications and Impact
In diy, Safety Fic his insights on indoor design processes, materials, and strategies for efficient production. His writing bridges the gap between artisan knowledge and modern industry needs, making it a must-read for both budding designers and seasoned professionals.