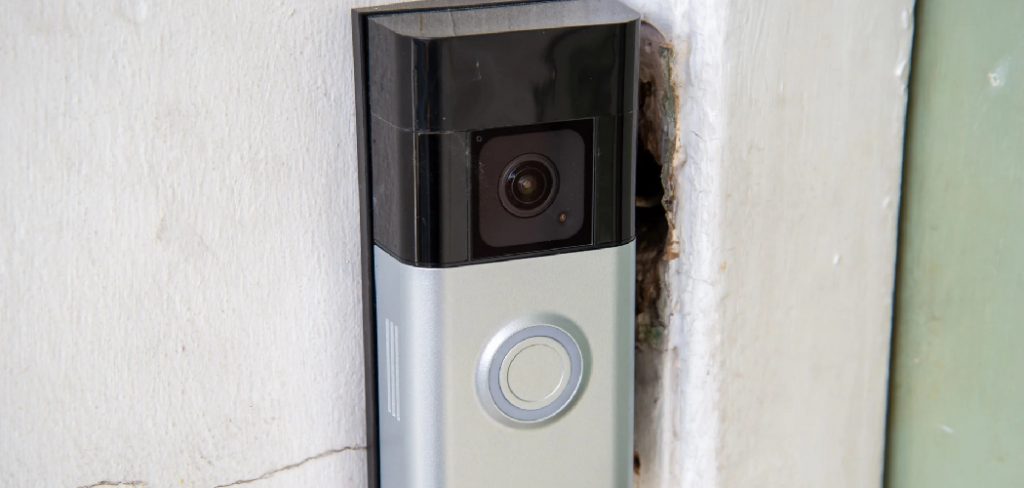
Installing a Ring Doorbell with a battery-powered setup is a straightforward process that enhances the security and convenience of your home.

Whether you’re a tech enthusiast or a first-time user, this guide will walk you through how to install ring doorbell battery-powered. With its easy-to-use design, the Ring Doorbell offers peace of mind with features such as motion detection, two-way audio, and real-time alerts.
Before beginning, ensure you have all the required tools and components to make the installation as efficient as possible.
The Ring Doorbell and its Battery-Powered Version
The Ring Doorbell is a versatile home security solution that allows homeowners to monitor their entryways from anywhere.
The battery-powered version is particularly appealing for those who do not have existing wiring at the door or prefer a more flexible installation process.
This version of the Ring Doorbell is equipped with a rechargeable battery, which means it can be placed virtually anywhere without the need for direct power sources.
Despite being battery-operated, it does not compromise on functionality. Users can still access live video feeds, two-way communication, and receive instant motion alerts directly to their smartphones.
This makes the battery-powered Ring Doorbell a convenient and efficient choice for enhancing home security without extensive installation work.
Tools and Materials Needed
Before you begin the installation of your battery-powered Ring Doorbell, gather the necessary tools and materials to ensure a smooth setup process.
You will need a screwdriver (either Phillips or flathead, depending on the screws provided), a drill with the appropriate drill bit for your mounting surface if necessary (usually a masonry bit for brick or concrete), and the mounting bracket and screws that come with your Ring Doorbell package.
Additionally, make sure you have a charged Ring Doorbell battery, which can be charged using the micro USB cable included in the box.
Having these items on hand will help streamline the installation and minimize interruptions during the process.
10 Methods How to Install Ring Doorbell Battery-Powered
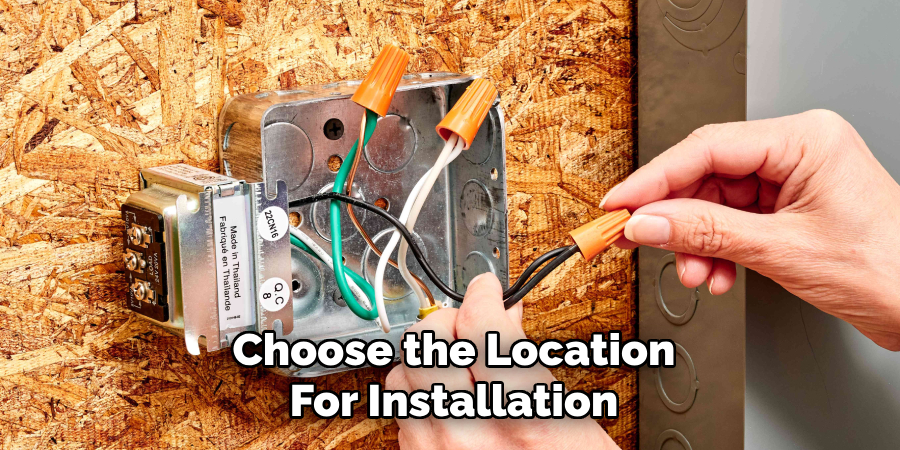
1. Choose the Right Location for Installation

The first step in installing a Ring battery-powered doorbell is selecting the ideal location. Placement is crucial for both functionality and convenience.
The doorbell should be positioned at an appropriate height—usually about 48 inches (4 feet) from the ground—to ensure that the camera captures the right field of view.
Ideally, it should cover your doorstep and surrounding areas for maximum security. Also, ensure that the location has strong Wi-Fi connectivity, as Ring devices rely heavily on internet performance to function properly.
Test the Wi-Fi strength using your smartphone at the installation site to avoid connection issues later.
2. Charge the Battery Before Installation
Before starting the installation, make sure the battery is fully charged. The Ring battery-powered doorbell comes with a rechargeable battery that can be easily removed and charged via a USB cable.
Simply connect the provided cable to a power source and wait for the battery to reach full charge, indicated by the green light on the battery pack.
Charging can take several hours, so it’s best to do this before mounting the doorbell. A fully charged battery ensures that the device powers up immediately upon installation.
3. Download and Set Up the Ring App
A key part of the installation process is setting up the device through the Ring app. The app, available for both iOS and Android, is essential for configuring and managing the doorbell.
Download the app and create a Ring account if you don’t already have one. Follow the in-app instructions to add a new device, selecting “Doorbell” from the list of products.
The app will guide you through setting up Wi-Fi, connecting the doorbell, and configuring settings like motion detection and notifications.
4. Gather the Necessary Tools

Installing a Ring battery-powered doorbell doesn’t require many tools, but having the right ones on hand will make the process smoother.
Ring includes a basic toolkit in the box, which typically contains a screwdriver, mounting screws, and anchors. In some cases, you may also need a drill if the surface you’re mounting the doorbell on is particularly tough, such as brick or concrete.
If drilling isn’t necessary, you can use the included screws to mount the device directly onto wood, vinyl, or other softer materials.
5. Position and Mark the Holes for Mounting
will go. Hold the Ring doorbell against the wall at the desired height, ensuring that it’s level and aligned with your entryway. Use a pencil to mark the screw holes on the surface.
Most Ring doorbells come with a mounting bracket that you attach first, which the doorbell will then snap into. It’s important to ensure that the mounting bracket is positioned correctly, as this will determine the stability and angle of the camera.
If you’re installing on a brick or concrete surface, you may need to use the included wall anchors. In that case, drill small pilot holes where you marked the mounting points, insert the anchors, and then proceed with securing the screws.
6. Drill Pilot Holes (if necessary)
For harder surfaces like brick, concrete, or stucco, it’s essential to drill pilot holes before inserting screws. This step prevents the screws from slipping or damaging the surface.
Use a masonry bit of appropriate size and drill carefully into the marked spots. The pilot holes should be deep enough to accommodate the wall anchors, which will provide a secure base for your screws.
Once the holes are drilled, insert the anchors by lightly tapping them into place with a hammer until they sit flush with the surface. If you’re mounting the doorbell on wood or vinyl, you can skip this step and directly screw the mounting bracket into place.
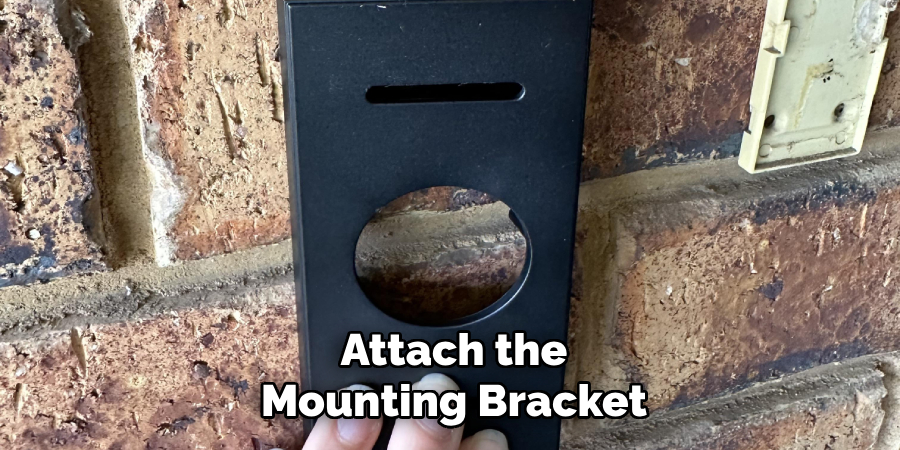
7. Attach the Mounting Bracket
With the holes marked or drilled, it’s time to attach the mounting bracket to the wall. Use the screws provided in the Ring toolkit to secure the bracket in place.
Make sure that the bracket is level before fully tightening the screws. If the bracket is off-kilter, your camera’s view may be misaligned, potentially missing critical areas around your front door.

Tighten the screws securely, but don’t overtighten, as this could damage the bracket or strip the screws.
If you plan on adjusting the camera angle after installation, some models come with an additional wedge or corner mount that can be used to angle the doorbell for better visibility.
8. Insert the Fully Charged Battery
Once the mounting bracket is in place, you can insert the fully charged battery into the Ring doorbell. To do this, slide open the compartment on the back of the device and carefully insert the battery pack until it clicks into place.
Some Ring doorbell models have a removable battery, while others require the entire unit to be taken down for recharging. Ensure the battery is seated properly before proceeding.
After the battery is inserted, the device will power on, and you should see the front light on the doorbell illuminate.
If you haven’t already set up the device via the Ring app, now is the time to finalize the Wi-Fi setup and configure your preferences.
9. Mount the Doorbell on the Bracket
With the battery in place and the mounting bracket securely attached to the wall, you’re ready to mount the Ring doorbell onto the bracket.
Align the slots on the back of the doorbell with the hooks on the mounting bracket, then press the device firmly into place until you hear it click. This indicates that the doorbell is securely locked onto the bracket.
Test the stability by gently pulling on the doorbell to ensure that it’s attached securely. If it moves or feels loose, double-check the mounting screws and make sure that everything is properly aligned.
10. Test the Doorbell and Adjust Settings
After mounting the doorbell, the final step is to test it and adjust the settings. Open the Ring app and navigate to your new device. Test the live view feature to make sure the camera angle is correct and the device has a strong Wi-Fi connection.
You can adjust the motion detection zones, change notification preferences, and set up any additional features like linked devices or integrations with smart home systems such as Alexa or Google Assistant.
Ring’s motion detection is highly customizable, so you can tailor the sensitivity and detection zones to avoid false alerts from passing cars or pedestrians.

It’s also a good idea to check that the video feed is clear and that the doorbell’s chime and notifications are working as expected.
Conclusion
Installing a Ring battery-powered doorbell is a straightforward process that enhances the security and convenience of your home.
By following these simple steps, you ensure that your doorbell is installed correctly, providing reliable performance and clear video footage.
Whether you’re a seasoned DIY enthusiast or new to smart home technology, the Ring doorbell offers a user-friendly experience with customizable features to fit your lifestyle.
Thanks for reading, and we hope this has given you some inspiration on how to install ring doorbell battery-powered!
About
Safety Fic is a distinguished figure in the world of Diy design, with a decade of expertise creating innovative and sustainable Diy solutions. His professional focus lies in merging traditional craftsmanship with modern manufacturing techniques, fostering designs that are both practical and environmentally conscious. As the author of diy, Safety Fic delves into the art and science of Safety Fic-making, inspiring artisans and industry professionals alike.
Education RMIT University
(Melbourne, Australia) Associate Degree in Design (Safety Fic) Focus on sustainable design, industry-driven projects, and practical craftsmanship. Gained hands-on experience with traditional and digital manufacturing tools, such as CAD and CNC software.
Nottingham Trent University
(United Kingdom) Bachelor’s in diyfastly.com and Product Design (Honors) Specialized in product design with a focus on blending creativity with production techniques. Participated in industry projects, working with companies like John Lewis and Vitsoe to gain real-world insights.
Publications and Impact
In diy, Safety Fic his insights on indoor design processes, materials, and strategies for efficient production. His writing bridges the gap between artisan knowledge and modern industry needs, making it a must-read for both budding designers and seasoned professionals.
