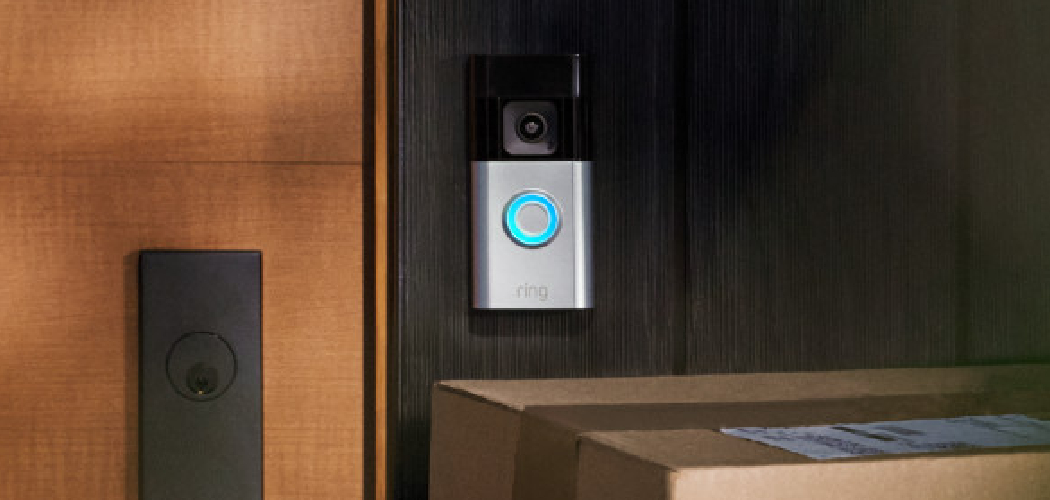
Installing a Ring Doorbell Solar Panel is a great way to ensure your Ring Doorbell remains powered without the need for frequent battery changes or wiring. This eco-friendly solution harnesses solar energy to keep your device charged and operational at all times.
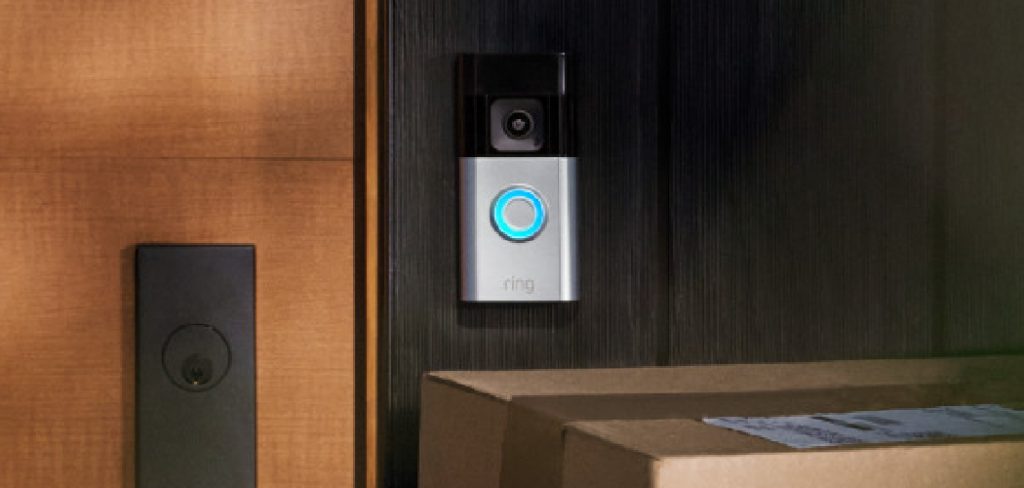
In this guide on how to install ring doorbell solar panel, we will walk you through the steps required to successfully install your Ring Doorbell Solar Panel, ensuring you can enjoy uninterrupted security and convenience for your home. Whether you are a seasoned DIY enthusiast or a beginner, our step-by-step instructions will help you get your solar panel up and running in no time.
What You Will Need:
Before we dive into the installation process, here are some essential tools and materials you will need:
- Ring Doorbell Solar Panel
- Ring Video Doorbell (if Not Already Installed)
- Drill
- Screwdriver
- Level Tool
- Pencil or Marker
- Mounting Bracket and Screws (Included With the Solar Panel)
Now that you have everything ready let’s get started installing your Ring Doorbell Solar Panel.
8 Step-by-step Guidelines on How to Install Ring Doorbell Solar Panel
Step 1: Prepare Your Ring Video Doorbell
Before you can install the solar panel, you need to ensure your Ring Video Doorbell is ready. Start by removing the doorbell from its current mounting bracket if it has already been installed. This can usually be done by unscrewing the screws at the bottom of the device and gently pulling it away from the wall. Once removed, inspect the device for any dirt or debris and clean it if necessary.
Make sure the existing battery is fully charged or that you have a fresh battery in place. This will help ensure there are no power interruptions during the installation process. If your doorbell has not yet been installed, refer to the manufacturer’s instructions on how to properly set up and mount the Ring Video Doorbell before proceeding with the solar panel installation.

Step 2: Choose the Right Location for Your Solar Panel
The next step is to choose the best location for your solar panel. Ideally, you want a spot that receives maximum sunlight throughout the day and is within a reasonable distance from your Ring Video Doorbell.
The mounting bracket included with the solar panel allows for various installation options, such as attaching it to a wall or using it as a stand on flat surfaces. Once you have chosen your desired location, use a pencil or marker to mark where you will be drilling holes for the mounting bracket.
Step 3: Drill Holes and Mount the Bracket
Using your drill, create two holes at the marked spots on the wall or surface. Make sure the holes are level and at an appropriate distance based on the size of your solar panel and bracket.
Next, attach the mounting bracket to the wall or surface using the included screws. Use a level tool to ensure it is straight and secure.
Step 4: Connect Your Solar Panel
Now that you have securely mounted the bracket, it’s time to connect your solar panel to the Ring Video Doorbell. Start by attaching the solar panel to the bracket. This can usually be done by aligning the holes on the solar panel with the mounting bracket and securing them with the screws provided.
Once the panel is properly attached, locate the charging cable coming from the solar panel. Plug this cable into the charging port on the back of the Ring Video Doorbell. Ensure the connection is firm and secure to enable proper charging.
Step 5: Adjust the Angle of Your Solar Panel
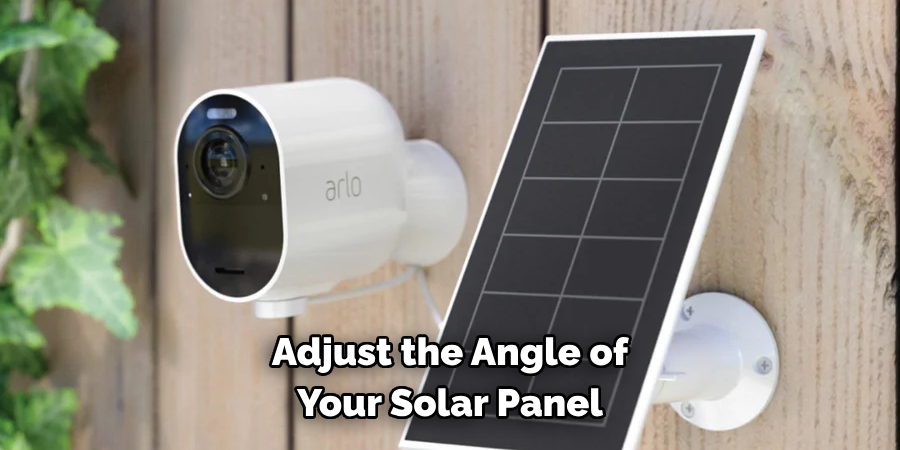
To ensure maximum sunlight exposure, you may need to adjust the angle of your solar panel. The mounting bracket allows for a tilting range of up to 45 degrees, making it easy to find the perfect angle for your specific location. Simply loosen the screws on the bracket and tilt the panel until you find the optimal position.
It’s recommended to periodically check and adjust the angle of your solar panel as the sun’s position changes throughout the year.
Step 6: Test Your Solar Panel and Ring Doorbell
Before fully completing the installation, it’s important to test that everything is working properly. This can be done by pressing the doorbell button to trigger a notification on your phone or by manually checking the battery level on your Ring Video Doorbell app. If all seems to be in order, you can proceed with securing any loose screws and cables.
You can also do a final check by leaving your Ring Video Doorbell in direct sunlight for a few hours and then checking the battery level again. If it has increased, you can be confident that your solar panel is working efficiently.
Step 7: Optional – Conceal Cables
To achieve a cleaner and more organized installation, consider concealing the cables connecting your solar panel to the Ring Video Doorbell. This step is optional but highly recommended for aesthetic purposes, as well as for protecting the cables from potential damage caused by weather or tampering.
Start by using cable clips or adhesive cable ties to secure the cables along the wall or surface. Ensure that the cables are tightly secured and positioned out of the way, avoiding any potential trip hazards. If you prefer a more seamless look, you can use a conduit or cable cover to hide the cables completely. These can be easily attached with screws or adhesive and will provide added protection.
Step 8: Enjoy Your Ring Doorbell Solar Panel
Congratulations, you have successfully installed your Ring Doorbell Solar Panel! Now you can enjoy the convenience of uninterrupted power for your Ring Video Doorbell and peace of mind knowing your home is always secure. With proper maintenance and monitoring, your solar panel should continue to provide reliable charging for many years to come.
Following these step-by-step guidelines on how to install ring doorbell solar panel should make the installation process smooth and easy. However, if you encounter any issues or have any questions, refer to the manufacturer’s instructions or contact their customer support for assistance. Enjoy your new Ring Doorbell Solar Panel and all its benefits!
Additional Tips
- Make sure to clean your solar panel regularly to ensure maximum efficiency.
- If you live in an area with extreme weather conditions, consider installing a protective cover over your solar panel.
- Keep an eye on the battery level of your Ring Video Doorbell and charge it as needed if there are extended periods without sunlight.
- Consider setting up motion detection and notification settings on your Ring Video Doorbell app for added security. By utilizing solar power, you can feel even more confident in the reliability of your device to keep your home safe.
- If you already have a Ring Video Doorbell installed and want to add a solar panel, follow the same steps for installation, but make sure to properly disconnect and reconnect any existing wires or cables as needed.
- You can also use multiple solar panels to charge one Ring Video Doorbell if necessary, especially in areas with limited sunlight exposure.
By following these tips on how to install ring doorbell solar panel and taking proper care of your Ring Doorbell Solar Panel, you can enjoy uninterrupted power and peace of mind for your home security needs. Keep an eye out for any new updates or advancements in solar technology that may further enhance the performance and efficiency of your device. Happy installing!
Frequently Asked Questions
Q: Will the Ring Doorbell Solar Panel Work With All Models of Ring Video Doorbells?
A: Yes, the solar panel is compatible with all models of Ring Video Doorbells. However, make sure to check for any specific instructions or compatibility requirements for your particular model. It’s also recommended to purchase the solar panel from the same manufacturer as your Ring Video Doorbell for optimal compatibility and performance.
Q: How Long Will It Take For My Solar Panel to Fully Charge My Ring Video Doorbell?
A: The time it takes for your solar panel to fully charge your Ring Video Doorbell will vary depending on factors such as sunlight exposure, weather conditions, and usage of the device. It’s important to regularly monitor the battery level and ensure that it is properly charged for uninterrupted functionality.
Q: Do I Need To Hire a Professional to Install My Ring Doorbell Solar Panel?
A: No, with proper tools, equipment, and following these step-by-step instructions, you can easily install the solar panel yourself. However, if you are not comfortable with DIY installations, it’s always recommended to seek professional help for a safe and efficient installation process.
Q: Is There a Warranty for the Ring Doorbell Solar Panel?
A: Yes, the solar panel comes with a one-year limited warranty from the manufacturer. Make sure to properly register your product and contact customer support for any issues or concerns regarding your warranty coverage. You can also refer to the manufacturer’s website for any additional information on warranty and product support.
Conclusion
Installing a Ring Doorbell Solar Panel is a seamless way to ensure your Ring Video Doorbell remains powered without frequent recharges or battery replacements.
By following the step-by-step guidelines on how to install ring doorbell solar panel provided, you can effectively set up the solar panel and enjoy continuous functionality of your home security system. Not only does this approach offer the convenience of harnessing renewable energy, but it also plays a part in promoting a more sustainable and eco-friendly lifestyle. With added insights from the tips and FAQs, you’re well-prepared to maintain and maximize the efficiency of your solar panel.
Should you face any challenges, always refer to the manufacturer’s support for assistance. Here’s to enhanced security and uninterrupted power for your home with your newly installed Ring Doorbell Solar Panel!

