

Keeping your home safe for young children is a top priority, and cabinet locks are a simple yet effective tool to prevent access to potentially harmful items. Safety First Cabinet Locks are designed to provide peace of mind by securing cabinets and drawers without compromising convenience.

This guide will walk you through the steps of how to install safety first cabinet locks, ensuring your home remains a safe environment for your little ones.
Why Cabinet Locks Matter for Child Safety
Curious toddlers are constantly exploring their surroundings, and cabinets often contain items that can be hazardous if accessed by little hands. From cleaning supplies and sharp objects to medications, many common household items pose significant risks to children. Cabinet locks serve as a physical barrier, preventing young children from reaching these dangerous materials.
They are a crucial component of childproofing any home, reducing the likelihood of accidental injuries or poisoning. By installing cabinet locks, parents and caregivers can create a safer environment, allowing children to explore and play freely without unnecessary risks.
Types of Safety 1st Cabinet Locks
Safety 1st offers a variety of cabinet locks to suit different needs and preferences, providing versatile solutions for childproofing. Some of the most common types include:
- Magnetic Cabinet Locks – These locks use a powerful magnetic key to secure cabinets, making them invisible from the outside for a more aesthetically pleasing solution. They are easy to install and provide strong, reliable protection.
- Adhesive Cabinet Locks – Ideal for renters or those who prefer not to drill holes, adhesive locks stick securely to cabinet surfaces and can be removed without causing damage. They are simple to use and work well on most types of cabinets.
- Sliding Cabinet Locks – Designed for cabinets with side-by-side knobs or handles, these locks slide into place and effectively prevent children from opening the doors. They are portable, easy to install, and require no tools.
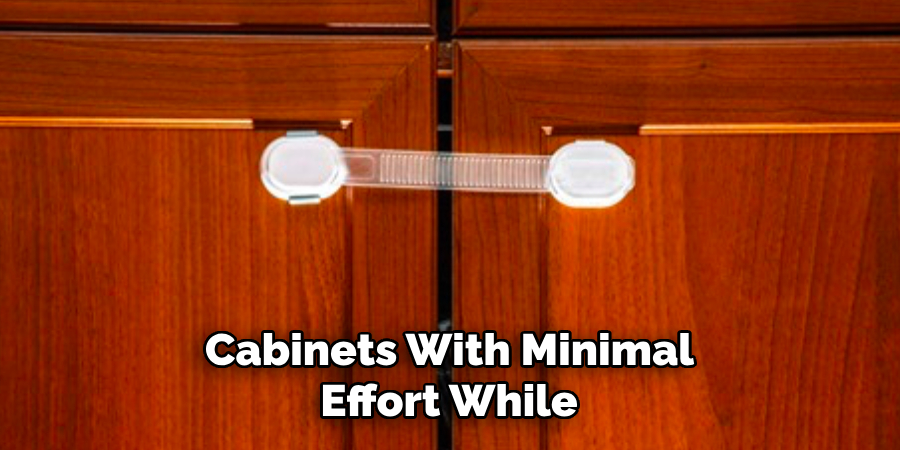
- Spring-Activated Cabinet Locks – These locks use a spring-loaded mechanism that allows adults to open the cabinets with minimal effort while ensuring that they remain securely locked for children.
By selecting the right type of Safety 1st cabinet lock, parents and caregivers can customize their home childproofing efforts to fit their specific needs and ensure a safe environment for children.
Tools and Materials You’ll Need
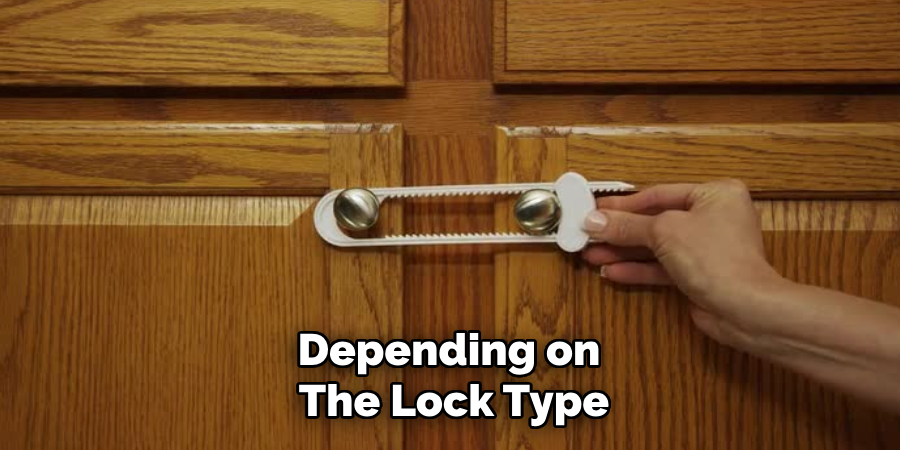
To install and effectively use Safety 1st cabinet locks, you may need the following tools and materials, depending on the type of lock chosen:
- Measuring Tape – To ensure precise placement of the locks.
- Cleaning Supplies – To clean the surface area before installation for proper adhesion.
- Screwdriver – For screw-based lock installations.
- Adhesive Strips or Pads – Typically included with adhesive locks, but extras may be helpful.
- Replacement Springs – For spring-activated locks, if necessary.
- Instruction Manual – Provided with Safety 1st locks to guide the installation process.
Having these tools and materials ready will make the installation process smoother and ensure that the locks function correctly to create a child-safe environment.
10 Methods How to Install Safety First Cabinet Locks
1. Understand the Types of Safety 1st Cabinet Locks
Before starting the installation, it’s crucial to identify which type of Safety 1st cabinet lock you have. These locks come in various forms, including magnetic, adhesive, spring-loaded, and sliding locks. Each has a slightly different installation process.
Magnetic locks often require drilling, while adhesive models stick directly to surfaces. Sliding locks are adjustable, typically used for handles. Understanding the type of lock you have helps you plan the installation and gather the necessary tools.
2. Gather the Necessary Tools and Materials
To install Safety 1st cabinet locks efficiently, gather the following tools and materials: a drill (if required), screwdriver, measuring tape, a pencil, cleaning wipes, and possibly an adhesive remover. Depending on the lock type, you may also need a template for accurate placement.
Having these items ready saves time and ensures a smoother installation process. Double-check your lock packaging for any specific tools or templates included.
3. Clean the Surface Thoroughly
Proper adhesion is crucial for adhesive-based cabinet locks. Use a damp cloth or a household cleaner to wipe down the surface where the lock will be applied. Removing dust, grease, and residues ensures the adhesive sticks firmly. Let the surface dry completely before proceeding. Skipping this step could cause the locks to loosen or fall off over time, compromising safety.
4. Measure and Mark the Installation Points
Use a measuring tape to find the optimal placement for your cabinet locks. Mark the spots lightly with a pencil to ensure symmetry and alignment. For magnetic locks, it’s essential to position the catch and latch correctly so they align when the door is closed.
If you’re installing multiple locks, consistent spacing enhances both aesthetics and functionality. Precise marking helps avoid misalignment that can make the locks ineffective.
5. Use the Template for Drilling (if applicable)
Some Safety 1st cabinet locks, particularly magnetic ones, include a template to guide your drilling. Position the template according to the instructions and use a pencil to mark where to drill. Ensure you are not drilling into electrical wiring or other obstructions by checking behind the cabinet door.
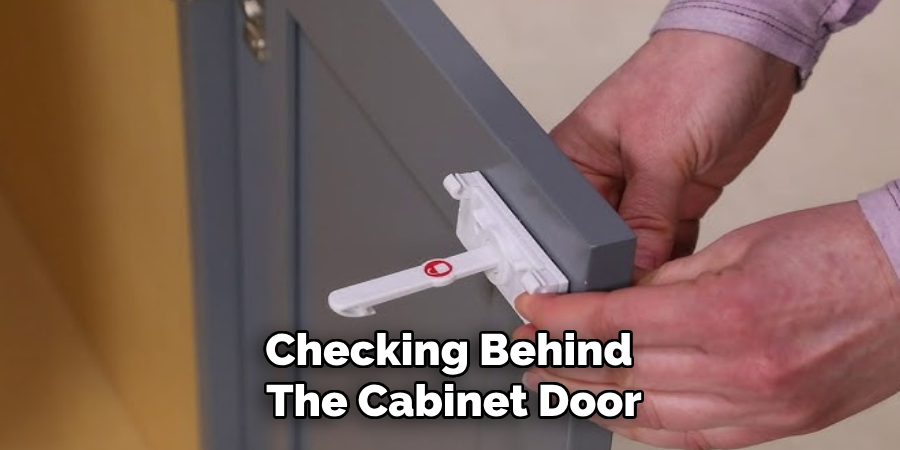
Use a drill bit of the recommended size to create clean, precise holes. This step is crucial to secure the lock base properly.
6. Install the Lock Base
Position the lock base on the marked area, aligning it with the holes you drilled or the marks you made for adhesive placement. For adhesive models, peel off the protective layer and press the base firmly against the surface for about 30 seconds.
If screws are required, insert them into the pre-drilled holes and tighten securely with a screwdriver. Ensuring the base is firmly attached will prevent your child from tampering with or dislodging the lock.
7. Attach the Locking Mechanism
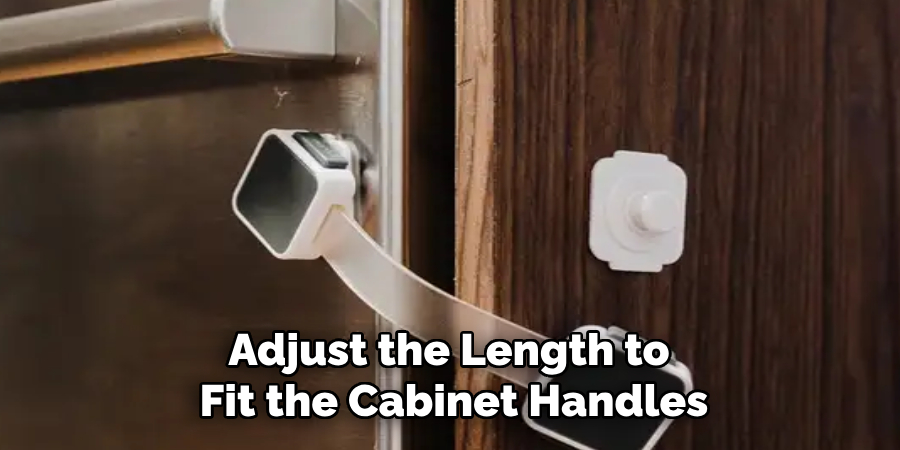
Depending on the type of lock, attach the locking mechanism to either the door or the frame. For magnetic locks, secure the latch to the door and the catch to the frame, making sure they line up correctly.
In the case of sliding locks, adjust the length to fit the cabinet handles and snap the lock into place. Spring-loaded locks typically require snapping the catch into the lock base. Test the locking action to make sure it operates smoothly.
8. Test the Lock’s Functionality
Once the lock is in place, it’s essential to test its effectiveness. Open and close the cabinet several times, making sure the lock engages properly. Try to open the door without disengaging the lock to ensure it holds firmly.
For magnetic locks, use the magnetic key to unlock and check for proper release. Testing each lock thoroughly guarantees that they are secure enough to withstand a child’s attempts to open the cabinet.
9. Secure Any Loose Components
Sometimes, after installation, you may find that some parts of the lock are slightly loose or not aligned correctly. Tighten any screws or press down on adhesive parts to secure them properly.
If the lock feels wobbly, consider adding an extra screw or replacing the adhesive if it’s not holding. Taking a few extra minutes to double-check the stability will ensure long-lasting protection and avoid frequent maintenance.
10. Educate Family Members and Maintain the Locks
After installation, make sure every household member knows how to operate the new locks. Demonstrate how to disengage and lock them properly. Educating everyone prevents accidental damage or frustration when accessing cabinets. Additionally, perform periodic maintenance checks, especially for adhesive models, as they may weaken over time.
Replace worn-out adhesives and retighten screws if necessary. Keeping the locks in good condition ensures they continue to provide safety.
Alternative Methods and Tips
If traditional cabinet locks aren’t suitable for your household, there are alternative methods to consider. Magnetic locks are a popular choice as they remain hidden from view and require a special magnetic key to open, offering a sleek, child-proof option.
For renters or those looking to avoid permanent installation, tension rods can be used to block access to certain cabinets without damaging the surface. Another tip is to utilize child-proof straps, which are versatile and can be adjusted to fit various cabinet sizes.
When selecting the best method, consider the materials of your cabinets and the frequency of access needed. Additionally, always test any childproofing solution thoroughly to ensure it can withstand tampering. Remember, combining different methods can sometimes provide the best results, especially in homes with curious toddlers.
Conclusion
Installing Safety 1st cabinet locks may seem complicated at first, but by following these ten methods, you can make the process straightforward and effective. From choosing the right lock and gathering tools to testing and maintaining the installation, each step ensures your cabinets remain securely childproofed.
Taking the time to properly install and regularly inspect these locks gives you peace of mind, knowing that your little one is protected from potential hazards. Thanks for reading our blog post on how to install safety first cabinet locks! We hope you found it helpful and informative.