

Installing safety glass for skylights is an essential step in ensuring the durability and security of your home or building. Skylights are a great way to bring natural light into your space, but without proper safety measures, they can pose risks, such as breakage or leakage.
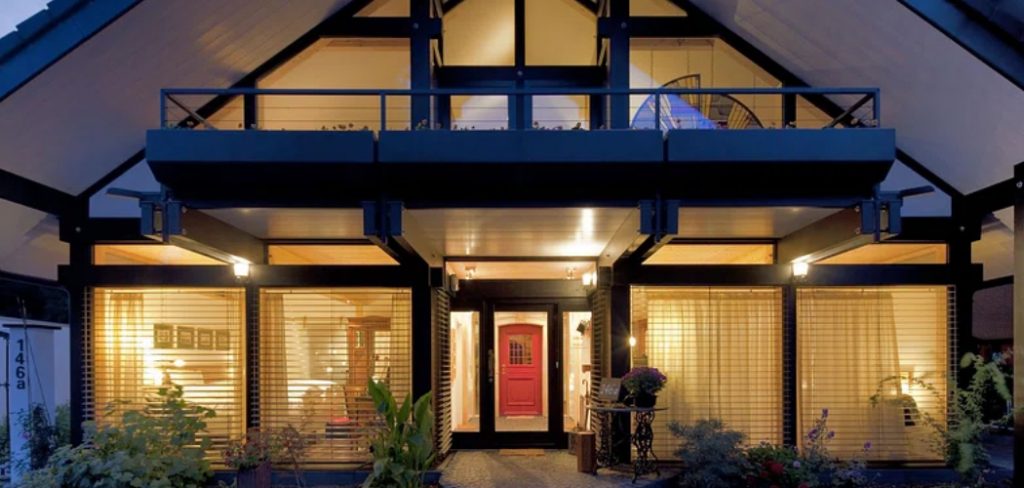
This guide on How to install safety glass for skylights will walk you through the process of properly installing safety glass for your skylights, helping you create a safe and well-lit environment.
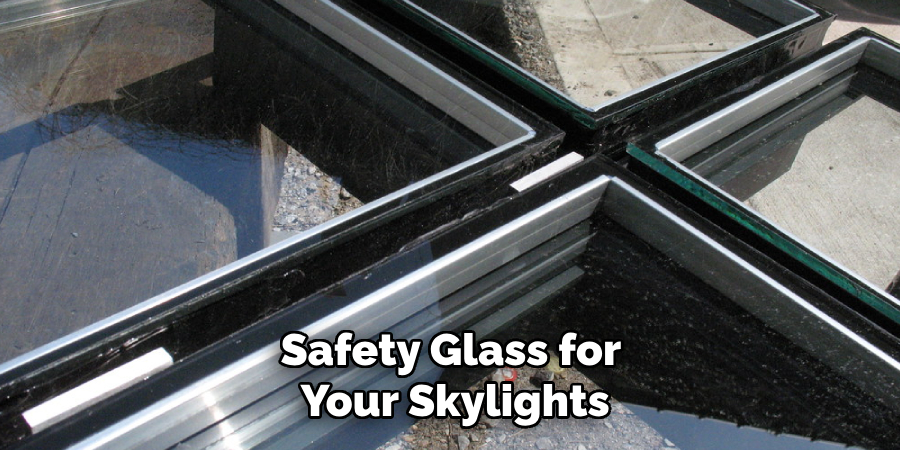
Importance of Safety Glass for Skylights
Safety glass plays a crucial role in enhancing the functionality and security of skylights. Unlike regular glass, safety glass is designed to resist impact and shattering, reducing the risk of injury in case of accidents or severe weather conditions. It also helps maintain the structural integrity of your skylight, ensuring it can withstand external forces such as hail, debris, or heavy winds.
Furthermore, safety glass often includes features like UV protection and insulation, which can help regulate indoor temperatures and protect your furniture from sun damage. Investing in safety glass for your skylights not only increases the safety of your home or building but also contributes to energy efficiency and long-term durability.
Needed Materials
Safety Glass Panels:
When purchasing safety glass for your skylights, it’s important to choose the right type of glass that meets industry standards. Tempered or laminated glass are two common types of safety glass used for skylights. Both offer high durability and strength, but tempered glass is more resistant to impact, while laminated glass provides better sound insulation.
Skylight Frame:
In addition to the safety glass panels, you will also need a sturdy frame for your skylight installation. The frame should be made of durable materials such as aluminum or PVC and must be sized correctly to fit the dimensions of your skylight opening.
Sealant:
A high-quality sealant is essential for properly installing safety glass for skylights. The sealant helps secure the glass panels to the frame, preventing any leaks or drafts that could compromise your skylight’s integrity.
Installation Tools:
You will need basic tools such as a drill, screwdriver, and measuring tape to properly install safety glass for skylights. It’s also recommended to have a silicone gun and a rubber mallet on hand for easier installation.
8 Step-by-step Guidelines on How to Install Safety Glass for Skylights
Step 1: Measure the Skylight Opening Accurately
The first step in installing safety glass for skylights is to carefully measure the skylight opening. Use a measuring tape to determine the precise width, length, and depth of the opening. Make sure to take measurements at multiple points, as some openings may not be perfectly square or rectangular.
Record these measurements and double-check them to ensure accuracy. Properly measuring the opening is crucial for selecting the correct size of the safety glass panel and frame, which will prevent issues during installation and ensure a secure fit.
Step 2: Choose the Right Safety Glass Panels
Based on the measurements taken, purchase tempered or laminated glass panels that are slightly smaller than the skylight opening. This will allow for proper installation and leave room for expansion and contraction in extreme weather conditions.
The panels should also have the necessary features, such as UV protection and insulation, to meet your specific needs.
Step 3: Prepare the Frame
Before installing the safety glass panels, it’s essential to prepare the skylight frame. Start by cleaning the frame thoroughly to remove any dust, dirt, or debris that could interfere with the installation process or compromise the seal. Use a mild detergent and water to clean the frame, and allow it to dry completely.
Inspect the frame for any signs of damage or wear, such as cracks or warping, and repair or replace the frame if necessary. Once the frame is clean and in good condition, apply a layer of high-quality primer or protective coating, especially if the frame is made of metal, to prevent rust or corrosion over time. This will ensure the frame is ready to securely hold the safety glass panels.
Step 4: Install the Safety Glass Panels
Using your drill and screwdriver, carefully attach the safety glass panels to the frame. Place the panels within the skylight opening, ensuring they are centered and level. Use screws or clips to secure the panels to the frame according to manufacturer instructions. Repeat this process for all corners of the frame until all panels are securely attached.
It’s recommended to have another person assist you during this step to ensure the panels are properly aligned and secure.
Step 5: Apply Sealant
Once the safety glass panels are securely attached to the frame, the next step is to apply a high-quality sealant around the edges. Using a silicone gun, carefully run a continuous bead of sealant along the perimeter where the glass meets the frame. This will create a watertight seal, preventing leaks and ensuring the skylight remains secure against external elements.
Use a rubber mallet or a smoothing tool to gently press the sealant into any gaps or uneven areas for a tight fit. Allow the sealant to cure according to the manufacturer’s instructions before proceeding to the next step. Properly applying the sealant is critical to maintaining the integrity and durability of your skylight over time.
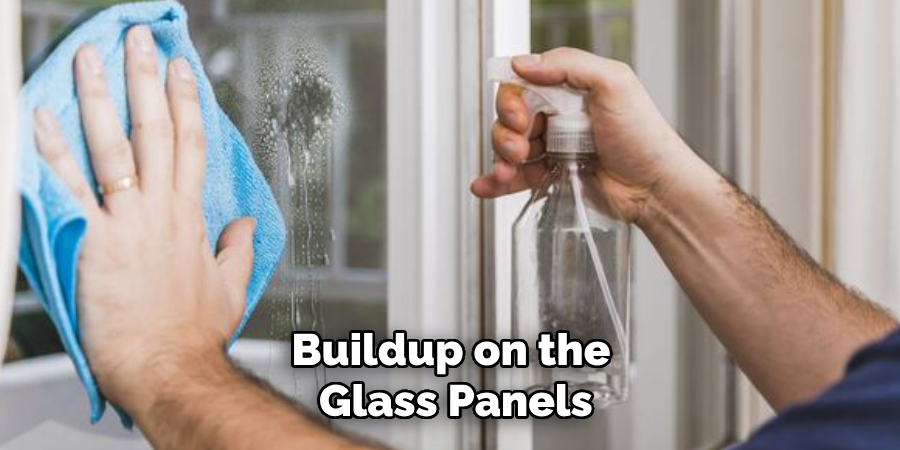
Step 6: Inspect and Clean
After the sealant has cured, inspect the skylight for any leaks or areas that may need additional sealant. It’s also a good idea to clean the glass panels with mild detergent and water to remove any fingerprints or smudges left behind during installation. This will ensure your skylight looks pristine and functions properly.
It’s recommended that the skylight be cleaned periodically to maintain its appearance and functionality.
Step 7: Finish Interior Details
Once the exterior of the skylight is secured, you can move on to finishing interior details. If needed, install a frame or trim around the interior edges of the skylight opening for a polished look. You can also add blinds or shades for light control and privacy.
Most importantly, ensure that the interior area surrounding the skylight is properly insulated to prevent any drafts or energy loss. This will also help with sound insulation if you have chosen laminated glass panels.
Step 8: Proper Maintenance
Regular maintenance is essential for preserving the longevity and safety of your skylight installation. Inspect the skylight regularly for any signs of damage or wear, such as cracks, leaks, or loose screws. Make any necessary repairs promptly to avoid further issues. Additionally, keep the glass panels clean and free from debris to ensure optimal light transmission.
Following these step-by-step guidelines on How to install safety glass for skylights will help you properly install safety glass for skylights and ensure a secure and durable installation. By choosing the right tools and materials and following proper installation techniques, you can enjoy the benefits of natural light and a well-protected skylight for years to come.

Frequently Asked Questions
Q: Can I Install Safety Glass for Skylights on My Own?
A: While it’s possible to install safety glass for skylights on your own, it’s recommended that you seek professional installation services. This will ensure the proper tools and techniques are used and any potential hazards are avoided during the installation process.
If you choose to install the safety glass panels yourself, make sure to thoroughly research them and follow proper installation guidelines to ensure a safe and successful installation.
Q: Which Type of Safety Glass is Best for Skylights?
A: The type of safety glass best suited for your skylight will depend on various factors, including budget, personal preference, and local building codes. Tempered glass is highly recommended for skylights as it is four times stronger than regular glass and shatters into small pieces when broken, reducing the risk of injury. Laminated glass is also a popular choice due to its added sound insulation properties.
Q: How Do I Know if My Skylight Needs Repair?
A: Regularly inspecting your skylight for any signs of damage or wear is the best way to determine if it needs repair. If you notice any cracks, leaks, or loose screws, it’s essential to address them promptly to avoid further issues and maintain the safety and functionality of your skylight. Additionally, if you experience excessive drafts or notice a significant increase in energy costs, this may be a sign that your skylight requires maintenance or repair.
Q: Can I Add Safety Glass to an Existing Skylight?
A: Yes, it is possible to add safety glass panels to an existing skylight. However, proper preparation and installation techniques are critical to ensure a secure and effective attachment to the frame. Consult a professional for assistance with adding safety glass panels to an existing skylight.
Q: How Often Should I Clean My Skylight?
A: It’s recommended to clean your skylight periodically, depending on its location and exposure to external elements. For skylights in areas with heavy pollution or debris, cleaning every 3-6 months is recommended. In less polluted areas, cleaning once or twice a year should suffice. However, if you notice excessive dirt or buildup on the glass panels, it’s best to clean them immediately to prevent potential damage.
Conclusion
Installing safety glass for skylights is an excellent way to enhance the durability, safety, and energy efficiency of your space while allowing natural light to brighten your home. By following proper installation techniques on How to install safety glass for skylights and using high-quality materials, you can ensure a secure and long-lasting skylight system.
Regular maintenance, timely repairs, and periodic cleaning will help preserve the performance and aesthetics of your skylight for years to come. Whether you choose to install it yourself or seek professional assistance, investing in safety glass for skylights is a decision that combines functionality, style, and peace of mind.
About
Safety Fic is a distinguished figure in the world of Diy design, with a decade of expertise creating innovative and sustainable Diy solutions. His professional focus lies in merging traditional craftsmanship with modern manufacturing techniques, fostering designs that are both practical and environmentally conscious. As the author of diy, Safety Fic delves into the art and science of Safety Fic-making, inspiring artisans and industry professionals alike.
Education RMIT University
(Melbourne, Australia) Associate Degree in Design (Safety Fic) Focus on sustainable design, industry-driven projects, and practical craftsmanship. Gained hands-on experience with traditional and digital manufacturing tools, such as CAD and CNC software.
Nottingham Trent University
(United Kingdom) Bachelor’s in diyfastly.com and Product Design (Honors) Specialized in product design with a focus on blending creativity with production techniques. Participated in industry projects, working with companies like John Lewis and Vitsoe to gain real-world insights.
Publications and Impact
In diy, Safety Fic his insights on indoor design processes, materials, and strategies for efficient production. His writing bridges the gap between artisan knowledge and modern industry needs, making it a must-read for both budding designers and seasoned professionals.