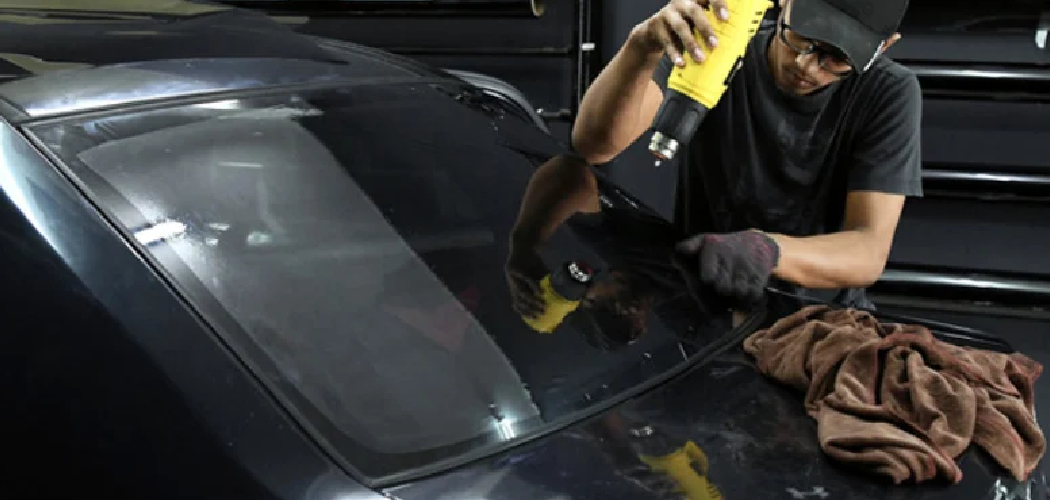
Installing safety glass in a car is an essential process that ensures both the structural integrity of the vehicle and the safety of its occupants. Safety glass is designed to minimize injuries in the event of an accident by preventing sharp shards from detaching upon impact. Whether you’re replacing a windshield, side windows, or rear glass, proper installation is critical to maintain visibility,
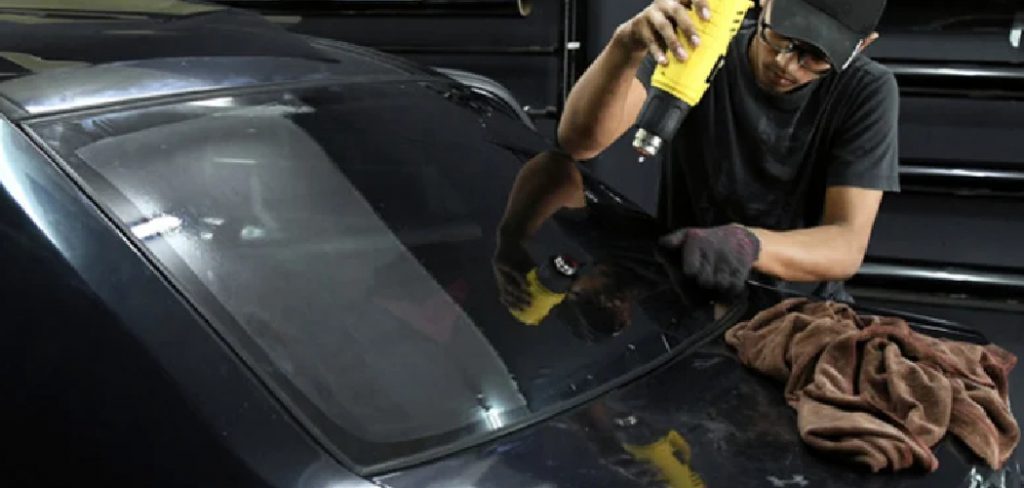
protect against external elements, and meet required safety standards. This guide will walk you through how to install safety glass in a car effectively and securely.
Common Situations Requiring Safety Glass Replacement
There are several scenarios where replacing the safety glass in a car becomes necessary. One of the most common situations is after a collision or accident that causes cracks, chips, or shattering in the glass. Even minor damage, such as a small crack, can compromise the structural integrity of the safety glass, making replacement essential.
Another frequent cause is damage from road debris, such as rocks or other objects striking the windshield while driving. Additionally, exposure to extreme temperatures over time can result in stress cracks, especially in older vehicles. Acts of vandalism, such as broken windows, also often require replacement. Finally, normal wear and tear, particularly in vehicles that have been on the road for many years,
may weaken the glass and necessitate a replacement to ensure continued safety and functionality.
Types of Safety Glass Used in Cars
Safety glass used in cars typically falls into two main categories: laminated glass and tempered glass.
Laminated Glass:
Laminated glass is most commonly used for windshields. It consists of two layers of glass with a thin layer of polyvinyl butyral (PVB) or another plastic material sandwiched between them. This construction ensures that the glass holds together even when shattered, reducing the risk of sharp glass fragments causing injuries. Laminated glass also provides additional benefits, such as noise reduction and improved UV protection.
Tempered Glass:
Tempered glass is commonly used for side and rear windows. Unlike laminated glass, tempered glass undergoes a process of rapid heating and cooling to strengthen it. When it breaks, tempered glass shatters into small, blunt pieces, which reduces the chance of severe injuries. However, it does not provide the same level of impact resistance as laminated glass and must be replaced if broken.

Both types of safety glass are designed with occupant protection in mind, meeting rigorous safety standards to ensure durability, visibility, and impact resistance. Understanding their differences will help you select the right type of glass for specific applications during replacement or installation.
10 Methods How to Install Safety Glass in a Car
1. Prepare the Work Area
Creating a clean and organized work environment is the first step in installing safety glass. Park the vehicle in a well-lit, dust-free area where you have ample space to move around. Use protective covers to shield the car’s interior and exterior from potential damage. This preparation minimizes the risk of contaminants interfering with the adhesive’s effectiveness and ensures a safe workspace.
2. Remove the Damaged Glass
Carefully remove the existing damaged glass using a specialized glass removal tool or utility knife. Start by removing any trim or molding around the glass to expose the edges. Use gloves and safety goggles to protect yourself from sharp shards. Gently lift out the broken glass pieces and dispose of them responsibly. Ensure the surrounding area is free from debris before proceeding.
3. Clean the Frame and Surrounding Area
Thoroughly clean the window frame and the surrounding area to remove dirt, grease, and old adhesive. Use a glass-safe cleaner and a lint-free cloth for this purpose. Cleaning ensures a smooth surface for the new adhesive to bond with, which is critical for a secure installation. Pay special attention to corners and crevices, as leftover residue can compromise the seal.
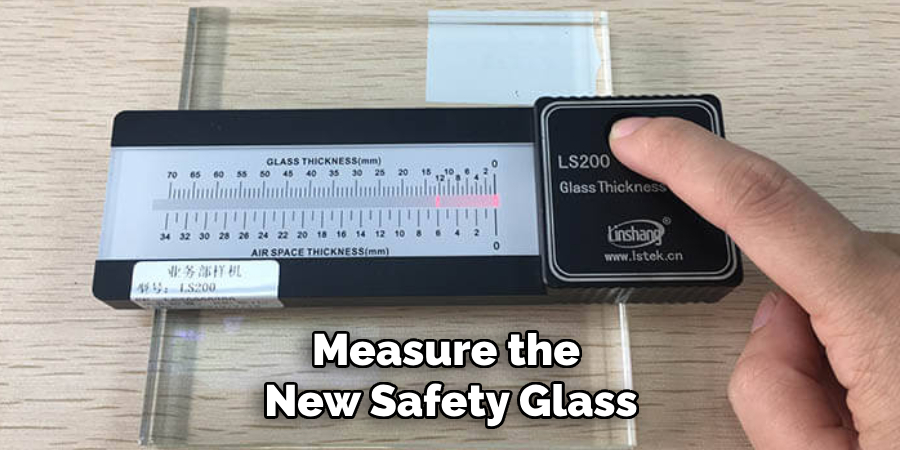
4. Measure and Test Fit the New Glass
Before installing, measure the new safety glass to ensure it matches the dimensions of the opening. Test fit the glass by placing it into the frame without adhesive to confirm it aligns correctly. Adjustments may be necessary to achieve a snug fit. This step prevents installation errors and ensures the glass will sit flush with the frame.
5. Apply Primer to the Frame
Use a high-quality automotive primer to coat the window frame. The primer enhances the adhesive’s bonding strength and provides a protective layer against corrosion. Allow the primer to dry completely according to the manufacturer’s instructions before proceeding. Skipping this step can lead to poor adhesion and potential leaks.
6. Apply Automotive Adhesive
Select a high-strength urethane adhesive specifically designed for safety glass installation. Using a caulking gun, apply the adhesive evenly along the perimeter of the frame. Maintain a consistent bead size to ensure a uniform seal. Avoid over-applying adhesive, as excess material can create uneven pressure and affect the glass’s fit.
7. Install the New Glass
Carefully place the new safety glass into the frame, ensuring it aligns perfectly with the adhesive bead. Press the glass gently but firmly to seat it into the adhesive. Use suction cups or a glass holder to maintain a steady grip during placement. Double-check the alignment to ensure the glass sits evenly and flush with the frame.
8. Secure the Glass Temporarily
While the adhesive cures, use tape or clamps to hold the glass in place. Position the tape or clamps at intervals to evenly distribute pressure across the surface. This step prevents the glass from shifting and ensures a tight seal. Avoid applying excessive force, as this can cause the glass to crack or become misaligned.
9. Reinstall Trim and Molding
Once the adhesive has set partially, reinstall the trim and molding around the glass. Use clips or fasteners to secure the trim in place. Ensure the trim sits flush against the glass and frame, as gaps can compromise the seal and affect the vehicle’s aesthetics. Take care not to disturb the adhesive during this process.
10. Allow Proper Curing Time
Adhesive curing is a critical step in ensuring the durability of the installation. Follow the manufacturer’s recommended curing time, which typically ranges from 24 to 48 hours. During this period, avoid driving the vehicle or exposing it to heavy vibrations. Proper curing ensures the adhesive forms a strong bond, providing a secure and watertight seal.

Things to Consider When Installing Safety Glass
When installing safety glass in a car, it is essential to keep several factors in mind to ensure a successful and long-lasting installation.
1. Quality of Materials:
Always use high-quality safety glass and adhesives that meet industry standards. Inferior materials can compromise the integrity of the installation, leading to safety hazards and potential leaks.
2. Environmental Conditions:
Perform the installation in an appropriate environment. Factors such as temperature, humidity, and wind can affect the curing process and the adhesive’s effectiveness. Avoid working in extreme weather conditions.
3. Compatibility with the Vehicle:
Ensure that the safety glass you are installing is specifically designed for the make and model of the car. Using the wrong glass can lead to poorfit and reduced safety performance.
4. Safety Precautions:
Always wear the appropriate protective equipment, such as gloves, safety goggles, and long sleeves, to prevent injuries from sharp edges or broken glass during removal and installation.
5. Manufacturer Instructions:
Follow the manufacturer’s guidelines for adhesives, primers, and the curing process. Deviating from these instructions can result in a weak bond or improper seal.
When to Contact a Professional
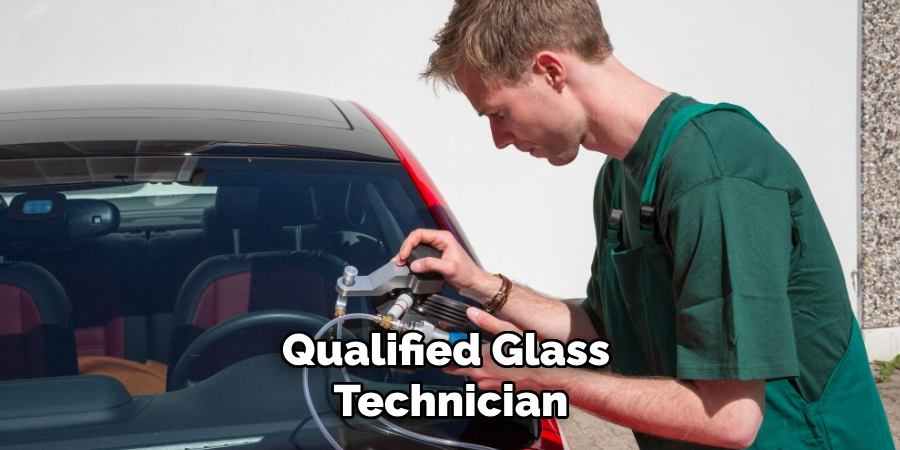
Although installing safety glass can be a manageable task for those with experience and the right tools, certain situations may require the expertise of a professional. Contact a professional if:
- Severe Damage to the Frame or Vehicle: If the window frame or surrounding structure has been significantly damaged or deformed, professional assessment and repair are necessary to ensure proper glass alignment and secure installation.
- Lack of Proper Tools or Materials: Using generic or incorrect tools and materials can compromise the quality of the installation. Professionals have access to industry-standard adhesives, primers, and equipment.
- Complex Vehicle Designs: Modern vehicles often have advanced features, such as sensors, cameras, or heating elements integrated with the safety glass. Correctly reinstalling and calibrating these systems requires specialized knowledge and tools.
- Uncertainty About the Process: If you are unfamiliar with any step of the installation or unsure about the proper techniques, it is safer to rely on a professional to avoid mistakes that could lead to safety hazards.
- Legal and Insurance Compliance: Certain jurisdictions or insurance policies may require professional glass installation to meet safety standards or maintain coverage.
By contacting a qualified glass technician, you can ensure a precise, reliable, and professional installation that adheres to safety regulations and guarantees durability.
Conclusion
Installing safety glass in a vehicle is a critical process that requires attention to detail, proper tools, and adherence to manufacturer guidelines. While it is possible to perform this task independently with the right knowledge and preparation, it is essential to recognize when professional assistance is necessary to ensure safety, compliance, and quality.
Thanks for reading, and we hope this has given you some inspiration on how to install safety glass in a car!

