

Schlage keypad locks have surged in popularity as a modern solution for homeowners seeking a seamless blend of security and convenience. Forget fumbling for keys or worrying about misplaced spares—these electronic wonders offer quick access with just a code. Whether you’re looking to upgrade for convenience, enhance your home’s security, or achieve a sleeker look for your entrance, learning how to install Schlage keypad lock is a straightforward process, even for first-time DIYers.
With the right preparation and an understanding of the installation steps, you can enjoy the benefits of keyless entry in under an hour. This comprehensive guide will walk you through each phase, from familiarizing yourself with the lock system to configuring your first access code. By the end, you’ll be ready to install and maintain your Schlage keypad lock like a pro.
Familiarizing Yourself with the Lock System
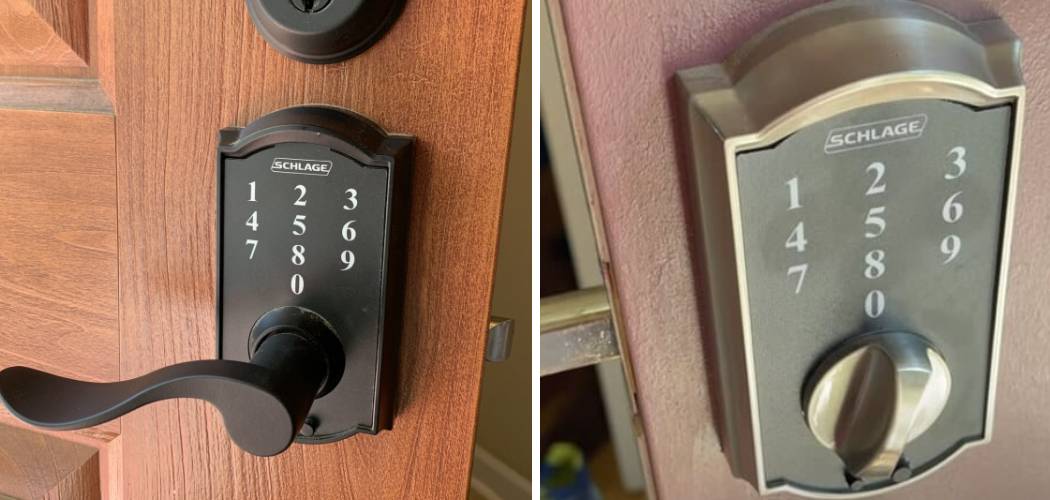
Understanding Schlage Keypad Locks
Before diving into installation, it’s beneficial to understand what sets Schlage keypad locks apart. These locks operate by allowing users to unlock doors with personalized numeric codes, eliminating the headache of physical keys. Most models come with pre-set codes, as well as the option to program user-specific access codes for family members, guests, or service personnel.
Advanced features include auto-lock functions and tamper alarms, increasing overall home security. One of the best aspects of Schlage’s design is the intuitive programming menu, making it simple to add or delete codes as needed. With these features, you’re not just upgrading your convenience—you’re also enhancing your peace of mind by controlling exactly who can access your home.
Different Models and Variations
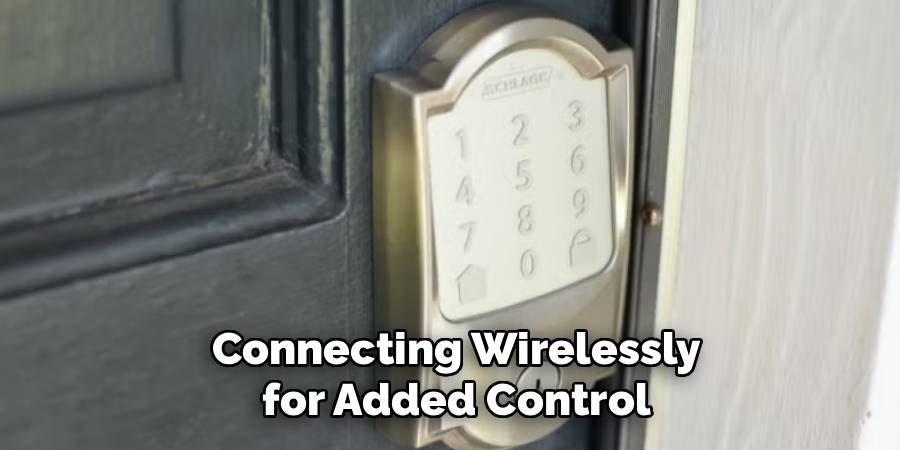
Schlage offers a range of keypad locks, so knowing which model you own helps ensure a smoother installation. Some locks are battery-powered and integrate both the keypad and a physical deadbolt in a single unit. Others may work as part of a smart home system, connecting wirelessly for added control through your phone or home automation platform.
While the basic installation process is similar for most models—requiring little to no wiring—specifics like the number of screws, battery compartment placements, or the way the deadbolt attaches can differ. Always review your model’s user manual before you get started for notes on unique steps or additional features.
Preparing for Installation
Tools and Items You’ll Need
As with any home improvement project, starting off organized will make the job easier. Gather all essential tools before beginning installation. Typically, you will need:
- A Phillips-head screwdriver (manual or powered)
- A flathead screwdriver
- A drill with appropriate drill bits (for new holes, if necessary)
- Measuring tape
- Chisel (only if the door or frame needs adjustments)
- Pencil or marker for marking the template
In addition to tools, you’ll need your Schlage lock set, batteries (usually AA or 9V, depending on your model), and the installation template provided in the box. Don’t forget the mounting hardware, strike plate, and any specialty screws or adapters included with your lock. Having everything at hand means you can focus solely on each installation step as it comes.
Checking Compatibility
Not all doors are built the same, so it’s crucial to confirm your Schlage keypad lock will fit. Begin by measuring the diameter of your pre-drilled door hole—most Schlage locks require a standard 2-1/8″ (54mm) bore hole. Next, measure the door’s thickness; compatible doors typically range from 1-3/8″ to 1-3/4″ thick.
Make sure the backset (the distance from the edge of the door to the center of the hole) matches your lock hardware, usually either 2-3/8″ or 2-3/4″. Check the alignment of the existing latch and deadbolt holes with the template. If your door doesn’t meet these requirements, some light modification—with a chisel or different strike plate—might be necessary. Taking time to ensure compatibility prevents mid-project headaches and ensures a secure fit.
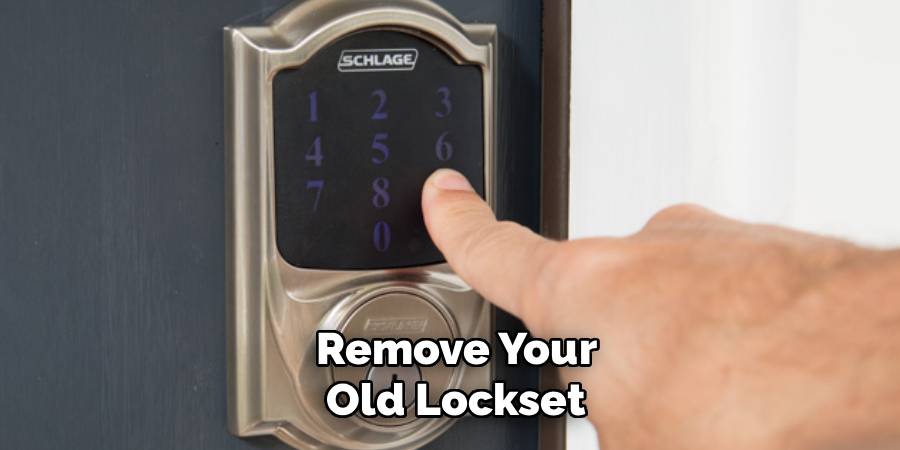
Removal of Old Hardware
With your tools and parts ready, it’s time to remove your old lockset. Begin by unscrewing the inside knob or lever, then remove the exterior hardware and latch mechanism. Take care to keep any screws if you plan to reuse them, but Schlage typically provides its own. Once the old hardware is removed, check that the holes and edges are free of debris or leftover pieces. A clean surface makes it much easier to fit and align your new lock.
How to Install Schlage Keypad Lock: Step-by-Step Installation Guide
Mark and Prepare the Door
Start by positioning the installation template on the door, lining it up with the existing bore hole. Mark any additional holes required for your Schlage model, such as those for support screws or battery compartments. If you’re replacing a standard lock, the main holes are usually already present, but new models may require you to drill extra holes for enhanced security.
Use painter’s tape to hold the template steady as you mark spots with a pencil. Once everything is marked, use your drill (with wood-safe bits) to create additional holes as needed. Smooth edges with sandpaper or a chisel to eliminate any wood splinters that might interfere with a flush fit.
Install the Deadbolt Mechanism
Next, take the deadbolt assembly and insert it into the side edge of the door, aligning the bolt so that the “UP” marking faces up. Slide it in, checking that it fits snugly without gaps. Use a screwdriver to secure it with the provided screws, but don’t overtighten these yet. Before proceeding, manually extend and retract the deadbolt with your thumb to ensure it moves smoothly. If there’s any resistance or it binds, check that the latch hole is deep enough or that the mechanism isn’t caught on wood chips.
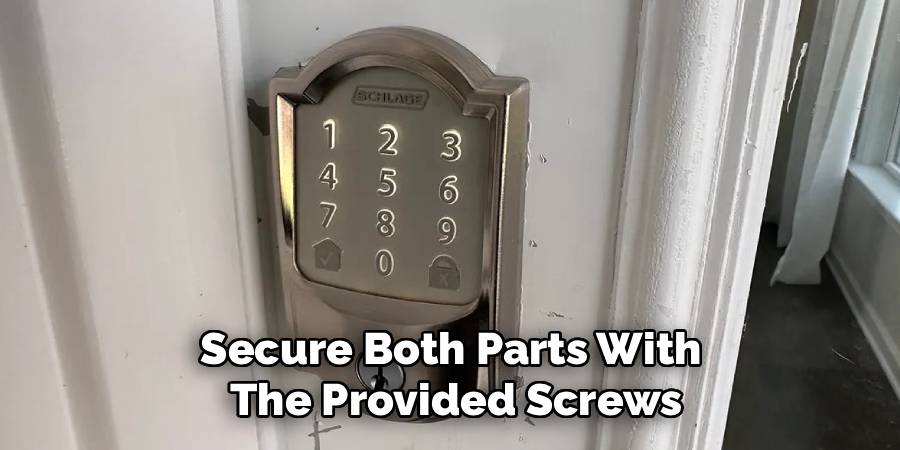
Attach the Keypad and Mounting Plate
Move on to the exterior keypad. Feed any wires (for electronic models) through the center hole, then position the keypad on the exterior of the door so the screw holes align with your template. On the inside, place the mounting plate, connecting wires as instructed by your user manual. Secure both parts with the provided screws, starting them by hand to ensure they catch the threading. Gradually tighten all screws, alternating between them for even pressure. This helps prevent overtightening, which can misalign the keypad or make the mechanism stiff.
Insert and Secure the Battery Pack
Most Schlage keypad locks have a battery compartment inside the interior section. Install the specified batteries, taking care to observe correct polarity. Before mounting the interior cover completely, test the lock by pressing a few buttons on the keypad. If the keypad lights up or emits a sound (depending on your model), your battery connection is sound. If not, double-check the connection or swap in fresh batteries. This is a key step, as it’s much easier to troubleshoot issues before the lock is fully assembled.
Install the Strike Plate
Finish up the physical installation by attaching the strike plate to the door frame. Position it so it matches precisely with the deadbolt throw. Use screws to fix it in place, and close the door to test alignment. If the deadbolt doesn’t slide in cleanly, loosen the strike plate and shift it as needed, then retighten. If you notice splintered wood or loose screws, reinforce the area for better long-term stability.
Configuring and Testing the Schlage Lock
Set Up the Initial Code
With the lock installed and powered, it’s time to program your first code. Locate the six-digit programming code found on your lock’s instruction manual or the back of the keypad unit. Enter this code, then follow the prompts to set a new user code—usually four to eight digits in length. Test the new code several times by locking and unlocking the door. For added security, consider setting up unique codes for each regular user, and refer to the manual for directions on deleting or changing codes as your needs evolve.

Test the Lock Mechanism
Don’t leave testing to chance—thoroughly check every function before calling the job complete. Stand outside the door and use your code to unlock the door, ensuring the keypad responds promptly. Try multiple codes and lock/relock several times to see that the mechanism engages smoothly. If you experience any issues, such as an unresponsive keypad or a sticky deadbolt, consult the troubleshooting section of your manual. Common problems include low batteries, misaligned parts, or incomplete wiring connections—each easily remedied with a closer look.
Maintenance and Care Tips
Once your Schlage keypad lock is installed, a little maintenance goes a long way. Replace the batteries at least once a year (or more frequently if the lock beeps or blinks to signal a low battery). Avoid using harsh cleaning products or soaking the keypad, as moisture can damage internal circuitry. Instead, wipe the keypad with a dry or slightly damp cloth to remove dirt and grime. In areas exposed to extreme weather, consider installing a protective cover or choosing a model certified for outdoor use. By keeping the lock clean and powered, you’ll maximize its lifespan and reliability.
Advantages of Installing a Schlage Keypad Lock
Installing a Schlage keypad lock delivers a host of benefits beyond standard security. Keyless entry means no more lockouts or the hassle of copying keys. Schlage locks are built with durable materials, modern designs, and advanced tamper-proof features, offering both style and peace of mind. With customizable access codes, you control exactly who can enter your home, which is perfect for families, guests, or even service providers. DIY installation can save significant costs over hiring a professional—and the feeling of completing this upgrade yourself is genuinely rewarding. With increased security, convenience, and modern aesthetics, this project is a smart investment in your home’s safety.
Frequently Asked Questions
How Long Will It Take to Install?
For most users, installing a Schlage keypad lock will take between 30 and 60 minutes from start to finish. If your door requires new holes or adjustments, it may take a bit longer. Preparation is key; having all tools ready and reading through all instructions before starting can streamline the process significantly.
Can I Install It Without Professional Help?
Absolutely. This guide provides all the knowledge needed to install a Schlage keypad lock independently, regardless of your DIY experience level. Manufacturers design these locks for straightforward installation with minimal tools. Just be sure to follow each step carefully and reference your model’s instruction manual for any specific tips. If unexpected issues arise, customer support and online resources are readily available to help you troubleshoot.
Conclusion
Installing a Schlage keypad lock is an approachable, rewarding project that enhances both your home’s security and your daily convenience. By following the comprehensive steps in this guide on how to install a Schlage keypad lock, you’ll breeze through setup—from preparation to programming codes and regular maintenance. Take pride in your workmanship and enjoy the confidence that comes with modern, keyless entry. Now that you know how to install Schlage keypad lock, it’s time to upgrade your home security with confidence!