

Are you looking for a new security measure to protect your home or business? Do you want a cost-effective and eco-friendly solution that can stay on guard around the clock? Look no further than solar CCTV cameras! These innovative surveillance systems use solar energy to power their operations, meaning they’re able to run continuously without relying on electricity from the grid. Not only does this make them more reliable in power outages, but it also reduces running costs and helps you cut down on harmful emissions.
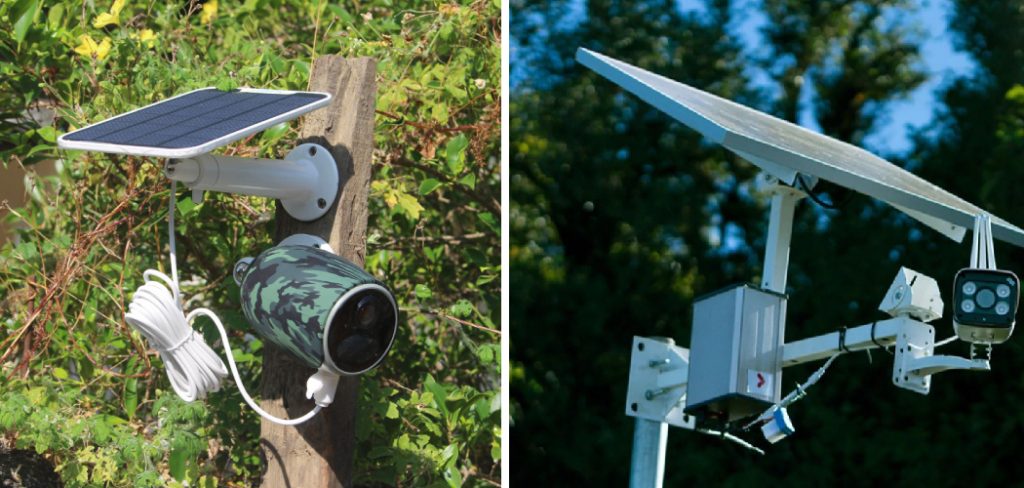
Installing a high-quality solar CCTV camera might sound daunting at first, but with our guide on how to install solar cctv camera we’ll show you how easy it is! Keep reading and learn all about how these amazing devices work—and how to get one of your own up and running quickly.
Benefits of Solar CCTV Cameras
Before we dive into the installation process, it’s important to understand why a solar-powered CCTV camera might be the perfect choice for your security needs. Here are just some of the benefits you can expect from this type of surveillance system:
Cost-effective:
With no need for electricity from the grid, solar CCTV cameras can save you money on energy bills. They also have lower maintenance costs compared to traditional wired cameras.
Eco-friendly:
Solar energy is a renewable resource that doesn’t release harmful emissions into the environment. By using solar-powered devices, you can reduce your carbon footprint and contribute to a cleaner planet.
Continuous surveillance:
Unlike traditional cameras that may stop working during power outages, solar CCTV cameras can continue recording and monitoring thanks to their self-sufficient power supply.
Easy to install:
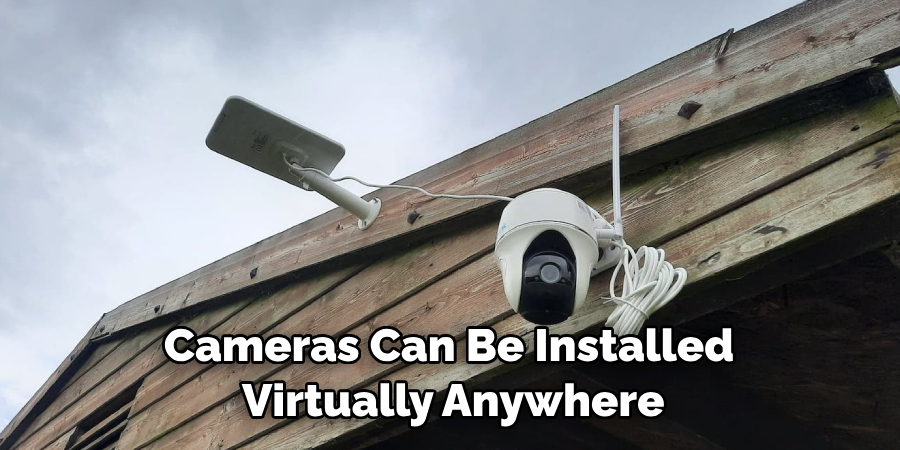
Solar CCTV cameras can be installed virtually anywhere without the need for complex wiring or electrical work. This makes them a great option for remote locations or areas with limited access to electricity.
Needed Materials
To begin the installation process, you’ll need to gather a few key materials first. These may include:
- Solar CCTV Camera Kit
- Drill and Appropriate Drill Bits
- Screws and Anchors for Mounting
- Ladder (if Installed at a High Location)
- Waterproof Connectors or Cable Ties (for Outdoor Installations)
10 Step-by-step Instructions on How to Install Solar CCTV Camera
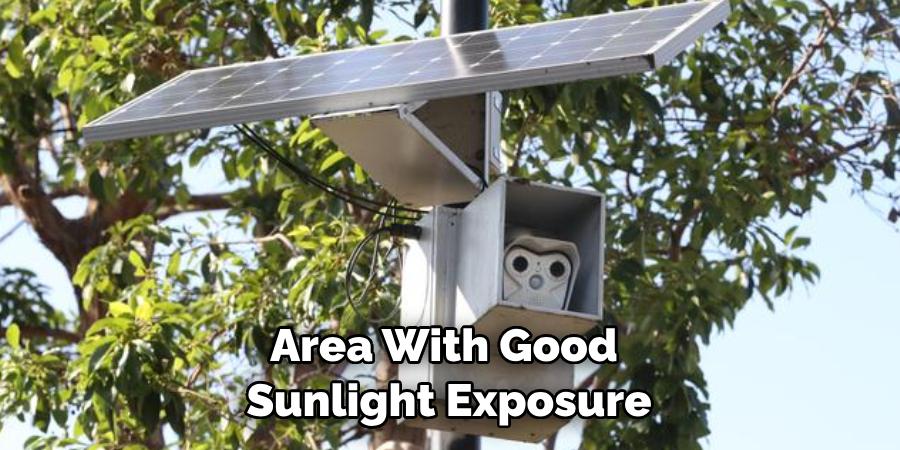
Step 1: Choose the Location
The first step is to determine where you want to install your solar CCTV camera. Consider areas that have good sunlight exposure throughout the day and offer a clear view of the area you want to monitor. It’s also important to make sure the camera can be securely mounted in that location. You may need to use a ladder or other equipment to access high areas.
Step 2: Unboxing
Once you have your location selected, unbox your solar CCTV camera and make sure all the components are included. This may include the camera itself, solar panel, mounting bracket, cables, and any necessary tools. You may also want to read through the installation instructions provided by the manufacturer. But hey, you’re already here! No need to do that!
Step 3: Mount the Solar Panel
If your solar CCTV camera comes with a separate solar panel, you’ll want to mount it in a location that receives direct sunlight. Use the appropriate screws and anchors to secure it in place.
It’s important to make sure it is stable and won’t be easily knocked down or damaged. If you are installing multiple cameras, make sure the solar panel is large enough to power all of them. You can also mount the solar panel on a pole or use a ground mount if needed.
Step 4: Connect the Solar Panel
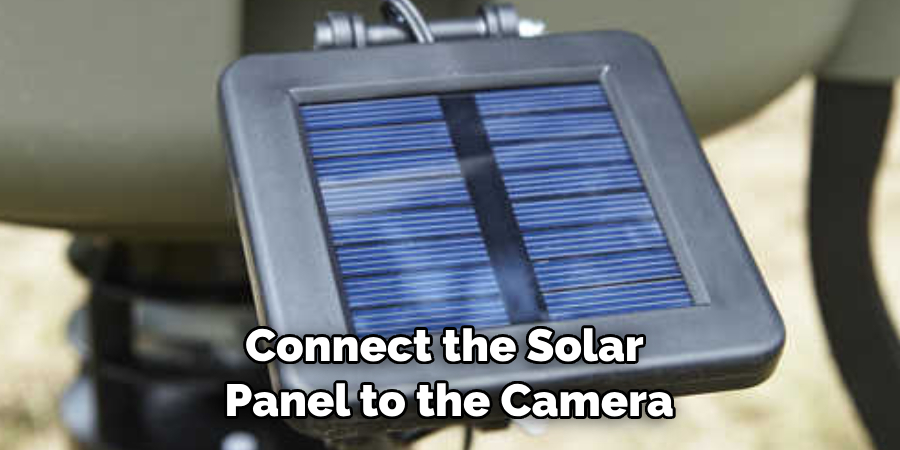
Next, you’ll want to connect the solar panel to the camera. This may involve using waterproof connectors or cable ties depending on your specific model. Make sure all connections are secure and weatherproof for outdoor installations. Otherwise, the camera may not receive enough power to operate. But don’t worry, most solar CCTV cameras come with weather-resistant connectors!
Step 5: Position the Camera
With the solar panel connected, it’s time to position the camera itself. Use a drill and appropriate drill bit to create holes for mounting screws if needed. Then, attach the camera to its mounting bracket and secure it in place using screws or other provided hardware. You may also be able to use cable ties if a drill is not necessary. But be sure to keep the camera steady and secure.
Step 6: Adjust the Angle
Once the camera is mounted, you can adjust its angle to get the best view of the area you want to monitor. Most cameras have a swivel or tilt feature that allows for easy adjustment. Make sure it’s pointing in the right direction before proceeding.
It may be helpful to have someone else in the area to check if the camera’s view is clear and unobstructed. It’s also important to make sure the camera is not too high or too low, as this can affect its effectiveness.
Step 7: Test the Camera
Before leaving the installation site, it’s a good idea to test your solar CCTV camera. Make sure all connections are secure and turn on the camera. You should be able to see a live feed from the camera if it is working properly. If not, double-check all connections and make sure the camera is receiving enough power from the solar panel. You may also need to adjust the angle to get a better view.
Step 8: Set up Recording and Monitoring
Most solar CCTV cameras come with their own monitoring software or can be connected to an existing surveillance system. You’ll want to set up recording and monitoring according to your specific needs.

This may involve connecting the camera to a network or using a memory card for storage. Make sure you follow the instructions provided by the manufacturer. This will ensure your camera is ready to go and will start recording when needed.
Step 9: Maintain Regular Cleaning
To ensure your solar CCTV camera continues working effectively, it’s important to clean it regularly. This may involve removing any debris or dust from the lens and solar panel. You may also need to wipe down any weatherproof connectors to prevent buildup or corrosion. Regular maintenance can help prolong the lifespan of your camera.
Step 10: Enjoy Your Solar-Powered Security!
Congratulations, you have successfully installed your solar CCTV camera! You can now enjoy continuous surveillance without the worry of power outages or high energy bills. Remember to regularly check and maintain your camera to ensure it continues working efficiently.
With this eco-friendly and cost-effective option, you’re not only protecting your property but also contributing to a cleaner planet. So let’s all do our part in keeping our environment clean and sustainable by utilizing solar-powered technology for our security needs! Happy monitoring!
Following these step-by-step instructions on how to install solar cctv camera, you can easily set up your own solar CCTV camera and enjoy the benefits of eco-friendly and cost-effective security surveillance.
Remember to always prioritize safety and follow manufacturer instructions for a successful installation. With advancements in technology, we now have access to efficient and sustainable options that provide us with peace of mind without harming our planet’s resources.
Frequently Asked Questions
Q1: Can I Install a Solar CCTV Camera in Any Location?
A: It is recommended to install the solar CCTV camera in an area with good sunlight exposure and a clear view of the area you want to monitor. Make sure the camera can be securely mounted in that location. This may require the use of a ladder or other equipment for high areas.
Q2: Is It Easy to Install a Solar CCTV Camera?
A: With proper planning and following manufacturer instructions, installing a solar CCTV camera can be relatively easy. It may require some basic tools and equipment, but most solar CCTV cameras come with everything needed for installation.
Q3: Can I Monitor My Solar CCTV Camera Remotely?
A: Yes, most solar CCTV cameras come with their own monitoring software or can be connected to an existing surveillance system that allows for remote viewing. This feature allows you to monitor your property from anywhere using a smartphone or computer.
Q4: How Often Do I Need to Clean and Maintain My Solar CCTV camera?
A: It is recommended to clean and maintain your solar CCTV camera at least once a month. This includes removing any debris or dust from the lens and solar panel, as well as checking and cleaning weatherproof connectors. Regular maintenance can help prolong the lifespan of your camera. Alternatively, you can also schedule professional maintenance services if needed.
Conclusion
With the right equipment, a few tools, and some caution, installing a solar CCTV camera can be an easy project. The peace of mind that comes with being able to monitor one’s property remotely is priceless. However, if you want something professionally installed in order to minimize the potential for malfunctions or short circuits, it’s advisable to employ qualified professionals.
All things considered, proper installation of a solar CCTV camera is essential to its effectiveness in protecting your business and home. If you are ready to enjoy the full benefits of this technology and secure any premises you want without relying on an electricity grid system, get out there and invest in quality solar CCTV cameras today! Thanks for reading this article on how to install solar cctv camera.
About
Safety Fic is a distinguished figure in the world of Diy design, with a decade of expertise creating innovative and sustainable Diy solutions. His professional focus lies in merging traditional craftsmanship with modern manufacturing techniques, fostering designs that are both practical and environmentally conscious. As the author of diy, Safety Fic delves into the art and science of Safety Fic-making, inspiring artisans and industry professionals alike.
Education RMIT University
(Melbourne, Australia) Associate Degree in Design (Safety Fic) Focus on sustainable design, industry-driven projects, and practical craftsmanship. Gained hands-on experience with traditional and digital manufacturing tools, such as CAD and CNC software.
Nottingham Trent University
(United Kingdom) Bachelor’s in diyfastly.com and Product Design (Honors) Specialized in product design with a focus on blending creativity with production techniques. Participated in industry projects, working with companies like John Lewis and Vitsoe to gain real-world insights.
Publications and Impact
In diy, Safety Fic his insights on indoor design processes, materials, and strategies for efficient production. His writing bridges the gap between artisan knowledge and modern industry needs, making it a must-read for both budding designers and seasoned professionals.