
Are you looking to upgrade your home security with a Tuya WiFi Smart Camera? If so, it can seem daunting when first starting. But no need to worry – we’re here to make the process easier! Installing your new smart camera is easier than ever before, and this article will walk you through the simple steps of getting it up and running in no time.
Plus, these amazing cameras offer functionality and convenience that other traditional security systems lack: motion detection, two-way audio communication, cloud storage backups, night vision capabilities – the list goes on!
In this blog post on how to install tuya wifi smart camera, we will guide you through the installation process for your new Tuya WiFi Smart Camera. So, let’s get started!
What Will You Need?
Before we get into the installation process, let’s ensure you have everything you need. Here are some items that will come in handy during the installation:
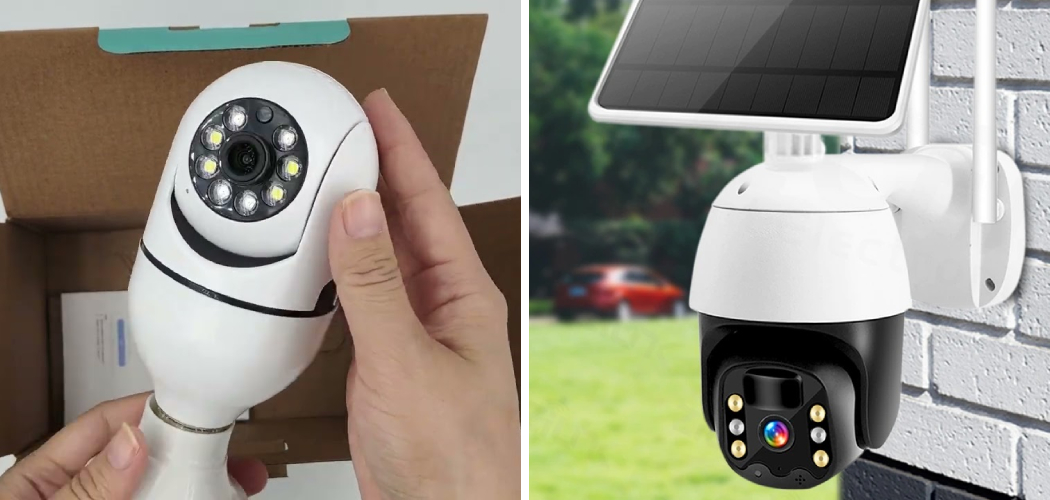
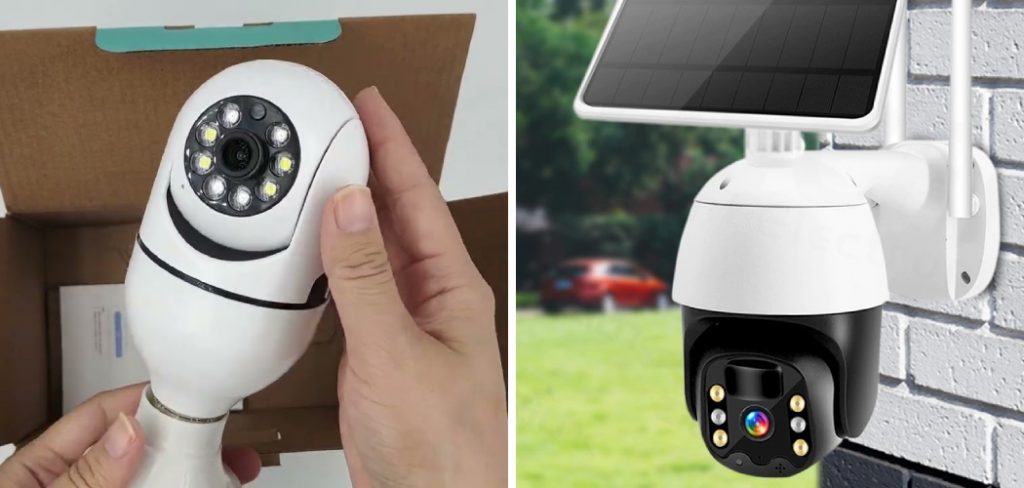
- Your Tuya WiFi Smart Camera
- A strong and stable internet connection (WiFi or Ethernet)
- A smartphone or tablet with the Tuya app installed
- An electrical outlet near where you plan on installing your camera
If you have all of these items, then you’re ready to start installing!
10 Easy Steps on How to Install Tuya Wifi Smart Camera
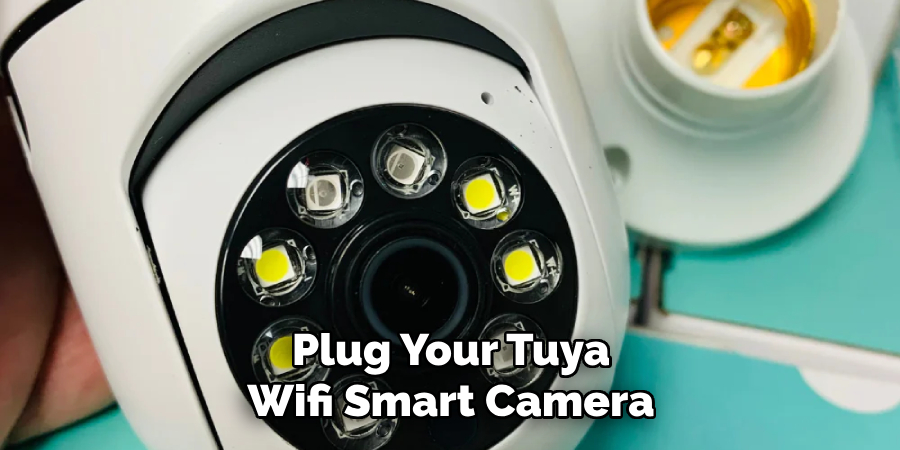
Step 1. Turn on the Camera:
Plug your Tuya WiFi Smart Camera into an electrical outlet close to your router. Wait for the indicator light to blink, signaling that it’s ready to connect. If the light doesn’t blink, use a toothpick or paperclip to press and hold the reset button on the camera for 10 seconds. This will reset it and allow you to start the setup process from scratch.
Step 2. Install the App:
Install the Tuya app from either the App Store or Google Play Store onto your smartphone or tablet. Once installed, open the app and create an account if you don’t already have one. If you do have an account, log in using your credentials.
Step 3. Add the Camera to the App:
In the Tuya app, select the ‘+’ icon on the top right corner to add a new device. From the list of devices, choose ‘Security & Sensors,’ then select ‘Smart Camera.’ Ensure your camera is in pairing mode (the indicator light should be blinking), then tap on ‘Confirm indicator rapidly blink.’ The app will now start searching for the camera. Once found, it will be added to your app.
Step 4. Connect the Camera to WiFi:
On the app, you’ll be asked to input your WiFi details. Make sure to use the WiFi network that your smartphone or tablet is currently connected to. Enter your WiFi password, then click ‘Next’.
The app will generate a QR code; hold this QR code in front of the camera lens at a distance of about 5-8 inches until you hear a ‘beep’ sound. This indicates that the camera has read the QR code and is connecting to the WiFi network. Please be patient as this might take a few minutes.
Step 5. Position the Camera:
After successfully connecting to WiFi, your next step is to decide where to place your Tuya WiFi Smart Camera. It’s recommended to install it at a height where it can cover a wide area.
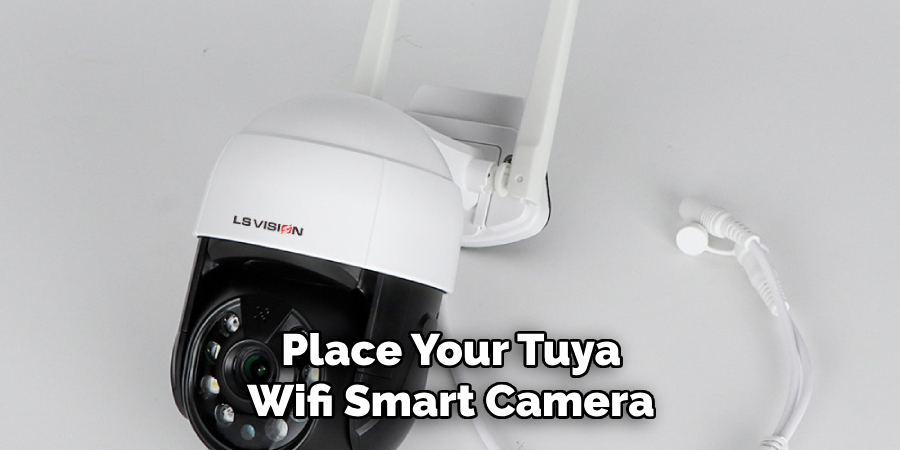
Make sure to avoid placing it where it would be directly exposed to sunlight, as this can affect the camera’s image quality. Use the provided mounting screws to fix the camera to the wall, ensuring it’s firmly secured. Remember to adjust the camera lens towards the area you want to monitor.
Step 6. Fine-Tune Settings:
Once the camera is positioned, go back to the Tuya app on your device. You can adjust the camera’s settings according to your needs. These options include motion detection sensitivity, alert settings, recording quality, etc. Take some time to explore these settings and customize them to your liking.
Step 7. Check the Live View:
Now that your camera is set up and personalized, it’s time to test it. On the Tuya app, select your camera to access the live view. Confirm that the camera’s view covers the desired area and the image quality meets your expectations. If necessary, adjust the camera position until you’re satisfied with the view.
Step 8. Setting up Cloud Storage:
For constant recording and backup, you may opt for the cloud storage service provided by Tuya. In the app, go to the “Cloud Storage Service” menu, choose a plan that suits your needs, and follow the instructions to set it up. This way, even if the camera is damaged or stolen, your recordings will be secure.
Step 9. Test the Two-Way Audio:
One of the unique features of the Tuya WiFi Smart Camera is its two-way audio communication. To test this, in the live view mode on the Tuya app, press the ‘Talk’ button. Speak into your device’s microphone to check if the sound is transmitted to the camera.
You should be able to hear your voice from the camera’s speaker. This feature can be handy when you need to communicate with someone at the camera’s location, be it a family member in another room or a delivery person at your front door.
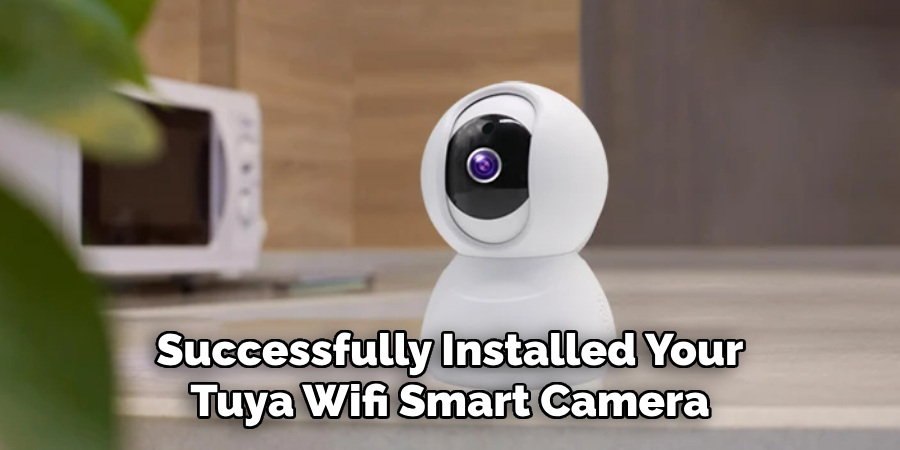
Step 10. Enjoy Your Enhanced Security:
Congratulations! You’ve successfully installed your Tuya WiFi Smart Camera. Now, you can enjoy the peace of mind that comes with enhanced security. Remember, you can access your camera’s live feed from the Tuya app at any time, from anywhere. Feel free to adjust settings or reposition your camera to ensure optimal performance. Happy surveillance!
Following these easy steps, you can install your Tuya WiFi Smart Camera in no time. Enjoy the added security and convenience that this smart device brings to your home or office space. Stay connected, stay secure!
5 Additional Tips and Tricks
- Check Internet Connection: Ensure your WiFi network is stable and has an adequate speed. Tuya WiFi Smart Camera requires a robust and reliable internet connection to perform at its best.
- Firmware Updates: Regularly check for firmware updates for your Tuya WiFi Smart Camera. Manufacturers frequently release updates to enhance the camera’s functionality and fix any known issues.
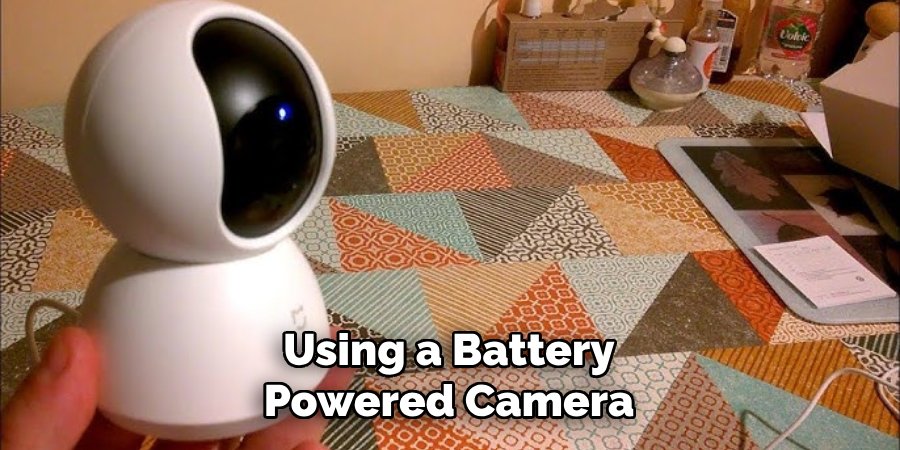
- Keep Power Source in Mind: When installing your Tuya WiFi Smart Camera, consider the power source. If you are using a battery-powered camera, place it near an outlet or regularly replace the batteries.
- Use Voice Commands: Did you know that some Tuya WiFi Smart Cameras support voice commands? Once connected to a smart home device such as Amazon Alexa or Google Home, you can control your camera with simple voice commands like “Turn on/off” or “Show me [camera name].”
- Password Protection: Always change the default password of your Tuya WiFi Smart Camera to prevent unauthorized access. Use a solid and unique password for enhanced security.
With these additional tips and tricks, you can make the most out of your Tuya WiFi Smart Camera. Remember to refer back to the user manual for detailed instructions or contact customer support for any further assistance.
5 Things You Should Avoid
- Avoid Poor Lighting: Poor lighting can affect the quality of your camera’s surveillance footage. Make sure to install your Tuya WiFi Smart Camera in a well-lit area, or consider getting additional lighting if necessary.
- Don’t Ignore Privacy Settings: It’s crucial to understand and correctly configure your camera’s privacy settings. Neglecting this could unintentionally expose private areas of your property.
- Avoid Extreme Weather Exposure: While many Tuya WiFi Smart Cameras are designed to be weather-resistant, they are not indestructible. Avoid placing your camera in areas prone to extreme weather conditions like heavy rain, snow, or high winds.
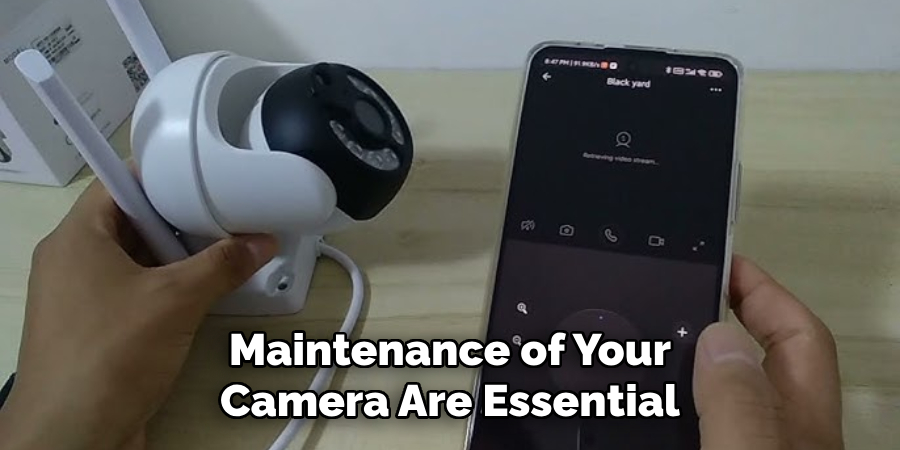
- Don’t Overlook Regular Maintenance: Regular cleaning and maintenance of your camera are essential for optimal performance. Dust and debris can accumulate over time, potentially obscuring the camera’s lens.
- Avoid WiFi Dead Zones: Installing your camera in a WiFi dead zone will lead to sporadic connection, affecting its functionality. Ensure your chosen location has a strong WiFi signal before installation.
Remember, proper installation and maintenance of your Tuya WiFi Smart Camera are key to maximizing its benefits and extending its lifespan.
Does Tuya Use Bluetooth?
No, Tuya WiFi Smart Cameras do not use Bluetooth for connectivity. They rely on a stable internet connection to communicate with the user’s smartphone or other smart home devices. Bluetooth is typically used for short-range communication between devices, while WiFi allows for longer distances and faster data transfer rates.
With Tuya WiFi Smart Cameras, you can remotely access and control your camera from anywhere worldwide as long as you have an internet connection. This feature is incredibly convenient if you want to check in on your home while away on vacation or monitor your business premises while at work.
So, follow the recommended installation guidelines and tips mentioned above to ensure a smooth setup process for your Tuya WiFi Smart Camera.
Conclusion
Ultimately, how to install Tuya WiFi Smart Camera is simple. When following the right steps, your home or workspace can be part of the growing future of smart technology advancements that provide convenience and peace of mind. If you ever need any help with the installation process, remember to consult our guide and use all the resources offered by Tuya.
For more information or tips about compatible devices with Tuya WiFi Smart Camera, feel free to reach out through their contact page. Start innovating your lifestyle today and maximize the potential for complete home automation!
Hopefully, this guide has helped you understand the basics of installing the Tuya WiFi Smart Camera and provided additional tips and tricks for optimal performance. Remember to stay updated with firmware updates and utilize voice commands for a seamless experience. Happy monitoring!