

Installing a vinyl fence on a slope can seem like a challenging task, but with the right tools and techniques, it can be accomplished effectively.

Whether you are working with a gentle incline or a steep slope, understanding how to adjust your fence panels and posts to fit the terrain is crucial.
This guide on how to install vinyl fence on slope will walk you through the process step-by-step, ensuring that your vinyl fence is both aesthetically pleasing and structurally sound.
By following these instructions, you can achieve a professional-looking installation that blends seamlessly with the contours of your landscape.
What is a Vinyl Fence?
Before we dive into the installation process, let’s first understand what a vinyl fence is. A vinyl fence is made of PVC (polyvinyl chloride) and has become a popular alternative to traditional wood or metal fences due to its durability and low maintenance requirements.
It comes in various styles, colors, and heights, making it a versatile choice for any property.
You can either purchase pre-made vinyl fence panels or opt for a custom-built one to fit your specific needs. Whichever option you choose, make sure the fence is designed to withstand slope conditions.
Tools and Materials Needed
To install a vinyl fence on a slope, you will need the following tools and materials:
Vinyl Fence Panels:
The main component of a vinyl fence, these panels come in different styles and sizes. Make sure to choose ones that are suitable for your slope conditions.
Vinyl Fence Posts:
These are the vertical supports that hold up the fence panels. They should be able to withstand the weight of the fence and any added pressure from the slope.
Concrete or Gravel:
For stability, you will need to set your fence posts in concrete or gravel. Concrete is recommended for steeper slopes, while gravel can work for gentler inclines.
Level:
This tool will help ensure that your fence is installed evenly and straight.
Tape Measure:
To determine the spacing of your fence panels and posts accurately, a tape measure will come in handy.

Hammer:
You will need a hammer to drive in any nails or stakes needed to secure the fence posts.
Saw:
If you need to make any cuts on the vinyl fence panels or posts, a saw will be necessary.
7 Step-by-Step Instructions On How to Install Vinyl Fence on Slope
Step 1: Planning and Preparation
Before beginning the installation process, it is essential to plan and prepare thoroughly. Start by measuring the total length of the area where you intend to install the fence, accounting for the slope.
This will help you determine how many vinyl fence panels and posts you will need. Mark the locations where each post will be placed using stakes and string to ensure they are evenly spaced and aligned along the slope.
Check for any obstacles such as rocks or roots, that may need to be removed or worked around.
Next, contact your local utility companies to ensure there are no underground utilities in the area where you’ll be digging. It’s also important to review local zoning laws and obtain any necessary permits for fence installation.
Lastly, gather all the tools and materials listed earlier to ensure you have everything you’ll need before you start the project. Proper planning and preparation will set the stage for a smooth and successful installation.
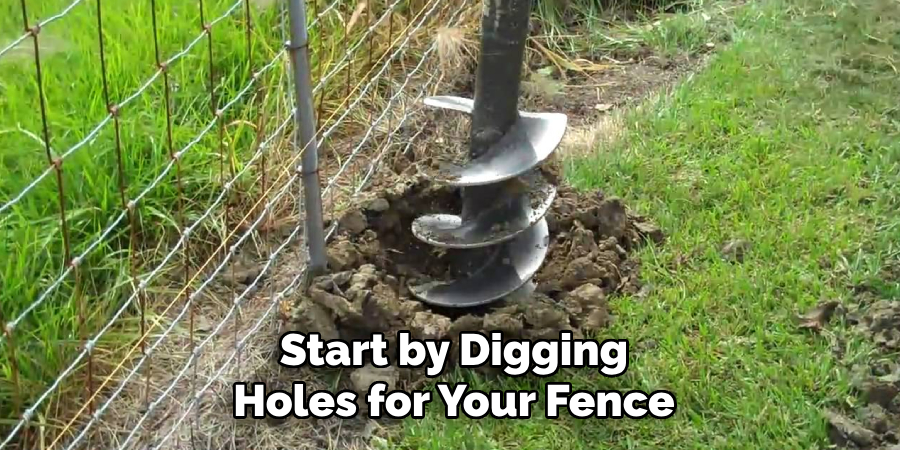
Step 2: Set the Posts
Start by digging holes for your fence posts using a post-hole digger or auger. The depth of the holes will depend on the slope, but they should be deep enough to reach below the frost line in your area.
For added stability, you can also dig deeper and fill the bottom of the hole with gravel before pouring concrete.
Next, insert the vinyl fence posts into each hole and use a level to make sure they are straight. Once you have all your posts in place, mix and pour concrete around each post until it is at ground level.
Use a trowel to smooth out the surface and allow the concrete to dry completely. This process may need to be repeated depending on the length of your fence.
Step 3: Install Bottom Rails
Once the posts are securely set and the concrete has completely dried, it’s time to install the bottom rails of your vinyl fence. Begin by measuring and marking the desired height for the bottom rail on each fence post. Use a level to ensure that all your markings are even.
Attach the bottom rail brackets to the posts at the marked height, following the manufacturer’s instructions. Once the brackets are in place, slide the bottom rail into the brackets.
Make sure the bottom rail is level and securely fastened. If your slope is uneven, you may need to adjust the angle of the bottom rail to follow the contour of the land.
Step 4: Cut and Install Fence Panels
With the bottom rails in place, the next step is to cut and install the vinyl fence panels. Measure the distance between each pair of fence posts to determine the exact length needed for each panel.
Remember that the measurements can vary due to the slope, so it’s crucial to measure each section individually.
Using a saw, carefully cut each vinyl fence panel to the appropriate length. Be sure to follow the manufacturer’s guidelines to avoid damaging the material. Once you have your panels cut, it’s time to install them.
Starting from one end, slide the panel into the bottom rail and then insert it into the top rail.
Step 5: Secure Panels to Posts
After installing the vinyl fence panels, the next step is to secure them to the fence posts. Begin by ensuring that each panel is properly aligned between the posts and fits snugly within both the top and bottom rails.
Use a level to double-check that the panels are even and aligned correctly along the slope.
Once the panels are in place, fasten them to the posts using the provided screws or brackets. It’s important to follow the manufacturer’s installation instructions for your specific fence model to ensure proper attachment.
Typically, you will need to attach the brackets to the posts first and then secure the panels to the brackets. Make sure to tighten the screws sufficiently to hold the panels firmly, but be cautious not to over-tighten, as this could damage the vinyl.
Step 6: Repeat Steps for Each Panel
After successfully installing and securing your first vinyl fence panel, you’ll need to repeat the process for the remaining sections. Begin by measuring the distance between the posts for the next panel to ensure an accurate cut.

Follow the same steps outlined in Step 4, carefully cutting each panel to the required length.
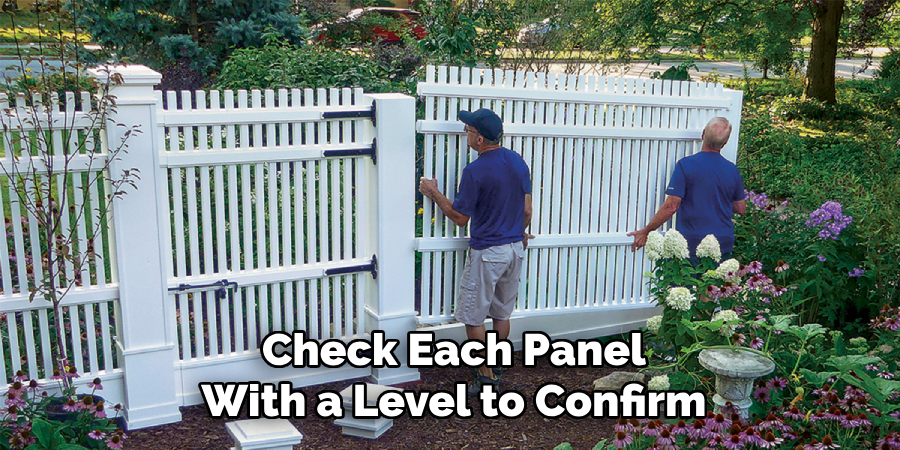
Once cut, position the panel within the bottom rail and insert it into the top rail, ensuring a snug fit. Check each panel with a level to confirm that it remains even and aligned along the slope.
Secure the panel to the posts using the provided screws or brackets, taking care to follow the manufacturer’s guidelines for optimal attachment.
Step 7: Add Finishing Touches
With all your vinyl fence panels securely in place, the next step is to add the finishing touches to complete your fence installation. Begin by attaching any postcaps that came with your fencing kit.
These caps not only provide a polished look but also help to protect the posts from weathering and debris. Simply snap or screw them into place, following the manufacturer’s instructions.
Finally, inspect your fence for any loose or uneven panels and make any necessary adjustments. Also, check the gate if included in your fencing kit, ensuring it opens and closes smoothly.
Once satisfied with the installation, clean up any debris and enjoy your newly installed vinyl fence! With proper care and maintenance, your vinyl fence will provide you with privacy and security for many years to come.
Additional Tips
- Consider using a post level as well as a regular level to ensure posts are perfectly straight both horizontally and vertically.
- To prevent damage during transportation, handle materials carefully when moving them around.
- If possible, enlist the help of a friend or family member to make installation easier and more efficient.
- Plan your post spacing carefully, as this can impact the overall stability and look of your fence.
- Take proper safety precautions when using tools and equipment, such as wearing protective gear and reading all instructions before use.
With these steps and tips on how to install vinyl fence on slope in mind, you can confidently install your own vinyl fence and enjoy the many benefits it offers.
Remember to always follow the manufacturer’s guidelines for optimal results, and don’t hesitate to seek professional assistance if needed. Happy fencing!
Frequently Asked Questions
Q1: Can I Install a Vinyl Fence on My Own?
A: Yes, it is possible to install a vinyl fence on your own with the right tools and materials. However, it can be a time-consuming and physically demanding process, so it is recommended to have some help if possible.
Q2: How Do I Know If My Vinyl Fence Is Level?
A: To ensure your vinyl fence is level, use a regular level or post level along both the horizontal and vertical planes of each post. This will help you make any necessary adjustments to achieve an even installation.
Q3: How Do I Clean and Maintain My Vinyl Fence?
A: Vinyl fences are known for their low maintenance needs. Regularly cleaning with soap and water should suffice to remove any dirt or grime. Avoid using harsh chemicals or abrasive cleaners, as they may damage the vinyl material.
It’s also important to regularly inspect for any damages and make repairs as needed. Overall, proper cleaning and maintenance will help prolong the life of your vinyl fence.
Q4: Can I Install a Vinyl Fence on Uneven Ground?
A: Yes, it is possible to install a vinyl fence on uneven ground by adjusting the angle of the bottom rail to follow the contour of the land. However, it may require additional time and effort to ensure an even installation.
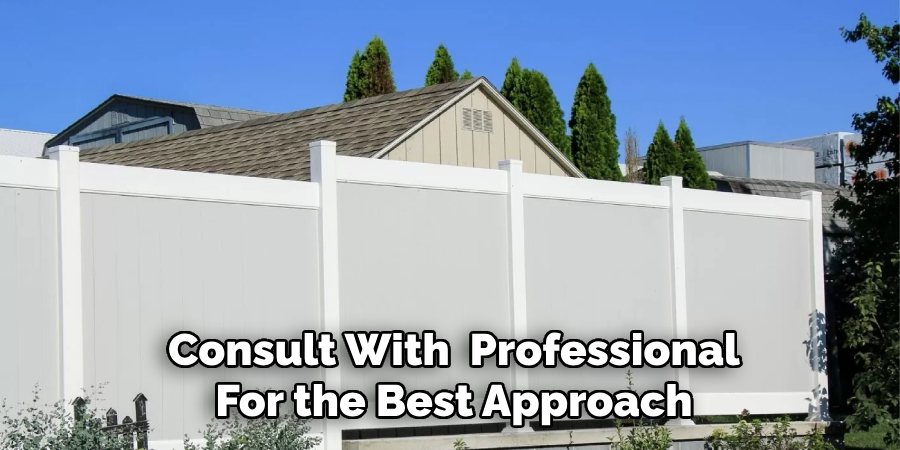
It’s also recommended to consult with a professional for the best approach. Overall, proper planning and measurement are key to successfully installing a vinyl fence on uneven ground.
Conclusion
Installing a vinyl fence on a slope can seem like a daunting task, but with the right tools and a clear step-by-step guide on how to install vinyl fence on slope, it becomes manageable and rewarding.
By carefully preparing the site, securely setting the posts, and precisely measuring and installing each panel, you can achieve a sturdy and aesthetically pleasing fence that enhances your property.
Remember to follow all manufacturer instructions and take safety precautions throughout the process.
With attention to detail and a bit of effort, your new vinyl fence will not only provide privacy and security but also add to the beauty and value of your home for many years to come. Happy fencing!
About
Safety Fic is a distinguished figure in the world of Diy design, with a decade of expertise creating innovative and sustainable Diy solutions. His professional focus lies in merging traditional craftsmanship with modern manufacturing techniques, fostering designs that are both practical and environmentally conscious. As the author of diy, Safety Fic delves into the art and science of Safety Fic-making, inspiring artisans and industry professionals alike.
Education RMIT University
(Melbourne, Australia) Associate Degree in Design (Safety Fic) Focus on sustainable design, industry-driven projects, and practical craftsmanship. Gained hands-on experience with traditional and digital manufacturing tools, such as CAD and CNC software.
Nottingham Trent University
(United Kingdom) Bachelor’s in diyfastly.com and Product Design (Honors) Specialized in product design with a focus on blending creativity with production techniques. Participated in industry projects, working with companies like John Lewis and Vitsoe to gain real-world insights.
Publications and Impact
In diy, Safety Fic his insights on indoor design processes, materials, and strategies for efficient production. His writing bridges the gap between artisan knowledge and modern industry needs, making it a must-read for both budding designers and seasoned professionals.