
Learning how to install Vivint outdoor camera can greatly enhance your home’s security while giving you peace of mind. Vivint outdoor cameras are renowned for their advanced features like motion detection, night vision, and integration with smart home systems. Installing one might seem intimidating at first, but with the right steps, even beginners can get the job done efficiently.
The installation process typically involves mounting the camera in the right location, connecting it to your Wi-Fi network, and linking it to a Vivint security system for seamless operation. With Vivint’s user-friendly equipment and some basic tools, you can protect your home without needing professional help. This guide will walk you through every step so you can confidently set up your outdoor camera and start monitoring your property like a pro.
Why Installing a Vivint Outdoor Camera is Important
Outdoor cameras are a vital part of any comprehensive home security plan. They act as a first line of defense by deterring burglars and capturing clear footage of any questionable activity. Vivint outdoor cameras stand out due to their intelligent features, including HD video resolution, two-way audio, and the ability to track potential intruders with AI technology.
Installing a Vivint outdoor camera is especially crucial if you live in areas prone to theft or vandalism. A well-placed camera not only monitors critical zones like your front door, driveway, or backyard but also enhances your ability to respond quickly to potential threats. Additionally, with Vivint’s integration into smart home ecosystems, these cameras allow for real-time notifications and easy remote management directly from your smartphone.
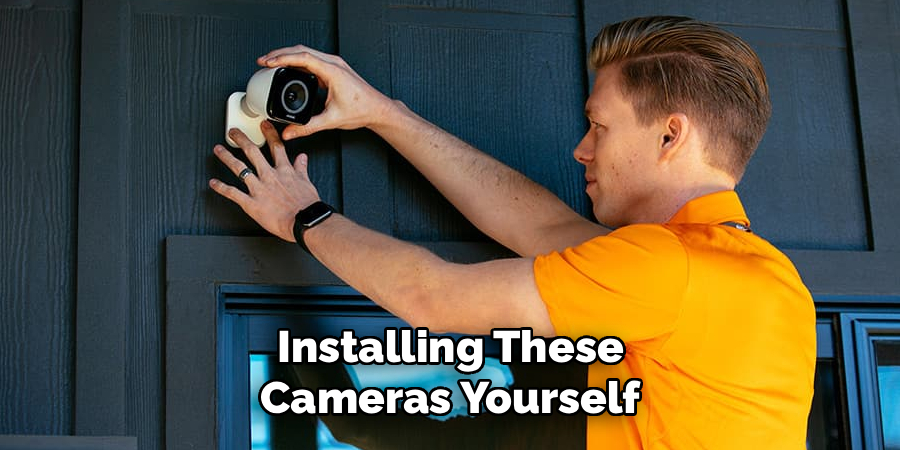
By installing these cameras yourself, you save on professional fees while maintaining control over every aspect of setup. This hands-on approach ensures personalized placement, optimal performance, and ultimately, a safer environment for your family and home.
Step-by-Step Guide: How to Install Vivint Outdoor Camera
Step 1: Choose the Best Location
The first step in learning how to install Vivint outdoor camera is identifying the most effective placement. Look for high-traffic areas like entryways, backyards, or garages where surveillance will be most beneficial. Prioritize locations offering a clear and unobstructed view to maximize the camera’s field of vision.
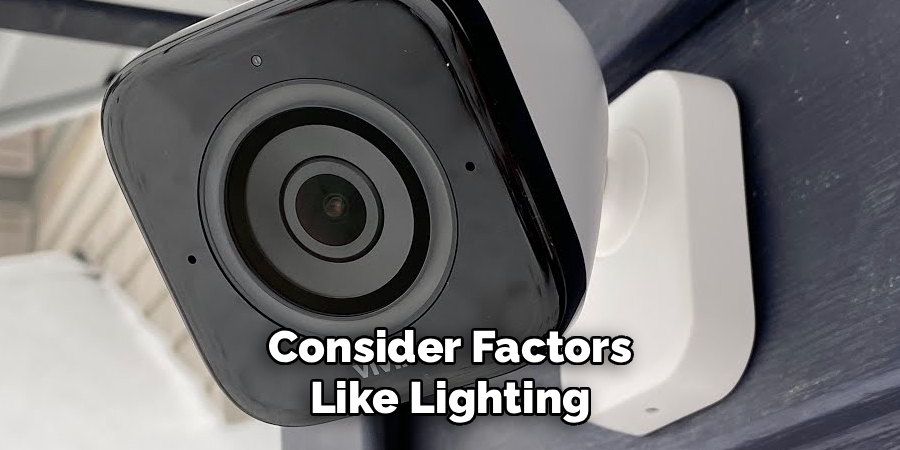
It’s also essential to consider factors like lighting and weather exposure. Placing the camera under eaves or overhangs can shield it from direct sunlight, rain, and snow, increasing its longevity. Additionally, make sure the selected location is within range of your Wi-Fi network and power source if applicable. Choosing the right spot will set the stage for a successful and secure installation.
Step 2: Gather Tools and Materials
Before proceeding, ensure you have all the necessary tools on hand. Most Vivint outdoor camera kits come with mounting brackets and installation hardware, but you’ll also need tools like a screwdriver, drill, and measuring tape. Having these ready avoids interruptions and ensures a smooth installation process.
Additionally, review the camera’s instruction manual or setup guide to familiarize yourself with its components. This step allows you to anticipate tasks like connecting wires or aligning the camera for optimal coverage. Proper preparation ensures you’re fully equipped to handle every aspect of the installation.
Step 3: Install the Mounting Bracket
Start by attaching the mounting bracket included in your Vivint camera package to the chosen location. Use a pencil to mark the drill holes, ensuring the alignment is level before proceeding. Drill into the marked spots, then securely fasten the bracket using screws provided in the kit.
Ensure the mounting bracket is rigid and stable, as it will support the entire weight of the camera. Double-check the alignment to confirm that the camera will point towards the intended area. A well-installed bracket forms the foundation for a stable and functional camera setup.
Step 4: Connect the Power Supply
Depending on your Vivint outdoor camera model, you may need to connect it to a power source. For hardwired models, follow the instructions to attach the power cord to an outdoor outlet. If you’re using a battery-powered camera, ensure the battery is fully charged before installation.
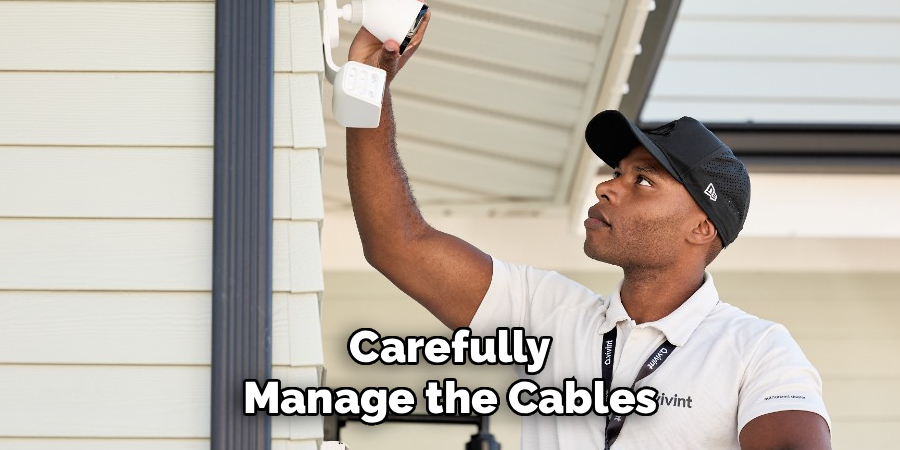
Carefully manage the cables to avoid tangles or exposure to elements that could damage them. Use cable clips or ties to secure wires neatly, ensuring they don’t interfere with the camera’s operation. Proper power connection guarantees uninterrupted surveillance and functionality.
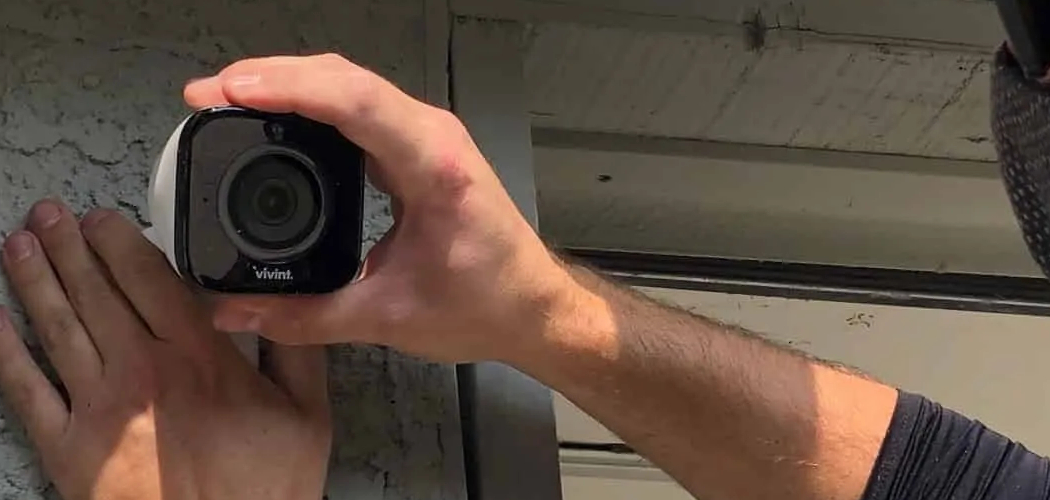
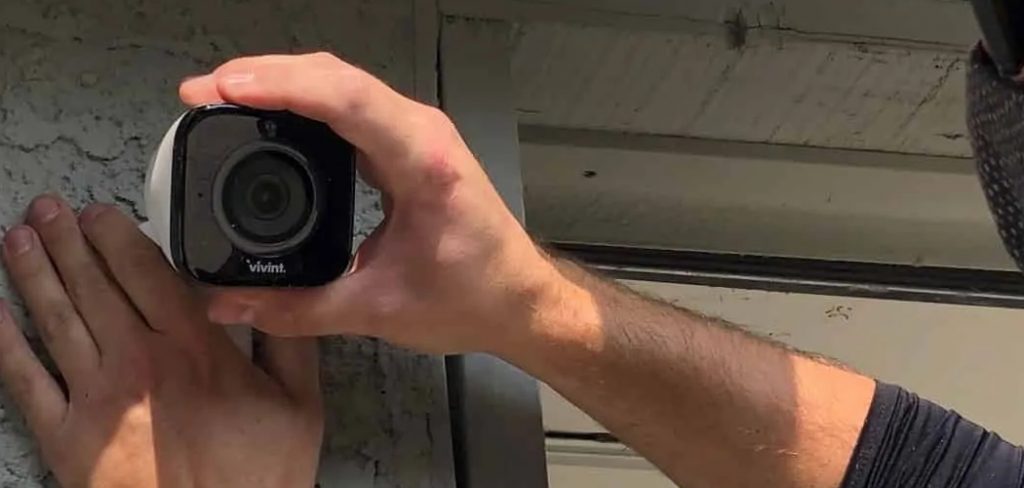
Step 5: Attach the Camera to the Bracket
Once the bracket is installed, securely mount the Vivint outdoor camera onto it. Slide or snap the camera into place according to the manufacturer’s instructions. Ensure it’s firmly attached and does not wobble when touched or adjusted.
Position the camera so its lens points directly towards the area you wish to monitor. Avoid angling it too high or too low, as this can diminish its coverage. Attaching the camera securely ensures reliable recordings and prevents accidental dislodgment in windy conditions or during adjustments.
Step 6: Connect the Camera to Wi-Fi
After mounting, the next step in how to install Vivint outdoor camera is connecting it to your Wi-Fi network. Open the Vivint app on your smartphone or tablet and follow the pairing instructions. The app will guide you through the process of locating the camera, entering your Wi-Fi credentials, and establishing a stable connection.
Ensure you use a strong Wi-Fi signal to prevent lag or interruptions in video streaming. Positioning your router closer to the camera, if possible, can improve connectivity. A successful Wi-Fi setup enables seamless integration with the Vivint security system and allows for remote monitoring.
Step 7: Test the Camera’s Functionality
Before considering the installation complete, take the time to test the Vivint outdoor camera’s performance. Use the app to monitor live footage and verify that the camera provides clear video with minimal delays. Check its motion-sensitive alerts and two-way audio features to ensure they’re functioning as expected.
Make minor adjustments to the angle or position if parts of the desired area are out of view. Testing guarantees that the camera is ready to perform reliably, providing comprehensive coverage and peace of mind.
Step 8: Sync with the Vivint Security System
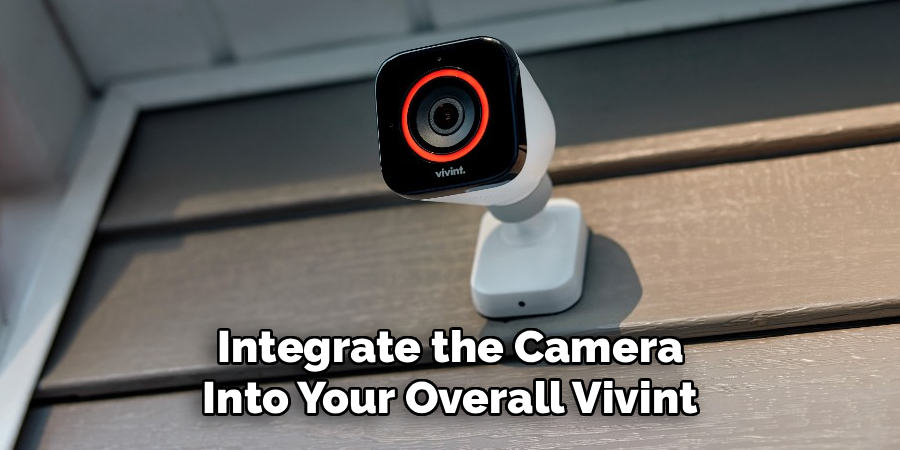
Integrate the camera into your overall Vivint security system for a unified experience. Follow the app’s instructions to sync the camera with other devices, such as door sensors or motion detectors. This allows for coordinated alerts and actions, such as triggering spotlights or alarms when motion is detected.
A successful sync ensures that the camera works seamlessly within your broader security ecosystem, enhancing its functionality and convenience. Exploring features like event playback or scheduled recording helps you optimize the system for your needs.
Step 9: Secure the Setup for Long-Term Use
Once everything is functioning properly, take steps to secure the installation. Tighten screws and examine all connections to prevent them from loosening over time. Periodically inspect the mount and camera for signs of wear, especially in outdoor environments.
Consider using weatherproof covers or shields to protect the camera further from harsh conditions. Regular maintenance ensures a longer lifespan, keeping your home secure for years to come.
Troubleshooting Tips
If you encounter issues with your setup, try the following troubleshooting steps to resolve common problems:
No Power to the Camera: Check the power connections to ensure they are secure. Verify that the power outlet is functional or, if applicable, the battery is charged. Replace wires or adapters if needed.
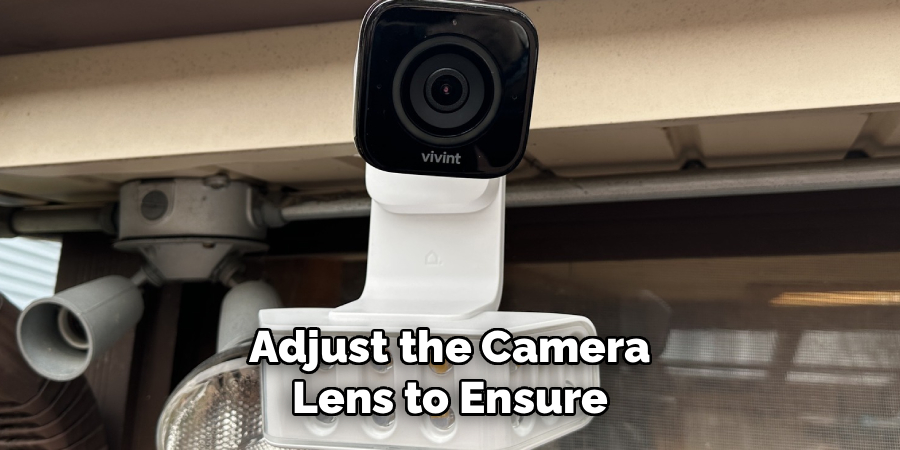
Poor Video Quality: Adjust the camera lens to ensure it is clean and free from dust or smudges. Verify that the camera settings, such as resolution, are configured correctly and that your internet connection is stable if the camera uses Wi-Fi.
Connectivity Issues: Restart both the camera and your router to refresh the connection. Ensure the camera is within range of the Wi-Fi signal and does not face interference from electronic devices.
Motion Detection Problems: Double-check the motion detection settings in the camera’s software or app. Ensure the camera’s field of view is clear of obstructions and not set at awkward angles.
Unresponsive Camera Software: Update the camera’s firmware or application to the latest version. If issues persist, try reinstalling the app or restoring the camera to factory settings.
By following these steps, most minor issues can be resolved, ensuring your system continues to operate efficiently. For more complex problems, consult the manufacturer’s customer support or user manual.
Frequently Asked Questions
Is professional installation required for a Vivint outdoor camera?
No, Vivint outdoor cameras are designed for easy DIY installation. Comprehensive guides and user-friendly components make it possible for most homeowners to set up the camera themselves, saving on professional fees.
Where should I install my Vivint outdoor camera for maximum effectiveness?
Install your camera near entrances, driveways, or other high-traffic areas. Ensure the location provides an unobstructed view, is within Wi-Fi range, and has protection from rain or harsh sunlight for consistent performance.
How do I troubleshoot connectivity issues during setup?
If your camera fails to connect, ensure it’s within range of your Wi-Fi router and that the network details are entered correctly. Restart the camera and router, and try reconnecting. For persistent issues, consult the Vivint support team for assistance.
Can I relocate the camera after installation?
Yes, relocating the camera is straightforward. Simply unmount it and repeat the installation steps at the new location, ensuring it’s within range of your Wi-Fi and positioned securely.
How do I maintain and care for my Vivint outdoor camera?
Regularly clean the camera lens with a soft, damp cloth to ensure clarity. Inspect mounts and connections for wear, and tighten any loose screws. For wired models, keep cables secure and protected from weather exposure.
Conclusion
Learning how to install Vivint outdoor camera is a rewarding process that enhances your home’s security with minimal effort. By following these detailed steps, you can confidently position and set up your camera for optimal performance.
To ensure your Vivint outdoor camera continues to perform effectively, routine maintenance is essential. Periodically check for firmware updates through the app to keep the system running smoothly. Additionally, monitor the camera’s field of view and adjust its positioning if necessary to account for changes in the environment, such as growing foliage or new structures. By staying proactive, you can maintain the reliability and security your Vivint camera provides.
Whether monitoring entry points or integrating with a broader security system, Vivint cameras offer reliable protection. Start your installation today and enjoy the peace of mind that comes with a safer, smarter home!