

Ironing a reflective safety jacket requires careful attention to preserve the reflective material and ensure its functionality. Unlike regular clothing, these jackets are made with specialized fabrics and coatings that can be easily damaged by excessive heat. Proper ironing techniques are essential to maintain the jacket’s appearance and effectiveness, especially for those who rely on it for safety in various work environments.

This guide on how to iron a reflective safety jacket will walk you through the steps to iron your reflective safety jacket safely and effectively.
What is a Reflective Safety Jacket?
A reflective safety jacket is a garment designed to keep individuals visible and safe in low-light or dark conditions. It features reflective materials, such as tapes or strips, that reflect light back towards its source, making the wearer more noticeable to others.
These jackets are commonly worn by construction workers, emergency personnel, cyclists, and others who work or commute in hazardous environments.
The Importance of Ironing a Reflective Safety Jacket
Ironing a reflective safety jacket is crucial for two main reasons – appearance and functionality. Firstly, ironing helps to maintain the overall appearance of the jacket, keeping it neat and tidy. This is important for those who wear the jacket as part of their uniform or in professional settings where appearance matters.
Secondly, ironing helps to preserve the reflective material on the jacket, ensuring it remains effective in reflecting light and keeping the wearer visible. Wrinkled or creased jackets can hinder the reflective material’s ability to reflect light properly, reducing its effectiveness.
Needed Materials
To iron a reflective safety jacket, you will need the following materials:
Reflective Safety Jacket:
First and foremost, you will need the jacket itself. Make sure it is clean and dry before proceeding with ironing.
Iron:
Choose an iron with adjustable heat settings to prevent damaging the reflective material. It is best to use a low to medium heat setting.
Ironing Board:
Using an ironing board provides a stable surface to work on and prevents any damage to other surfaces in your home.
Press Cloth or Damp Cloth:
As a precaution, you should use either a press cloth or a damp cloth between the jacket and the iron to protect the reflective material from direct heat.
8 Step-by-step Guides on How to Iron a Reflective Safety Jacket
Step 1: Set Up Your Ironing Station
Begin by preparing your ironing station in a clean, well-lit, and clutter-free area. Place your ironing board on a stable, flat surface to ensure safety and ease of use. Adjust the height of the ironing board to a comfortable level to prevent unnecessary strain while ironing. Plug in your iron and set the heat to a low or medium setting; this will help avoid damage to the reflective material.
Ensure you have a press cloth or a damp cloth nearby for additional protection during the ironing process. Verify that the iron’s soleplate is clean to prevent any unwanted stains on the jacket. Having everything set up properly will make the ironing process smoother and more efficient.
Step 2: Check the Care Label on Your Jacket
Before ironing, it is essential to check the care label on your jacket for any specific instructions. Some reflective safety jackets may come with specific ironing guidelines that you should follow for best results. If there are no instructions, proceed with caution and use the lowest heat setting possible.
But if the label advises against ironing, it is best to avoid ironing altogether to prevent damaging the jacket’s reflective material.
Step 3: Prepare Your Jacket for Ironing
Before placing your jacket on the ironing board, ensure all zippers, buttons, and pockets are closed. This will help prevent any accidental damage to these areas while ironing.
If you notice any wrinkles or creases on your jacket, use a steamer or hang it in the bathroom while taking a hot shower to help release some of the wrinkles.
Step 4: Use a Press Cloth or Damp Cloth
Place either a press cloth or a damp cloth on the reflective areas of your jacket. This will provide an extra layer of protection to prevent direct heat from damaging the reflective material.
If using a press cloth, make sure it is large enough to cover the entire reflective area.
Step 5: Begin Ironing
Start ironing from one side of the jacket and work your way across. It is best to use gentle, circular motions with light pressure instead of pressing down too hard. This will help avoid any damage to the reflective material.
Remember to lift and move the iron frequently, especially over seams or buttons, to prevent any unwanted creases or marks on these areas.
Step 6: Remove Press Cloth or Damp Cloth
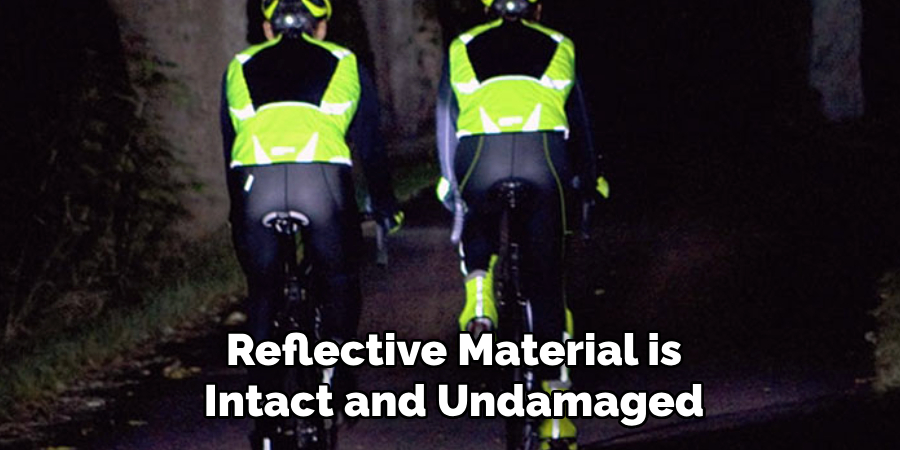
After ironing each section of your jacket, carefully remove the press cloth or damp cloth to inspect the area. Check for any remaining wrinkles or creases and ensure the reflective material is intact and undamaged. If you notice any persistent wrinkles, you may reapply the press cloth or damp cloth and iron the area again using gentle motions.
Make sure the jacket is wrinkle-free and smooth before moving on to the next section. Continue this process until the entire jacket is neatly ironed.
Step 7: Let the Jacket Cool Down
After ironing, turn off and unplug your iron. Allow the jacket to cool down before moving or wearing it to prevent any unwanted creases. This will also ensure that the reflective material has time to set and maintain its effectiveness.
It is best to hang the jacket in a well-ventilated area to help it cool down faster.
Step 8: Store Your Jacket Properly
Once your jacket has cooled down, you can hang it in your closet or fold it neatly and place it in a drawer. Avoid hanging heavy items on top of your jacket as this can cause wrinkles and creases.
Proper storage will help maintain the ironed appearance of your jacket until the next use. The reflective material will also remain effective, ensuring your safety while wearing the jacket.
Step 8: Hang or Fold Your Jacket
Once completely cooled down, you can either hang or fold your jacket for storage. Hanging is ideal for preventing any new wrinkles from forming, while folding is a space-saving option for those with limited storage space.
Following these steps on How to iron a reflective safety jacket will help ensure your reflective safety jacket remains in good condition and maintains its effectiveness. Regular ironing will not only keep you safe but also prolong the life of your jacket. Remember to always check the care label for any specific instructions and use caution while ironing to avoid damaging the reflective material.
Additional Tips
- Avoid using steam while ironing as it can cause damage to the reflective material.
- Do not use a high heat setting when ironing as this can also cause damage.
- If you notice any discoloration or melting of the reflective material, stop ironing immediately and allow the jacket to cool down.
- For stubborn wrinkles, consult a professional dry cleaner for assistance. They have specialized equipment and knowledge on how to safely handle delicate materials.
Post-Ironing Care and Tips
- Allow your jacket to cool down completely before folding or hanging it for storage. This will help prevent any new wrinkles from forming.
- If your jacket becomes dirty, follow the care instructions on the label and avoid using harsh chemicals that can damage the reflective material.
- When storing your jacket, make sure it is in a dry, well-ventilated area to prevent mold or mildew growth.
By following these step-by-step guides and additional tips, you can safely iron your reflective safety jacket and keep it in good condition for years to come. Remember to always prioritize safety while handling delicate materials like reflective jackets. Stay safe and be visible!
Frequently Asked Questions
Q: Can I Iron My Reflective Safety Jacket in a High Heat Setting?
A: It is not recommended to use a high heat setting as this can damage the reflective material. Always start with a low or medium heat setting and adjust accordingly.
Q: Can I Iron My Reflective Safety Jacket If the Care Label Says Not to?
A: It is best to follow the care label’s instructions and avoid ironing if it advises against it. This will prevent any potential damage to the reflective material.
Q: How Often Should I Iron My Reflective Safety Jacket?
A: It is recommended to iron your jacket after a few wears or whenever you notice wrinkles and creases. Regular ironing will help maintain its appearance and effectiveness.
Q: Can I Use a Steamer Instead of an Iron?
A: While steamers are generally safe for most fabrics, they are not recommended for reflective safety jackets as high heat and moisture can damage the reflective material. Stick to ironing with caution for best results.
Conclusion
Proper care and maintenance of your reflective safety jacket are essential to ensure its longevity and effectiveness. By following the step-by-step ironing guide and additional tips on How to iron a reflective safety jacket provided, you can safely remove wrinkles and keep the jacket in excellent condition. Always prioritize caution and adhere to the care label’s instructions to avoid accidental damage to the reflective material.
A well-maintained safety jacket not only enhances your professional appearance but also ensures optimal visibility and safety in your work environment.