
Caster wheels are versatile components commonly found on furniture, office chairs, carts, and appliances, designed to enhance mobility and ease of movement. While their primary purpose is to provide convenient transportation, there are instances where stability and safety take precedence. This is where locking caster wheels becomes essential. Learning how to lock caster wheels ensures that they remain stationary, preventing unwanted movement and reducing the risk of accidents in both residential and professional settings.
Whether you’re securing a heavy cart in place or ensuring that your furniture doesn’t slide on slick flooring, understanding the proper techniques is crucial. This article is a comprehensive step-by-step guide to help you lock caster wheels effectively, explore the various locking mechanisms available, and provide tips for maintaining their security over time.
Types of Caster Wheels and Locking Mechanisms
Understanding the various types of caster wheels and their locking mechanisms is essential for ensuring safety and functionality in any setting. Below are the common types of caster wheels and how their locking mechanisms operate:
Standard Swivel Casters
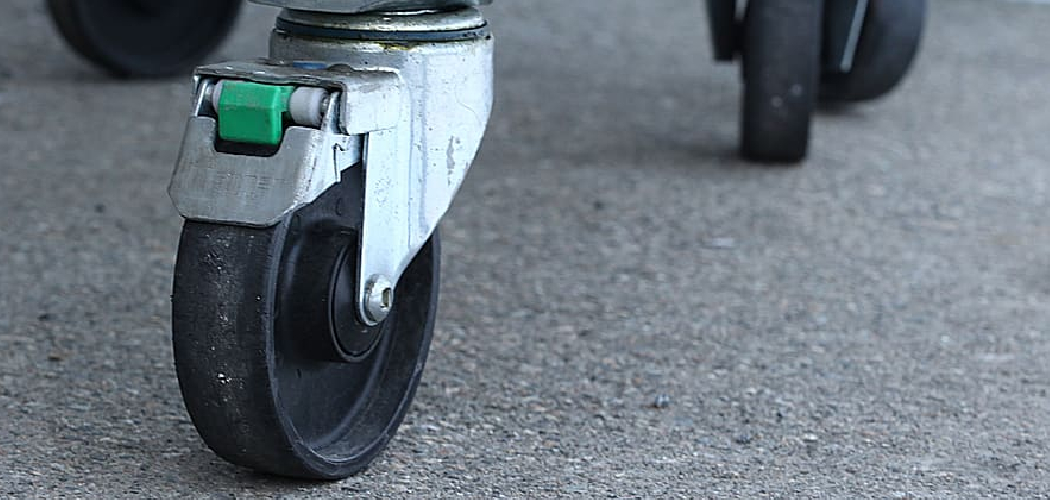
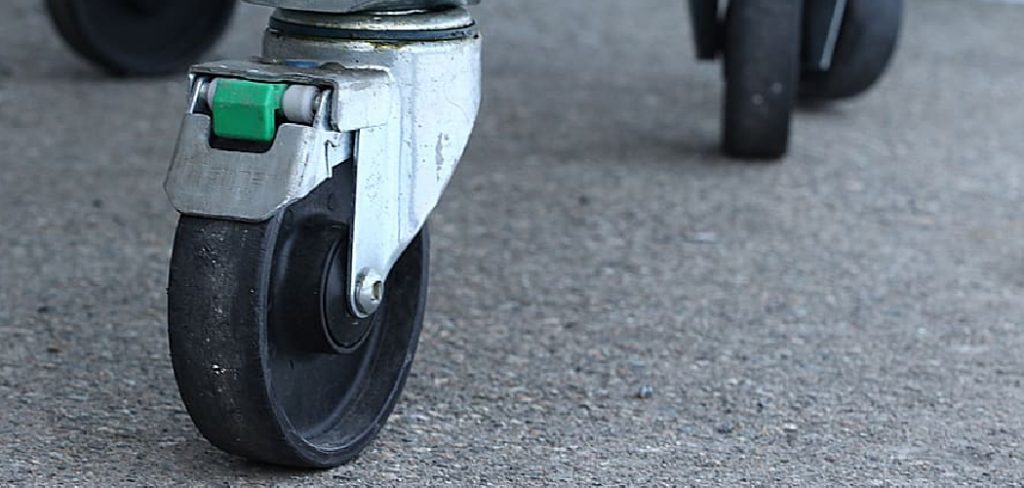
Standard swivel casters can rotate 360 degrees, making them highly maneuverable. These are often found on furniture and lightweight equipment. Many swivel casters have a built-in lock that prevents the caster from rotating, though the wheel may still roll forward or backward.
Brake Casters
Brake casters have a locking mechanism that completely halts the wheel from rolling. This feature provides a higher level of security, making them suitable for tasks requiring more precise stability compared to standard swivel casters.
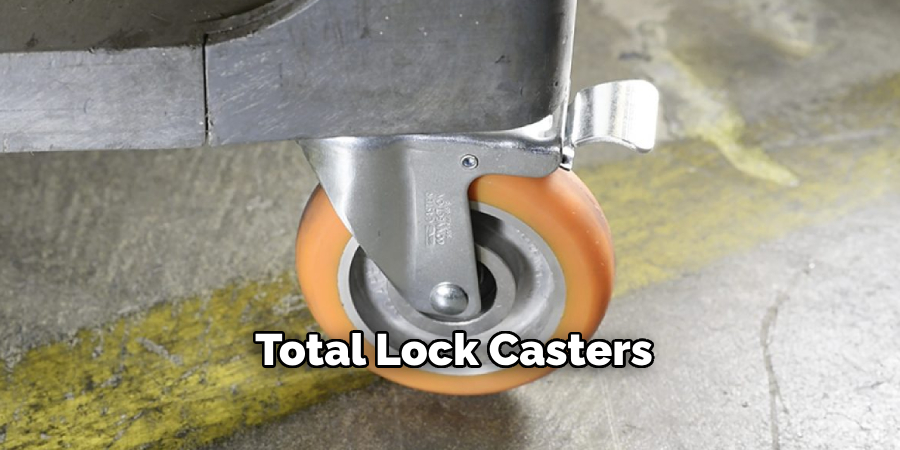
Total Lock Casters
Total lock casters offer robust stability by locking both the wheel and the swivel function. This ensures that the caster remains completely fixed, preventing any movement. Total lock casters are ideal for heavy-duty applications, such as industrial equipment or hospital beds.
Foot-Activated Casters
Foot-activated casters feature a mechanism operated by pressing down to engage or release the lock. This user-friendly design allows quick adjustments without requiring tools, making them convenient in various settings.
Materials and Tools Needed
Essential Materials
- Caster wheels (if replacing or installing new ones).
- Brakes or locking mechanism parts (for caster wheels without built-in locks).
Tools You’ll Need
- Screwdriver (Phillips or flathead, depending on the type of caster).
- Wrench or pliers (for adjusting or securing locks).
- Level (to ensure the caster is aligned properly).
- Lubricant (optional, for smooth operation of locking mechanisms).
Having the right materials and tools is crucial for successfully installing or maintaining caster wheels. Selecting high-quality materials like sturdy caster wheels and reliable locking mechanisms ensures durability and performance. Similarly, using the appropriate tools makes the process smoother and more effective. A screwdriver is essential for removing or attaching screws, while a wrench or pliers can help with tightening or securing various components. Ensuring proper alignment with a level prevents uneven loads and enhances stability. Finally, applying a lubricant can improve the functionality and longevity of moving parts, particularly in locking mechanisms. Preparing all materials and tools ahead of time can save time and ensure a seamless process.
Step-by-Step Guide: How to Lock Caster Wheels
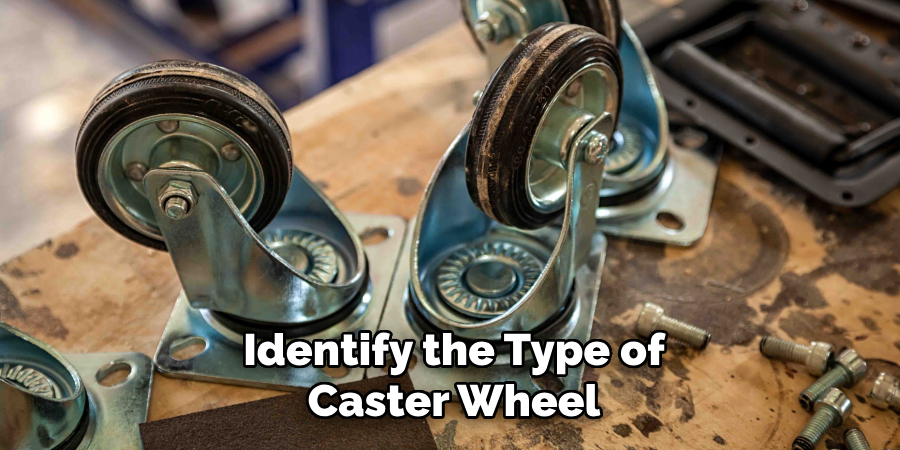
Step 1: Identify the Type of Caster Wheel
Determine whether your caster is a swivel, brake, or total lock type. Understanding the type of caster wheel is crucial as each functions differently. Swivel casters pivot and rotate, while brake casters have a mechanism to stop wheel movement. Total lock casters are designed to immobilize both rotation and rolling, ensuring complete stability. Familiarize yourself with the locking mechanism for the specific caster wheel type you are working with.
Step 2: Locating the Locking Mechanism
Examine the caster and look for the brake or locking lever. This is a small but essential component usually located near the wheel or within reach of the caster’s structure. On total lock casters, the locking lever is often central and designed to secure both the swivel and rolling functions simultaneously. Identifying the mechanism allows you to correctly engage the lock without causing unnecessary strain or damage.
Step 3: Locking the Caster
Engage the lock by applying pressure to the brake or moving the lever into the “lock” position. Most caster locks are user-friendly and require only a simple action, such as pushing down or flipping the lever. For total lock casters, ensure the mechanism clicks firmly into place, immobilizing both the swivel and the wheel for added security. A proper lock prevents undesired movement effectively.
Step 4: Verifying the Lock

Once the lock is engaged, test its effectiveness by gently pushing or pulling the object attached to the caster. The wheel should neither roll nor swivel if properly locked. This step ensures safety and stability, especially if the item is placed on an incline or subjected to external forces. If any motion is detected, re-engage the lock and recheck its alignment. Proper verification minimizes risks and ensures a stable setup.
Tips for Securing Caster Wheels Properly
Ensure Proper Alignment
Before engaging the locking mechanism, confirm that it is properly aligned with the wheel. Misalignment can lead to faulty locking, reducing stability and increasing the risk of movement. Carefully line up the mechanism to ensure a firm and secure hold.
Use Multiple Locks for Larger Furniture
It is crucial to lock all wheels for larger pieces of furniture or carts equipped with multiple caster wheels. Engaging just one or two locks may not provide sufficient stability, especially on uneven surfaces or when heavier loads are involved. Locking all wheels ensures maximum steadiness and reduces the risk of unintended movements.
Regular Maintenance
To maintain the effectiveness of caster wheels and their locks, periodic maintenance is essential. Inspect the wheels for signs of wear and tear, particularly if the locks are used frequently or under heavy loads. Applying lubricant to the locking mechanism can prevent stiffness and ensure smooth operation over time. Keeping the locks in good condition extends their lifespan and maintains a secure setup.
Troubleshooting Common Locking Issues
Wheel Does Not Lock Properly
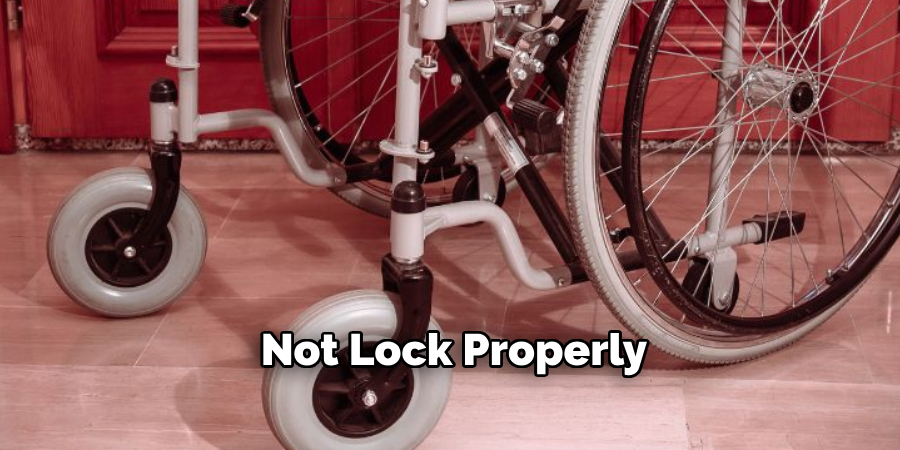
If the wheel does not lock as expected, the first step is to check for dirt, debris, or any obstructions in the locking mechanism. Over time, small particles can accumulate and interfere with proper function. Clean the mechanism carefully to remove any buildup. Additionally, make sure the lever or button used to engage the lock is fully pulled or pressed into place. A partially engaged lock will not provide adequate stability, so double-check that it is securely set.
Caster Keeps Unlocking
When a caster lock repeatedly disengages, it could indicate damage or wear within the locking mechanism. Examine the lock closely for cracks, chipped components, or other forms of deterioration. Another potential cause might be loose screws or bolts connected to the mechanism. Tighten any loose hardware to ensure the lock stays in position. If the issue persists despite these adjustments, replacement of the damaged components may be necessary to achieve consistent performance.
Difficulty Engaging the Lock
A locking mechanism that is hard to engage can often be resolved by applying a small amount of lubricant to the affected area. Use a suitable lubricant sparingly to avoid over-application, which can attract dust or dirt. If the mechanism remains stiff even after lubrication, it may be a sign of structural damage or a worn-out part. In this case, replacing the lock entirely is recommended to restore smooth and reliable operation. Proper care and timely replacements will keep the caster wheels functioning efficiently.
How to Install Locking Casters
Step 1: Choosing the Right Locking Casters
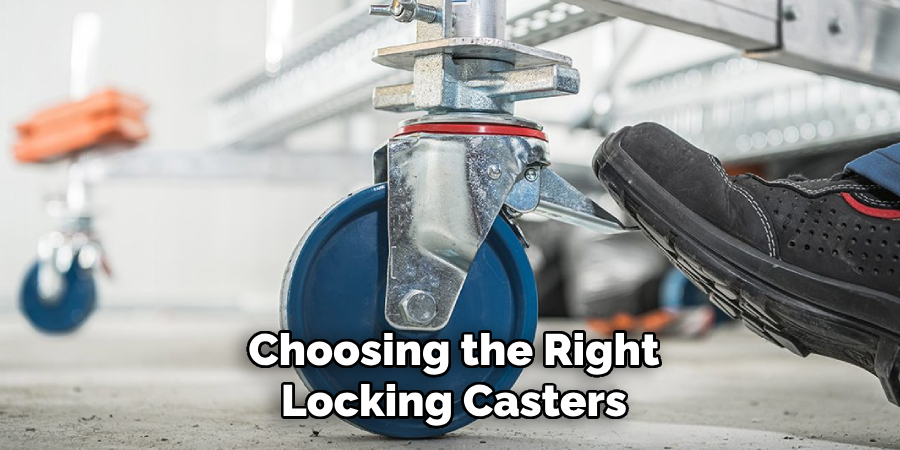
Ensure the new locking casters are compatible with the furniture or cart you are working on. Consider the weight capacity required to support the item, the type of movement needed—such as swiveling or straight-line rolling—and the locking mechanism’s ease of use. Selecting the appropriate casters will ensure safety and functionality for the intended purpose.
Step 2: Removing Old Casters
Begin by safely turning over or lifting the furniture or cart to access the old casters. Depending on the type of attachment, use a screwdriver or wrench to loosen and remove the existing casters. Inspect the mounting area for any debris, rust, or wear, and clean it thoroughly to prepare a smooth surface for the new casters. If needed, repair or reinforce the mounting area before proceeding.
Step 3: Installing the New Casters
Align the new locking casters with the mounting holes or plate on the furniture or cart. Attach each caster securely using screws or bolts, making sure they are tightened evenly to prevent wobbling or instability. Once all casters are tightly secured, test their locking mechanisms to ensure they engage and disengage correctly. Double-check that the casters are evenly mounted and stable before using the furniture or cart. Proper installation will provide reliable movement and a secure locking function for your item.
Conclusion
Understanding how to lock caster wheels is essential for ensuring safety and stability. By identifying the type of caster wheels, correctly engaging their locking mechanisms, and addressing any issues, such as misalignment or wear, you can maintain their functionality. Regular maintenance, such as cleaning and inspecting the locks for debris or damage, will extend their lifespan and enhance performance. If problems persist, replacing the locking mechanism or upgrading to high-quality casters may be necessary. Proper care and attention will make your equipment more secure and improve its overall usability and reliability.