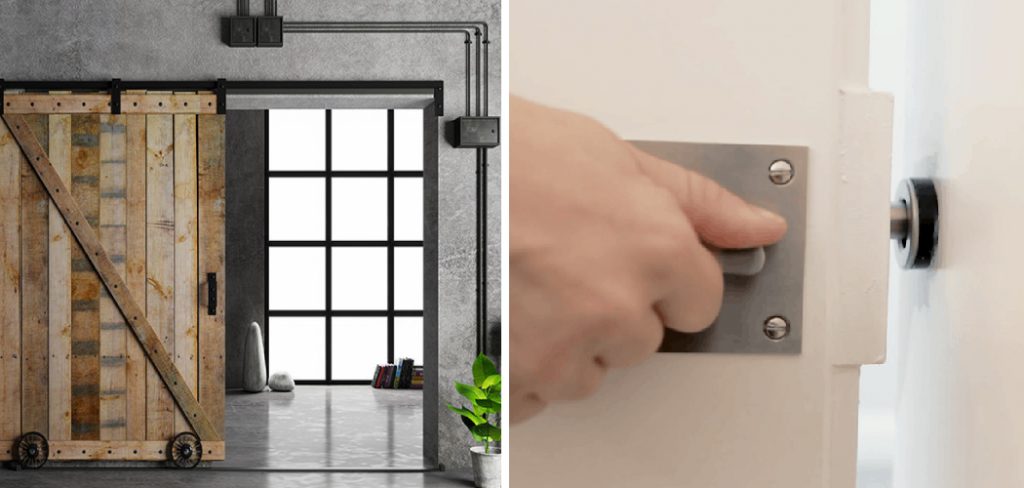
Are you looking for a way to secure your barn doors? It’s important to keep your barn and its contents safe by investing in the right type of lock. Installing locks on sliding barn doors can be an effective way of protecting your property from intruders and keeping animals out. Here are some tips on how to lock sliding barn doors.

Sliding barn doors have become an increasingly popular way to add a rustic touch and extra privacy to any room. Not only do they look great, but they also provide a sense of security by keeping our belongings inside safely locked away. However, securing those sliding barn doors can be tricky if you need to learn the right techniques.
In this blog post, we’ll cover all the basics so that you can keep your home safe and secure with a properly locked sliding barn door!
What Will You Need?
Before you start, make sure you have all the right materials. You’ll need the following:
- Lock of your choice
- A drill
- Appropriate screws for the lock you purchased
- A level
- An adjustable wrench or pliers (for tightening screws)
- A screwdriver or a power drill with a screwdriver bit attachment
- Sandpaper or steel wool (to clean and polish the door surface)
- Hammer
- A measuring tape or ruler
Once you have all the necessary materials, it’s time to install your lock.
10 Easy Steps on How to Lock Sliding Barn Doors
Step 1: Choose the Lock Placement
First and foremost, you should determine where on the door you want to install the lock. Some people prefer to put the lock at the center of the door for aesthetic reasons, while others opt for the corner for easier access.
Keep in mind that the lock should not only be convenient to use but also be able to secure the door properly. Use a measuring tape or ruler to help you find the ideal spot. Once you’ve decided on the placement, mark the point with a pencil.
Step 2: Drill the Holes

Now that you’ve chosen the lock placement, it’s time to drill the holes. Carefully measure and mark the spots you need to drill for your lock and its components. Always remember the saying, “Measure twice, cut once.”
This is particularly critical for this step, as making a mistake can permanently damage your door. After ensuring the accuracy of your measurements, use your drill to make the holes. Be sure to wear eye protection to keep the dust and particles away from your eyes.
Step 3: Install the Lock
After drilling the necessary holes, it’s time to install the lock. Insert the lock into the drilled holes, ensuring that it fits snugly. The lock should be positioned to be easy to access and operate while still providing the necessary security.
Use your screwdriver or power drill with the screwdriver bit attachment to secure the lock to the door. Be sure to screw the lock tightly, but avoid over-tightening, as it could damage the door or the lock itself.
Step 4: Check the Lock Functionality
Once the lock is installed, it’s crucial to check its functionality. Try locking and unlocking the door several times to ensure it works smoothly. If the lock isn’t functioning correctly, it might be due to an installation issue. Check whether the screws are tight enough or the lock and components align correctly. If you encounter any problems, you should uninstall the lock, adjust the placement, and try installing it again.
Step 5: Install the Strike Plate
After ensuring the lock functions correctly, your next step is to install the strike plate. This is the part of the lock that the bolt enters when the door is locked. Place the strike plate on the door frame directly across from the installed lock.
Mark the area with a pencil, then use your drill to make holes for the screws. Attach the strike plate to the door frame using your screws and screwdriver. Make sure the strike plate is aligned correctly with your lock.
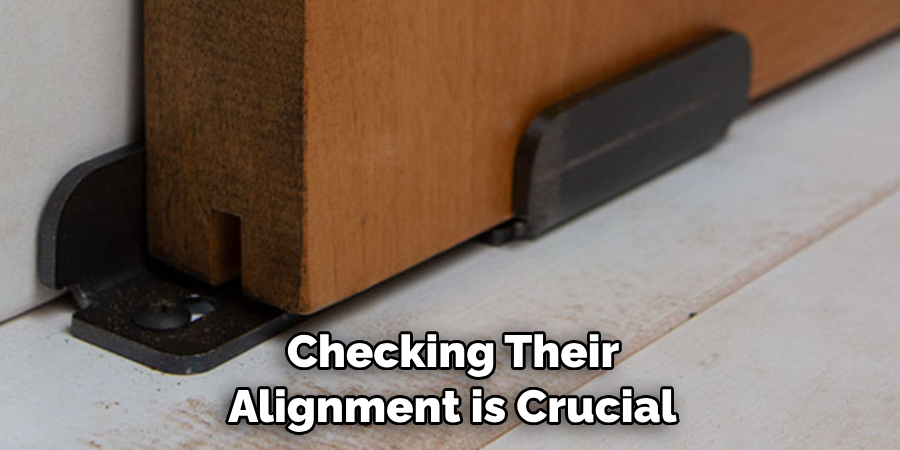
Step 6: Check the Alignment
Once your lock and strike plate are installed, checking their alignment is crucial. The bolt should slide effortlessly into the hole in the strike plate when the door is locked. If the bolt doesn’t align with the hole, you might need to adjust the strike plate’s position or depth. The alignment doesn’t only affect the lock’s functionality but also its durability. A misaligned lock can wear out significantly faster than one correctly aligned.

Step 7: Test Lock Mechanism
At this stage, it is essential to test the lock mechanism rigorously. This includes locking and unlocking the door numerous times to ensure that the bolt slides easily into the strike plate and securely fastens the door when locked.
It is also vital to check that the key (if applicable) correctly operates the lock. Any signs of difficulty or stiffness during this stage suggest that there may be an issue with the lock, strike plate, or alignment, which will need addressing before you move on to the final steps.
Step 8: Finalize the Installation
After testing the lock mechanism, ensure all screws are tight and secure. Use your adjustable wrench or pliers for extra tightening. Do not over-tighten, as it may cause damage. You should also take this opportunity to clean the area around the lock and strike plate. Remove any dust or debris left from the drilling process and use sandpaper or steel wool to smooth out any rough edges on the door or frame.
Step 9: Paint or Seal as Needed
Depending on your door material and preference, you might need to paint or seal the area around the lock. This step is essential for wooden doors, as it helps protect the door and lock from possible damage caused by weather. If you choose to paint, ensure the color matches the rest of your door for a seamless look.
Step 10: Regular Maintenance

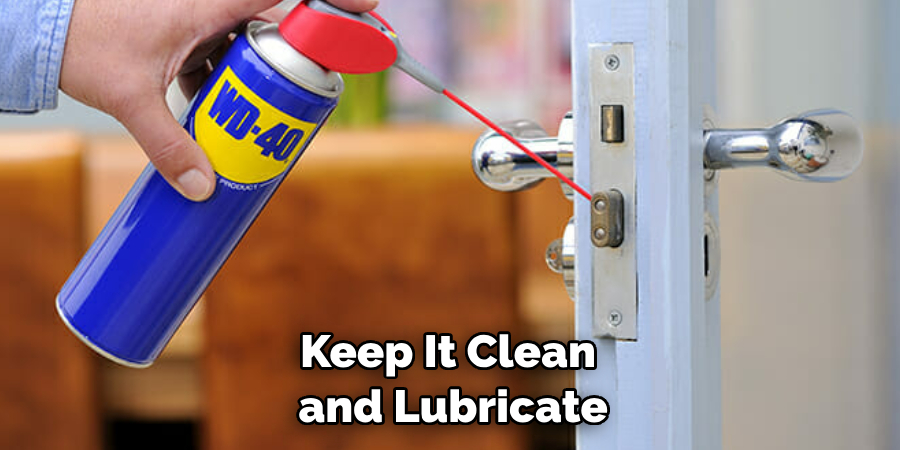
Finally, remember that regular maintenance is key to the longevity of your lock. Keep it clean and lubricate the lock mechanism as needed. Regularly inspect the door, lock, and strike plate for any signs of wear and tear or damage. By keeping up with these simple maintenance steps, you can ensure that your sliding barn door lock remains effective and secure for years to come.
By following these ten simple steps, you can easily install a lock on your sliding barn door. With careful planning and preparation, you can ensure that the lock provides the necessary security while also adding to the aesthetic of your door. So don’t hesitate – get started on installing your lock today!
5 Additional Tips and Tricks
- Consider installing an additional lock on the door for extra security. You should look into locks that require a key or combination, as these are more secure and can provide peace of mind for you and your family.
- If your door is in direct sunlight, consider adding sunscreen or window film to reduce the sunshine’s intensity. This will help protect the lock from overheating or damage over time.
- If your sliding barn door has windows, look into installing a security window film for extra protection against break-ins and theft.
- Consider getting a keypad lock instead of a traditional keyed lock, as this will make it easier to access your door without having to carry around keys all the time.
- If your lock is exposed to the elements, invest in a weatherproof sealant to prevent rust and damage over time. This will help extend the life of your lock and keep it functioning properly for years to come.
By employing these extra tips and tricks, you can ensure that your sliding barn door lock is secure and aesthetic!
5 Things You Should Avoid
- Avoid installing the lock without first testing the door’s opening and closing mechanism. If the door isn’t moving smoothly on its track, installing a lock might exacerbate the issue.
- Do not rush the installation process. Each step is crucial, and skipping or rushing any could result in a faulty installation, compromising your security.
- Refrain from over-tightening the screws. While securing the lock and strike plate is essential, over-tightening can damage the door or lock components.
- Avoid using a lock that doesn’t match the aesthetics of your door. While security is the primary function, maintaining the aesthetic appeal of your barn door is also important.
- Pay attention to regular maintenance of your lock. Failing to clean and lubricate the lock mechanism can lead to premature wear and tear, reducing the lock’s effectiveness and lifespan.

Avoiding these common mistakes will help ensure your sliding barn door lock is installed securely and efficiently. So don’t hesitate – get started on installing your lock today!
Conclusion
After having read this blog post, you now know how to lock sliding barn doors in no time. Installing a safety chain is the most effective and advantageous way of keeping your home secure, as it not only gives you peace of mind knowing that only those with the keys can get in but being able to do this yourself also saves you money.
For more creative ideas on adding security to your sliding barn doors, research online or talk to a professional locksmith. It is important to prioritize your and your family’s safety when securing your sliding barn door; after all, protection should never be compromised.
So take some time today to ensure everything is in place – that way, you’ll have one less thing to worry about!
About
Safety Fic is a distinguished figure in the world of Diy design, with a decade of expertise creating innovative and sustainable Diy solutions. His professional focus lies in merging traditional craftsmanship with modern manufacturing techniques, fostering designs that are both practical and environmentally conscious. As the author of diy, Safety Fic delves into the art and science of Safety Fic-making, inspiring artisans and industry professionals alike.
Education RMIT University
(Melbourne, Australia) Associate Degree in Design (Safety Fic) Focus on sustainable design, industry-driven projects, and practical craftsmanship. Gained hands-on experience with traditional and digital manufacturing tools, such as CAD and CNC software.
Nottingham Trent University
(United Kingdom) Bachelor’s in diyfastly.com and Product Design (Honors) Specialized in product design with a focus on blending creativity with production techniques. Participated in industry projects, working with companies like John Lewis and Vitsoe to gain real-world insights.
Publications and Impact
In diy, Safety Fic his insights on indoor design processes, materials, and strategies for efficient production. His writing bridges the gap between artisan knowledge and modern industry needs, making it a must-read for both budding designers and seasoned professionals.
