

Correctly adjusting a car seat is paramount for the safety and comfort of your child. An improperly adjusted car seat can compromise your child’s safety during a collision and cause discomfort during regular use. Safety 1st car seats are designed with various adjustment mechanisms to ensure they fit securely and comfortably within your vehicle. These mechanisms often include harness straps, LATCH systems, and recline adjustments, which must be correctly set for optimal performance.

This article aims to provide a detailed guide on how to loosen Safety First car seat adjustments, ensuring that every aspect is handled correctly. By following this guide, you’ll learn step-by-step instructions to effectively loosen the harness, LATCH system, and seat belt installation and adjust the recline angle to meet specific needs. Always remember to refer to the user manual for model-specific instructions and ensure all adjustments are verified for safety.
Understanding the Car Seat Model
Knowing the specific model of your Safety 1st car seat is crucial for making accurate adjustments and ensuring your child’s safety. Each model may come with unique features and adjustment mechanisms, making following the correct instructions for your particular car seat essential. While Safety 1st car seats share common features such as harness systems, LATCH systems, and recline mechanisms, the design and operation of these features can vary significantly across different models.
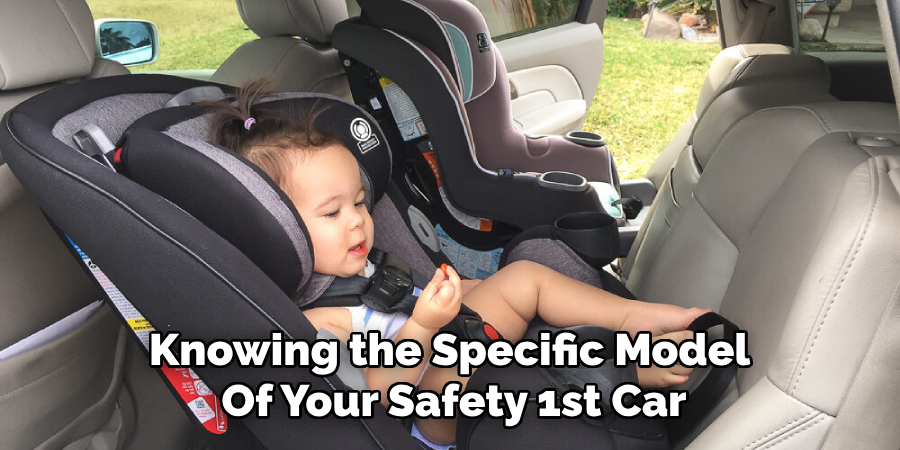
To find the model number of your Safety 1st car seat, look for a label usually on the side or bottom. This label typically includes the model number, manufacturing date, and other important information. Having this model number handy will allow you to refer to the user manual for specific instructions on adjustments and maintenance. If you have misplaced the manual, you can often find a digital version on the manufacturer’s website by entering the model number.
By understanding your car seat model, you can ensure that all adjustments are made accurately, enhancing both safety and comfort. Always consult the user manual for detailed, model-specific instructions, and contact customer service if you need additional support.
Tools and Materials Needed
- User manual (for reference)
- Flat-head screwdriver (depending on the car seat model)
- Pliers (possibly needed for some models)
- Optional: Flashlight (for better visibility while making adjustments)
Preparing for Adjustment
Before adjusting your Safety 1st car seat, preparing the area is crucial to ensure a smooth and safe process. Begin by parking your car on a level surface. This will provide a stable environment and prevent the car seat from moving unexpectedly during adjustments. Next, remove any objects or debris around the car seat area. Keeping the space clear will give you better access to the car seat and prevent any obstructions.
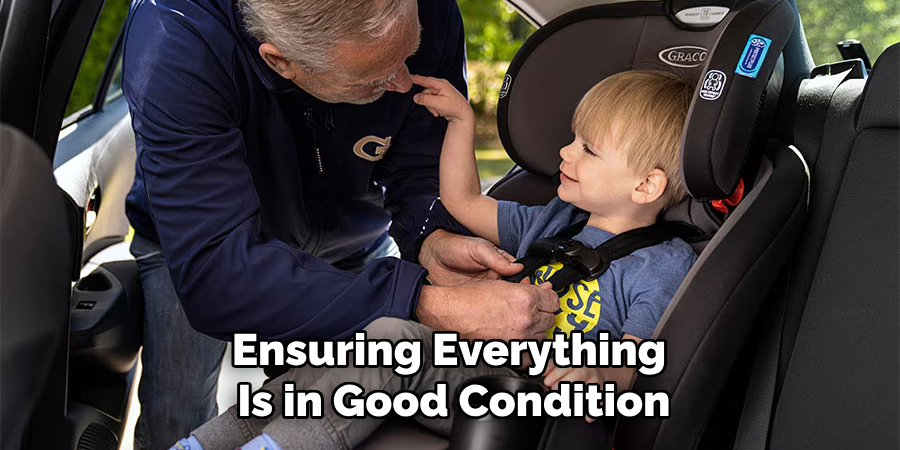
Carefully inspect the harness and the car seat for any visible signs of damage. Look for frayed straps, cracks in the plastic, or any other wear and tear that could compromise the seat’s integrity. If any damage is found, addressing these issues before proceeding with adjustments is essential. Ensuring everything is in good condition will make the adjustment process easier and enhance the car seat’s safety for your child.
How to Loosen Safety First Car Seat: Loosening the Harness Straps
The harness straps on your Safety 1st car seat play a critical role in keeping your child securely fastened while traveling. Knowing how to properly loosen the harness straps is essential for adjusting the fit as your child grows or when adding extra layers of clothing in colder weather. Here is a step-by-step guide to loosening the harness straps:
- Locating the Harness Adjustment Button or Lever
Begin by finding the harness adjustment button or lever, which is typically located at the front of the car seat. On most Safety 1st car seats, this button or lever is within easy reach, often near the seat’s bottom front edge.
- Pressing the Button or Lifting the Lever
Once the harness adjustment button or lever is located, press the button or lift the lever while simultaneously pulling on the harness straps. This action will release the tension in the straps, making them easier to adjust.
- Adjusting the Straps to the Desired Length
Pull the harness straps to the desired length with the adjustment mechanism activated. Make sure you extend the straps evenly to avoid any twisting or uneven tension. Pull the straps until they are loose enough to fit comfortably around your child, providing adequate security.
- Ensuring Even Adjustment and No Twists
After loosening the harness, ensure that the straps are evenly adjusted on both sides. Check for any twists in the straps, as twisted harness straps can reduce their effectiveness and cause discomfort for your child. Smooth out any twists before securing your child in the seat.
Following these steps will help you to properly loosen the harness straps on your Safety 1st car seat, ensuring a safe and comfortable fit for your child. Always double-check the harness adjustment after making any changes to maintain optimal safety.
How to Loosen Safety First Car Seat: Loosening the LATCH System
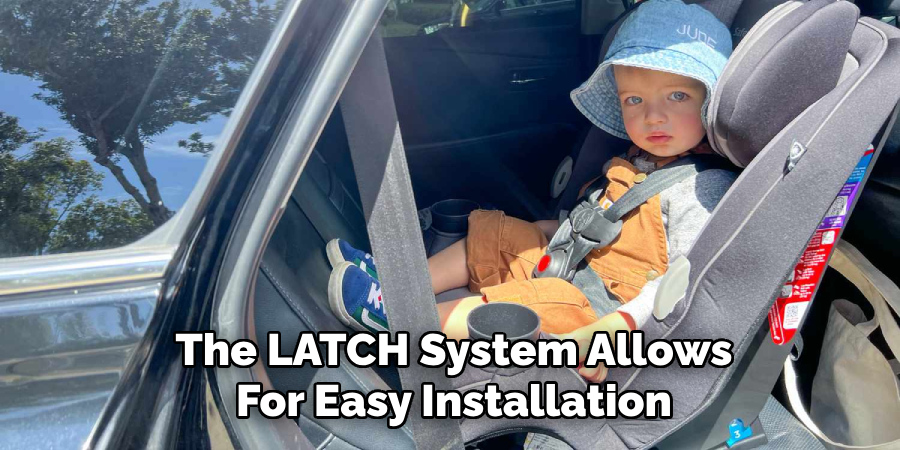
The LATCH (Lower Anchors and Tethers for Children) system enhances car seat safety by ensuring they are securely anchored to the vehicle. Integral to modern car seat design, the LATCH system allows for easy installation and adjustments, ensuring a stable and secure fit that minimizes movement during travel. Understanding how to properly loosen the LATCH system is essential, particularly when repositioning the car seat or adjusting its placement.
Step-by-Step Guide to Loosening the LATCH Straps
- Locating the LATCH Adjusters
Start by finding the LATCH adjusters on your car seat. These are typically located near the car seat’s base, where the LATCH straps connect to the vehicle’s lower anchors. You may need to move any seat padding or covers to access the adjusters clearly.
- Pressing the Release Button or Lifting the Adjuster
Once you have located the adjusters, look for a release button or lever. Press the button or lift the adjuster to release the tension in the straps. This action will make creating slack in the LATCH straps easier, allowing for easier adjustments.
- Pulling the Car Seat Away from the Vehicle Seat
With the adjusters activated, gently pull the car seat away from the vehicle seat to create slack in the LATCH straps. Be sure to pull evenly to prevent any twisting or uneven tension. This step will help you achieve the necessary looseness without compromising the secure attachment of the LATCH system.
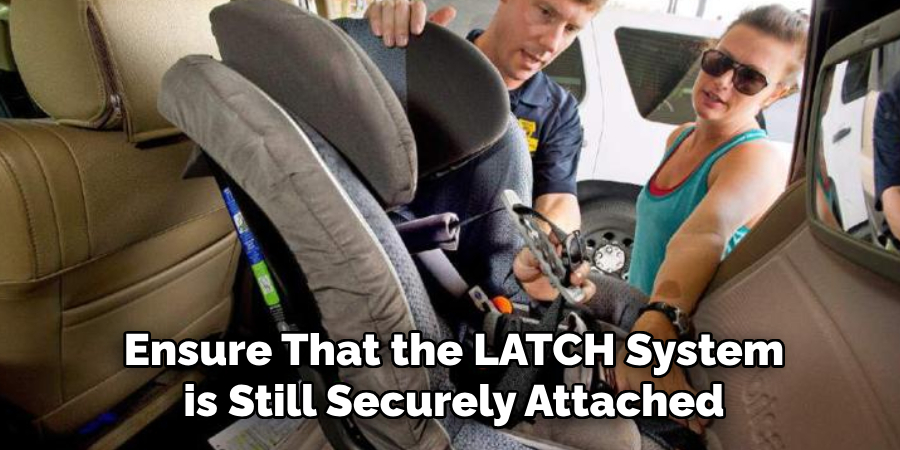
- Ensuring the LATCH System is Securely Attached
After loosening the straps, ensure that the LATCH system is still securely attached to the vehicle’s lower anchors. The car seat should have some movement but should remain firmly connected to the vehicle. Double-check that the straps are not twisted and that the adjusters are properly engaged after making your adjustments.
Loosening the Seat Belt Installation
Some car seats are installed using the vehicle’s seat belt rather than the LATCH system. The seat belt installation method is a versatile option that is compatible with almost all vehicles, making it crucial to know how to properly loosen the seat belt installation for adjustments or repositioning.
Step-by-Step Guide to Loosening the Seat Belt Installation
- Locating the Seat Belt Path and the Lock-off Mechanism (if applicable)
Begin by identifying the path through which the seat belt is routed in your car seat. This is typically marked on the car seat shell and indicated in the user manual. If your car seat has a lock-off mechanism, locate it as well, as this helps secure the seat belt tightly in place.
- Pressing the Release Button or Unbuckling the Seat Belt
To create slack in the seat belt, press the seat belt’s release button (if equipped) or simply unbuckle it. This action will decompress any tension within the belt, making adjusting easier.
- Adjusting the Seat Belt Length and Re-threading It Through the Car Seat
With the seat belt slackened, adjust the length to your desired level. If necessary, re-thread the seat belt through the proper path in the car seat. Ensure the belt is lying flat and not twisted during this process.
- Ensuring the Seat Belt is Still Securely Fastened After Adjustment
After adjustments are made, buckle the seat belt, ensuring it is securely fastened and locked. Double-check that the seat belt is tight and the car seat remains stable with minimal movement. If your car seat has a lock-off mechanism, engage it to maintain a firm installation.
Adjusting the Recline Angle
Ensuring the correct recline angle of your Safety 1st car seat is vital for your child’s safety and comfort. An appropriate recline angle can prevent your child’s head from falling forward, reducing the risk of airway obstruction and providing a more comfortable ride.
Step-by-Step Guide to Adjusting the Recline Angle
- Locating the Recline Adjustment Mechanism
First, locate the recline adjustment mechanism on your car seat. This is usually a lever or knob situated at the base or back of the seat. Refer to your car seat’s manual for the exact location.
- Adjusting the Seat to the Desired Recline Angle
To adjust the seat, either lift the lever or turn the knob while slightly tilting the car seat to the desired position. Adjust until you reach the appropriate recline angle for your child’s age and size.
- Checking the Recline Indicator
Many Safety 1st car seats have a recline indicator to help you achieve the proper angle. Check this indicator to ensure the seat is reclined correctly. The indicator will typically show a range or specify an angle suitable for your child’s age and size.
- Securing the Car Seat in the New Position
Once the car seat is set to the correct angle, ensure it is securely fastened in this position. Double-check all connections and ensure the recline adjustment mechanism is locked. Ensuring the car seat is stable will provide the best possible protection for your child.
Following these steps will help you adjust the recline angle of your Safety 1st car seat, enhancing your child’s safety and comfort during travel.
Final Safety Checks
Performing final safety checks on your Safety 1st car seat is crucial to ensure maximum protection for your child during travel. First, ensure all straps and belts are properly adjusted and not twisted. Twisted straps can compromise the effectiveness of the car seat and cause discomfort. Run your hands along the straps to smooth out any twists.
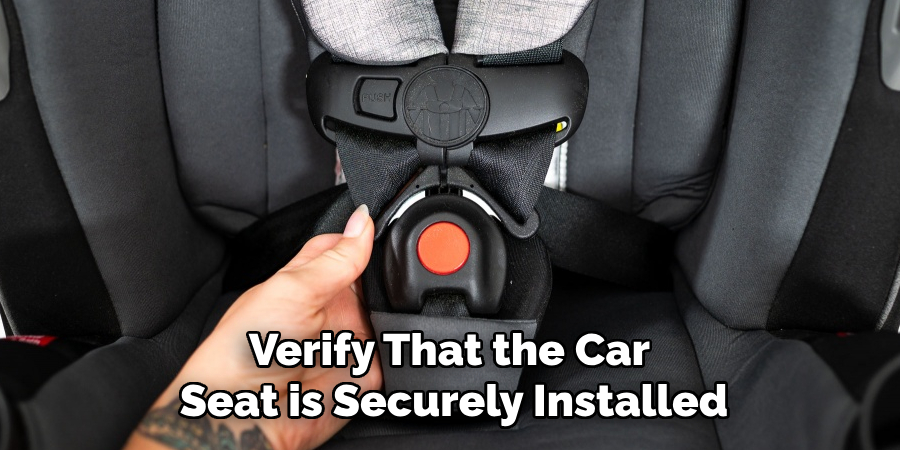
Next, verify that the car seat is securely installed and does not move more than an inch in any direction. A car seat that shifts can significantly diminish the safety it provides. Firmly push the car seat where the LATCH or seat belt is routed to ensure it is tightly anchored.
Finally, check that the harness fits your child correctly. The straps should lie flat and snug over the child’s shoulders, and the chest clip should be positioned at armpit level. These steps ensure your child’s car seat offers optimal safety and comfort during every journey.
Conclusion
In conclusion, understanding how to loosen safety first car seat involves several critical steps: properly loosening the harness straps, adjusting the LATCH system, and setting the correct recline angle. Each of these adjustments plays a vital role in maintaining the balance between security and comfort for your child. Proper installation and adjustment cannot be overstressed, as they are paramount to your child’s safety.
For a successful experience, always refer to the user manual specific to your car seat model for detailed instructions. If you have any questions or need further assistance, do not hesitate to contact customer service. Knowing how to loosen a Safety 1st car seat correctly ensures that every journey is as safe and comfortable as possible for your precious passenger.
About
Safety Fic is a distinguished figure in the world of Diy design, with a decade of expertise creating innovative and sustainable Diy solutions. His professional focus lies in merging traditional craftsmanship with modern manufacturing techniques, fostering designs that are both practical and environmentally conscious. As the author of diy, Safety Fic delves into the art and science of Safety Fic-making, inspiring artisans and industry professionals alike.
Education RMIT University
(Melbourne, Australia) Associate Degree in Design (Safety Fic) Focus on sustainable design, industry-driven projects, and practical craftsmanship. Gained hands-on experience with traditional and digital manufacturing tools, such as CAD and CNC software.
Nottingham Trent University
(United Kingdom) Bachelor’s in diyfastly.com and Product Design (Honors) Specialized in product design with a focus on blending creativity with production techniques. Participated in industry projects, working with companies like John Lewis and Vitsoe to gain real-world insights.
Publications and Impact
In diy, Safety Fic his insights on indoor design processes, materials, and strategies for efficient production. His writing bridges the gap between artisan knowledge and modern industry needs, making it a must-read for both budding designers and seasoned professionals.