

Are you concerned about your safety while living in an apartment or multi-story house? Do you want to be prepared for emergencies such as fire or earthquake?
A balcony fire escape ladder is an essential safety tool that can provide a quick and reliable evacuation during emergencies. Whether you live in an apartment building or a multi-story home, having an accessible and sturdy fire escape ladder can make all the difference in ensuring your safety and that of your loved ones. Constructing your own balcony fire escape ladder allows you to customize it to fit your specific balcony and ensures it’s readily available when needed.

This guide on how to make a balcony fire escape ladder will walk you through the steps and materials needed to create a durable, cost-effective ladder, prioritizing safety at every stage.
What Are the Benefits of a Balcony Fire Escape Ladder?
A balcony fire escape ladder offers many benefits in terms of safety and convenience. Some of the key advantages include:
- Easy Access to Safe Evacuation: A balcony fire escape ladder provides an alternate exit option in a fire or emergency. This is especially helpful if your primary exit route is blocked or inaccessible.
- Customizable Design: By constructing your own balcony fire escape ladder, you can customize it to fit your specific balcony size and layout.
- Quick and Easy Installation: Building a balcony fire escape ladder requires no special skills or tools. You can easily install it with basic DIY knowledge and materials within a few hours.
- Cost-effective: Constructing your own balcony fire escape ladder is more cost-effective than purchasing one from the market. You can save money by using materials that are easily available and affordable.
- Sturdy and Durable: A properly built balcony fire escape ladder can withstand the weight of multiple people and last for years with proper maintenance. This makes it a long-term investment in the safety of your home.
What Will You Need?
To build a balcony fire escape ladder, you will need the following materials:
- 2×4 boards
- Screws and nails
- Measuring tape
- Saw
- Drill
- Ladder rungs or wooden dowels
You may also need additional tools such as a level and plumb bob to ensure your ladder is straight and secure.
10 Easy Steps on How to Make a Balcony Fire Escape Ladder
Step 1. Measure Your Space
Start by measuring the height from your balcony to the ground to determine the exact length of your ladder. Use a measuring tape for accuracy and to ensure that the ladder will reach the ground securely. Additionally, measure the width of the area where the ladder will be attached to confirm enough space for installation. Write down all measurements to reference later during assembly. Proper measurements are crucial to ensure the ladder fits perfectly and functions safely.

Step 2. Cut the 2×4 Boards
Using the measurements you recorded in Step 1, mark the 2×4 boards accordingly. Use a pencil and a straightedge to draw precise lines where the cuts must be made. Ensure that the boards are securely clamped to a stable surface before cutting to prevent movement and ensure safety. Using a saw, carefully cut along the marked lines to create the pieces required for the ladder’s frame and rungs. Double-check your measurements after cutting to confirm accuracy. If any adjustments are needed, carefully trim the boards to match your specifications. Proper cutting is essential for a sturdy and well-aligned ladder.
Step 3. Mark Ladder Rung Positions
To begin marking the ladder rung positions, measure and mark evenly spaced intervals along the two vertical frame boards. The spacing between each rung should be consistent to ensure stability and functionality. It is recommended to use a measuring tape and pencil for precise markings. Typically, rungs are spaced around 10 to 12 inches apart, but adjust the spacing based on your specific ladder design. Use a square or straight edge to ensure that the marks on both frame boards align perfectly, which will help properly secure the rungs later. Marked positions will make assembly easier and ensure the ladder is safe and evenly balanced.
Step 4. Prepare the Rungs
Cut the rungs to the desired length using a saw, ensuring each piece matches the measurements specified in your design. Sand down the edges and surfaces of the rungs to remove any splinters, making them smooth and safe to handle. Use a router or sandpaper to achieve the desired shape if your ladder design calls for rounded edges. Preparing the rungs properly improves the ladder’s safety and enhances its overall appearance and durability. Once finished, set the rungs aside for later assembly.
Step 5. Drill Holes for Rungs
Accurately drilling holes for the rungs is crucial to ensure the ladder’s stability and alignment. Begin by marking the positions for the holes on the ladder sides, using a measuring tape and pencil to ensure equal spacing and alignment on both sides. Double-check the measurements to confirm they match your design specifications and that the rungs will sit at a level when assembled. Use a drill bit sized to fit the diameter of your rungs, and carefully drill each hole, keeping the drill perpendicular to the wood to maintain accuracy. To avoid splitting the wood, drill slowly and use clamps to secure the ladder sides in place.

Step 6. Attach the Rungs
Secure the pre-measured rungs into the drilled holes by applying a strong wood adhesive to each end of the rungs. Carefully slide the rungs into place, ensuring they are fully seated in the holes. Use wood screws to reinforce the connection, driving them through the outer sides of the ladder and into the ends of the rungs for added stability. Check each rung with a level to confirm proper alignment before tightening the screws completely. Wipe away any excess adhesive with a damp cloth to keep the finish clean and professional. Allow the glue to dry according to the manufacturer’s instructions before proceeding to the next step.
Step 7. Secure the Sides
To secure the ladder’s sides, position the two long side-support pieces parallel to each other and ensure they are aligned evenly with the rungs. Use bar clamps to hold the sides in place while attaching them securely. Drill pilot holes through the sides and into the ends of each rung to prevent splitting. Then, drive long wood screws through the pilot holes to firmly fasten the sides to the rungs. Double-check that the ladder remains level and stable as you work, making minor adjustments if necessary.
Step 8. Reinforce the Ladder
To ensure the ladder is sturdy and safe, reinforce the connections between the rungs and side-support pieces. Use wood glue in addition to screws at each joint for added strength. If available, metal corner braces can be installed at the junctions for extra support. Attach these braces using screws, ensuring they are flush with the wood surface.
Additionally, consider securing a diagonal brace across the back of the ladder to prevent wobbling. Once all reinforcements are in place, inspect the ladder thoroughly for any weak points or loosened components before using it.
Step 9. Install Mounting Hardware
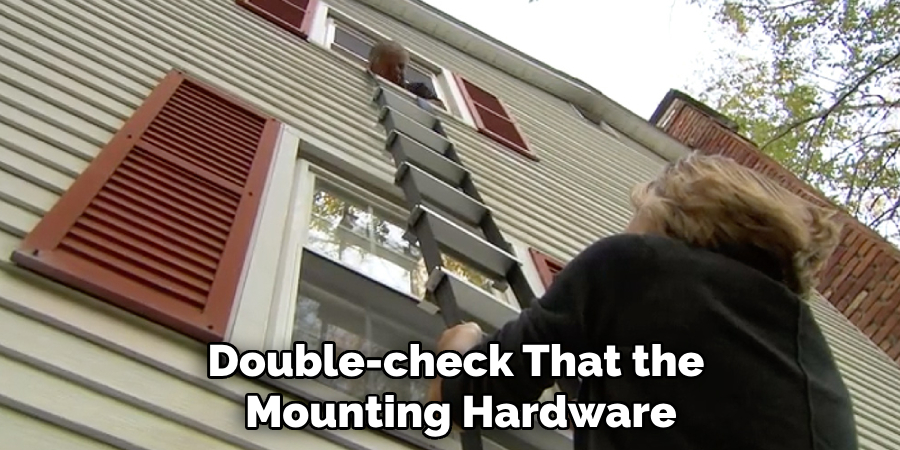
To install the mounting hardware, begin by identifying the appropriate location for securing the ladder. Use a stud finder to locate wall studs or other sturdy surfaces that can support the weight of the ladder. Mark these positions with a pencil for accuracy. Next, attach heavy-duty mounting brackets or hooks, ensuring they are aligned with the marked studs. Use screws and a power drill to secure the hardware tightly to the wall. Double-check that the mounting hardware is level and firmly fixed.
Step 10. Test Your Ladder
Begin by gently placing the ladder onto the mounted hooks or brackets. Ensure that it fits securely without wobbling or tipping. Apply slight pressure to test the stability of the mounting hardware, verifying that it holds the ladder firmly in place. Carefully climb a few rungs of the ladder while it remains mounted to confirm that it does not shift or loosen.
If any movement or instability is detected, double-check the alignment and tightness of the screws and brackets, making adjustments as necessary. Always prioritize safety during this step to guarantee the ladder is properly secured and ready for use.
By following these simple steps, you can ensure that your ladder is properly and securely mounted for safe usage.

Conclusion
How to make a balcony fire escape ladder requires careful planning and attention to detail to ensure safety and functionality.
By selecting durable materials, measuring accurately, and securely mounting the ladder to the balcony, you can create a reliable escape route in case of an emergency. Regularly inspect and maintain your ladder to ensure it remains in optimal condition over time. Taking these steps can provide peace of mind, knowing you have prepared an essential safety feature for your home.
Hopefully, you will never have to use your balcony fire escape ladder, but it is always better to be safe than sorry.