Door flood barriers are crucial for safeguarding homes and buildings from the destructive force of water during storms, floods, or heavy rainfall. Without adequate protection, water can infiltrate properties, causing significant structural damage and leading to costly repairs.
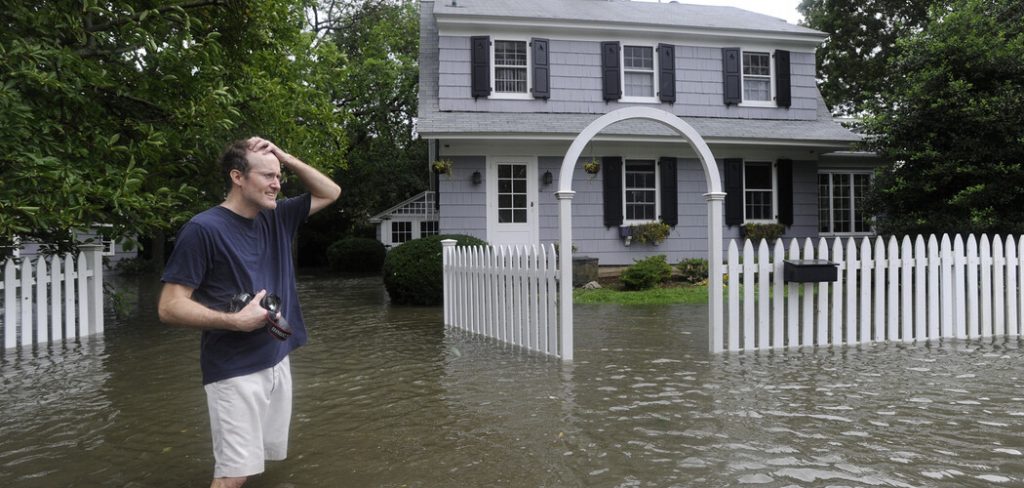
Flood barriers come in a variety of forms, ranging from basic DIY solutions that can be quickly assembled using common materials to sophisticated, professional-grade barriers designed for maximum protection.
This article aims to provide a comprehensive, step-by-step guide on how to make a door flood barrier, enabling property owners to create an effective defense against flooding. By understanding the importance of flood barriers and the types available, you can choose the best method to shield your home, ensuring peace of mind during adverse weather conditions.
Assessing Your Needs: When and Why You Need a Flood Barrier
Before deciding on the type of flood barrier to construct, assessing your specific needs and circumstances is crucial. Factors such as your geographic location, proximity to flood-prone areas, and prevalent weather patterns significantly determine the necessity and type of barrier required. Investing in a robust flood barrier is vital for protecting your property if you reside in an area frequently affected by storms or near rivers prone to overflowing.
Understanding the typical water levels during flooding events is also important. Consider how much water your barrier needs to block, whether it’s minor water buildup from heavy rain or significant flooding from storm surges. This assessment will help you gauge the appropriate size and strength of the barrier.

Additionally, determine if a temporary or permanent solution suits your situation. Temporary barriers are ideal for seasonal flooding and can be easily stored and deployed as needed. In contrast, permanent solutions offer long-term protection and are better suited for areas with consistent flooding threats. By carefully evaluating these factors, you can decide on the most effective way to protect your home from water damage.
Materials Needed for a DIY Door Flood Barrier
When preparing to build a DIY door flood barrier, gathering all materials and tools for an effective and efficient assembly is essential. Below is a comprehensive list of what you’ll need:
Basic Materials:
- Heavy-Duty Plastic Sheeting or Tarp: Choose a waterproof material to prevent water from penetrating the barrier.
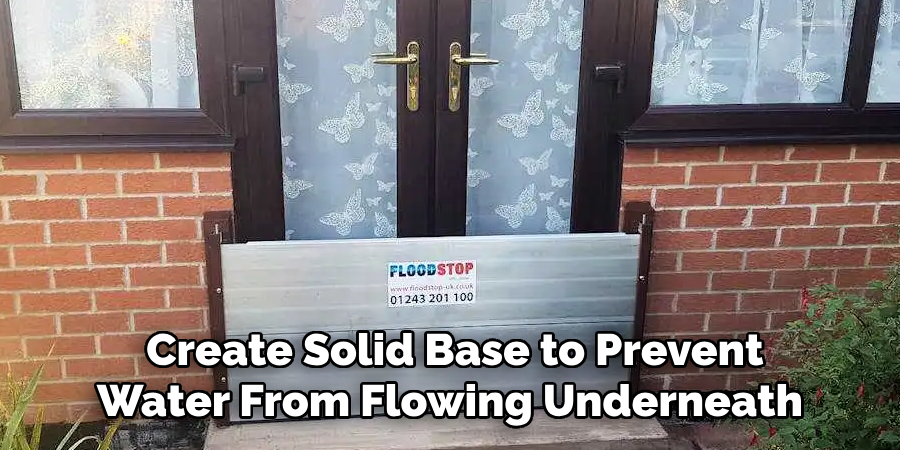
- Sandbags or Pool Noodles: Use these to create a solid base that will prevent water from flowing underneath.
- Waterproof Sealant or Adhesive: Necessary for sealing gaps and ensuring a tight fit between materials.
- Duct Tape: Useful for securing plastic sheeting and reinforcing various barrier parts.
- Wooden Planks: These can provide additional reinforcement and stability to your flood barrier.
Tools:
- Scissors: For cutting plastic sheeting or other materials to the required size.
- Measuring Tape: Essential for measuring dimensions to ensure precise fitting.
- Staple Gun: This is for attaching materials securely when needed.
- Hammer: Used when constructing wooden barriers.
- Nails or Screws: Necessary for fastening wooden planks together.
Choosing the Right Material:
Selecting durable and waterproof materials is crucial for keeping water out. Ensure that the plastic sheeting or tarp is resistant to tears and punctures and that the sealant or adhesive used is explicitly designed for waterproofing applications. You can create a reliable and effective flood barrier by assembling the right materials and tools, safeguarding your property against potential water damage.
Measuring and Preparing the Door Area
Measuring the Door Frame
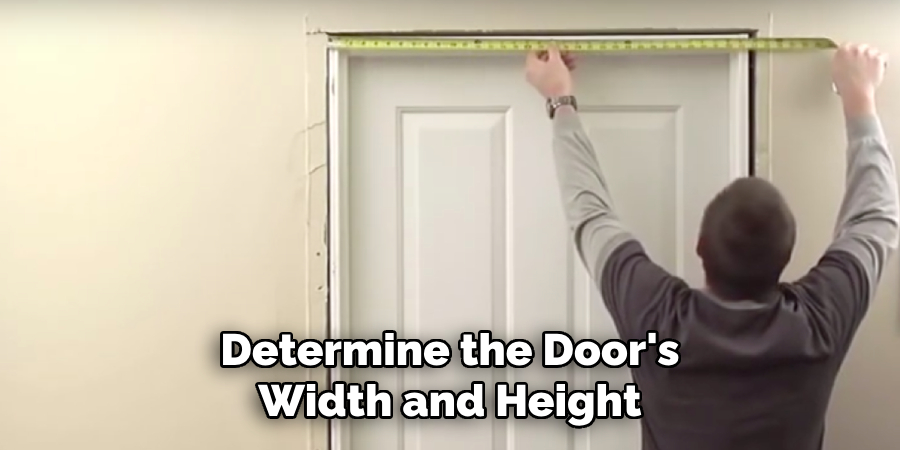
To ensure that your DIY flood barrier fits perfectly and functions effectively, start by accurately measuring the door frame. Use a reliable measuring tape to determine the door’s width and height. Pay particular attention to any irregularities or uneven surfaces affecting the barrier’s performance. Also, identify any potential gaps around the edges that will need additional sealing to prevent water infiltration.
Clearing the Area
Before you begin constructing your barrier, it’s essential to clear the space around the door. Remove any obstacles, debris, or dirt that could hinder the barrier’s placement or compromise its sealing ability. Ensuring a clean area will enhance the barrier’s contact with surfaces and prevent water from finding an entrance point.
Inspect the Door Frame
Carefully inspect the door frame for any cracks, gaps, or weaknesses. These vulnerabilities can undermine the effectiveness of your barrier by allowing water to leak through weak spots. If you identify any structural issues, address them beforehand. This might include filling gaps with a waterproof sealant or reinforcing the frame with additional materials to ensure a snug fit and robust defense against flooding. By thoroughly preparing the door area, you set the foundation for a successful flood barrier installation.
How to Make a Door Flood Barrier: Step-by-Step Guide
A. Creating a Sandbag Barrier
Step 1: Prepare Sandbags
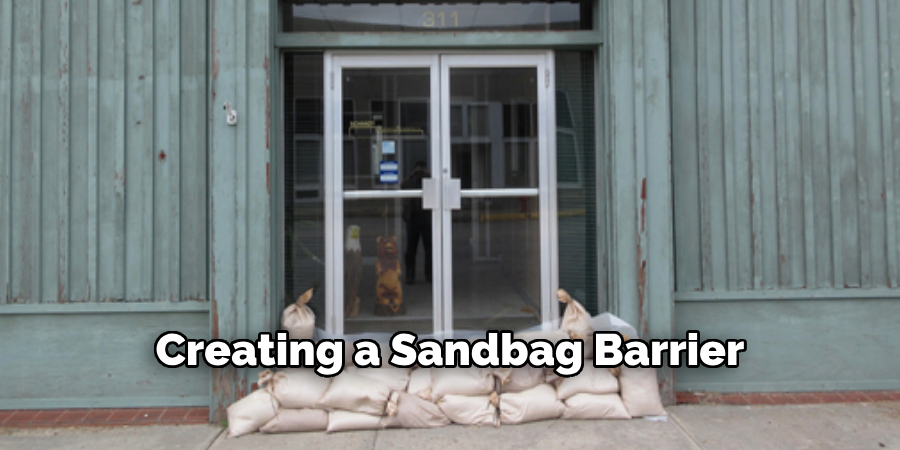
Begin by filling heavy-duty bags with sand or gravel, leaving some space at the top. This allowance ensures flexibility in moving and adjusting the bags during placement.
Step 2: Stack the Sandbags
Carefully position the sandbags along the base of your door, ensuring they are tightly packed to form an effective barrier. Depending on the forecasted water levels, you may need to stack multiple layers to provide the necessary coverage.
Step 3: Seal the Gaps
Use duct tape to meticulously seal any gaps between the sandbags and along the edges of the door frame. This step is crucial to ensure water does not seep through and compromise your barrier’s effectiveness.
B. Using Pool Noodles for a Barrier
Step 1: Cut Pool Noodles to Size
Measure the width of your door carefully and cut the pool noodles so they fit snugly across this space. Accurate cutting is essential for a tight fit.
Step 2: Line the Door Frame
Position the pool noodles tightly against the bottom seam of your door, ensuring complete coverage and creating a first line of defense against water ingress.
Step 3: Reinforce with Plastic Sheeting
For additional waterproofing, cover the installed pool noodles with heavy-duty plastic sheeting. Secure this sheeting with duct tape, making sure it’s tightly fastened to prevent movement or leaks.
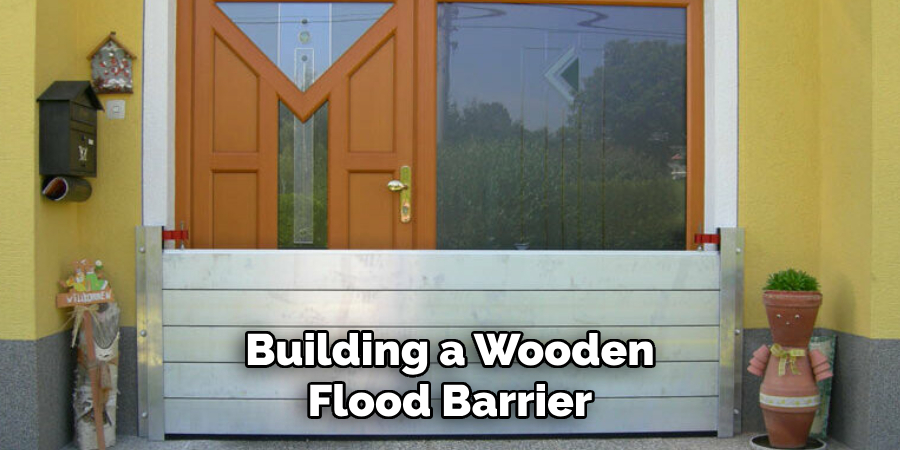
C. Building a Wooden Flood Barrier
Step 1: Cut Wood to Fit
Using a measuring tape, measure the dimensions of your door frame and cut wooden planks to fit these dimensions tightly for optimal coverage.
Step 2: Assemble the Barrier
Secure the cut wood pieces together using nails or screws, ensuring that the structure is sturdy and robust enough to withstand potential water pressure.
Step 3: Secure the Barrier
Place this wooden structure snugly against the door, using waterproof sealant to reinforce its position and enhance its water resistance. Proper sealing ensures that the door flood barrier provides a reliable defense throughout challenging weather conditions.
Reinforcing the Barrier for Stronger Protection
Sealing with Waterproof Tape or Adhesive
For added protection, seal the seams of your barrier with waterproof tape or a high-quality adhesive. This prevents water from seeping through tiny gaps, ensuring a more watertight defense.
Using Additional Weights
Consider adding extra weight along the base to secure the barrier during strong floods. Bricks, additional sandbags, or other heavy objects can help anchor the structure, reducing the risk of it being displaced by powerful water currents.
Double Layer Protection
For maximum protection, employ a dual-layered approach by combining sandbags with plastic sheeting or wood. This redundancy provides a robust defense against flooding, as each layer compensates for any vulnerabilities in the other, thereby increasing the overall durability and efficacy of your flood barrier.
Testing the Effectiveness of Your Flood Barrier
Simulating Water Exposure
To ensure your flood barrier is ready for actual conditions, start by simulating water exposure. Gently pour water near the base of the door where the barrier is installed. Observe how the barrier responds, paying close attention to the flow of water and any potential penetration points. This simulation will help identify immediate areas of concern and test the robustness of your barrier under controlled, low-risk circumstances.
Inspect for Gaps
After conducting the initial water test, meticulously inspect the entire barrier for any gaps or weaknesses where water might have seeped through. Carefully examine the edges and seams, where imperfections are most likely to occur, as these spots are crucial for maintaining an airtight seal.
Reinforce as Needed
If you encounter any leaks or weaknesses during the test, it is essential to promptly reinforce those areas. Consider applying additional sealant to vulnerable seams, adding more sandbags for enhanced stability, or using extra wooden planks for a stronger structure. The goal is to address every gap and potential entry point to ensure your flood barrier stands up effectively against rising waters. By taking these corrective measures, you fortify your first line of defense, thereby significantly reducing the risk of flood damage.
Maintenance and Storage of DIY Flood Barriers
Proper storage and maintenance of your DIY flood barriers are essential to ensure they remain effective when needed.
Proper Storage of Materials: After flood season, store sandbags, plastic sheeting, and other materials in a dry location to prevent mold or deterioration. This will ensure that they are in optimal condition for quick access during the next flood season.
Inspect and Maintain: Regularly inspect your stored materials for signs of wear or damage, especially if they have been used more than once. Replace any compromised materials to guarantee a reliable barrier in future emergencies.
Quick Deployment: Keep all necessary barrier materials grouped together for rapid deployment. When a flood warning is issued, having your materials organized and easily accessible minimizes setup time and reduces the risk of flood damage. By properly maintaining your barriers, you safeguard your home against unpredictable weather conditions.
Alternative Flood Protection Solutions
Pre-Made Flood Barriers
Professional-grade door flood barriers are available for purchase for those seeking a ready-to-use solution. These pre-made barriers offer convenience and reliability, often designed to withstand significant water pressure and provide a robust shield against flooding. Many models are adjustable and can be easily installed or removed as needed.
Water-Activated Flood Barriers
Another innovative option is water-activated flood barriers, which expand upon contact with water. These sandless products are lightweight and easy to handle, making them an excellent choice for quick deployment. Their ability to automatically activate when wet ensures that they provide efficient flood protection without requiring extensive manual setup.
Permanent Flood Barriers
Consider installing permanent flood barriers or drainage systems around your property for long-term protection. Permanent solutions can include levees, floodwalls, or dedicated drainage systems designed to direct water away from vulnerable areas, providing continuous defense against flood risks.
Conclusion
Building a DIY door flood barrier is a cost-effective and practical solution for flood protection, empowering homeowners to safeguard their properties without incurring extensive costs. By carefully selecting materials, following precise construction steps, and conducting thorough testing, you can create an effective defense that withstands rising waters.
Being prepared before flood season is essential; proactive measures can significantly reduce potential damage. This comprehensive guide on how to make a door flood barrier illustrates the importance of timely preparation and the benefits of having a reliable barrier in place. With a well-constructed flood barrier, you can protect yourself against extensive water damage and avoid expensive repairs. Always maintain and store your materials properly to ensure swift deployment when needed. With the right approach and tools, flood preparedness becomes an achievable and vital part of homeownership, providing peace of mind throughout the stormy season.
About
Safety Fic is a distinguished figure in the world of Diy design, with a decade of expertise creating innovative and sustainable Diy solutions. His professional focus lies in merging traditional craftsmanship with modern manufacturing techniques, fostering designs that are both practical and environmentally conscious. As the author of diy, Safety Fic delves into the art and science of Safety Fic-making, inspiring artisans and industry professionals alike.
Education RMIT University
(Melbourne, Australia) Associate Degree in Design (Safety Fic) Focus on sustainable design, industry-driven projects, and practical craftsmanship. Gained hands-on experience with traditional and digital manufacturing tools, such as CAD and CNC software.
Nottingham Trent University
(United Kingdom) Bachelor’s in diyfastly.com and Product Design (Honors) Specialized in product design with a focus on blending creativity with production techniques. Participated in industry projects, working with companies like John Lewis and Vitsoe to gain real-world insights.
Publications and Impact
In diy, Safety Fic his insights on indoor design processes, materials, and strategies for efficient production. His writing bridges the gap between artisan knowledge and modern industry needs, making it a must-read for both budding designers and seasoned professionals.
