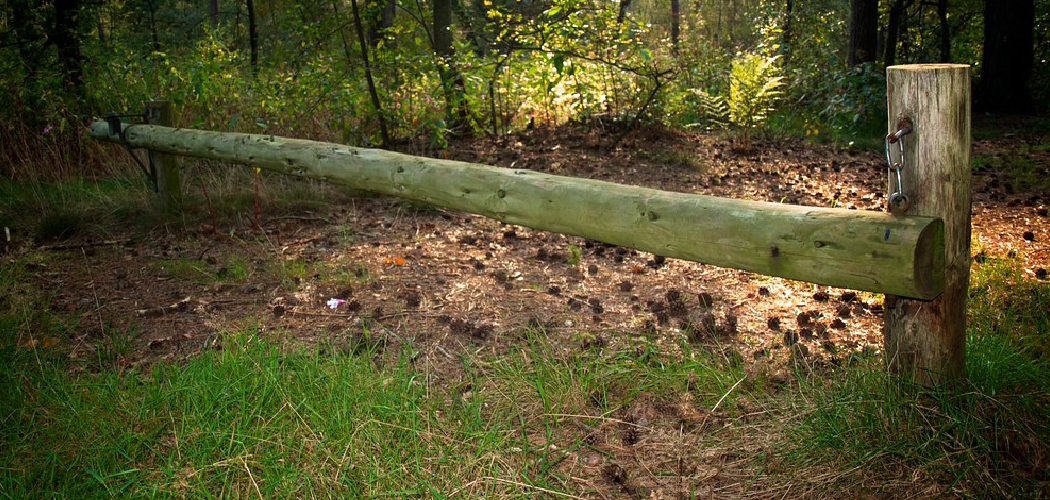
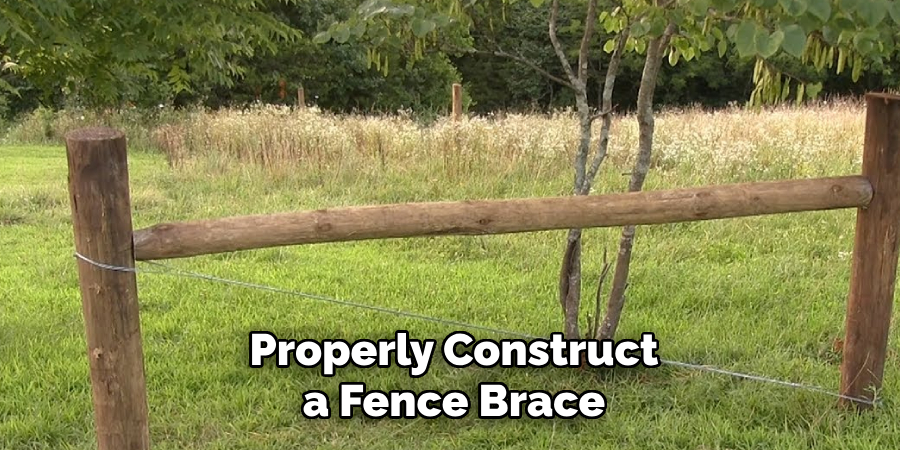
Fence braces play a crucial role in maintaining the integrity and stability of a fence, preventing leaning and sagging that can compromise its functional and aesthetic value. Especially for long fences, the application of a suitable brace is essential for enduring strength against elements and time.
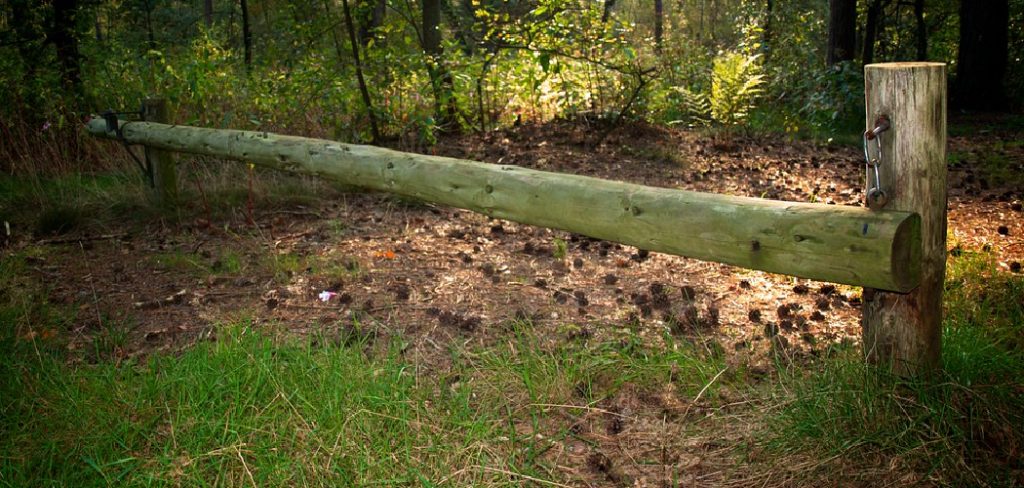
This guide on how to make a fence brace will explore various types of fence braces, including H-braces, knee braces, and diagonal braces, and their specific applications. Understanding the importance and knowing how to construct these support structures are vital skills for anyone looking to ensure the longevity of their fence.
Understanding Your Fence Needs
A. Factors to Consider
Several crucial factors must be considered to ensure its longevity and integrity when planning to reinforce your fence. The material of your fence (be it wood, metal, or vinyl) significantly influences the type of brace you need, as different materials bear unique strengths and vulnerabilities.
The fence’s height and the potential wind load in the area are also vital considerations; taller fences or those in high-wind regions require more robust bracing solutions. Lastly, the location of the brace (whether it’s a mid-point, corner, or end brace) plays a key role in deciding the most effective brace design to maintain stability and aesthetics.
B. Choosing the Right Brace Type
Selecting the appropriate type of brace is pivotal for reinforcing your fence effectively. An H-Brace is beneficial for its strength and is ideal for wooden fences, commonly used in both corner and gate areas. The Knee Brace offers additional support against lateral forces and is suitable for various materials, making it a versatile choice for mid-point bracing.
Diagonal Braces are particularly effective in distributing tension and are commonly employed in metal and vinyl fences for long stretches. For fences with leaning posts, Post Anchors provide a firm foundation, stabilizing the structure without the need for extensive excavation or concrete.
Essential Tools and Materials
A. Tools (list will vary depending on brace type)
Certain tools are indispensable to properly construct a fence brace, no matter the type of brace you’re installing. A Measuring Tape is crucial for obtaining precise lengths of materials, ensuring that each component fits as intended. A Level is necessary to check that posts and braces are perfectly vertical or horizontal, maintaining the structural integrity of the fence.
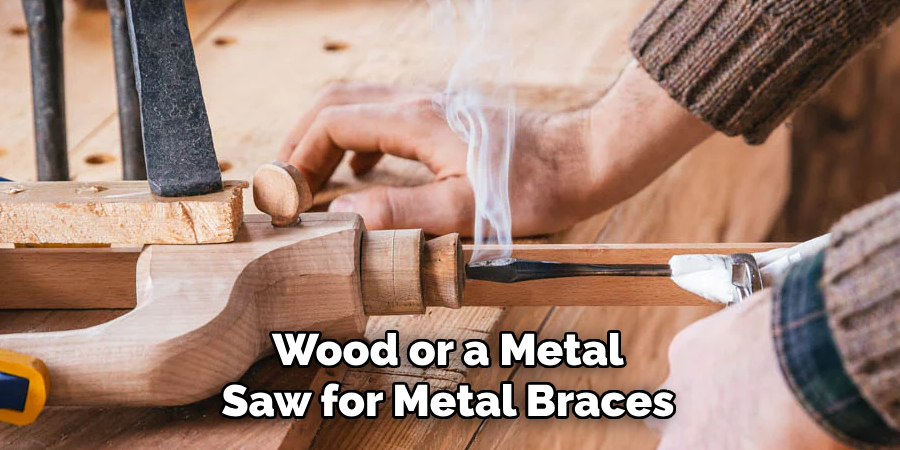
For cutting materials to the correct size, a Saw is required, with the type of saw varying based on the material (e.g., wood or metal). A Drill is used for creating pilot holes for screws or bolts, reducing the risk of splitting wood or damaging metal, while a Hammer (or post driver for metal posts) is needed for driving nails or post anchors. Finally, Wrenches and Screwdrivers may be required to tighten the chosen fasteners securely.
B. Materials (list will vary depending on brace type)
The materials needed for constructing a fence brace depend largely on the type of fence and brace. Pressure-Treated Lumber is common for wood fence braces due to its resistance to rot and pests. Metal Posts and Brackets are often used in metal fence applications for their durability and strength. Concrete Mix may be necessary for securing post anchors in the ground, providing a stable base for the fence structure.
Galvanized Nails, Screws, or Bolts are essential fasteners for assembling the brace components, chosen based on their compatibility with the materials and the level of strength required. Using the right tools and materials is crucial to successfully installing a fence brace that will stand the test of time.
How to Make a Fence Brace: Building a Knee Brace
A. Cutting the Lumber
When constructing a knee brace, the precise cutting of lumber for both the diagonal and horizontal components is essential. Begin by determining the height of your fence and the angle at which you want the brace to intersect. Calculate the length needed for each piece using a measuring tape, considering the angle will slightly alter the length requirement.
Mark your measurements on the pressure-treated lumber, ensuring accuracy for a snug fit. Use a saw – a hand saw for wood or a metal saw for metal braces – to cut the lumber according to your measurements. The goal is to create two pieces that, when combined, will form a sturdy angle supportive of your fence structure.
B. Assembling the Knee Brace
The assembly of the knee brace starts with creating a notch in the diagonal component. This notch should be carefully measured and cut to allow the diagonal piece to fit perfectly against the horizontal component, ensuring there is no gap. The precision of this notch is critical for the structural integrity of the brace. Once the notch is crafted, lay the diagonal brace against the horizontal one, aligning them at the intended angle.
Using the appropriate fasteners – either galvanized screws or nails based on the material of your fence – attach the two pieces to the notched joint. It’s crucial to ensure that the connection is secure and that both pieces are tightly joined at the correct angle to provide optimal support to the fence.
C. Attaching the Knee Brace to the Fence
Securing the knee brace to the fence involves attaching the horizontal member to an existing fence post. Choose fasteners – screws or bolts – that match the material of your fence for a consistent and strong attachment. Drill pilot holes into the horizontal brace and the fence post to prevent splitting, and then fasten the brace to the post tightly.
The diagonal member can either be attached to a post anchor embedded in the ground or directly buried in the ground. This ensures it provides the necessary leverage and support against lateral forces. If burying, ensure that a portion of the diagonal is sufficiently underground to stabilize the brace, taking into account the soil type for depth determination.
How to Make a Fence Brace: Building a Diagonal Brace
A. Cutting the Lumber
To construct a diagonal brace, begin by measuring the distance between the two fence posts you intend to brace. This distance will determine the length of your diagonal board. After obtaining the measurement, add extra length to accommodate the angles at which the board will be attached to the posts; this ensures it spans the distance adequately when placed diagonally.
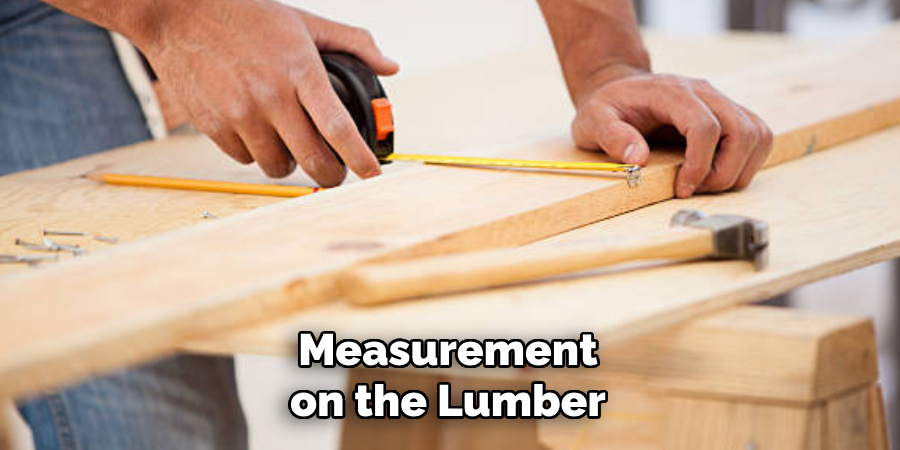
Using a pencil, mark the precise measurement on the lumber, factoring in any additional length needed for the angles. With a saw, carefully cut along the marked lines to produce a single diagonal board that will fit perfectly between the two posts, ensuring a snug fit and optimal support for the fence.
B. Attaching the Diagonal Brace
To attach the diagonal brace between the two fence posts, select suitable fasteners—this could be screws, nails, or lag bolts, depending on your preference and the materials involved. Start by holding the lumber in place between the posts at the desired angle, ideally between 45° and 60°, for maximum stability. Pre-drill holes through the diagonal brace and into the posts to prevent the wood from splitting and to ease the installation of fasteners.
Ensure the brace is pulled taut while fastening to prevent any sagging over time. If using metal brackets for added reinforcement, position them at the connection points before driving the fasteners through. These brackets can be particularly helpful in strengthening the overall structure, ensuring the brace remains secure under various conditions.
C. Double Diagonal Braces
Installing double diagonal braces can significantly enhance stability for fences that are exceptionally tall or situated in areas with weak soil conditions. This approach involves attaching a second diagonal brace on the opposite side of the fence posts, forming an ‘X’ shape when viewed from the side.
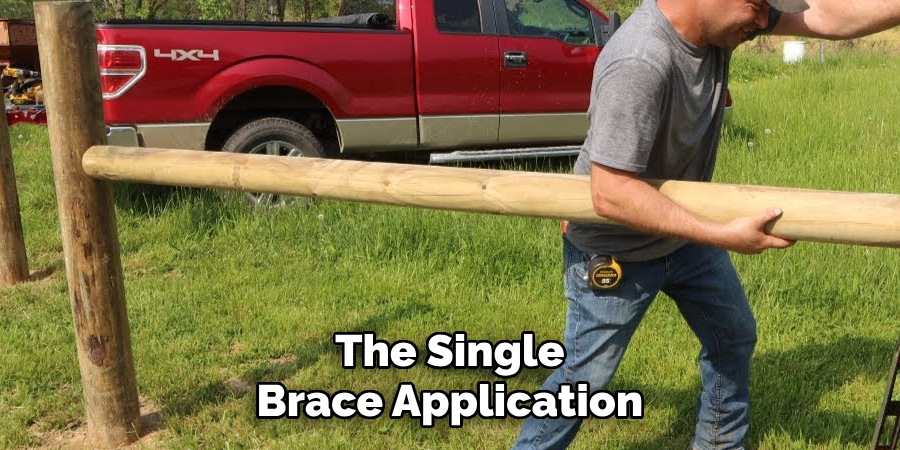
Similar to the single brace application, measure, cut, and attach the additional brace, ensuring that each is taut and securely fastened to the posts. This method not only increases the structural integrity of the fence but also distributes the lateral forces more evenly, reducing the likelihood of leaning or sagging.
Using Post Anchors
A. Identifying Leaning Posts
Leaning fence posts can compromise the integrity of your fence by reducing its stability and appearance. To identify a leaning post, visually examine your fence line from various angles for any noticeable deviations from vertical alignment.
A more precise method involves using a level; place it vertically against the sides of the post near its top and bottom. The post is leaning if the bubble does not center between the lines. It’s important to assess not only the direction of the lean but also its severity to determine the best corrective action.
B. Choosing the Right Post Anchor
Selecting the appropriate post anchor is pivotal for stabilizing your fence, with the choice largely dependent on soil conditions and fence materials. Drive-in anchors are suitable for relatively stable, compacted soils and can be hammered directly into the ground, making them a quick and efficient option.
Screw-in anchors offer enhanced stability in looser soil conditions by providing a larger surface area for gripping the soil. Lastly, concrete anchors are the most robust, ideal for fences exposed to high winds or built on unstable soils; they are embedded in concrete poured into a dug hole. The fence material—wood, metal, or vinyl—also influences the anchor choice, ensuring compatibility and secure attachment.
C. Installing a Post Anchor
Installation varies by anchor type but starts with preparing the site. This might involve clearing debris and ensuring the soil is penetrable for screw-in and drive-in anchors. For concrete anchors, dig a hole to the recommended depth and width.
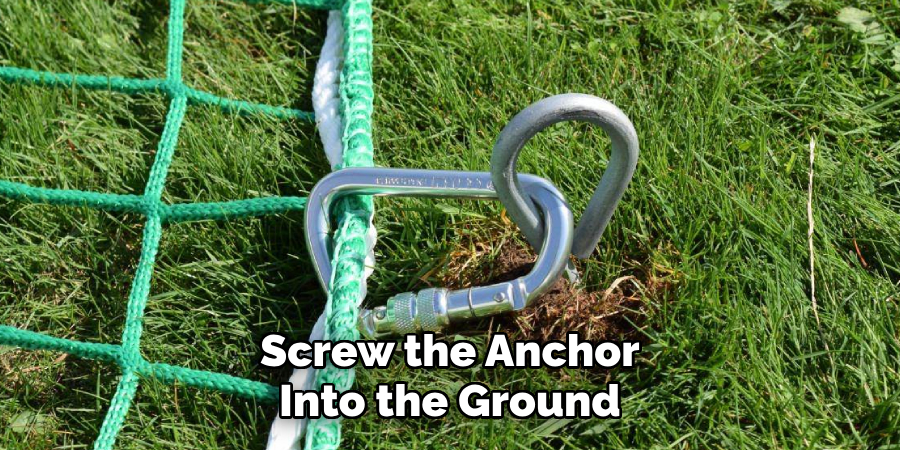
Follow the manufacturer’s instructions precisely; drive or screw the anchor into the ground, or pour concrete and then insert the anchor, ensuring it’s level. Once set, attach the leaning post to the anchor using suitable fasteners, such as screws or bolts, checking again for vertical alignment with a level. This reinforcement will significantly improve the stability and lifespan of your fence.
Finishing Touches and Maintenance
A. Applying Wood Stain or Paint (optional)
After installation, consider staining or painting your wooden braces to match the fence or enhance their appearance. This not only improves aesthetics but also offers an extra layer of protection against the elements, prolonging the life of your fence.
B. Regular Inspections
Conducting regular inspections of the fence braces for any loose fasteners, signs of rot (for wood), or other damage is crucial. It ensures early detection of issues that could compromise the fence’s stability and appearance over time.
C. Tightening Fasteners
Over time, screws, nails, or bolts used in the fence braces may become loose due to weather conditions and normal wear. Periodically retightening these fasteners is essential to maintain the structural integrity and stability of your fence braces.
D. Replacing Damaged Braces
If, during inspections, you discover braces that are damaged or have rotted (for wood), it is important to replace them promptly. Keeping all parts of your fence in good condition is vital for ensuring it continues to provide the necessary support and withstand environmental stresses.
5 Common Mistakes People Make When Trying to Make a Fence Brace
When it comes to constructing a fence brace, there are a few common mistakes that people tend to make. These can result in an unstable or weak fence, requiring frequent repairs and maintenance. Some of these mistakes include using inadequate materials, improper installation techniques, and neglecting regular maintenance.
1. Using Inadequate Materials
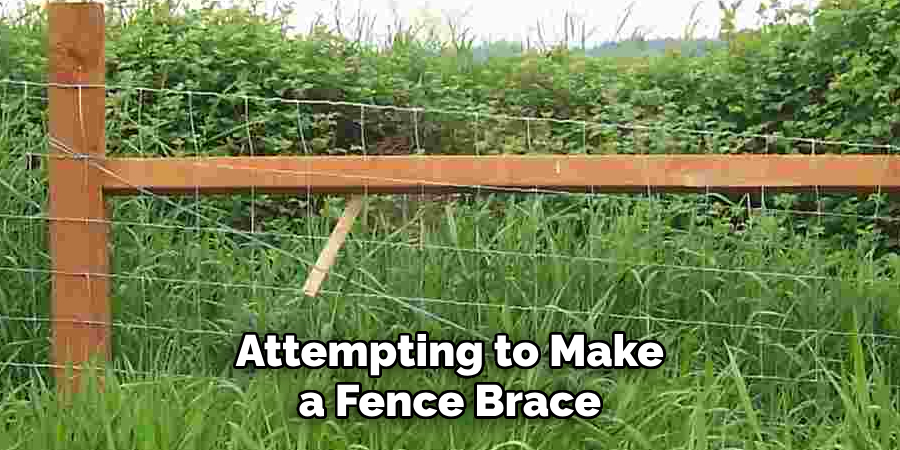
One of the most common mistakes people make when attempting to make a fence brace is using inadequate materials. This could include using thin or weak wood, improper fasteners, or not considering the soil conditions when choosing post anchors. It’s important to use sturdy and durable materials that are suitable for the specific needs and conditions of your fence.
2. Improper Installation Techniques
Improper installation techniques can also lead to a poorly constructed fence brace. This could include not properly measuring or cutting the braces to the appropriate length, using incorrect angles for diagonal braces, or neglecting to ensure the posts are level before attaching the braces. These mistakes can result in an unstable and uneven fence.
3. Neglecting Regular Maintenance
Regular maintenance is crucial for ensuring your fence remains stable and secure. Neglecting to conduct regular inspections, tightening fasteners, and replacing damaged braces can result in a weakened fence and frequent repairs. It’s essential to make these tasks part of your routine maintenance schedule.
4. Not Considering Environmental Stresses
Environmental stresses such as high winds or heavy rainfall can put a strain on your fence braces over time. When constructing the fence brace, failure to consider these factors can result in an insufficient support system. It’s important to choose materials and installation techniques that can withstand these stresses.
5. Rushing the Process
Lastly, rushing the process of making a fence brace can lead to mistakes and ultimately compromise the stability of your fence. Take the time to properly plan, measure, and construct your fence brace to ensure it is strong and durable. It’s better to take a little extra time during the installation process than to have to repeatedly repair or replace a poorly constructed brace.
Overall, it’s important to carefully consider all factors before constructing your fence brace, including soil conditions, materials, and maintenance requirements. Taking the necessary precautions and avoiding common mistakes will result in a sturdy and long-lasting fence. So, next time you’re constructing a fence brace, make sure to keep these tips in mind for a successful and durable installation.
Frequently Asked Questions About Constructing Fence Braces
Q1: Can I Use Regular Wood for My Fence Braces, or Do I Need a Specific Type?
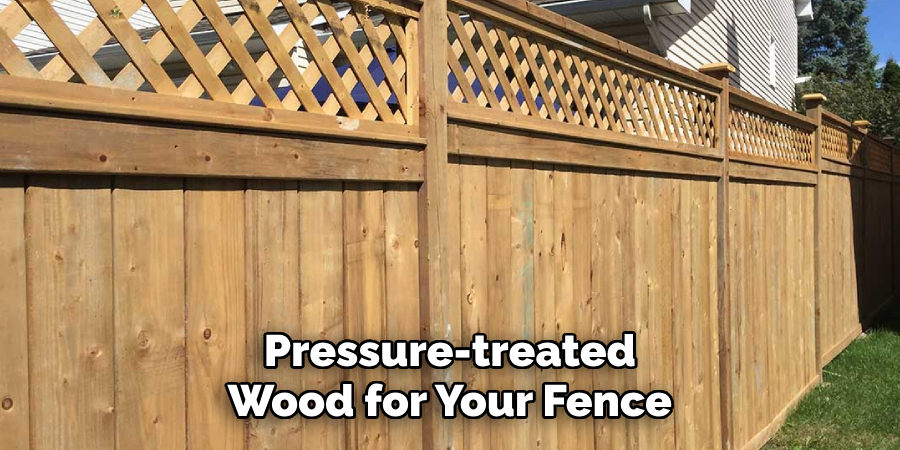
A: It’s crucial to use pressure-treated wood for your fence braces to ensure durability and resistance to rot and pests. Regular wood may not withstand outdoor conditions, leading to a shorter lifespan and potential stability issues.
Q2: How Deep Should I Install the Post Anchors for My Fence Braces?
A: The depth for installing post anchors varies depending on the anchor type and the soil conditions. Generally, for concrete anchors, a depth of at least 2-3 feet is recommended to ensure stability, especially in areas with high winds or unstable soil.
Q3: How Often Should I Conduct Maintenance Checks on My Fence Braces?
A: Conduct a thorough inspection of your fence braces at least once a year. However, if your area experiences severe weather conditions, more frequent checks may be necessary to address any damage or wear and tear promptly.
Q4: Can I Install a Fence Brace on An Existing Fence, or Does It Need to Be Done when The Fence Is First Constructed?
A: It is possible to add a brace to an existing fence to improve its stability, especially if it was not initially braced properly or if it has weakened over time. However, it’s easier and more effective to include braces during the initial construction of the fence.
Q5: Are There Any Alternatives to Wood for Fence Braces?
A: Yes, metal braces offer a durable alternative to wood, providing excellent stability with minimal maintenance. Metal is particularly useful in areas with high moisture or termite problems, where wood might degrade faster.
Conclusion
In conclusion, understanding how to make a fence brace involves recognizing the importance of choosing the appropriate type and construction method to meet your fencing project’s unique demands.
Whether it’s employing single or double diagonal braces for enhanced stability or selecting the correct post anchors to counteract leaning posts due to unstable soil, each technique plays a critical role in the overall durability and effectiveness of your fence.
From drive-in to screw-in and concrete anchors, the foundation of a sturdy fence lies in matching the anchor type to both your soil conditions and fence material. Regular construction methods to meet your fencing project’s unique demands maintenance, including inspections, tightening fasteners, and replacing damaged braces, is also key to ensuring the longevity of your fence.
Creating braces that are not only functional but also aesthetically pleasing can be a fulfilling project, resulting in a strong, stable barrier that stands the test of time. The satisfaction of building lasting fence braces underscores the value of taking the time to select the right materials and methods for your specific fencing needs, ensuring the stability and lifespan of your fence for years to come.

